웹 서버를 만들다보면 https가 사용해야 되는 상황이 많다. 그럴때마다 직접 도메인을 발급받고, SSL 인증서도 발급받아야하기 때문에 굉장히 반복되고 귀찮은 작업이다.
이번에는 도메인을 발급받을 필요도 없고, 간단하게 Docker를 이용해서 letsencrypt 인증서를 발급받아보겠다.
nip.io + Docker + letsencrypt + certbot
1. nip.io 도메인 사용하기
와일드카드 DNS 서비스
https://nip.io
IP 뒤에 .nip.io 를 붙이면 자동으로 도메인으로 사용할 수 있다.
nip.io 서비스 말고 sslip.io 같은 와일드카드 DNS 서비스도 있다.
예시로 네이버의 IP인 223.130.200.104 를 223.130.200.104.nip.io 로 브라우저에 입력하면 네이버로 갈 수 있다.
이렇게 다른 도메인 서비스에서 도메인을 발급받지 않아도 내 서버 도메인으로 사용 할 수 있다.
2. 서버 포트 개방
SSL 인증서 발급을 위해 80 포트를 개방해야 한다
추가로 HTTPS에서 사용할 443 포트도 개방해 주자
(AWS EC2 기준으로 진행)
- AWS EC2 보안그룹 탭
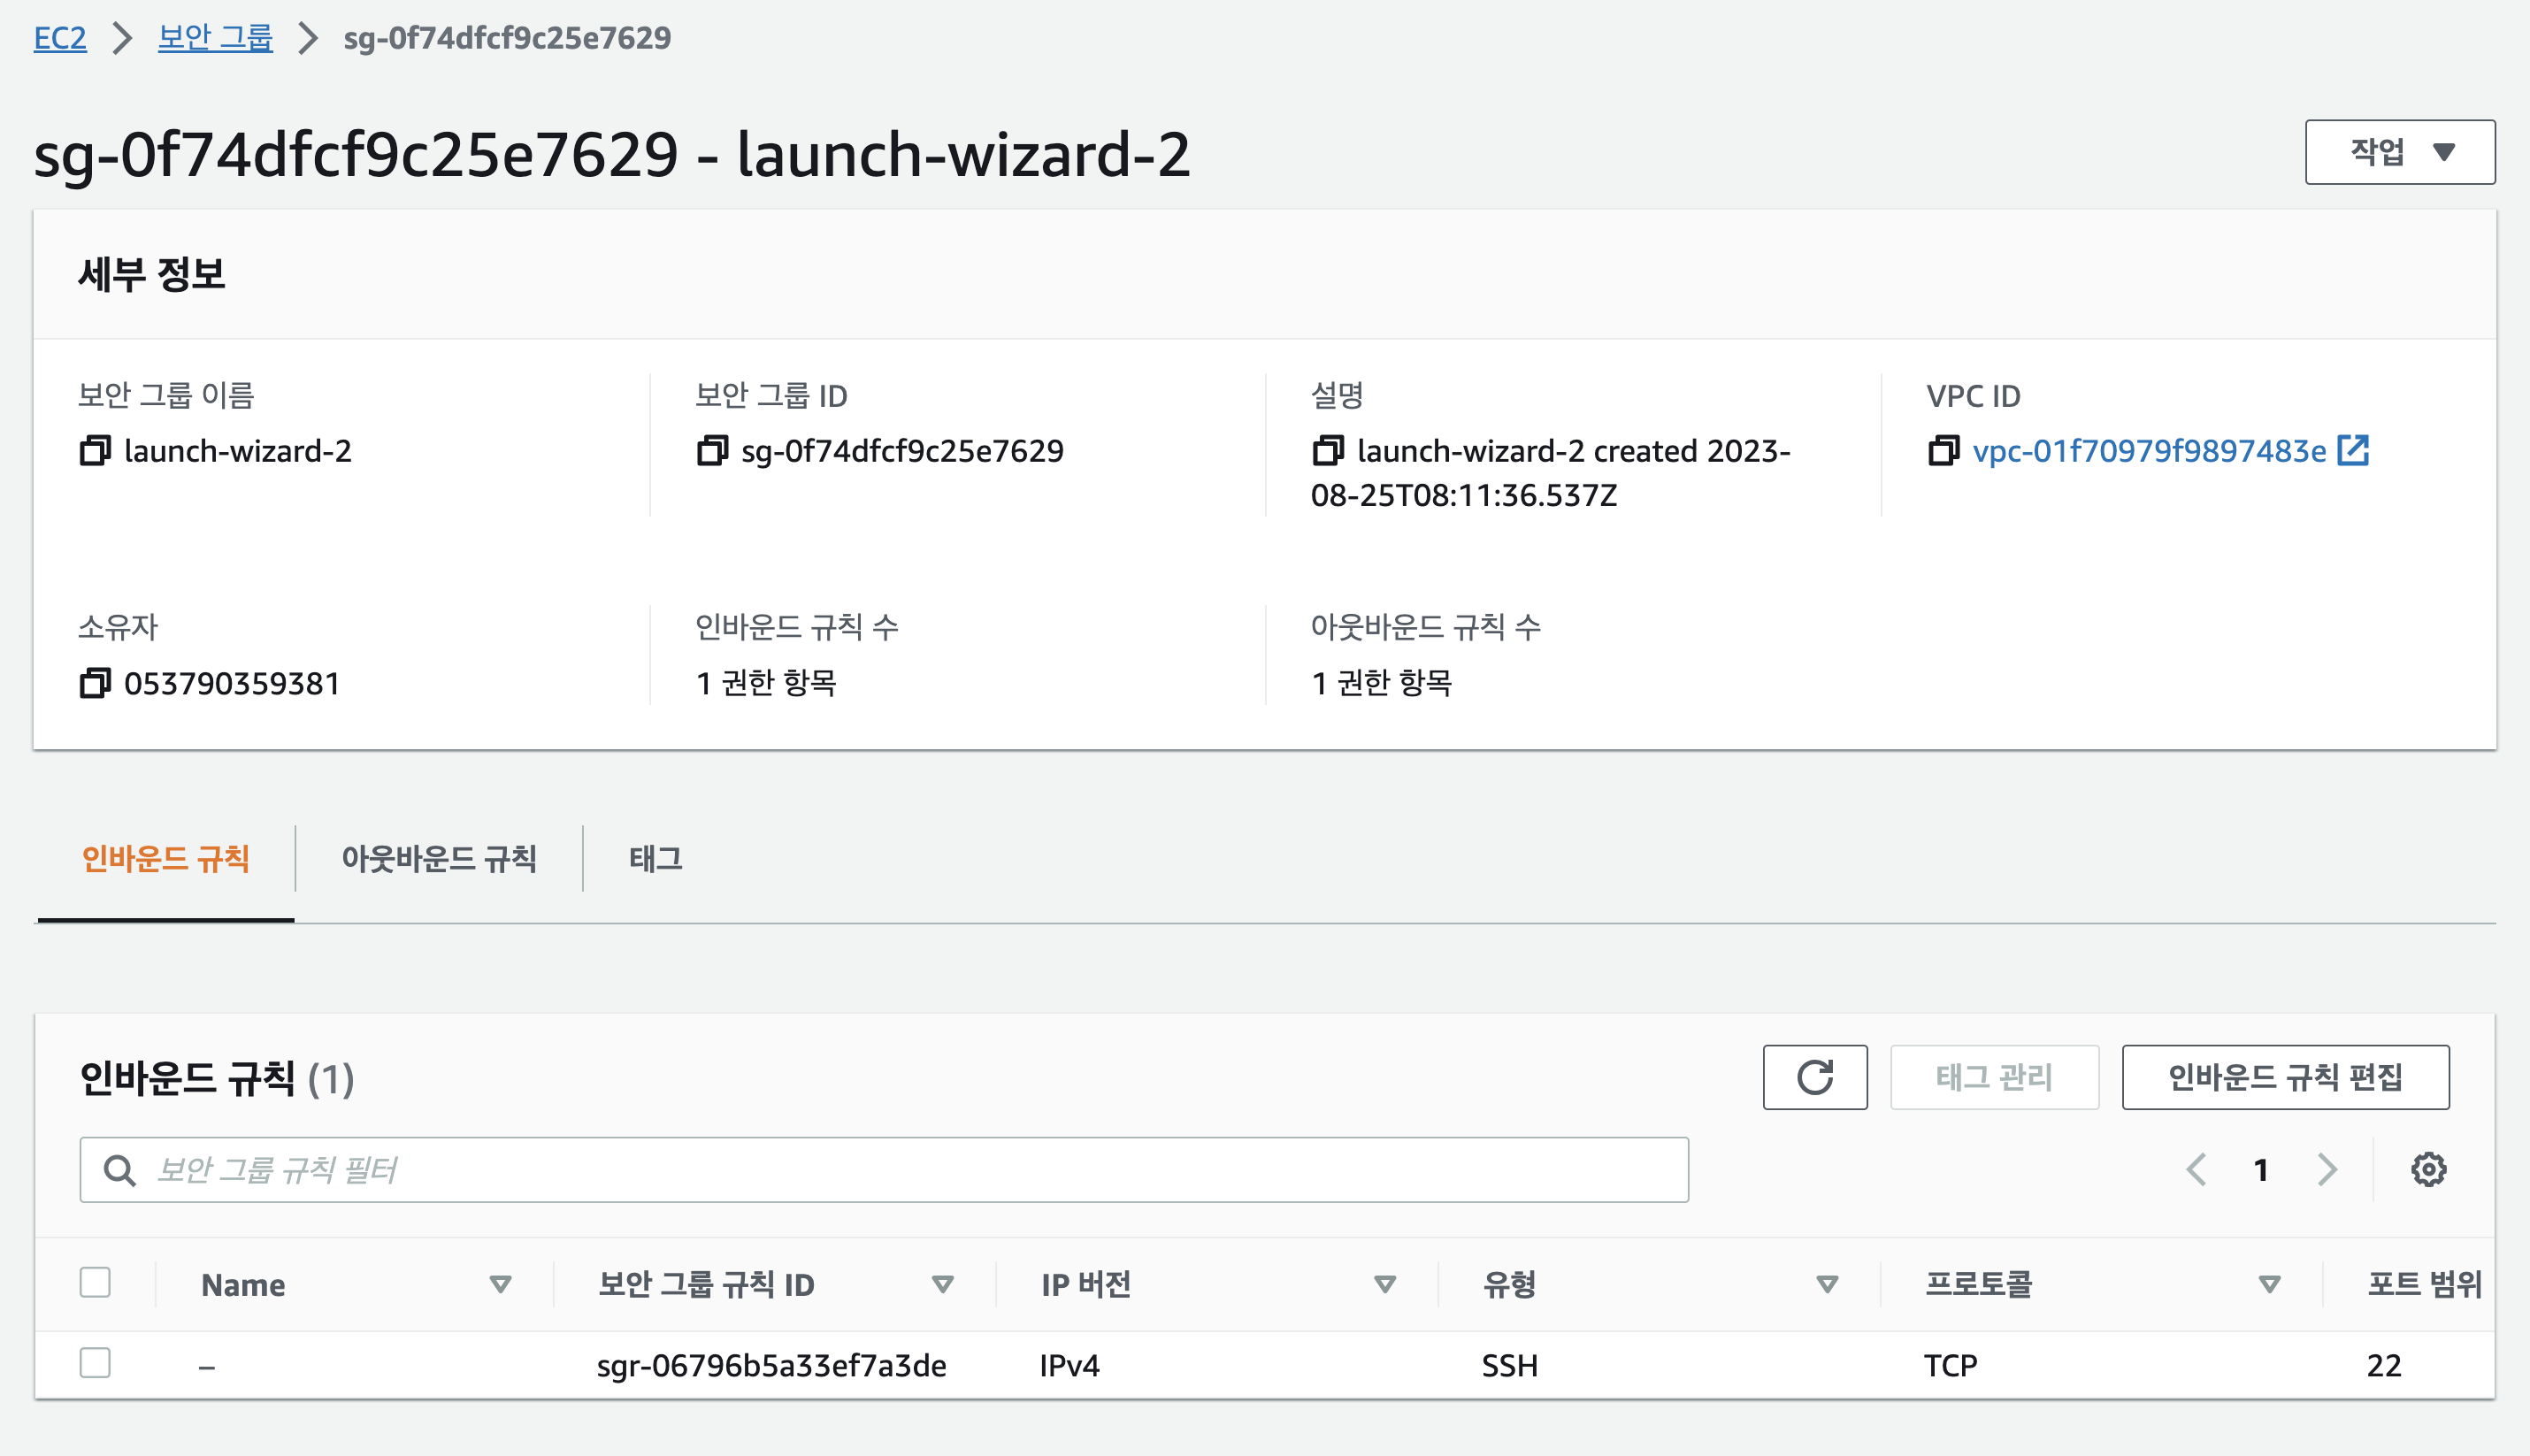
- HTTP(80), HTTPS(443) 포트 추가

3. Docker 설치
SSL 인증서 발급시 Docker로 Certbot을 실행하기때문에 Docker를 설치해준다
curl -fsSL https://get.docker.com -o get-docker.sh
sudo sh get-docker.sh
4. Docker로 SSL 인증서 발급하기
CertBot 도커 공식문서
https://eff-certbot.readthedocs.io/en/stable/install.html#alternative-1-docker
Let's Encrypt 인증서를 발급하는데는 여러가지 방법이 있지만 개인적으로 가장 쉬운 방식인 Docker와 certbot + standalone 방식으로 발급하겠다.
certbot 도커 이미지를 실행하는데, standalone 방식으로 발급을 진행하면 80번 포트가 필요하므로 도커에서 80번 포트를 열어주면서 실행해주자
docker run -it --rm --name certbot \
            -v "/etc/letsencrypt:/etc/letsencrypt" \
            -v "/var/lib/letsencrypt:/var/lib/letsencrypt" \
            -p 80:80 \
            certbot/certbot certonly
도커 컨테이너가 실행되면 다음과 같이 standalone, webroot 방식 중 어떤걸 사용할건지 선택하라고 물어본다. standalone 방식이 자동으로 인증을 진행해주지만 인증하는동안에는 80번 포트를 사용할 수 없다. 가장 간단한 방식인 standalone 방식으로 진행하겠다.
How would you like to authenticate with the ACME CA?
- - - - - - - - - - - - - - - - - - - - - - - - - - - - - - - - - - - - - - - -
1: Runs an HTTP server locally which serves the necessary validation files under
the /.well-known/acme-challenge/ request path. Suitable if there is no HTTP
server already running. HTTP challenge only (wildcards not supported).
(standalone)
2: Saves the necessary validation files to a .well-known/acme-challenge/
directory within the nominated webroot path. A seperate HTTP server must be
running and serving files from the webroot path. HTTP challenge only (wildcards
not supported). (webroot)
- - - - - - - - - - - - - - - - - - - - - - - - - - - - - - - - - - - - - - - -
Select the appropriate number [1-2] then [enter] (press 'c' to cancel): 1
이메일 주소랑 약관들을 입력해 주고, 이메일로 뉴스같은거 받을건건지도 물어본다.
그 후 도메인을 물어보는데, 이전에 설명한 nip.io 도메인 주소로 입력해 주면 된다.
Please enter the domain name(s) you would like on your certificate (comma and/or
space separated) (Enter 'c' to cancel): 13.230.98.114.nip.io
입력하면 자동으로 인증을 거치고 인증서 발급에 성공했다고 나온다.
인증서는 /etc/letsencrypt/live/<domain>/fullchain.pem
개인키는 /etc/letsencrypt/live/<domain>/privkey.pem 에서 찾을 수 있다.
Successfully received certificate.
Certificate is saved at: /etc/letsencrypt/live/13.230.98.114.nip.io/fullchain.pem
Key is saved at:         /etc/letsencrypt/live/13.230.98.114.nip.io/privkey.pem
This certificate expires on 2024-01-08.
These files will be updated when the certificate renews.

NEXT STEPS:
- The certificate will need to be renewed before it expires. Certbot can automatically renew the certificate in the background, but you may need to take steps to enable that functionality. See https://certbot.org/renewal-setup for instructions.

- - - - - - - - - - - - - - - - - - - - - - - - - - - - - - - - - - - - - - - -
If you like Certbot, please consider supporting our work by:
 * Donating to ISRG / Let's Encrypt:   https://letsencrypt.org/donate
 * Donating to EFF:                    https://eff.org/donate-le
- - - - - - - - - - - - - - - - - - - - - - - - - - - - - - - - - - - - - - - -
참고로 인증서는 90일마다 갱신해줘야 하고, 인증서 갱신도 CertBot을 사용해서 할 수 있다.
certbot 인증서 갱신 명령어
docker run -it --rm --name certbot \
            -v "/etc/letsencrypt:/etc/letsencrypt" \
            -v "/var/lib/letsencrypt:/var/lib/letsencrypt" \
            -p 80:80 \
            certbot/certbot renew

안녕하세요 nip.io로 발급 받으려고 하는데 nip.io로 너무많이 발급받아서 안된다고 하네요. 이거 혹시 나중에 풀리나요??
꿀팁 감사합니당