멀티 클라우드 매니지먼트 플랫폼, Cloudforet 설치하기
Cloudforet란 다양한 클라우드 리소스를 한 곳에서 관리할 수 있는 플랫폼을 제공해주는 오픈소스 프로젝트이다. 공식문서(24.08.11)를 참고하여 쿠버네티스 환경에서 Cloudforet 2.x버전을 설치해보자.
시스템 요구 사항
공식문서 내 시스템 최소 요구사항을 보면 다음과 같다.
CPU: 2 cores
Memory: 8GB
Disk: 30GB
실제 Cloudforet를 설치하고 구동하는 데에는 문제가 없지만, 개발 환경이거나 운영환경 내 여러 CSP의 자원을 수집하기 위해서는 많은 이미지가 노드에 설치되기 때문에 Disk 용량을 조금 더 넉넉하게 할당하는 것이 좋다. 따라서 Disk 용량을 두배 정도인 60GB를 할당하여 사용하는 것을 권장한다.
Cloudforet 설치
쿠버네티스 클러스터 준비
Cloudforet는 클라우드 네이티브 애플리케이션으로 쿠버네티스 환경 위에서 작동된다. 따라서 Cloudforet를 설치하기 위한 쿠버네티스 클러스터와 위 시스템 요구사항을 만족하는 노드를 준비한다. 그 외 kubectl, helm도 설치한다.
헬름 레포지토리 추가
Cloudforet를 설치하기 위한 헬름 레포지토리를 로컬 PC에 추가한다.
helm repo add cloudforet https://cloudforet-io.github.io/charts # helm 차트 저장소 추가
helm repo update # helm 차트 저장소 최신화
helm search repo cloudforet # cloudforet 저장소 내 사용 가능한 차트 조회
쿠버네티스 리소스 생성
우선 Cloudforet 설치가 다른 애플리케이션에 영향을 주지 않고 독립적으로 쿠버네티스에 설치될 수 있도록 쿠버네티스 Namespace를 생성한다.
kubectl create ns cloudforet # cloudforet core namespace 생성
kubectl create ns cloudforet-plugin # cloudforet 자원수집 plugin namespace 생성
다음으로 Cloudforet 작동에 필요한 Role과 RoleBinding을 생성한다.
wget https://raw.githubusercontent.com/cloudforet-io/charts/master/examples-v2/rbac.yaml -O rbac.yaml
kubectl apply -f rbac.yaml -n cloudforet-plugin
위 Role yaml파일을 확인해보면
---
apiVersion: rbac.authorization.k8s.io/v1
kind: Role
metadata:
  name: supervisor-plugin-control-role
  namespace: cloudforet-plugin
rules:
- apiGroups:
  - "*"
  resources:
  - replicaSets
  - pods
  - deployments
  - services
  - endpoints
  verbs:
  - get
  - list
  - watch
  - create
  - delete
---
apiVersion: rbac.authorization.k8s.io/v1
kind: RoleBinding
metadata:
  name: supervisor-role-binding
  namespace: cloudforet-plugin
roleRef:
  apiGroup: rbac.authorization.k8s.io
  kind: Role
  name: supervisor-plugin-control-role
subjects:
- kind: ServiceAccount
  name: default
  namespace: cloudforet
다음과 같은데, Cloudforet는 애플리케이션 내에서 필요한 파드를 생성하고 삭제하는 등의 작업을 수행한다. 따라서 그에 필요한 권한을 부여하는 설정 파일인 것을 알 수 있다.
Cloudforet helm chart 설치
Cloudforet 헬름 차트를 설치한다. 현재(24.08.11 기준)는 2.x버전이 안정 버전이 아니라 개발 버전이기 때문에, —devel 옵션을 붙여 설치한다.
wget https://raw.githubusercontent.com/cloudforet-io/charts/master/examples-v2/values/release-2x.yaml -O release-2x.yaml # values.yaml 파일 다운로드
helm install cloudforet cloudforet/spaceone -n cloudforet -f release-2x.yaml --devel # 설치
이후 설치가 완료되면 정상적으로 리소스가 생성되었는지 확인한다.
kubectl get pod -n cloudforet

NAME                                      READY   STATUS             RESTARTS      AGE
board-5746fd9657-vtd45                    1/1     Running            0             57s
config-5d4c4b7f58-z8k9q                   1/1     Running            0             58s
console-6b64cf66cb-q8v54                  1/1     Running            0             59s
console-api-7c95848cb8-sgt56              2/2     Running            0             58s
console-api-v2-rest-7d64bc85dd-987zn      2/2     Running            0             56s
cost-analysis-7b9d64b944-xw9qg            1/1     Running            0             59s
cost-analysis-scheduler-ff8cc758d-lfx4n   0/1     Error              3 (37s ago)   55s
cost-analysis-worker-559b4799b9-fxmxj     1/1     Running            0             58s
dashboard-b4cc996-mgwj9                   1/1     Running            0             56s
docs-5fb4cc56c7-68qbk                     1/1     Running            0             59s
identity-6fc984459d-zk8r9                 1/1     Running            0             56s
inventory-67498999d6-722bw                1/1     Running            0             57s
inventory-scheduler-5dc6856d44-4spvm      0/1     CrashLoopBackOff   3 (18s ago)   59s
inventory-worker-68d9fcf5fb-x6knb         1/1     Running            0             55s
marketplace-assets-8675d44557-ssm92       1/1     Running            0             59s
mongodb-7c9794854-cdmwj                   1/1     Running            0             59s
monitoring-fdd44bdbf-pcgln                1/1     Running            0             59s
notification-5b477f6c49-gzfl8             1/1     Running            0             59s
notification-scheduler-675696467-gn24j    1/1     Running            0             59s
notification-worker-d88bb6df6-pjtmn       1/1     Running            0             57s
plugin-556f7bc49b-qmwln                   1/1     Running            0             57s
plugin-scheduler-86c4c56d84-cmrmn         0/1     CrashLoopBackOff   3 (13s ago)   59s
plugin-worker-57986dfdd6-v9vqg            1/1     Running            0             58s
redis-75df77f7d4-lwvvw                    1/1     Running            0             59s
repository-5f5b7b5cdc-lnjkl               1/1     Running            0             57s
secret-77ffdf8c9d-48k46                   1/1     Running            0             55s
spacectl-5664788d5d-dtwpr                 1/1     Running            0             59s
statistics-67b77b6654-p9wcb               1/1     Running            0             56s
statistics-scheduler-586875947c-8zfqg     0/1     Error              3 (30s ago)   56s
statistics-worker-68d646fc7-knbdr         1/1     Running            0             58s
supervisor-scheduler-6744657cb6-tpf78     2/2     Running
xxxx-scheduler-yyyy 리소스는 에러 상태이거나 정상적으로 Running 상태가 되지 않았을텐데, 이는 이후 단계를 진행하며 해결되니 넘어가자. 나머지 리소스는 모두 정상적으로 생성되어 있어야 한다.
root domain 생성
다음은 Cloudforet 내에서 설정해줘야 할 부분들을 진행한다. 먼저 생성된 Cloudforet에 관리자 권한의 root domain을 등록해줘야한다.
domain?
Cloudforet는 domain이라는 개념이 존재한다. domain이란 회사 단위와 같이 자원을 수집할 여러 프로젝트들과 멤버가 모여있는 가장 상위의 추상적인 단위이다. 여기서 우리는 Cloudforet에서 사용할 여러 API들의 관리자 권한을 가지고 있는 가상의 root domain을 생성하고 System Token을 발급해 Cloudforet 내부에서 이 Token을 사용하도록 구성할 것이다.
spacectl pod 접속
설정값을 초기화 하고 root domain을 등록하는 작업을 수행하기 위해 spacectl pod에 접속한다. spacectl이란 Cloudforet 관리에 필요한 여러 작업(유저 생성, 수정, 삭제, CSP 등록 등)을 할 수 있는 CLI 툴이다. Cloudforet 설치 시 해당 CLI가 설치된 파드가 존재하기 때문에 그 파드에 접속해 명령어를 수행한다.
kubectl exec -it -n cloudforet spacectl-xxxxx -- /bin/bah kubectl get po -n cloudforet 명령어를 이용해 spacectl 파드 이름을 확인한 뒤 위 명령어로 파드에 접속한다.
그 후 파드 내에서 아래 명령어를 통해 설정값을 초기화 한다.
spacectl config init -f default.yamlroot domain 생성
다음으로 Root domain 정보가 담긴 root.yaml파일을 생성하고 이를 spacectl 명령어를 이용해 등록한다.
---
admin:
    user_id: admin@example.com
    password: Admin123!@#
    name: Admin
spacectl exec init identity.System -f root.yamlvalues.yaml 파일 수정
정상적으로 등록이 되면 토큰 값이 터미널에 출력되는데, 이를 위에서 다운로드 받았던 release-2x.yaml파일에 입력한다. 해당 파일은 시스템 토큰값을 가지고 있기 때문에 Github과 같은 공개 저장소에 올리지 않도록 한다.
console:
  production_json:
    CONSOLE_API:
      ENDPOINT: http://localhost:8081  # http://ec2_public_ip:8081 for EC2 users
    CONSOLE_API_V2:
      ENDPOINT: http://localhost:8082  # http://ec2_public_ip:8082 for EC2 users

global:
  shared_conf:
    TOKEN: 'TOKEN_VALUE_FROM_ABOVE'   # Change the system token
마지막으로 해당 값을 Cloudforet에 반영하기 위해 helm upgrade 명령어를 입력한다.
helm upgrade cloudforet cloudforet/spaceone -n cloudforet -f release-2x.yaml --devel # 변경 반영

kubectl delete po -n cloudforet -l app.kubernetes.io/instance=cloudforet # 설정이 반영된 새로운 리소스를 만들기 위해 파드 삭제

kubectl get pod -n cloudforet # 모든 리소스가 정상적으로 생성되었는지 확인
모든 파드가 Running 상태가 되면 성공적으로 설정한 것이다.
user domain 생성
System Token을 등록하였으니 다음은 마지막으로 실제 Cloudforet 대시보드에 접속 할 관리자 user domain을 등록한다.
다시 아래 명령어를 이용해 spacectl 파드에 접속하자.
kubectl exec -it -n cloudforet spacectl-xxxxx -- /bin/bah api token 등록
user domain을 등록하기 전 등록하는 데에 필요한 시스템 토큰을 spacectl cli에도 설정해야한다. 아래 명령어를 이용해 spacectl에 토큰을 등록하자.
spacectl config init -f default.yaml
spacectl config set api_key {SYSTEM_TOKEN}
user domain 생성
그 후 user domain 정보가 담겨있는 domain.yaml 파일을 생성하고 spacectl 명령어를 이용해 등록한다.
spacectl exec create identity.Domain -f domain.yaml
x_domain_id 등록
위 user domain 생성 명령 후 출력을 보면 domain_id를 확인할 수 있다. 해당 domain_id를 마지막으로 spacectl cli에 등록하면 마무리가 된다.
spacectl config set x_domain_id domain-4534xxxxxxxxxxxx접속 테스트
cloudforet는 아래 3개의 서비스를 외부로 노출시 대시보드 접속이 가능하다.
- console
- console-api
- console-api-v2-rest
위 3개의 서비스를 ingress나 LoadBalancer, NodePort 타입의 서비스로도 노출할 수 있지만 본 글에서는 간단하게 port-forwarding으로 서비스에 접속하는 방법으로 테스트 하겠다.
# CLI commands
kubectl port-forward -n cloudforet svc/console 8080:80 --address='0.0.0.0' &
kubectl port-forward -n cloudforet svc/console-api 8081:80 --address='0.0.0.0' &
kubectl port-forward -n cloudforet svc/console-api-v2-rest 8082:80 --address='0.0.0.0' &
위 명령어를 이용해 서비스를 노출시킨 뒤 localhost:8080 경로로 접속하면 Cloudforet 로그인 화면을 확인할 수 있다.
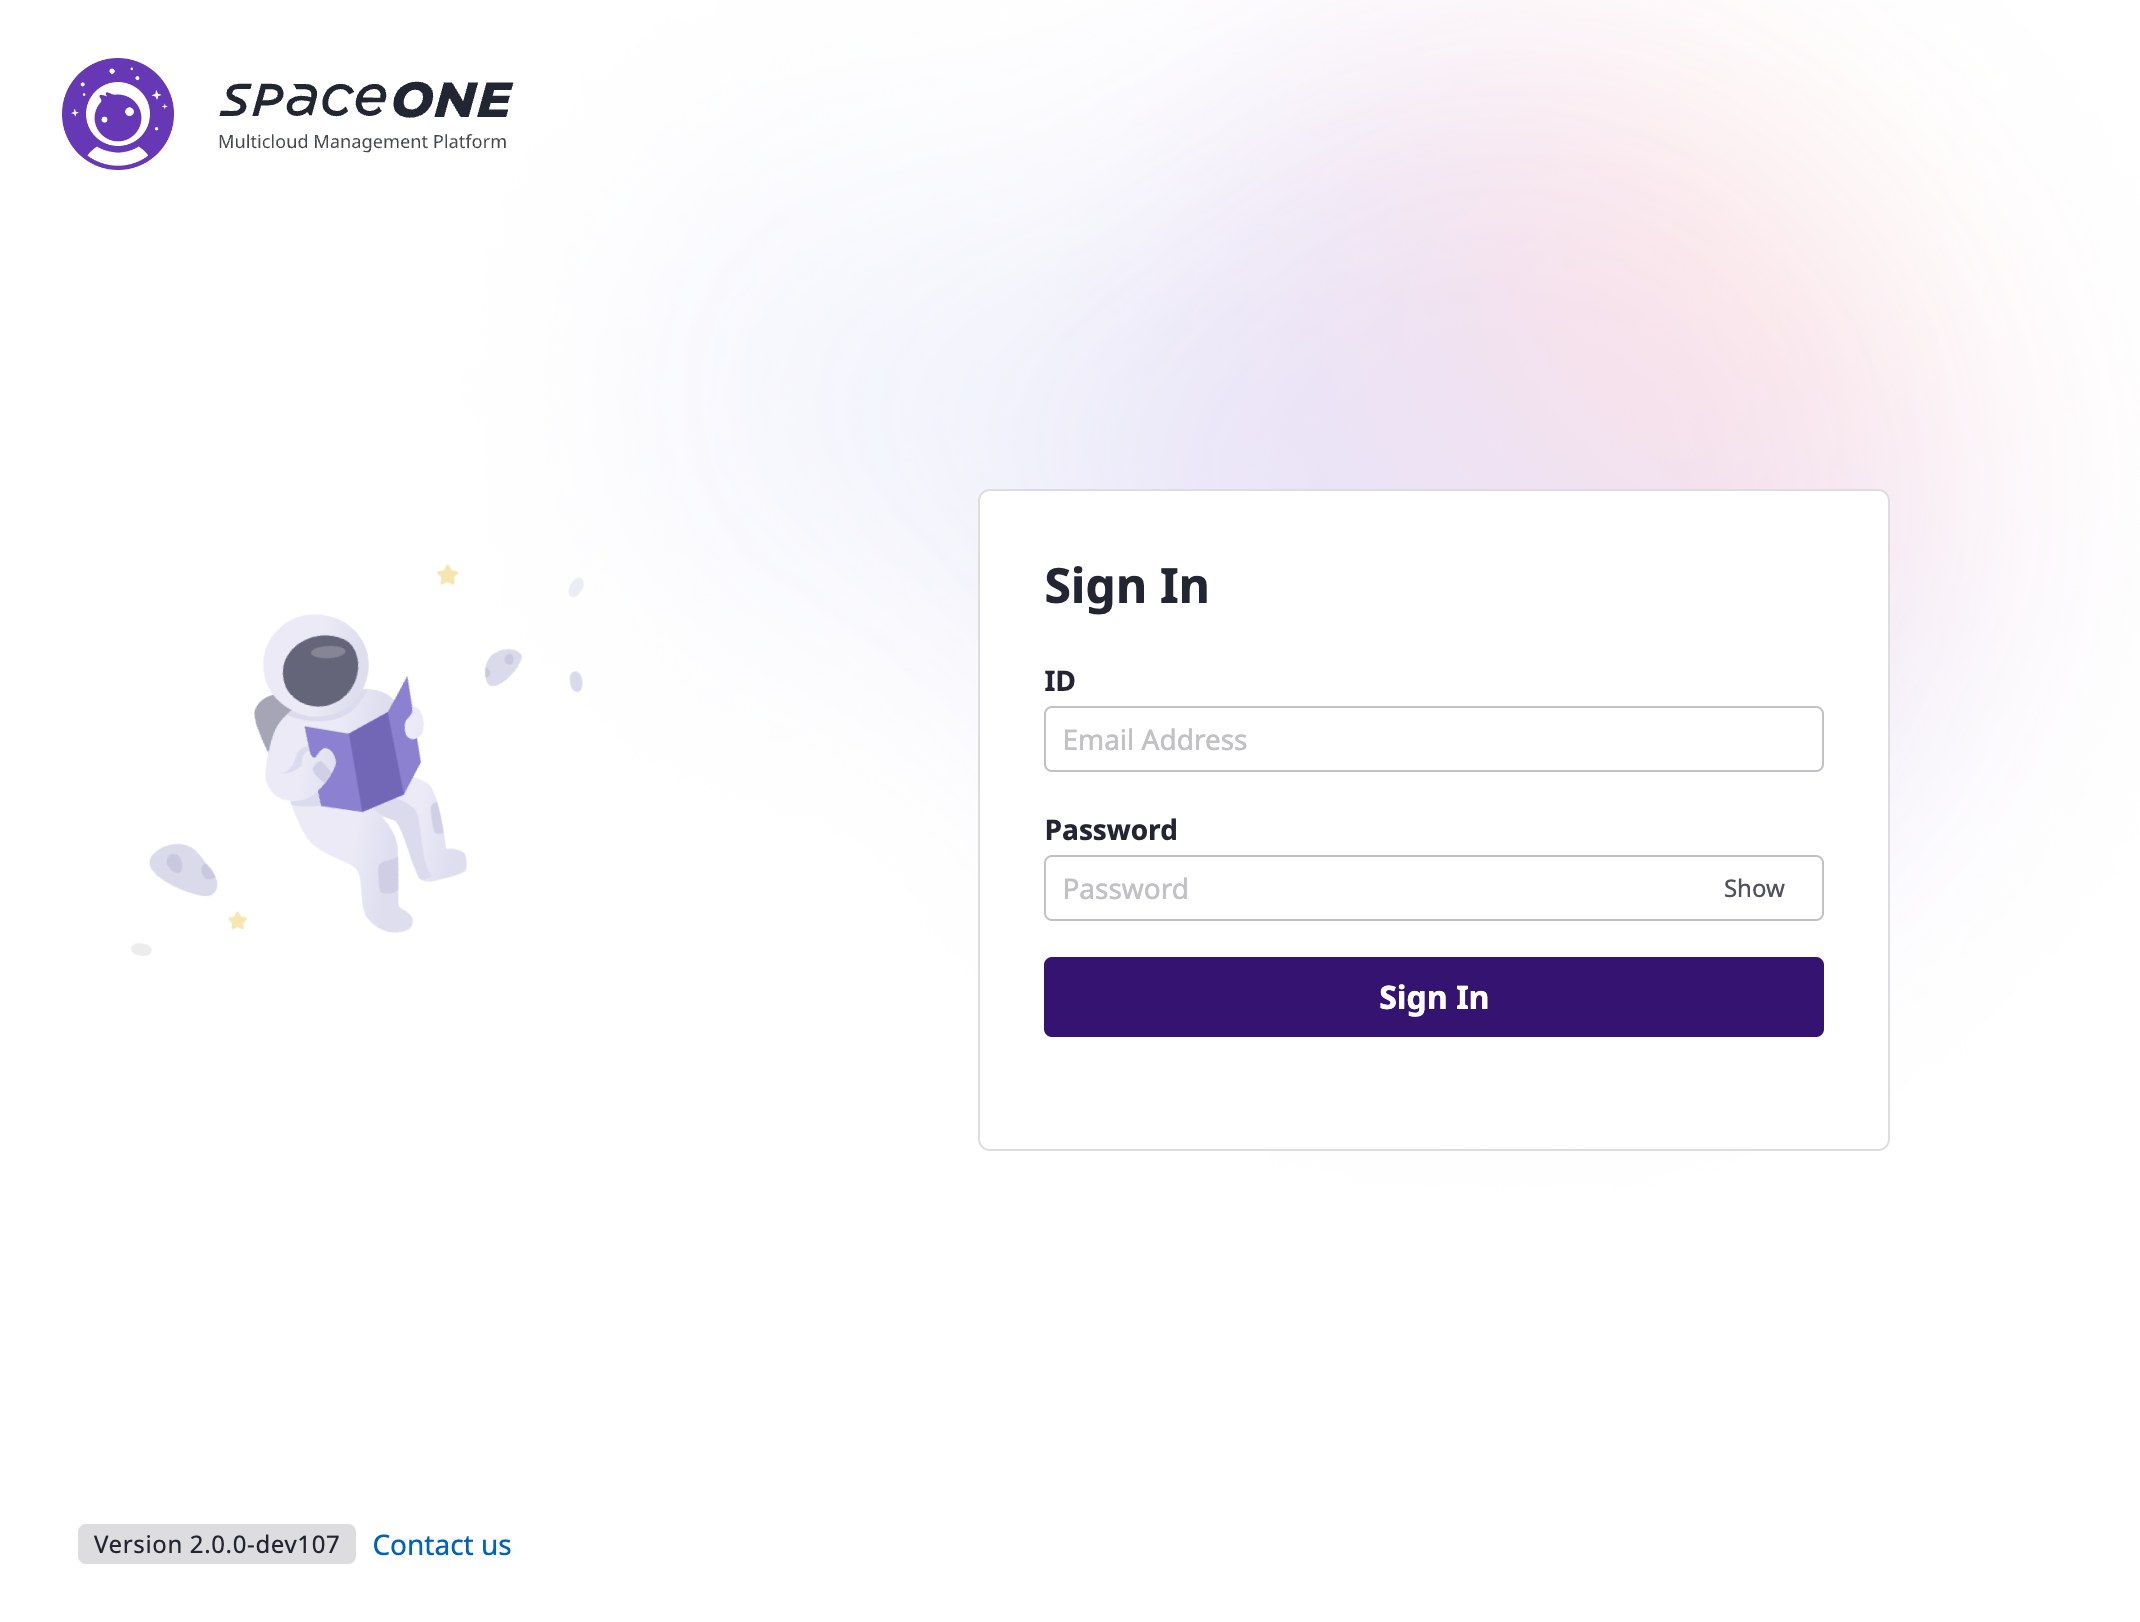
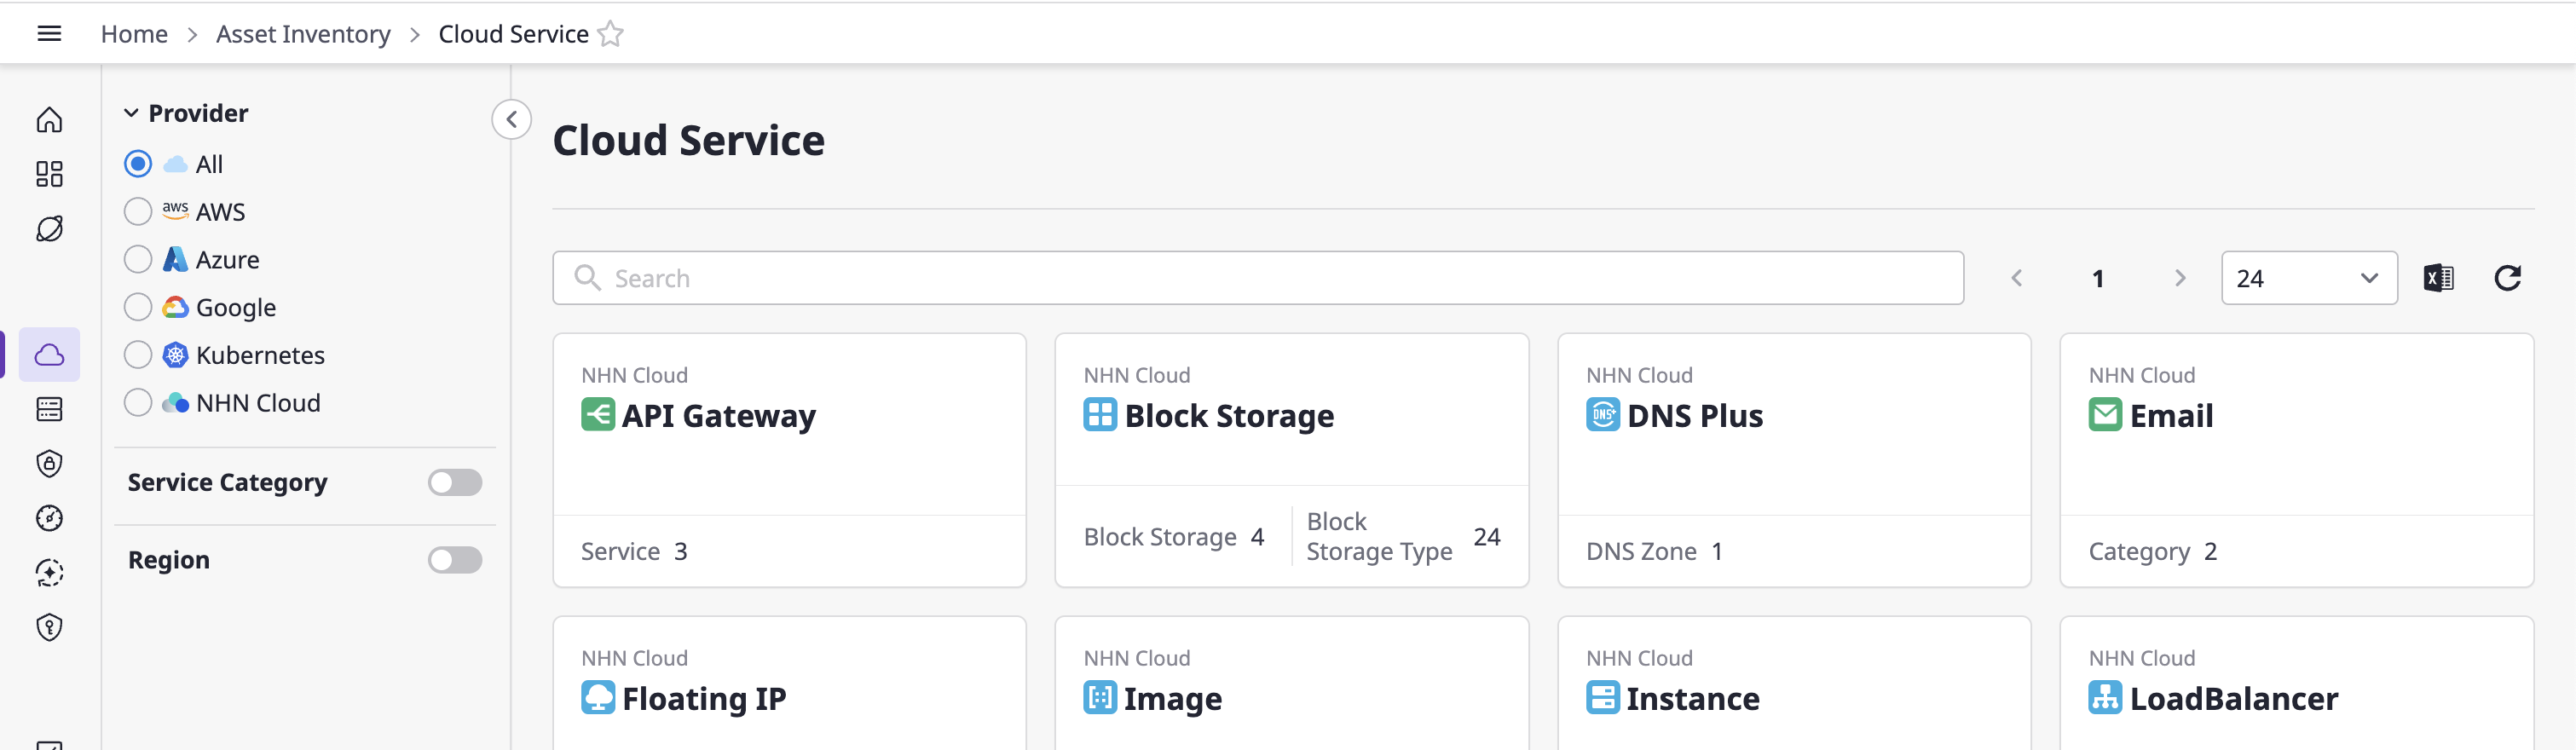
이 상태에서 위에서 등록한 user domain 이메일과 비밀번호를 입력하면 대시보드에 접속이 가능하다.
번외 : port-forwarding을 사용하지 않고 접속
ingress 등의 방법으로 외부에서 접속 가능하도록 구성을 할 경우 helm chart values.yaml 파일을 수정해야한다.
console:
  enable: true
  image:
    name: cloudforet/console
    version: 2.0.dev107
  production_json:
    CONSOLE_API:
      ENDPOINT: URL
    CONSOLE_API_V2:
      ENDPOINT: URL
서비스를 노출시킨 후 위 항목을 values.yaml 파일에서 찾아 ENDPOINT 속성을 노출시킨 경로로 변경한 후 helm upgrade 명령어를 수행하면 설정 가능하다.
관련 자료