EKS - ECR Secret 적용하기
참고 - https://bscnote.tistory.com/105
- 먼저 변수를 지정해야합니다.
ACCOUNT=0402177XXXXX #사용자 Root 계정의 Account ID 입니다
REGION=ap-northeast-2
SECRET_NAME=${REGION}-ecr-registry #kubernetes Secret 이름입니다. 나중에 확인해봅시다!
EMAIL=spwdlask123@gmail.com #임의 이메일입니다
TOKEN=`aws ecr --region=$REGION get-authorization-token --output text --query authorizationData[].authorizationToken | base64 -d | cut -d: -f2`- 지정이 완료되면 Kubernetes Secret를 생성해주도록 하겠습니다.
kubectl create secret docker-registry $SECRET_NAME \
	--docker-server=https://${ACCOUNT}.dkr.ecr.${REGION}.amazonaws.com \
    --docker-username=AWS --docker-password="${TOKEN}" \
--docker-email="${EMAIL}"- 생성 확인을 합니다.

또는 kubectl get secret, kubectl describe secret ap-northeast-2ecr-registry를 사용합니다. Token을 확인하고 싶다면? kubectl get secret ap-northeast-2-ecr-registry --output=yaml을 이용합니다.
- kubectl get secret

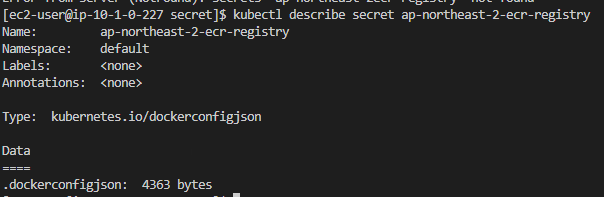
- kubectl describe secret ap-northeast-2-ecr-registry: 실행하면 토큰이 눈에 보이지는 않지만, dockerconfigjson을 통해서 어느정도에 데이터가 있는지 bytes로 표시됩니다.
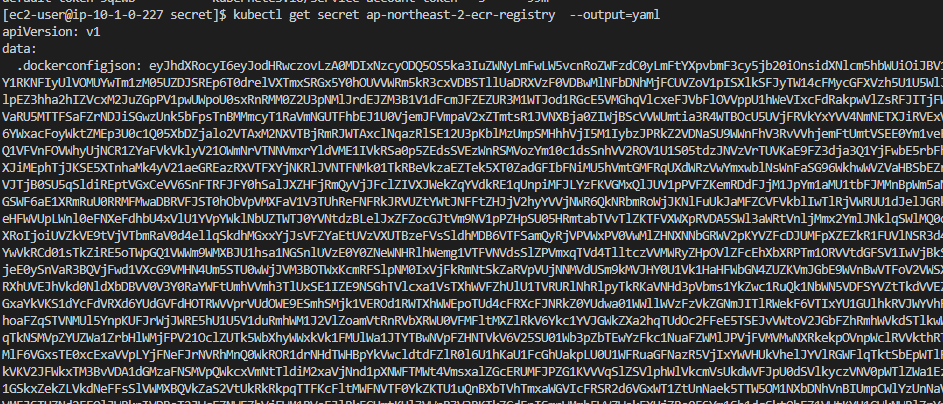
- kubectl get secret ap-northeast-2-ecr-registry --output=yaml
- 토큰 값만 출력 - kubectl get secret ap-northeast-2-ecr-registry --output="jsonpath={.data..dockerconfigjson}" | base64 --decode
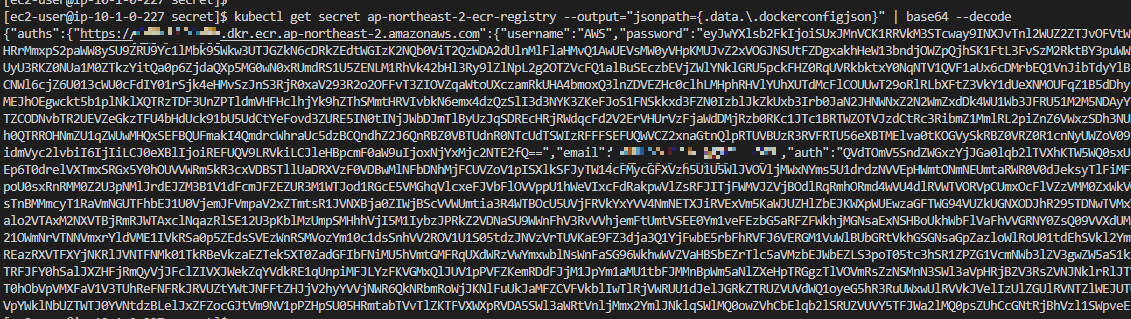
결과는 아래 형태일 겁니다!!
{"auths":{"your.private.registry.example.com":{"username":"janedoe","password":"xxxxxxxxxxx","email":"jdoe@example.com","auth":"c3R...zE2"}}}
- 그럼 이제 이 secret을 사용하기
cat << EOF > deployment.yaml
apiVersion: apps/v1
kind: Deployment
metadata:
  name: front
  labels:
    app: ecr
spec:
  replicas: 2
  selector:
    matchLabels:
      app: ecr
  template:
    metadata:
      labels:
        app: ecr
    spec:
      containers:
      - name: ecr-container
        image: xxxxxxxxxx23.dkr.ecr.ap-northeast-2.amazonaws.com/wsi-ecr-repo:latest
        ports:
        - containerPort: 80
      imagePullSecrets:
      - name: ap-northeast-2-ecr-registry
EOF
kubectl apply -f deployment.yaml- 이제 container에 상태를 확인해보겠습니다.


Devops가 되고 싶은 청소년