참고하고 있던 교과서는 Spring Security5를 적용하고 있었고,
나는 호기롭게 Security6으로 스터디를 진행하였기에 . . . 땀땀;;;
왕왕초보인 나로써는 이해할 수 없는 자잘한 오류가 많이 발생하곤 했다.
🤔 교과서랑 똑같이 했는데 뭐가 문제지?
뭐가 문제긴...
버전이 다르잔아요 샘아~~~
흑흑 혼자서 한~참동안 삽질하던 중...
스프링프레임워크 공홈에 들어가게 되었는데 신세계를 맛보게 되었다
엄청 친절하시네요 스프링 샘들 ... 압도적 감사 ..
버전이 업데이트 되면서 어떤 부분이 바뀌었는지,
어떻게 적용시키면 되는지,
카테고리마다 엄청 세세하게 나와있었다.
문제 해설지를 보는 기분이었다
궁금증이 다 해소되는 시원한 너낌!!
오히려 공식문서 읽어보고 공부하는 게
더 효율적이겠는데?
뼈저리게 느낀 날.
이제 오류를 만나면 구글링만 하지 말고
공식문서도 들쑤셔 봐야겠다
다짐한 날.
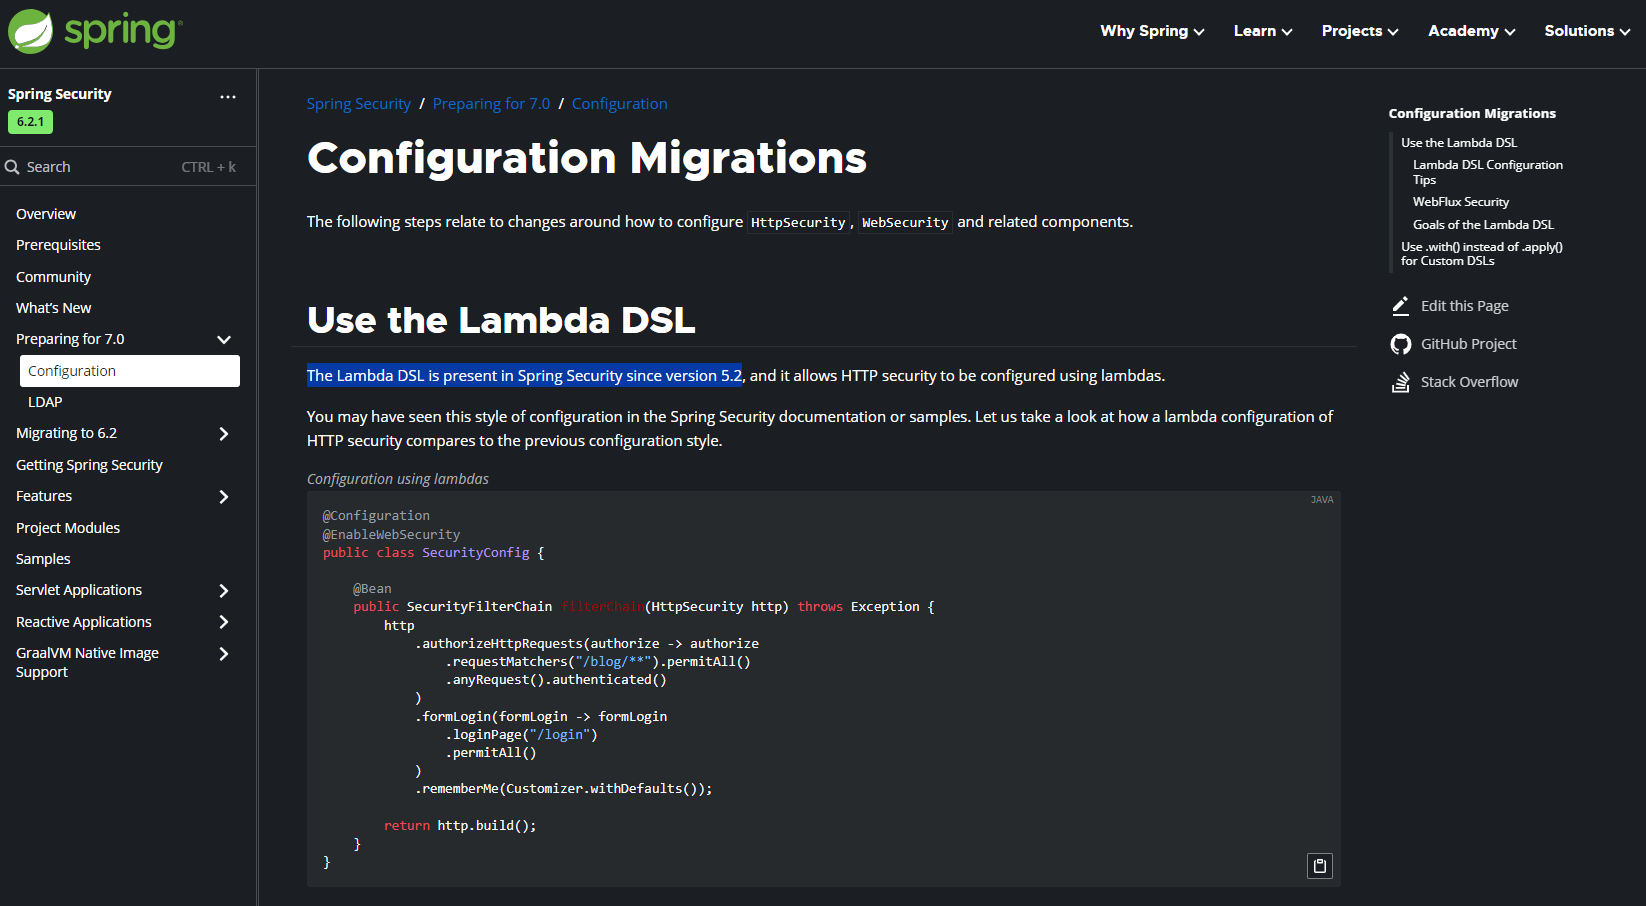
💨 Lamda DSL(Domain-Specific Languages)의 사용
공식문서를 찾도록 도와준, 내가 직면한 첫 번째 문제는
버전 5.2부터는 람다를 사용하여 HTTP의 보안을 구성한다는 것이었다.
// 람다를 사용하지 않은 기존의 구성
@Configuration
@EnableWebSecurity
public class SecurityConfig {

    @Bean
    public SecurityFilterChain filterChain(HttpSecurity http) throws Exception {
        http
            .authorizeHttpRequests()
                .requestMatchers("/blog/**").permitAll()
                .anyRequest().authenticated()
                .and()
            .formLogin()
                .loginPage("/login")
                .permitAll()
                .and()
            .rememberMe();

        return http.build();
    }
}
우리가 흔히 알고 있는 표현은 위와 같다.
스프링 팀에서는 반환유형이 무엇인지 알지 못한 채
어떤 객체가 구성되고 있는지 명확하지 않다는 부분을 지적하면서
람다표현으로 Security를 구성하는 것을 선호한다고 했다.
그럼 개편된 방식을 살펴보자.
//람다를 사용한 구성
@Configuration
@EnableWebSecurity
public class SecurityConfig {

    @Bean
    public SecurityFilterChain filterChain(HttpSecurity http) throws Exception {
        http
            .authorizeHttpRequests(authorize -> authorize
                .requestMatchers("/blog/**").permitAll()
                .anyRequest().authenticated()
            )
            .formLogin(formLogin -> formLogin
                .loginPage("/login")
                .permitAll()
            )
            .rememberMe(Customizer.withDefaults());

        return http.build();
    }
}
바뀐 점이 눈에 띄게 보인다.
역시나 가~장 먼저 보이는 부분은 람다표현식!
.authorizeHttpRequests(authorize -> authorize ...)
.formLogin(formLogin -> formLogin ... )
HttpSecurity 객체를 받아 사용함으로써
보다 구체적으로 보안 규칙을 정의할 수 있어졌다.
혼란도 줄이고, 애매모호하던 부분이 명확해졌다.
Customizer.withDefaults()
.rememberMe(Customizer.withDefaults());또 Customizer.withDefaults()이라는,
Spring Security에서 제공하는 기본 값을 사용하여 보다 편리하게
rememberMe 기능을 활성화 할 수 있어졌다.
.and() 메서드는 이제 안녕
줄줄이 이어오던 방식이 깔끔하게 바뀌었다.
.and()메서드를 사용해서 설정을 연결할 필요가 없어져
편리성과 가독성이 높아졌다.
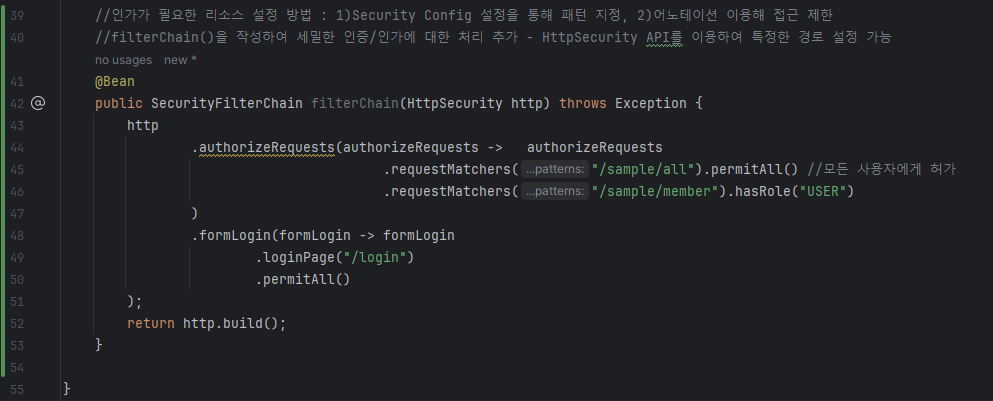
💨 .requestMatchers 반가워
Security 5.8 이상의 버전을 사용하는 경우에는
antMatchers, mvcMatchers, regexMatchers 메소드가 더 이상 사용되지 않는다고 한다,
//기존 방법
@Configuration
@EnableWebSecurity
public class SecurityConfig {

    @Bean
    public SecurityFilterChain securityFilterChain(HttpSecurity http) throws Exception {
        http
            .authorizeHttpRequests((authz) -> authz
                .antMatchers("/api/admin/**").hasRole("ADMIN")
                .antMatchers("/api/user/**").hasRole("USER")
                .anyRequest().authenticated()
            );
        return http.build();
    }

}
그 대신 CSRF구성 및 특수한 메소드가 있는 기타 모든 위치에
새로운 requestMatchers메소드가 추가되었다.
아래처럼 변경해줘야 한다.
//`.requestMatchers` 의 등장
@Configuration
@EnableWebSecurity
public class SecurityConfig {

    @Bean
    public SecurityFilterChain securityFilterChain(HttpSecurity http) throws Exception {
        http
            .authorizeHttpRequests((authz) -> authz
                .requestMatchers("/api/admin/**").hasRole("ADMIN")
                .requestMatchers("/api/user/**").hasRole("USER")
                .anyRequest().authenticated()
            );
        return http.build();
    }

}
💨사용자 정의 로그인 양식과 기본제공
 이제 오류는 없다고 생각했는데..
뉴진스가 부릅니다.. 오마오마갓 오마오마갓..
 례? ??
례? ??
제게? ?/ 왜 ??? 그러시는 거죠? 흑흑
여기까지 왔는데(???) 그만 둘 수 없지,
공식문서를 요리보고 조리보다가 힌트를 얻었다...!
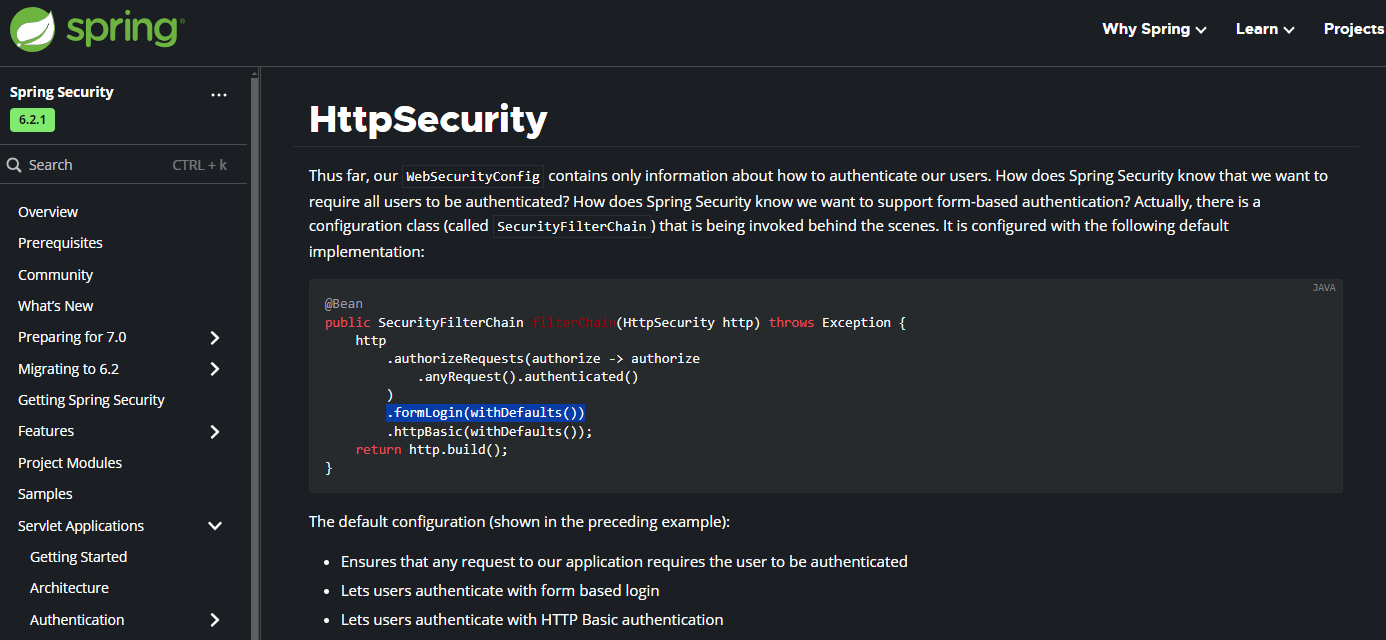
.formLogin(withDefaults()); 어디서 많이 본 친군데..?
위에서 rememberMe구현할 때 사용했다고 했던 거 같아서
열심히 찾아봤다 ㅋㅎㅋㅎㅎ
알아보니 Spring Security에서 기본적으로 제공해주는 로그인 양식을 활용하는 방법과
개발자가 직접 로그인페이지를 생성했을 때 렌더링하는 방법의 차이가 약간 있었다.
// Security 제공 기본 로그인 양식
public SecurityFilterChain filterChain(HttpSecurity http) {
	http
		.formLogin(withDefaults());
	// ...
}
나처럼 기본 로그인 양식을 활용하는 상황이라면
.formLogin(withDefaults());로 보다 간편하게 렌더링해줄 수 있었고ㅡ
만약 직접 만든 로그인페이지를 사용하고 싶다면
아래처럼 path로 렌더링 해줘야 했던 거였다.
// 사용자 정의 로그인 양식
public SecurityFilterChain filterChain(HttpSecurity http) {
	http
		.formLogin(form -> form
			.loginPage("/login")
			.permitAll()
		);
	// ...
}
대부분의 개발자들은 사용자 정의 양식을 사용하게 될 것이다.
바로 적용해부자~~
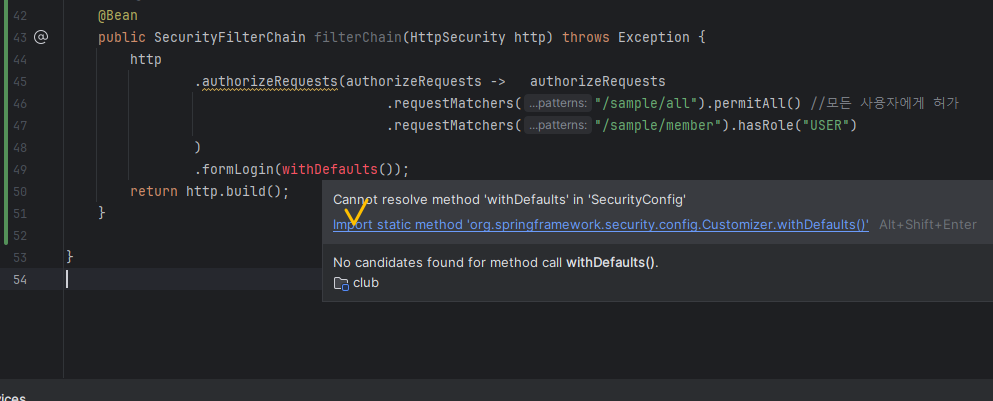 빨간글씨 당황하지 말고? 침착하게? import해주어요~
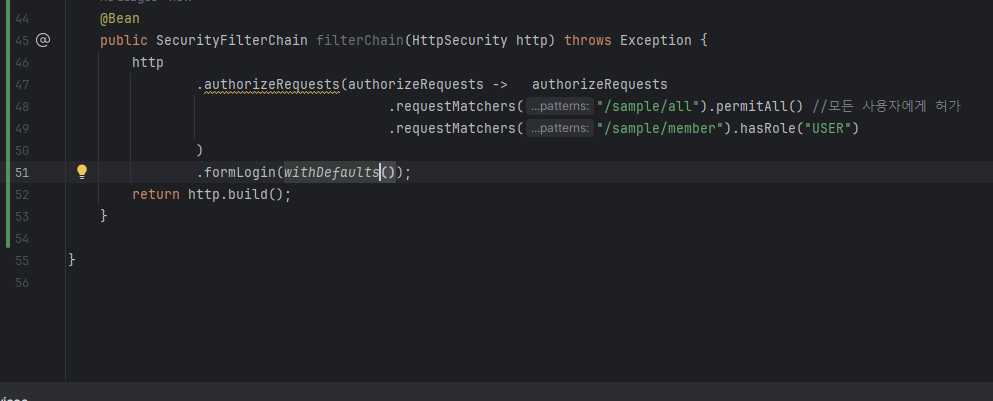 그러면 짜잔 해결되고
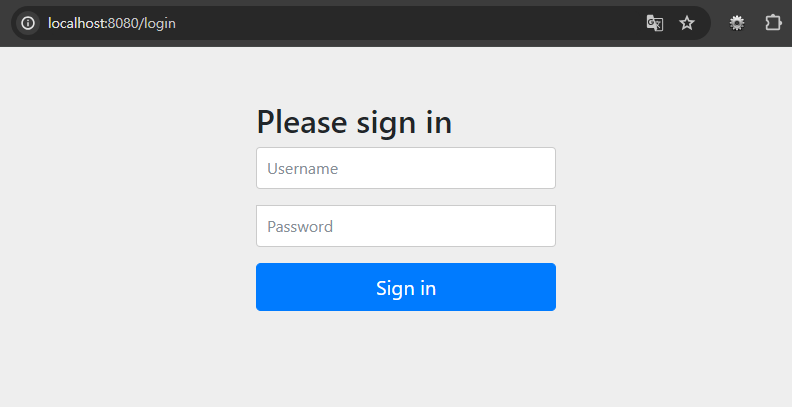 에러페이지 떴던 것도 정상적으로 잘 작동됐다!!
잘 모르겠으면 공식문서 열심히 뜯어보자!!!!