0. 임의로 켈린더 만들기
https://support.google.com/calendar/answer/41207?hl=en
-
컴퓨터에서 구글 캘린더를 엽니다. (모바일 앱에서는 안 됨)
-
오른쪽 위 ⚙️ 설정 클릭 → 설정 페이지 진입
-
왼쪽 메뉴에서 임베드할 캘린더 선택
-
"통합 캘린더(Integrate calendar)" 항목에서 iframe 코드 확인 가능
-
필요하다면 "Customize" 버튼 클릭해서 보기 모드, 크기 등 설정 변경 가능
-
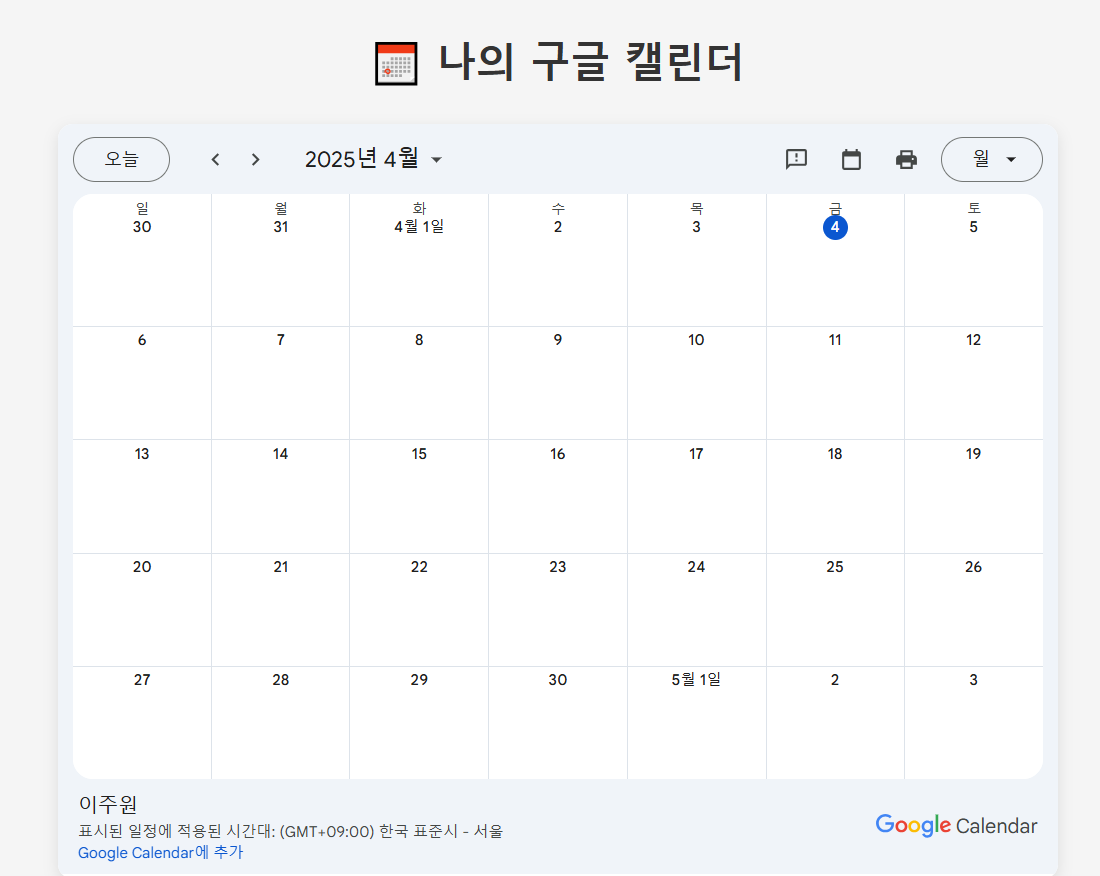
원하는 HTML 코드 복사해서 웹사이트에 붙이면 끝!
  <!DOCTYPE html>
  <html lang="ko">
  <head>
    <meta charset="UTF-8">
    <title>나의 구글 캘린더</title>
    <style>
      body {
        font-family: 'Noto Sans KR', sans-serif;
        background-color: #f5f5f5;
        margin: 0;
        padding: 40px;
        display: flex;
        flex-direction: column;
        align-items: center;
      }
      h1 {
        color: #333;
        margin-bottom: 30px;
      }
      .calendar-container {
        box-shadow: 0 4px 12px rgba(0, 0, 0, 0.1);
        border-radius: 12px;
        overflow: hidden;
        background: #fff;
      }
      iframe {
        border: 0;
        width: 800px;
        height: 600px;
      }
    </style>
  </head>
  <body>
    <h1>📅 나의 구글 캘린더</h1>
    <div class="calendar-container">
      <iframe src="https://calendar.google.com/calendar/embed?src=jwontiger%40gmail.com&ctz=Asia%2FSeoul"
              frameborder="0"
              scrolling="no">
      </iframe>
    </div>
  </body>
  </html>
1. 구글 캘린더 api 가져오기
https://idealist.tistory.com/92
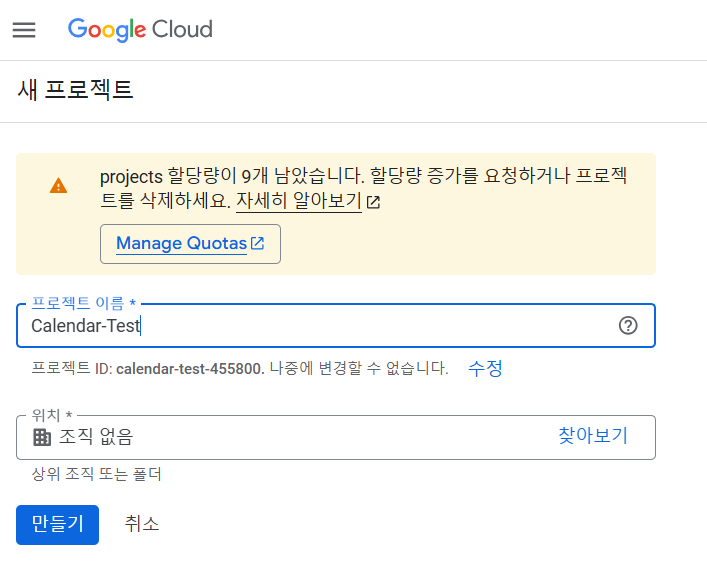
a. 켈린더 api 사용을위한 프로젝트 생성
b. google cloud의 api 라이브러리에서 Calendar를 찾기

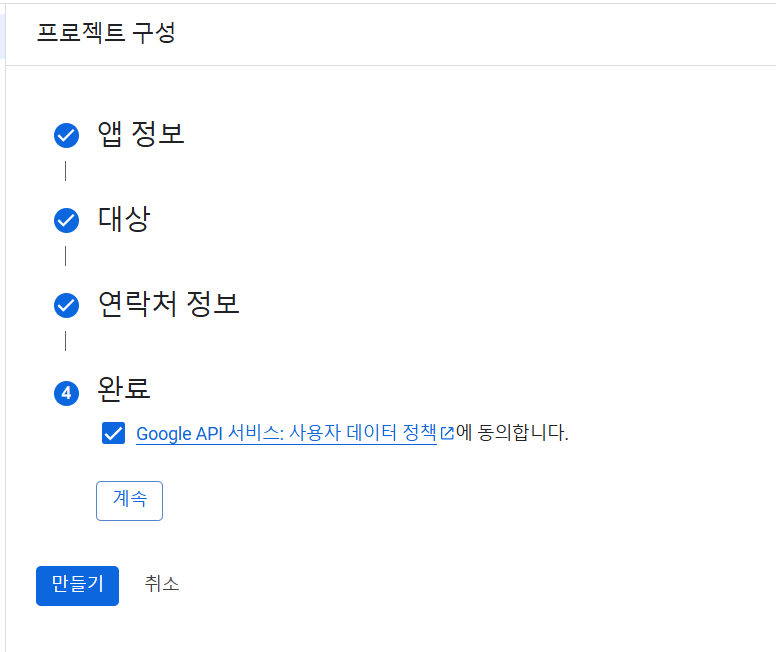
c. OAuth 를 사용하기위해서는 프로젝트 구성을해야합니다.
d. OAuth ID를 발급받은 상태

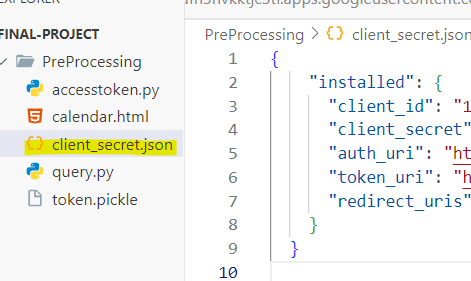
e. 받은 정보를 사용하는 .json 파일생성
f. 토큰 발급 받았음
[사전준비] GCP 콘솔로그인
[1단계] GCP 콘솔에서 redirect URI 등록하기
[2단계] 대상 또는 테스트 사용자 “테스트 사용자 추가” 클릭
jwontiger@gmail.com(본인이메일) 입력
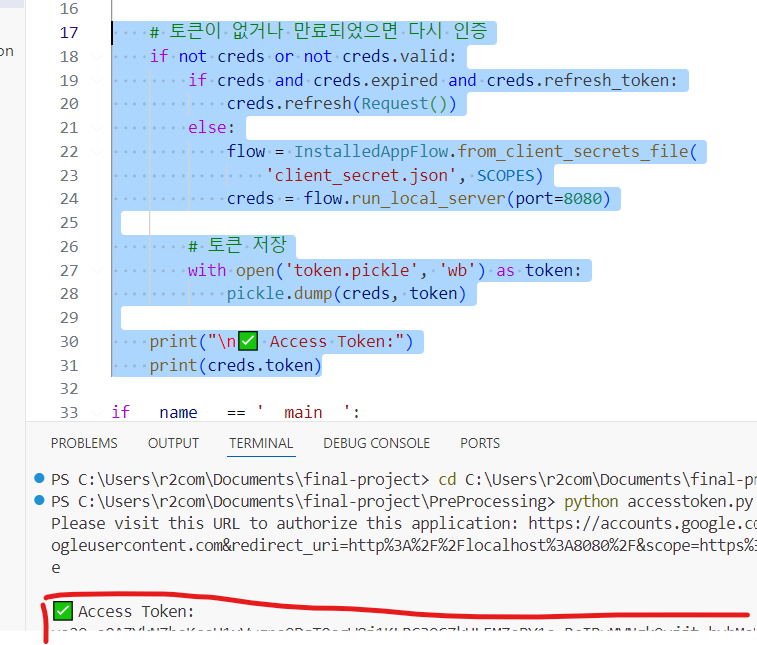
2. 구현
주석을 참고해주세요
  from googleapiclient.discovery import build # Google API 클라이언트 생성 도구
  from google_auth_oauthlib.flow import InstalledAppFlow # OAuth 인증 흐름을 다루는 도구
  from google.auth.transport.requests import Request # 토큰 갱신 시 필요한 요청 객체
  import datetime #날짜 다룰 때 사용
  # 파일 저장 및 불러오기용 (토큰 저장)
  import os
  import pickle
  # 인증 범위 지정
  SCOPES = ['https://www.googleapis.com/auth/calendar']
  # 사용자 인증 + access_token 관리
  def get_credentials():
      creds = None
      # token.pickle 파일이 있는경우 access_token 재사용
      if os.path.exists('token.pickle'):
          with open('token.pickle','rb') as token :
              creds = pickle.load(token)
      # token.pickle 파일이 만료되었을 경우
      if not creds or not creds.valid:
          # 자동갱신
          if creds and creds.expired and creds.refresh_token:
              creds.refresh(Request())
          # 토큰이 없는경우 OAuth 로그인 + 동의 화면 실행
          else:
              # OAuth 인증 플로우 객체를 생성하는 코드
              flow = InstalledAppFlow.from_client_secrets_file(
                  'client_secret.json', SCOPES )
              creds = flow.run_local_server(port=8080)
              # 인증된 토큰은 다시 token.pickle로 저장
              with open('token.pickle', 'wb') as token:
                  pickle.dump(creds, token)
          return creds
  # 4. 실제 이벤트 등록 함수
  # 위에서 얻은 인증 정보로 API를 사용할 수 있는 service 객체 생성
  def add_event():
      # 유요한 access_token을 갱신
      creds = get_credentials()
      # Google Calendar API를 사용할 수 있도록 API 클라이언트를 생성함
      service = build('calendar','v3',credentials=creds)
      # 등록할 일정 내용 구성
      event = {
          'summary': 'GPT와의 미팅 ✨', # 일정 제목
          'location': '온라인 회의', # 위치
          'description': 'ChatGPT와 함께 하는 Google Calendar API 실습!', # 설명
          # 시작/종료 시간
          'start': {
              'dateTime': '2025-04-03T14:00:00+09:00',
              'timeZone': 'Asia/Seoul',
          },
          'end': {
              'dateTime': '2025-04-03T15:00:00+09:00',
              'timeZone': 'Asia/Seoul',
          },
          # 알림 설정
          # popup : 일정 10분 전에 팝업 알림
              'reminders': {
              'useDefault': False,
              'overrides': [
                  {'method': 'popup', 'minutes': 10},
              ],
          },
      }
      # 일정 등록 요청
      event_result = service.events().insert(calendarId='primary', body=event).execute()
      print(f"\n✅ 일정이 추가되었습니다: {event_result.get('htmlLink')}")
  # 실행 진입전
  if __name__ == '__main__':
      add_event()
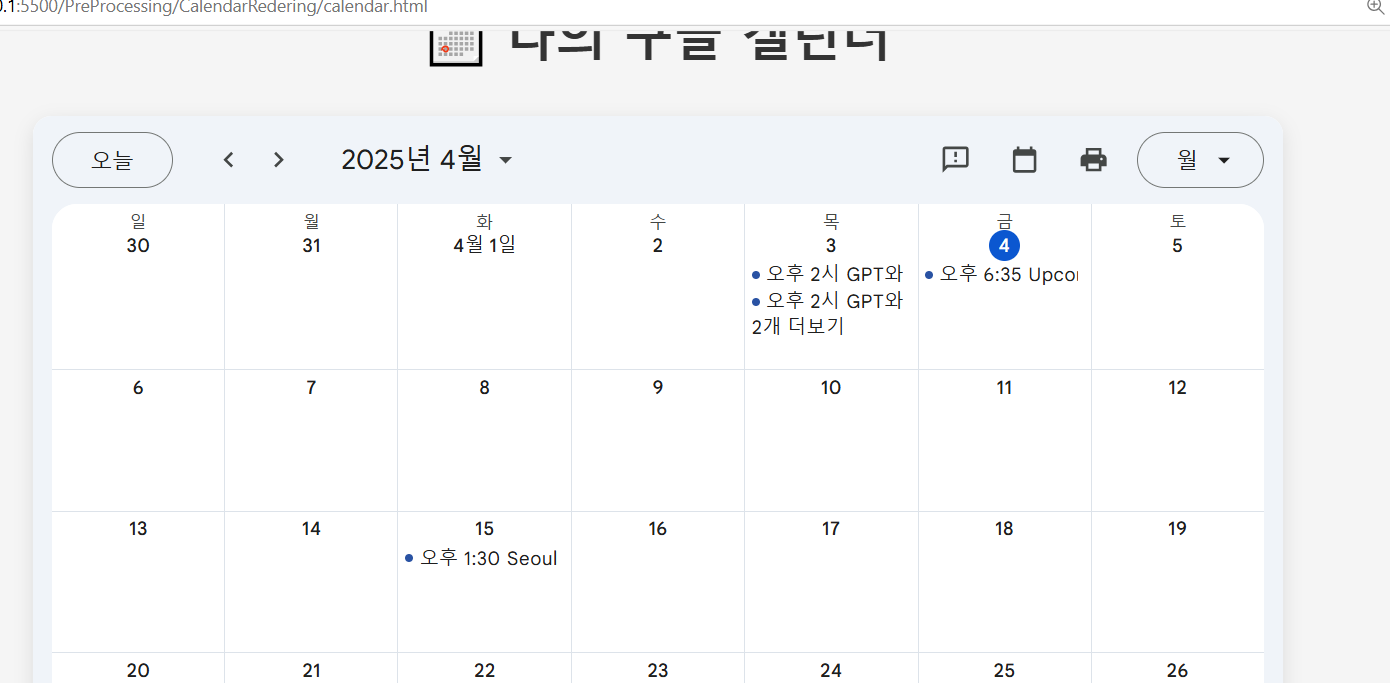
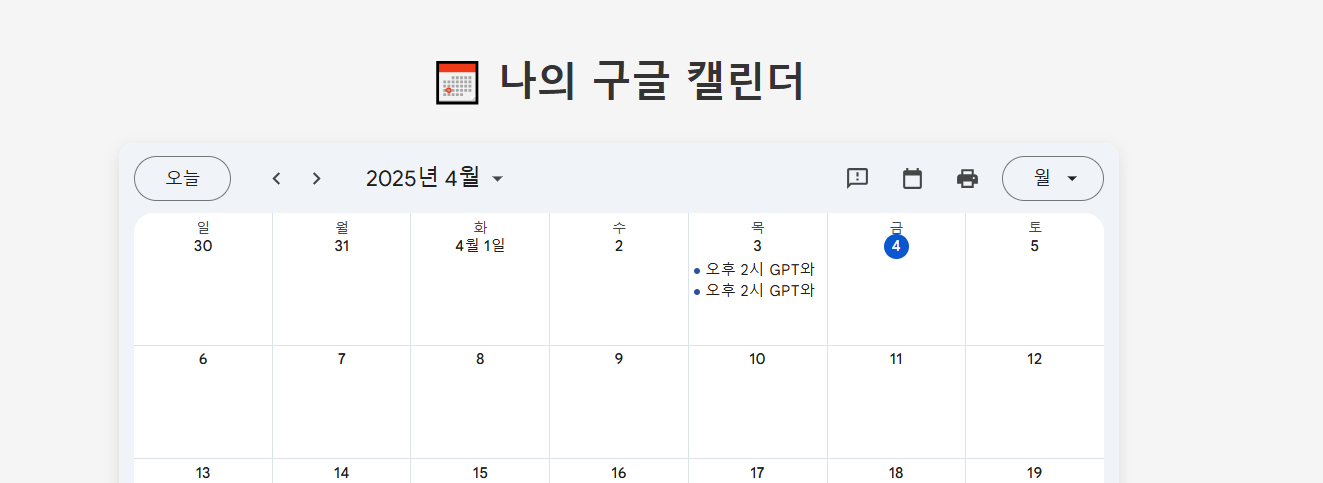
3. 테스트
일정추가 완료
LLM을 이용하여 구글 캘린더에 자동으로 등록하기
0. 코드분석
  import requests
  # 1. 사용할 모델 이름
  model_name = "exaone3.5:2.4b"
  # 2. 보낼 프롬프트
  prompt = "안녕 대한민국 애국가에대해 알려줄래??"
  # 3. API 요청
  response = requests.post(
      "http://localhost:11434/api/generate",
      json={
          "model": model_name,
          "prompt": prompt,
          "stream": False  # 전체 응답을 한 번에 받기 위해 stream=False
      }
  )
  # 4. 응답 출력
  result = response.json()
  print("응답:", result["response"])
어재 만들었던 LLM 사용
1. LLM을 이용하여 캘린더에 접목하도록 변경
전체코드
from googleapiclient.discovery import build # Google API 클라이언트 생성 도구 from google_auth_oauthlib.flow import InstalledAppFlow # OAuth 인증 흐름을 다루는 도구 from google.auth.transport.requests import Request # 토큰 갱신 시 필요한 요청 객체 from datetime import datetime #날짜 다룰 때 사용 # 파일 저장 및 불러오기용 (토큰 저장) import os import pickle import requests import json import re # 사용할 모델 이름 model_name = "exaone3.5:2.4b" # JSON 블록 추출 함수 def extract_json(text): # ```json 블록 내부만 추출 pattern = r"```json\s*([\s\S]*?)\s*```" match = re.search(pattern, text) if not match: print("❌ JSON 블록을 찾지 못했습니다.") return None json_str = match.group(1) try: data = json.loads(json_str) return data except json.JSONDecodeError as e: print("❌ JSON 파싱 실패:", e) return None # 현재 날짜와 시간 now = datetime.now() def MakeSchedule(): # 사용자로부터 자연어 일정 입력 받기 prompt = input("🗓️ 일정을 입력하세요: ") # AI에게 일정 폼으로 변환 요청 response = requests.post( "http://localhost:11434/api/generate", json={ "model": "exaone3.5:2.4b", # 사용 중인 모델 이름 (예: ollama 로컬 서버) "prompt": ( f"0. Always remember the date : {now} \n" f"1. Please analyze the next schedule : {prompt} \n" "2. Please write as in the example:\n" "{\n" " \"summary\": \"event_data['summary']\",\n" " \"location\": \"event_data['location']\",\n" " \"description\": \"event_data['description']\",\n" " \"start\": {\n" " \"dateTime\": \"event_data['start'] + '+09:00'\",\n" " \"timeZone\": \"Asia/Seoul\"\n" " },\n" " \"end\": {\n" " \"dateTime\": \"event_data['end'] + '+09:00'\",\n" " \"timeZone\": \"Asia/Seoul\"\n" " },\n" " \"reminders\": {\n" " \"useDefault\": false,\n" " \"overrides\": [\n" " {\"method\": \"popup\", \"minutes\": 10}\n" " ]\n" " }\n" "}\n" "3. If there is no data, write it randomly.\n" "4. Please enter the date and time exactly in the format '2023-10-28T13:00:00+09:00'. Do not use values such as 'XX:XX'. \n" "default : Return in JSON format" ) , "stream": False } ) # 응답 파싱 result = response.json() # AI 응답 문자열에서 유효한 JSON만 추출해 dict로 반환 event_data = extract_json(result["response"]) if event_data is None: print("❌ 응답을 JSON으로 해석할 수 없습니다.") return None # Google Calendar API에 맞는 폼으로 변환 event = { "summary": event_data["summary"], "location": event_data["location"], "description": event_data["description"], "start": { "dateTime": event_data["start"]["dateTime"], "timeZone": event_data["start"]["timeZone"] }, "end": { "dateTime": event_data["end"]["dateTime"], "timeZone": event_data["end"]["timeZone"] }, "reminders": { "useDefault": event_data.get("reminders", {}).get("useDefault", False), "overrides": event_data.get("reminders", {}).get("overrides", []) } } # 디버깅용 출력 print("\n📋 생성된 일정:") print(json.dumps(event, indent=4, ensure_ascii=False)) return event # 인증 범위 지정 SCOPES = ['https://www.googleapis.com/auth/calendar'] # 사용자 인증 + access_token 관리 def get_credentials(): creds = None if os.path.exists('token.pickle'): with open('token.pickle','rb') as token : creds = pickle.load(token) if not creds or not creds.valid: if creds and creds.expired and creds.refresh_token: creds.refresh(Request()) else: flow = InstalledAppFlow.from_client_secrets_file( 'client_secret.json', SCOPES ) creds = flow.run_local_server(port=8080) # 새 토큰 저장 with open('token.pickle', 'wb') as token: pickle.dump(creds, token) return creds # ✅ 함수 끝에서 항상 반환 # 실제 이벤트 등록 함수 # 위에서 얻은 인증 정보로 API를 사용할 수 있는 service 객체 생성 def add_event( make_event ): # 유요한 access_token을 갱신 creds = get_credentials() # Google Calendar API를 사용할 수 있도록 API 클라이언트를 생성함 service = build('calendar','v3',credentials=creds) # 등록할 일정 내용 구성 event = make_event # 일정 등록 요청 event_result = service.events().insert(calendarId='primary', body=event).execute() print(f"\n✅ 일정이 추가되었습니다: {event_result.get('htmlLink')}") # 실행 진입전 if __name__ == '__main__': # 이벤트 생성 make_event = MakeSchedule() print("make_event!!!!!!!!!!!!!!!!!!!!!!!!!!!!!!!!!!!1",make_event) add_event( make_event )
프롬프팅해서 자동으로 캘린더에저장

모델 성능이안좋아서 날짜를 잘 이해하지 못하네요
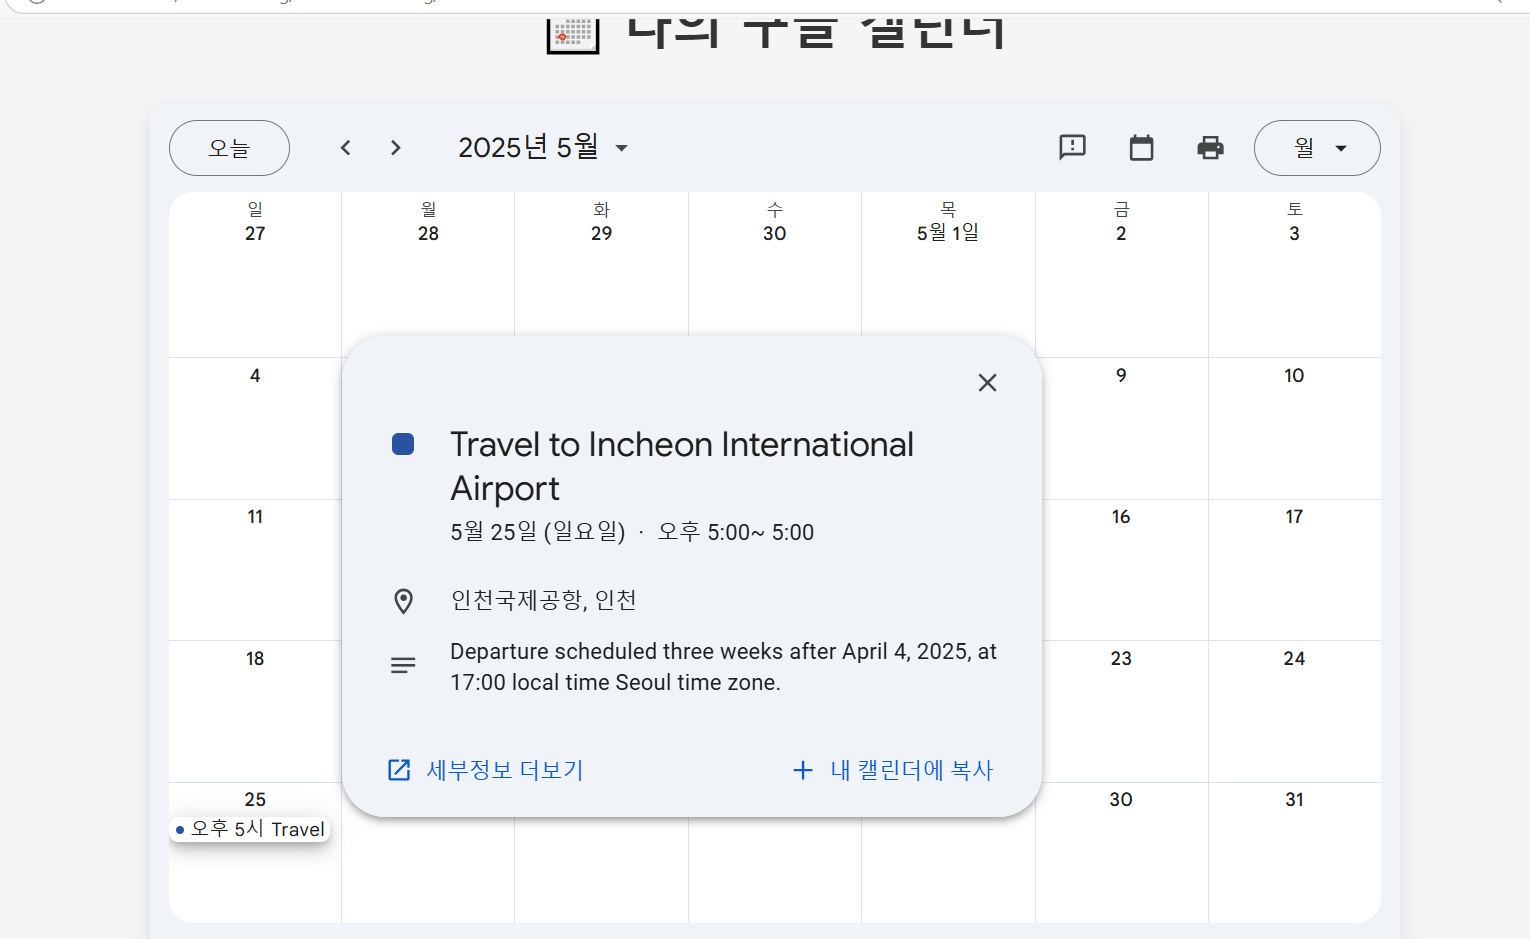

뭐가될지 모름