jQuery-3일차
학습한 내용
Form 태그 선택자
input 속성
• :text : type 속성이 text인 input 태그를 선택
• :password : type 속성이 password인 input 태그를 선택
• :radio : type 속성이 radio인 input 태그를 선택
• :checkbox : type 속성이 submit인 input 태그를 선택
• :submit : type 속성이 submit인 input 태그를 선택
• :reset : type 속성이 rese 인 input 태그를 선택
• :button : type 속성이 button인 input 태그를 선택
• :image : type 속성이 image인 input 태그를 선택
• :file : type 속성이 file인 input 태그를 선택
실습1.
<script>
	$(function(){
		//$(":input").css("background-color", "yellow");
		$(":text").css("background-color", "yellow");
		$(":password").css("background-color", "red");
	})
</script>
</head>
<body>
	<input type="text"/><br>
	<input type="password"/><br>
</body>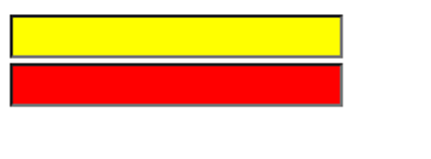
• :enabled : 활성 상태인 input 태그가 선택
• :disabled : 비 활성 상태인 input 태그가 선택
• :selected : select 태그 내의 option 태그 중 현재 선택되어 있는 태그
를 선택
• :checked : checked나 radio에서 현재 check 되어 있는 태그를 선택
<script>
	$(function(){
		$(":enabled").css("background-color", "yellow");
		$(":disabled").css("background-color", "red");
	})
</script>
</head>
<body>
	<input type="text"/>활성 상태<br>
	<input type="password"/>활성 상태<br>
	<input type="text", disabled="disabled"/>비 활성 상태<br>
	<input type="password", disabled="disabled"/>비 활성 상태<br>
</body>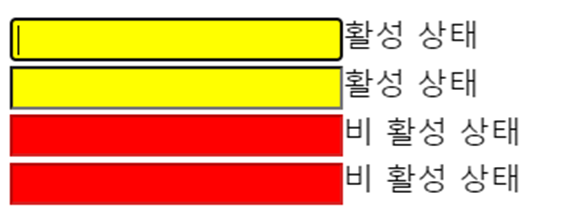
- disabled을 통해 비 활성 상태도 스타일 적용 가능
jQuery 이벤트 함수
- jQuery는 여러 이벤트에 대해 이벤트 처리를 할 수 있는 함수를 제공
- 제공되는 jQuery 이벤트 함수를 참고 할 수 있는 곳
- https://www.w3schools.com/jquery/jquery_ref_events.asp
마우스 관련 이벤트
- click : 클릭
- Dblclick : 더블 클릭
- Mouseenter : 마우스 커서가 들어왔을 때
- Mouseleave : 마우스 커서가 나갔을 때
- Mousedown : 마우스 키를 눌렀을 때
- Mouseup : 마우스 키를 떼었을 때
- Hover : 마우스 커서가 들어왔을 때와 나갔을 때
- Hover는 enter와 leave를 합쳐논 기능 따라서 두 가지 함수가 들어가야 해서 구조가 다르다.
다른 jQuery 이벤트
-
focus : 포커스가 주어졌을 때
-
Blur : 포커스를 잃었을 때
-
on : 이벤트를 설정하는 함수
-
off : 설정된 이벤트를 제거하는 함수
-
one : 이벤트를 설정하고 이벤트가 발생했을 때 자동으로 제거
-
one은 이벤트 하나만, on은 이벤트를 여러개 만들 수 있는데 off를 통해 멈출 수 있음
실습2.
<script>
$(function(){
$("#a1").click(function(){
$("#a1").css("background-color", "black");
$("#a1").css("color", "white");
});
$("#a2").dblclick(function(){
$("#a2").css("background-color", "black");
$("#a2").css("color", "white");
});
$("#a3").mouseenter(function(){
$("#a3").css("background-color", "black");
$("#a3").css("color", "white");
});
$("#a3").mouseleave(function(){
$("#a3").css("background-color", "white");
$("#a3").css("color", "black");
});
$("#a4").mousedown(function(){
$("#a4").css("background-color", "black");
$("#a4").css("color", "white");
});
$("#a4").mouseup(function(){
$("#a4").css("background-color", "white");
$("#a4").css("color", "black");
});
$("#a5").hover(function(){
$("#a5").css("background-color", "black");
$("#a5").css("color", "white");
},function(){
$("#a5").css("background-color", "white");
$("#a5").css("color", "black");
});
$("#a6").focus(function(){
$("#a6").css("background-color", "blue");
});
$("#a6").blur(function(){
$("#a6").css("background-color", "red");
});
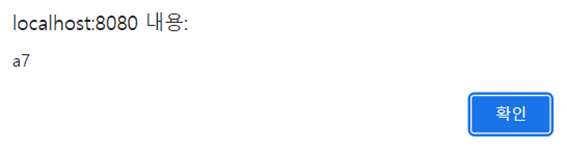
$("#a7").on("click", function(){
alert('a7');
});
$("#a8").one("click", function(){
alert('a8');
});
$("#a9").on({
click : function(){
alert('click');
},
mouseenter : function(){
$("#a9").css("background-color", "black");
},
mouseleave : function(){
$("#a9").css("background-color", "white");
}
});
function remove_event(){
$("#a7").off("click");
}
});
</script>
</head>
<body>
<h3 id="a1">click</h3>
<h3 id="a2">double click</h3>
<h3 id="a3">mouse enter/leave</h3>
<h3 id="a4">mouse down/up</h3>
<h3 id="a5">mouse hover</h3>
<input id="a6" type="text"/>
<h3 id="a7">on</h3>
<button type="button" onclick="remove_event()">이벤트 제거</button>
<br>
<h3 id="a8">one</h3>
<h3 id="a9">event setting</h3>
</body>click 이벤트
- 클릭하면 색 변경

double click 이벤트 (dblclick)
- 더블 클릭하면 색 변경

마우스 enter, leave 이벤트
- 커서가 들어오면 검은색, 커서가 나가면 하얀색

마우스 down, up이벤트
- 해당 태그를 누르면 down 검은색으로 변경, 떼면 up 하얀색으로 변경

마우스 hover 이벤트
- enter, leave이벤트와 같음

focus, Blur 이벤트
- 포커스 주어질 때와 잃었을 때 색 변경

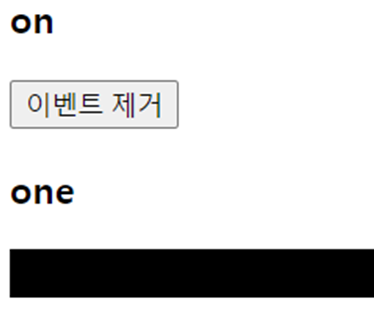
on, off, one이벤트
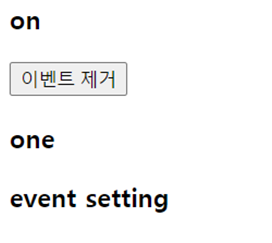
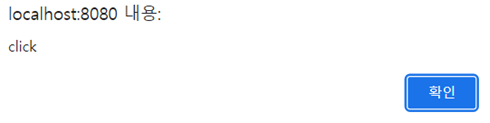
on 클릭하면
one 클릭하면

event setting 클릭하면
마우스 enter, leave기능을 넣어주면
DOM
- Document Object Model
- text : 태그 사이의 문자열을 제어
실습. text
<script>
	function getA1(){
		var str = $("#a1").text();
		alert(str);
	}

	function getA2(){
		var str = $("#a2").text();
		alert(str);
	}

	function setA3(){
		$("#a3").text("문자열 설정");
	}

	function setHtml(){
		$("#a3").text("<a href='http://apple.co.kr'>apple</a>");
	}
</script>
</head>
<body>
	<div id="a1">a1 문자열</div>
	<button onclick="getA1()">a1 문자열 가져오기</button>

	<div id="a2">
		<a href="http://www.google.co.kr">google</a>
	</div>
	<button onclick="getA2()">a2 문자열 가져오기</button>

	<div id="a3"></div>
	<button onclick="setA3()">a3 문자열 가져오기</button>
	<button onclick="setHtml()">a3 html 설정하기</button>
</body>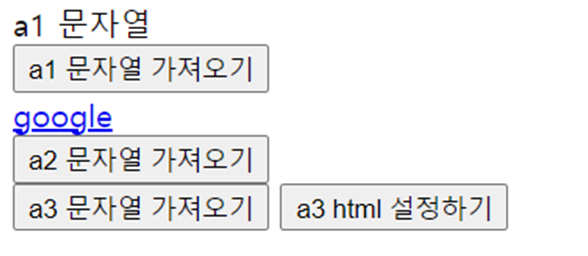
a1 문자열 가져오기 버튼을 누르면 알림창 출력

a2 문자열 가져오기 버튼을 누르면 알림창 출력
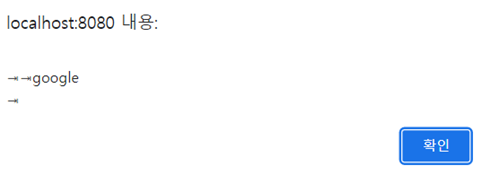
- 공백이 있어 문자 오류
a3 문자열과 html버튼 클릭 시
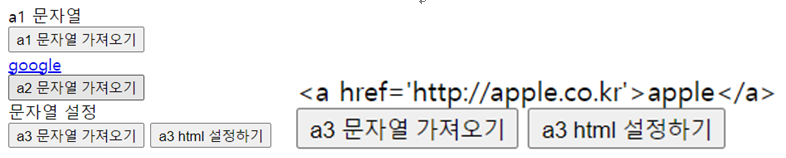
- text는 문자로 취급해서 기능을 이용하지 못 함, 그 기능을 이용하려면 html 사용
• html : 태그 내부의 html을 제어
• val : 입력 도구들의 value 속성값을 제어
실습
<script>
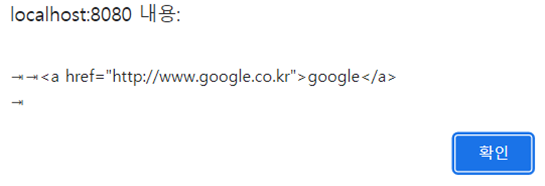
function getHtml(){
var html = $("#a1").html();
alert(html);
}
function setHtml(){
$("#a1").html("<a href='http://apple.co.kr'>apple</a>");
}
function getA1(){
var value = $("#a2").val();
alert(value);
}
function setA1(){
$("#a2").val("1234");
}
</script>
</head>
<body>
<div id="a1">
<a href="http://www.google.co.kr">google</a>
</div>
<button onclick="getHtml()">html 가져오기</button>
<button onclick="setHtml()">html 셋팅하기</button>
<br>
<input type="text" id="a2"/>
<br>
<button onclick="getA1()">value값 가져오기</button>
<button onclick="setA1()">value값 설정하기</button>
</body>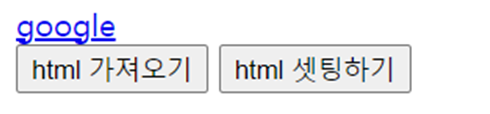
html 가져오기를 누르면 알림창 출력
text와 다르게 html을 사용하면 안에 기능을 사용할 수 있음
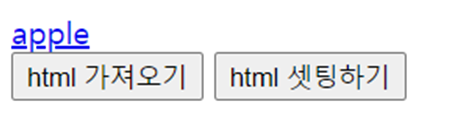
- $("#a1").html("apple")의 apple이 적용됨
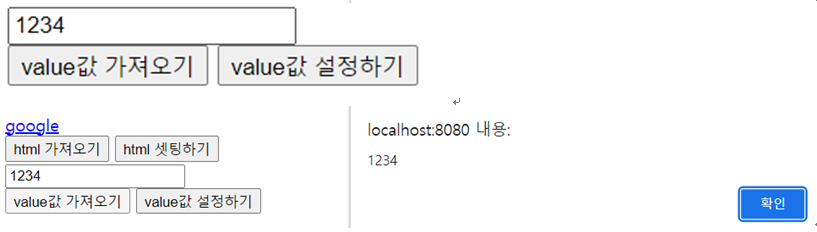
val 이벤트
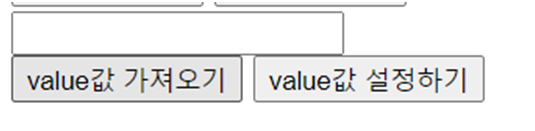
입력 후 가져오기를 누르면 알림창 출력

코드로 설정해둔 값을 설정하기 버튼으로 설정 후 가져오기 눌러도 알림창이 출력된다.
attr 속성제어
<script>
	function getAttr(){
		var src = $("#a1").attr("src");
		var width = $("#a1").attr("width");
		var height = $("#a1").attr("height");
		var id = $("#a1").attr("id");

		// 가지고 온 값 나타내기
		$("#result").html("src : "+ src + "<br>"
				+ "width : " + width + "<br>"
				+ "height : " + height + "<br>"
				+ "id : " + id + "<br>");
	}
	function setAttr(){
		$("#a1").attr("width", 544);
		$("#a1").attr("height", 184);
	}
</script>
</head>
<body>
	<img src="image/google.png" width="272" height="92" id="a1"/>
	<br/>
	<div id="result"></div>
	<button onclick="getAttr()">속성 읽어오기</button>
	<button onclick="setAttr()">속성 설정하기</button>
</body>
- 속성을 읽어오고, 설정한 속성으로 바꾸는 이벤트
• append : html 코드나 태그를 태그 내부의 뒤에 추가
• prepend : html 코드나 태그를 태그 내부의 앞에 추가
<script>
	function append1(){
		$("#a1").append("<p>새롭게 추가한 p1</p>");
	}

	function append2(){
		var p = $("<p>"); // 태그를 p 변수에 넣음 -> 객체
		p.text("새롭게 추가한 p2");

		$("#a1").append(p);
	}

	function prepend1(){
		$("#a1").prepend("<p>새롭게 추가한 p3</p>");
	}

	function prepend2(){
		var p = $("<p>"); // 태그를 p 변수에 넣음 -> 객체
		p.text("새롭게 추가한 p4");

		$("#a1").prepend(p);
	}
</script>
<style>
	#a1{
		border : 1px solid black;
	}
</style>
</head>
<body>
	<div id="a1">
		<p>p 태그</p>
	</div>
	<button onclick="append1()">HTML 코드를 뒤에 추가</button>
	<button onclick="append2()">HTML 객체를 뒤에 추가</button>
	<button onclick="prepend1()">HTML 코드를 앞에 추가</button>
	<button onclick="prepend2()">HTML 객체를 앞에 추가</button>
</body>
추가 버튼을 눌러보면
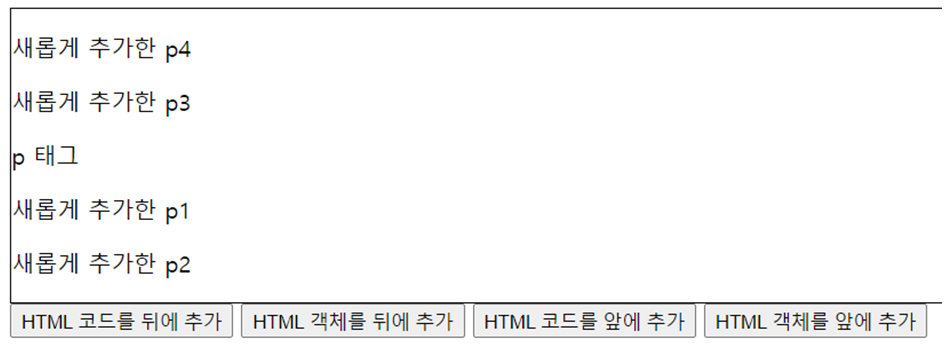
- 눈에 보이는 건 똑같으나 바로 추가하냐 객체로 추가하가 차이
• after : html 코드나 태그를 태그 다음에 배치
• before : html 코드나 태그를 태그 앞에 배치
<script>
	function after1(){
		$("#a1").after("<p>새롭게 추가한 p태그 1</p>")
	}
	function after2(){
		var p = $("<p>")
		p.text("새롭게 추가한 p태그 2");
		$("#a1").after(p);
	}

	function before1(){
		$("#a1").before("<p>새롭게 추가한 p태그 3</p>")
	}
	function before2(){
		var p = $("<p>")
		p.text("새롭게 추가한 p태그 4");
		$("#a1").before(p);
	}
</script>
<style>
	#a1{
		border : 1px solid black;
	}
</style>
</head>
<body>
	<div id="a1">
		<p>p 태그</p>
	</div>
	<button onclick="after1()">HTML 코드를 뒤에 추가</button>
	<button onclick="after2()">HTML 객체를 뒤에 추가</button>
	<button onclick="before1()">HTML 코드를 앞에 추가</button>
	<button onclick="before2()">HTML 객체를 앞에 추가</button>
</body>
버튼을 눌러보면
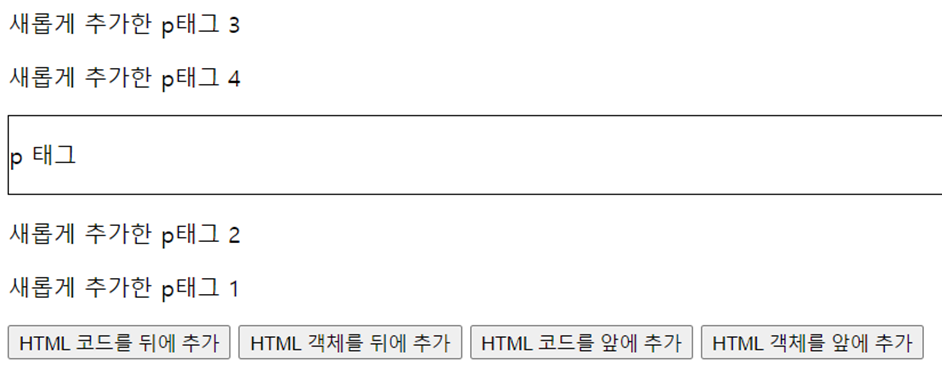
- append와는 태그 내에 추가하냐 다음에 추가하냐의 차이
• remove : 태그를 제거
• empty : 태그 내의 모든 태그를 제거
<script>
	function remove_a2(){
		$("#a2").remove();
	}

	function empty_a1(){
		$("#a1").remove();
	}
</script>
<style>
	#a1{
		border : 1px solid black;
	}
</style>
</head>
<body>
	<div id ="a1">
		<p>p 태그</p>
		<p id="a2">id가 a2인 p태그</p>
	</div>
	<button onclick="remove_a2()">a2 제거</button>
	<button onclick="empty_a1()">a1 내부의 모든 태그 제거</button>
</body>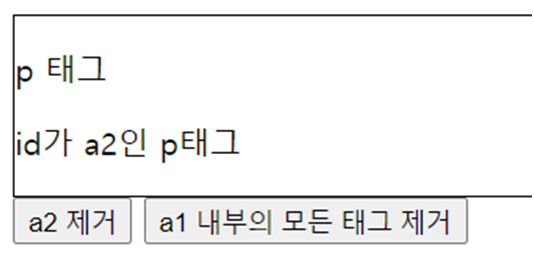
- empty는 모든 태그를 제거하기에 remove로 a2부터 제거
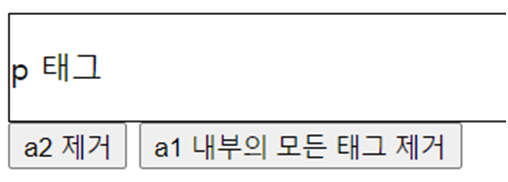
- empty는 모든 태그를 제거

학습한 내용 중 어려웠던 점 또는 해결못한 것들
해결방법 작성
학습 소감
jQuery 이벤트를 배웠는데, 자바스크립트를 통해 학습을 할 때와 비교하면 조금 더 간편한 느낌이 있었다. 아직 복잡한 코딩을 안해서 잘 모르겠지만 아직까지는 자바스크립트보다 더 편하고 쉬웠다. 그런 만큼 지나간 자바스크립트 복습도 중요할 것 같다.