

Cloud Firestore 연동 방법
- Firebase 인증 서비스 연동 방법 바로가기 >>
- 이 글은 인증 서비스 연동 후에 Firestore 을 연동하는 과정입니다. 몇 가지 생략되어 있을 수 있습니다.
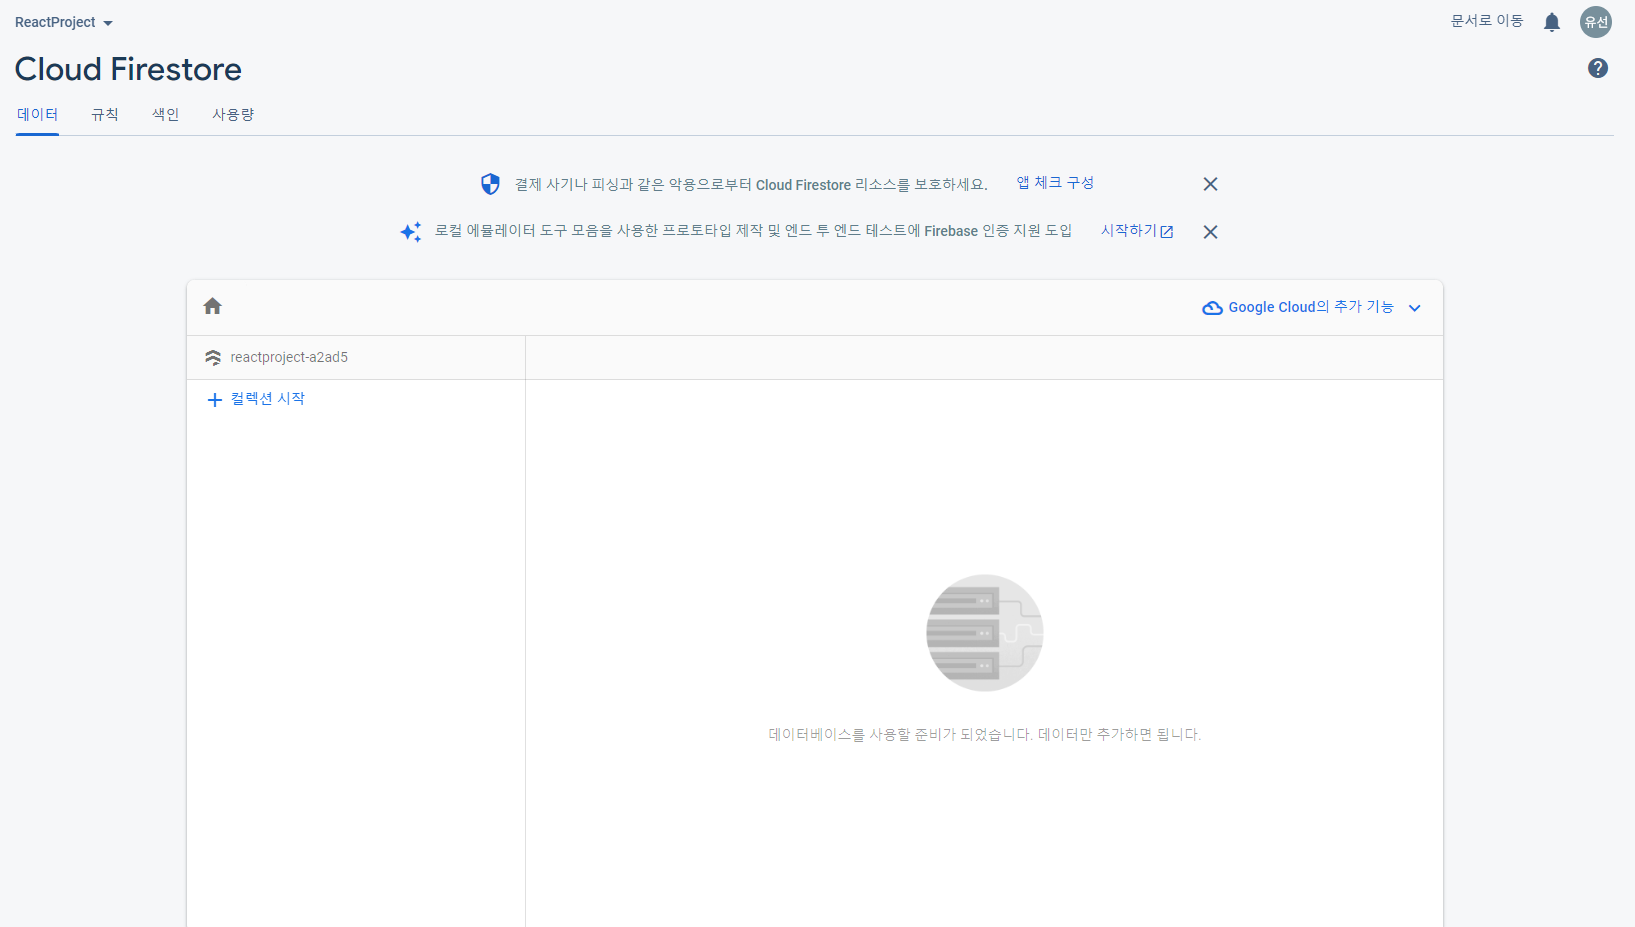
1. Cloud Firestore 데이터베이스 만들기
- Firebase 프로젝트를 아직 만들지 않았다면 Firebase Console에서 프로젝트 추가를 클릭한 후 화면에 표시된 안내에 따라 Firebase 프로젝트를 만들거나 기존 GCP 프로젝트에 Firebase 서비스를 추가합니다.
2. 어플리케이션에서 Firebase 액세스 → Cloud Firestore 서비스
- 개발 환경 설정
-
안내에 따라 Firebase를 웹 앱에 추가합니다.
-
Cloud Firestore SDK는 npm 패키지로 제공됩니다.Firebase와 Cloud Firestore를 모두 가져와야 합니다.
npm install firebase@9.9.1 --save
- Cloud Firestore 초기화
import { initializeApp } from "firebase/app";
import { getFirestore } from "firebase/firestore";
import { initializeApp } from "firebase/app"; import { getFirestore } from "firebase/firestore"; // TODO: Replace the following with your app's Firebase project configuration // See: https://firebase.google.com/docs/web/learn-more#config-object const firebaseConfig = { // ... }; // Initialize Firebase const app = initializeApp(firebaseConfig); // Initialize Cloud Firestore and get a reference to the service const db = getFirestore(app);CRUD 구현 방법
- Cloud Firestore에는 컬렉션(collection)과 문서(document)가 있습니다.
1-1. 데이터 CRUD 페이지 Setup
- 데이터를 저장하고 보여줄 페이지를 구현합니다.
form태그와input태그로 데이터 저장 form을 작성합니다.- 데이터를 저장할 text 타입의 input 태그와, 저장을 위한 submit 타입의 input 태그를 생성합니다.
- onChange 메소드로 input의 text의 내용의 변화가 일어났는지 탐지하고 반영합니다.
// CURD 게시판 구현
import React, { useState } from 'react'

const Home = () => {
  const [content, setContent] = useState("");

  const onChange = (e) => {
    const { target: { vlaue } } = e;
    setContent(vlaue);
  }

  const onSubmit = () => {
    e.preventDefault();
  }

  return (
    <div>
      {/* Create : 데이터를 받아 저장할 form */}
      <form onSubmit={onSubmit}>
        <input
          type="text"
          placeholder="입력해주세요."
          onChange={onChange}
          value={content}
          maxLength={120} />
        <input
          type="submit"
          value="SNS" />
      </form>
      {/* Read : 저장된 데이터를 보여줄 div */}
      <div>

      </div>
    </div>
  )
}

export default Home
1. Create - 데이터 추가
- Cloud Firestore는 컬렉션에 저장되는 문서에 데이터를 저장합니다.
- 문서에 데이터를 처음 추가할 때 Cloud Firestore에서 암시적으로 컬렉션과 문서를 만듭니다. 컬렉션이나 문서를 명시적으로 만들 필요가 없습니다.
- 다음 예시 코드를 사용해 새 컬렉션과 문서를 만듭니다.
// original 코드

import { collection, addDoc } from "firebase/firestore";

try {
  const docRef = await addDoc(collection(db, "users"), {
    first: "Ada",
    last: "Lovelace",
    born: 1815
  });
  console.log("Document written with ID: ", docRef.id);
} catch (e) {
  console.error("Error adding document: ", e);
}firebase는 기본적으로 비동기적으로 동작합니다.addDoc, collection이 동작할 때까지 기다리기 위해async/await로 비동기처리를 합니다.
fbInstance에서 미리 만든 dbService를 불러옵니다.-
dbService는
collection의 매개변수로 담습니다.// 수정한 코드 import { collection, addDoc } from "firebase/firestore"; import { dbService } from '../firebase/fbInstance'; const Home = () => { const [content, setContent] = useState(""); const onChange = (e) => { const { target: { value } } = e; setContent(value); } const onSubmit = async (e) => { e.preventDefault(); await addDoc(collection(dbService, "contents"), { text: content, createdAt: Date.now() }); setContent(""); } ... }
-
2-1. Read - 데이터 한 번 가져오기
- Cloud Firestore에 추가한 데이터를 빠르게 확인하려면 Firebase Console의 데이터 뷰어를 사용합니다.
get메서드를 사용해 전체 컬렉션을 가져올 수도 있습니다.
// original 코드
import { collection, getDocs } from "firebase/firestore";

const querySnapshot = await getDocs(collection(db, "users"));
querySnapshot.forEach((doc) => {
  console.log(`${doc.id} => ${doc.data()}`);
});
// 수정한 코드
import React, { useEffect, useState } from 'react'
import { collection, addDoc, getDocs } from "firebase/firestore";
import { dbService } from '../firebase/fbInstance';
const Home = () => {
const [content, setContent] = useState("");
const [contents, setContents] = useState([]);
const getContents = async () => {
const q = query(collection(dbService, "contents"));
const dbContents = await getDocs(q);
dbContents.forEach((doc) => {
const contentObject = {
...doc.data(),
id: doc.id,
}
setContents(prev => [contentObject, ...prev]);
});
};
...
}2-2. Read - Cloud Firestore로 실시간 업데이트 가져오기
onSnapshot()메서드로 문서를 수신 대기 할 수 있습니다.- 사용자가 제공하는 콜백이 최초로 호출될 때 단일 문서의 현재 콘텐츠로 문서 스냅샷이 즉시 생성됩니다. 그런 다음 내용이 변경될 때마다 콜백이 호출되어 문서 스냅샷을 업데이트합니다.
// original 코드
import { doc, onSnapshot } from "firebase/firestore";

const unsub = onSnapshot(doc(db, "cities", "SF"), (doc) => {
    console.log("Current data: ", doc.data());
});
2-3. Read - 쿼리 결과 수신 대기하기
- 문서와 마찬가지로
get()대신onSnapshot()을 사용하여 쿼리 결과를 수신 대기할 수 있습니다.
// original 코드

import { collection, query, where, onSnapshot } from "firebase/firestore";

const q = query(collection(db, "cities"), where("state", "==", "CA"));
const unsubscribe = onSnapshot(q, (querySnapshot) => {
  const cities = [];
  querySnapshot.forEach((doc) => {
      cities.push(doc.data().name);
  });
  console.log("Current cities in CA: ", cities.join(", "));
});onSnapshot으로 불러온 데이터를contentsArr에 다시 담고, setContents에 업데이트 합니다.- 이 때,
[doc.id](http://doc.id)값을 id 값으로 넣습니다.
- 이 때,
// 수정한 코드
import { collection, addDoc, onSnapshot, query, orderBy } from "firebase/firestore";

const getData = () => {
    const q = query(
      collection(dbService, "contents"),
      orderBy("createdAt", "desc")
    );
    onSnapshot(q, (collections) => {
      const contentsArr = collections.docs.map((doc) => (
        {
          id: doc.id,
          ...doc.data(),
        }
      ))
      setContents(contentsArr);
    });
  }
3. Update - 문서 업데이트
- Update Content 페이지 Setup
- 수정 버튼을 누르면
toggleEditing메소드가 실행되어editing state의 false 값을 true로 바꿉니다.editing값이 true이면 text 수정이 가능한 form 태그가 나오고, false이면 수정 전 text와 수정이 가능한 수정 버튼이 나오도록 합니다.
import React, { useState } from 'react'

const Content = ({ contentObj }) => {
    const [editing, setEditing] = useState(false);
    const [newContent, setNewContent] = useState(contentObj.text)

    const toggleEditing = () => setEditing((prev) => !(prev))
    const onChange = (e) => {
        const {target : {name, value}} = e;
        setNewContent(value);
    }

    const onSubmit = (e) => {
        e.preventDefault();
    }
    return (
        <>
            {editing ? (
                <form onSubmit={onSubmit}>
                    <input
                        onChange={onChange}
                        type="text"
                        placeholder="텍스트 수정"
                        value={newContent}
                        required />
                    <input
                        type="submit"
                        value="수정"/>
                    <button onClick={toggleEditing}> 취소 </button>
                </form>
            ) : (
                <div>
                    <h4>{contentObj.text}</h4>
                    <button>삭제</button>
                    <button onClick={toggleEditing}>수정</button>
                </div >
            )

            }
        </>

    )
}

export default Content- 전체 문서를 덮어쓰지 않고 문서의 일부 필드를 업데이트하려면
update()메서드를 사용합니다.
// original 코드

import { doc, updateDoc } from "firebase/firestore";

const washingtonRef = doc(db, "cities", "DC");

// Set the "capital" field of the city 'DC'
await updateDoc(washingtonRef, {
  capital: true
});- 위에서 getData를 할 때, 부여했던 id 값으로 각 데이터를 구분합니다.
// 수정한 코드

import { doc, updateDoc } from "firebase/firestore";
import { dbService } from '../firebase/fbInstance';

const onSubmit = (e) => {
        e.preventDefault();
        const updateRef = doc(dbService, "contents", contentObj.id);
        updateDoc(updateRef, {
            text: newContent
        });
        setEditing(false);
    }
4. Delete - 문서 삭제
- 문서를 삭제하려면
delete()메서드를 사용합니다. - 문서를 삭제하는 경우 Cloud Firestore는 하위 컬렉션 내 문서를 자동으로 삭제하지 않습니다. 따라서 참조를 통해 하위 컬렉션 문서에 액세스할 수 있습니다.
import { doc, deleteDoc } from "firebase/firestore";

await deleteDoc(doc(db, "cities", "DC"));
나의 과정들