💡 Express에서 라우팅하기
참고: https://expressjs.com/ 공식문서
🧐 라우팅이란?
URI 및 특정한 HTTP 요청 메소드의 특정 엔드포인트에 대해 애플리케이션이 응답하는 방법을 결정하는 것!
각 라우트는 하나 이상의 핸들러 함수를 가질 수 있다.
💭 Express 라우팅
라우트 정의
**app.METHOD(PATH, HANDLER)**
- app: express의 인스턴스
- METHOD: HTTP 요청 메서드
- PATH: 서버에서의 경로
- HANDLER: 라우트가 일치할 때 실행되는 함수
기본적인 라우팅
const express = require('express');
const app = express();
const port = 8080;

app.get('/', function (req, res) {
    res.send('Hello world!');
})

app.post('/', function (req, res) {
    res.send('Got a post request');
})

app.delete('/', function (req, res) {
    res.send('Got a delete request');
})

app.listen(port);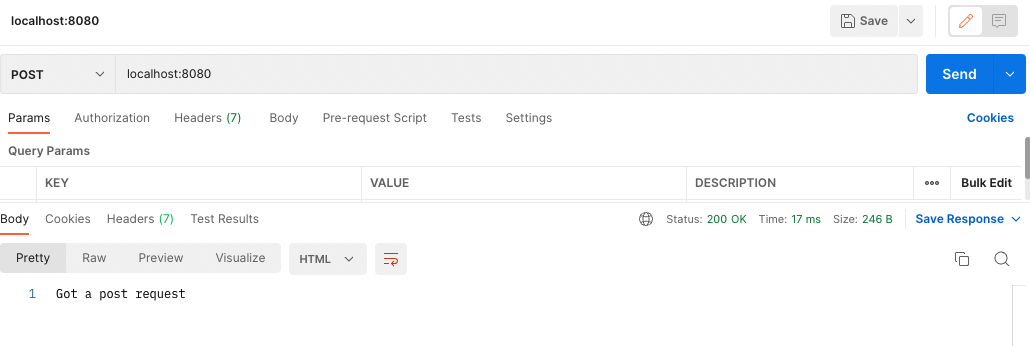
라우트할 경로와 메서드를 지정해서 일치할 경우 콜백함수를 실행한다.
라우트 핸들러에서 여러 개의 콜백 함수 사용
let respond;
app.get('/example/a', function (req, res, next) {
    respond = 'the response will be sent by the next function ...';
    next();
}, function (req, res) {
    res.send(respond + '\nHello from a!');
});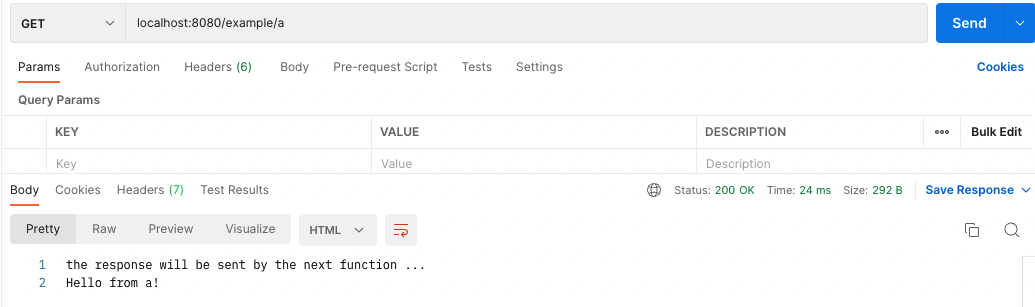
- 주의할 점은 next 오브젝트를 반드시 지정해야 한다.
res.send()
let respond;
app.get('/example/a', function (req, res, next) {
    respond = 'the response will be sent by the next function ...';
    res.send("end");
}, function A (req, res) {
    res.send(respond + '\nHello from a!');
});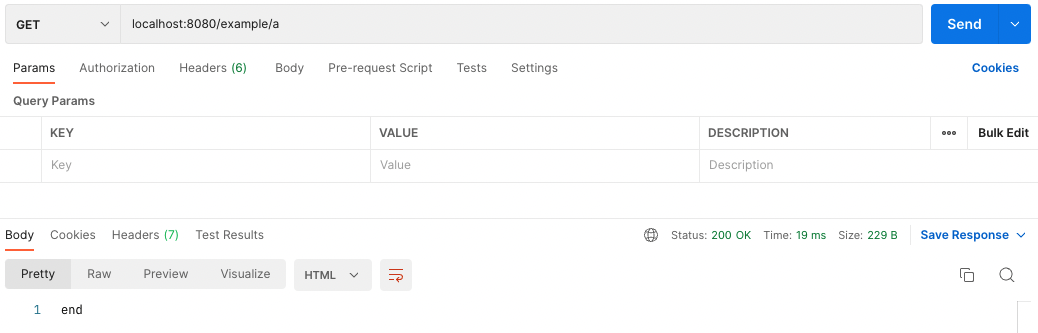
위 코드처럼 response를 먼저 보내주는 경우 다음 콜백함수가 실행되지 않는다.
const a = function (req, res, next) {
    console.log('a');
    next();
}
const b = function (req, res, next) {
    console.log('b');
    next();
}
const c = function (req, res, next) {
    console.log('c');
    res.send('hello from c!');
}

app.get('/example', [a, b, c]);
콜백 함수들을 배열 형태로 사용할 수도 있다.
app.route()
app.route('/book')
    .get(function (req, res) {
        res.send("get a random book");
    })
    .post(function (req, res) {
        res.send("add a book");
    })
    .put(function (req, res) {
        res.send("update the book");
    });
하나의 라우트에 여러개의 핸들러를 지정할 수 있다.
express.Router()
//app.js
const express = require('express');
const birds_router = require('./birds_router');
const birds_app = express();

birds_app.use('/birds', birds_router);
birds_app.listen(8080);
//birds_router.js
const express = require('express');
const router = express.Router();
router.use(function timeLog(req, res, next) { //middleware
console.log('Time: ', Date.now());
next();
})
router.get('/', function (req, res) {
res.send('birds home page');
})
router.get('/about', function (req, res) {
res.send('about birds');
})
module.exports = router;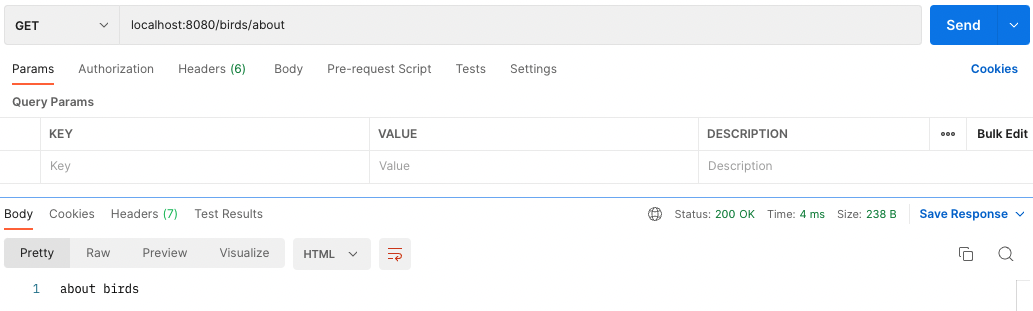
- localhost:8080/birds 는 birds home page를 보여주고,
- localhost:8080/birds/about 은 about birds를 보여준다.
express.Router 클래스를 사용해서 라우팅을 분리하고 코드를 가독성있게 작성할 수 있다.
💡 Middleware
🧐 미들웨어란?
'서로 다른 애플리케이션이 통신하는데 사용되는 소프트웨어'라고 말한다.
express 서버에서는 애플리케이션 요청에 응답하기 전 중간(middle)에서 목적에 맞게 처리하는 함수들을 말한다.
미들웨어의 특징
- 여러 미들웨어가 있으면 순차적으로 실행된다.
- res, req 객체를 변경할 수 있다.
미들웨어를 사용하는 상황
1. POST 요청 등에 포함된 body를 쉽게 얻고자 할 때
(express 내장 미들웨어인 jsonParser를 사용한다.)
2. 모든 응답/요청에 CORS 헤더를 붙여야 할 때
3. 모든 요청에 대해 url이나 메서드를 확인할 때
4. 요청 헤더에 사용자 인증 정보가 담겨있는지 확인할 때
💭 express 미들웨어 사용하기
애플리케이션 레벨 미들웨어

const myLogger = function (req, res, next) {
    console.log('LOGGED');
    next();
}
app.use(myLogger);

app.get('/', function (req, res) {
    res.send('hello world!');
})
myLogger는 모든 요청에 대해 실행되는 미들웨어 함수이다. request가 들어올 때마다 콘솔창에는 'LOGGED'가 출력된다.
📌 app.use()
모든 요청에 대해 실행할 미들웨어 함수는 app.use()를 사용한다.
📌 next()
위의 코드들에서도 보았듯이 미들웨어 함수에서 응답을 보내는 것이 아니라면 next()를 호출해서 다음 미들웨어 함수를 실행할 수 있도록 해야 한다!
📌 미들웨어의 로드 순서
const myLogger = function (req, res, next) {
    console.log('LOGGED');
    next();
}

app.get('/', function (req, res) {
    res.send('hello world!');
})

app.use(myLogger);
만약 미들웨어 함수 myLogger의 로드를 바꾼다면?
라우트 핸들러에서 이미 res.send()로 response를 보낸 다음 로드되었기 때문에 myLogger가 실행되지 않는다!! 따라서 미들웨어 함수의 로드 순서를 신경써주어야 한다.
라우터 레벨 미들웨어
//birds_router.js
router.use(function timeLog(req, res, next) {
    console.log('Time: ', Date.now());
    next();
})

router.get('/', function (req, res) {
    res.send('birds home page');
})

router.get('/about', function (req, res) {
    res.send('about birds');
})
라우터에서 보았던 코드를 다시보자.
애플리케이션 레벨이 아니라 라우터 레벨에서도 미들웨어를 사용할 수 있다.
express.json()
미들웨어를 사용하는 상황 '1. POST 요청 등에 포함된 body를 쉽게 얻고자 할 때'에서 express 내장 미들웨어를 사용한다고 했다. 원래는 body-parser 미들웨어를 사용했지만 따로 설치해주어야 하는 번거로움이 있어 Express v4.16.0 부터는 express.json()을 사용한다.
const jsonParser = express.json({strict: false});

app.use(jsonParser);
app.get('/', function (req, res) {
  res.json(`user is ${req.body.user}.`);
})
미들웨어 express.json()을 로드하고 라우트를 하면 request 객체의 body를 쉽게 가져올 수 있다.
*strict: false로 설정하면 JSON.parse 메서드가 parse할 수 있는 것이면 accept한다.
default 값인 true일때는 array나 object만 accept한다.
app.get('/', function (req, res) {
    res.json(`user is ${req.body}.`);
})
예를 들어 request의 body로 "hello"를 보낸다면 strict: false일 때는 에러 없이 응답을 보낸다.
Express로 CORS 설정하기
const cors = require("cors");
const app = express();

//모든 도메인에 대해 설정
app.use(cors());

//특정 도메인에 대해 설정
const options = {
  origin: "https://naver.com", //접근 권한을 부여할 도메인
  credentials: true, //응답 헤더에 Access-Control-Allow-Credentials를 추가
  optionSuceessStatus: 200, //응답 상태를 결정
};
app.use(cors(options));

//특정 요청에 대해 설정
app.get("/users/:id", cors(), function(req, res, next) {
  res.json({msg: "example" });
});
express에서는 cors 미들웨어를 사용해서 비교적 간단하게 cors 설정을 할 수 있다.