Declaration

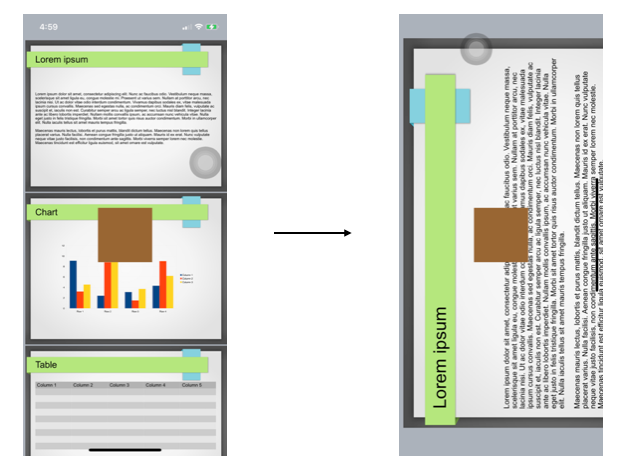
앱은 이렇게 orientation이 portraint로 설정이 되어있지만, 특정 viewController에서는 화면을 회전하고 싶을 때 회전하는 방법에 대해서 정리해봤습니다.
우선 AppDelegate의 func application(_:, supportedInterfaceOrientationsFor:) 함수에 대해서 알아야 합니다.
해당 함수는 viewController에서 사용 될 인터페이스 방향을 묻는 함수입니다.
위의 사진에서처럼 info.plist에서 따로 설정을 해두었더라도 해당 함수에서 설정한 orientation 값으로 Device가 어떤 방향을 허락할지 우선적으로 따르게 됩니다.
사용법은 매우 간단합니다. 우선 AppDelegate 클래스에 해당 함수를 선언해주시고 return 값으로 원하는 방향을 설정해두면 됩니다.
func application(_ application: UIApplication, supportedInterfaceOrientationsFor window: UIWindow?) -> UIInterfaceOrientationMask {
	/// portraint만 들어가게 된다면 세로 방향만 허락하게 된다.
    /// [.portrait, .landscapeLeft] 와 같이 설정하게 된다면
    /// 두 개의 방향만 허락하게 된다.
    return [.portrait]
}
UIInterfaceOrientationMask
static var portrait: UIInterfaceOrientationMask
/// 세로방향 화면을 지원한다.
static var landscapeLeft: UIInterfaceOrientationMask
/// 화면이 왼쪽으로 돌아가도록 지원한다. 화면의 하단이 오른쪽이다.
static var landscapeRight: UIInterfaceOrientationMask
/// 화면이 오른쪽으로 돌아가도록 지원한다. 화면의 하단이 왼쪽이다.
static var portraitUpsideDown: UIInterfaceOrientationMask
/// 화면이 세로로 뒤집히도록 지원한다.
static var landscape: UIInterfaceOrientationMask
/// landscapeLeft, landscapeRight 모두 지원한다.
static var all: UIInterfaceOrientationMask
/// 모든 방향을 지원한다.
static var allButUpsideDown: UIInterfaceOrientationMask
/// 세로 뒤집기를 제외하고 모두 지원한다.
How To Use
이제 application(_:, supportedInterfaceOrientationsFor:) 함수에 대해서 알았으니 그 다음은 매우 간단합니다.
- AppDelegate에
orientations라는 변수를 하나 생성해주고 해당 변수를 위의 함수에서 사용하도록 했습니다.
@main
class AppDelegate: UIResponder, UIApplicationDelegate {
	var orientations: UIInterfaceOrientationMask = [.portrait]

    func application(_ application: UIApplication, supportedInterfaceOrientationsFor window: UIWindow?) -> UIInterfaceOrientationMask {
        return self.orientations
    }
}- 사용 될
viewController안에서supportedInterfaceOrientations와shouldAutorotate를 override 하여 값을 지정해주도록 했습니다.
class viewController: UIViewController {
	let appDelegate = UIApplication.shared.delegate as! AppDelegate
	let orientation: UIInterfaceOrientationMask = .portrait

    /// 해당 viewController에서 지원하는 인터페이스 방향을 반환합니다.
    /// [.portrait, landscapeLeft]와 같이 array 형태도 반환이 가능하지만
    /// 한가지만 설정하지 않으면 제대로 작동하지 않습니다.
    override var supportedInterfaceOrientations: UIInterfaceOrientationMask {
        return self.orientation
    }
    /// 콘텐츠가 자동으로 돌아가도록 묻는 Bool값 입니다.
    override var shouldAutorotate: Bool {
        return true
    }
}- 해당
viewController에 버튼을 추가하고 탭 했을때 화면이 돌아가도록 설정 했습니다.
override func viewDidLoad() {
	super.viewDidLoad()

    /// 1. button에 selector를 추가하고 view에 button을 추가합니다.
    let button = UIButton()
    button.frame.size = CGSize(width: 100, height: 100)
    button.center = self.view.center
    button.backgroundColor = .brown
    button.addTarget(self, action: #selector(self.tapOrientationButton(:_)), for: .touchUpInside)
    self.view.addSubview(button)
}

@objc
private func tapOrientationButton(_ button: UIButton) {
	/// 2. 버튼을 탭 했을 때 현재 orientation을 체크하여
    /// 인터페이스의 방향을 설정합니다.
	if self.orientation == .portrait {
    	self.setOrientation(.landscapeLeft)
    } else
    if self.orientation == .landscapeLeft {
    	self.setOrientation(.portrait)
    }
}

func setOrientation(_ orientation: UIInterfaceOrientation) {
	/// 3. 설정하려는 방향을 체크하고 해당 값에 대응되는 값 들을 설정하도록 합니다.
    if orientation == .portrait {
    	/// 3-1. appDelegate의 orientations 변수의 값을 변경하여
        /// Device 전체가 지원하는 orientation을 변경합니다.
        self.appDelegate.orientations = [.portrait]
        /// 3-2. 해당 viewController에서 지원하는 orientation을 변경합니다.
        self.orientation = .portrait
        /// 3-3. 현재 Device의 orientation값을 변경합니다.
        UIDevice.current.setValue(orientation.rawValue, forKey: "orientation")
    } else
    if orientation == .landscapeLeft {
        self.appDelegate.orientations = [.portrait, .landscapeLeft]
        self.orientation = .landscapeLeft
        UIDevice.current.setValue(orientation.rawValue, forKey: "orientation")
    }
}
Result
Some Issue
Xcode Debugging에 연결되어 있는 상태에서는 화면 orientation을 변경하는게 안되는 버그가 있었다...
처음에는 내가 설정을 잘못 건드려서 그런 줄 알았는데 그냥 버그 때문이였고 솔루션을 찾았다.
- 본인의 Scheme을 선택하고 Edit Sceme으로 들어간다.
- Run 섹션에 Options 탭으로 이동한다.
- GPU Frame Capture를 'Metal' 혹은 'Disabled'로 변경한다.
이렇게 하면 Xocde Debugging에 연결되어 있어도 정상적으로 작동한다.
2020년도에 터진 버그인데 아직도 안고쳐 졌다는게 믿기지 않는다... 🤬
[ iPhone with iOS 14 beta 2 doesn't autorotate when connected to XCode debugger ]
Reference
https://sosoingkr.tistory.com/125
https://jpointofviewntoe.tistory.com/10