DOM
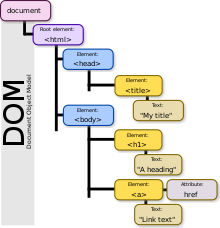
DOM은 HTML을 구조적으로 접근한다.
그렇기때문에 DOM은 HTML을 단순한 문서에서 그치지 않고,
웹 앱으로 작동할 수 있게 만들어 주는 핵심 키가 된다.브라우저의 환경에서 DOM은 자바스크립트를 이용해서 조작할 수 있다.
예를 들어서 기존에 존재하는 element에 접근해서 어떤 이벤트를 처리한다거나
새로운 element를 생성하고, 삭제하고, CSS를 적용하는 등 많은 작업을 할 수 있다.
Document Object Model
DOM은 Document Object Model(문서 객체 모델)의 약자로, HTML(Document)에 접근해서 Object(Javascript Object)처럼 HTML을 조작(Manipulation)할 수 있는 Model이라는 의미를 가지고 있다.
위의 문장을 정리하면, 자바스크립트로 DOM을 활용하여 HTML을 조작할 수 있다.
DOM은 HTML, XML 문서의 프로그래밍 interface이다.
그렇기 때문에 문서의 구조화된 표현(structured representation)을 제공한다.
또, 프로그래밍 언어가 DOM 구조에 접근할 수 있는 방법을 제공하기 때문에 문서 구조와 스타일, 내용 등을 변경할 수 있게 도와준다.DOM은 구조화된 node들과 property와 method를 갖고 있는 objects로 문서를 표현한다. 웹 페이지를 스크립트와 프로그래밍 언어들에서 사용될 수 있도록 연결시켜주는 역할을 담당하고 있다.
출처[https://developer.mozilla.org/ko/docs/Web/API/Document_Object_Model/Introduction]
DOM - JavaScript로 조작하기
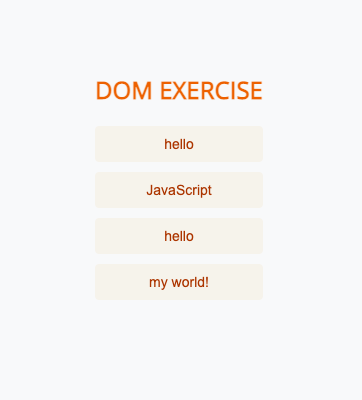
아래의 html문서를 기준으로 자바스크립트를 사용해서 DOM을 조작해 볼 것이다.
<!DOCTYPE html>
<html lang="en">
<head>
  <meta charset="UTF-8" />
  <meta name="viewport" content="width=device-width, initial-scale=1.0" />
  <link rel="stylesheet" href="style.css" />
  <title>Document</title>
</head>
<body>
  <main id="container">
    <h2>DOM EXERCISE</h2>
    <button class="word content1">hello</button>
    <button class="word content2">JavaScript</button>
    <button class="word content3">hello</button>
    <button class="word content4">my world!</button>
  </main>
</body>
<script src="script.js"></script>
</html>
* { box-sizing: border-box; } body { background-color: #f9fafb; display: flex; align-items: center; justify-content: center; min-height: 100vh; margin: 0; } button { border: none; border-radius: 4px; outline: 0; background-color: rgb(247, 245, 238); } button:hover { background-color: wheat; } .container { background-color: #fff; border-radius: 5px; box-shadow: 0 2px 10px rgba(0, 0, 0, 0.3); width: 400px; padding: 30px 40px; } h2 { text-align: center; margin: 0 0 20px; color: #ef6c00; } .word { margin-bottom: 10px; padding-bottom: 20px; position: relative; display: block; width: 100%; padding: 10px; font-size: 14px; text-align: center; color: #b53d00; }
>>> READ
querySelector
JavaScript라는 문자열이 있는 태그의 정보 가져오기let str1 = document.querySelector('.content2'); // <button class="word content2">JavaScript</button>
querySelectorAll
class가 word인 태그들 가져오기
document.querySelectorAll('.word');
>>> CREATE
createElement
태그 추가
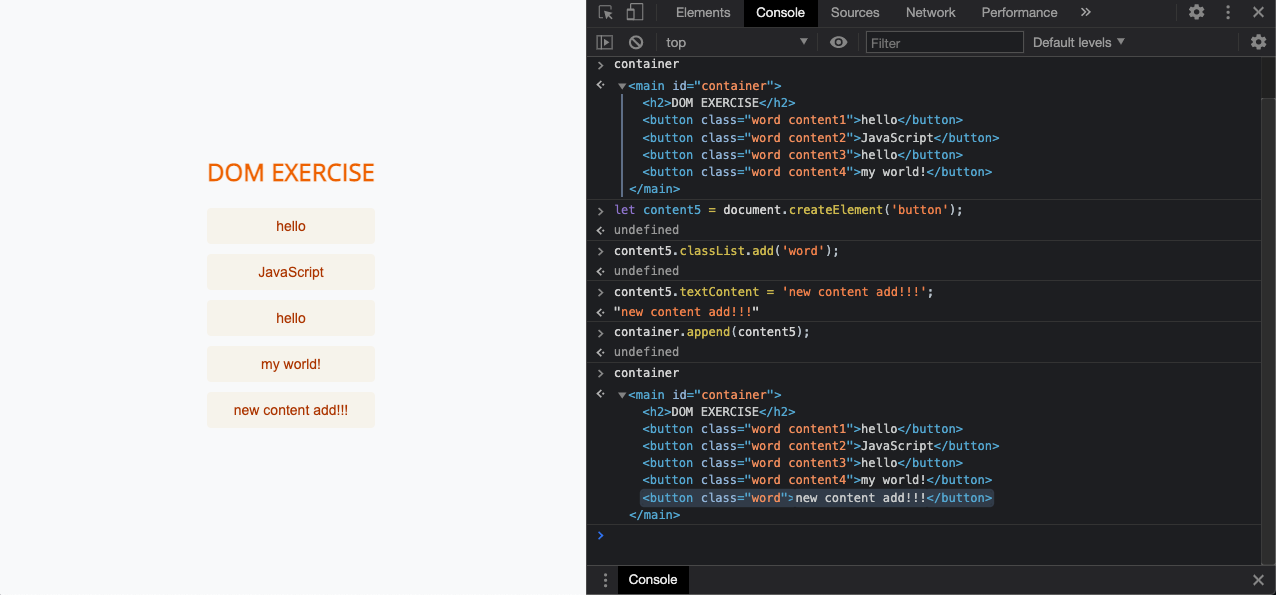
버튼들의 부모 요소인 #container인 태그를 찾는다.
그 자식요소로 새로운 버튼 추가한다.
<button>태그의 class명은 word, 글 내용은 'new content add!!!'로 추가한다.//btn들을 감싸고 있는 부모 태그 정보 가져오기 let container = document.querySelector('#container'); //container 콘솔에서 확인하면 /* <main id="container"> <h2>DOM EXERCISE</h2> <button class="word content1">hello</button> <button class="word content2">JavaScript</button> <button class="word content3">hello</button> <button class="word content4">my world!</button> </main> */ // 새로운 버튼 요소 하나 추가 let content5 = document.createElement('button'); // 버튼에 클래스 추가 content5.classList.add('word'); //태그 안에 내용 추가 content5.textContent = 'new content add!!!'; // 만든 태그를 부모 태그에 append container.append(content5);
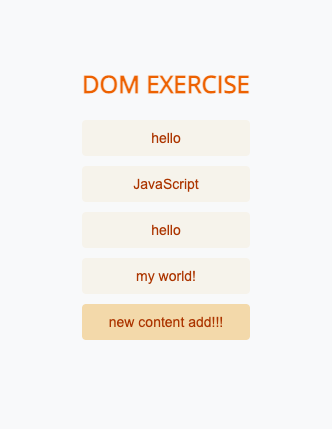
위의 createElement를 통해 버튼이 하나 더 추가 된 모습 확인
>>> UPDATE
textContent
- 첫 번째 버튼의 'hello' 내용을 '자바스크립트가 너무 재밌어요:)'로 변경한다.
document.querySelector('.content1').textContent = '자바스크립트가 너무 재밌어요:)';
id
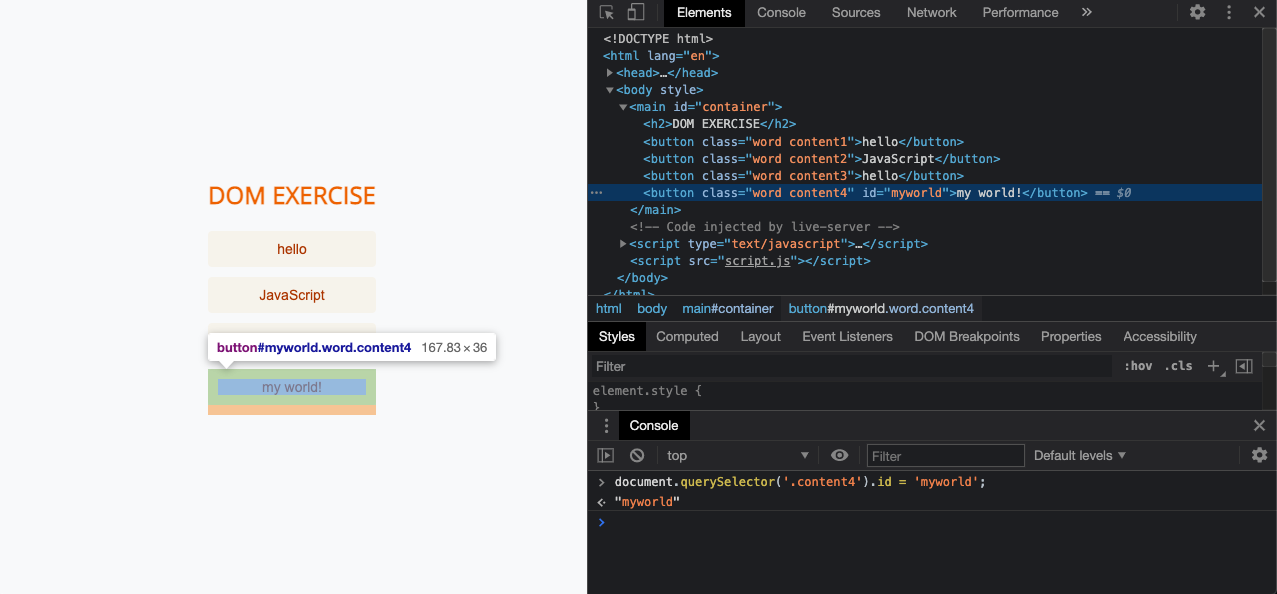
- 마지막 버튼 태그에 id속성을 추가한다.
- id는 myworld로 추가한다.
document.querySelector('.content4').id = 'myworld';
id를 추가하기 전
id에 myworld로 추가한 후
classList
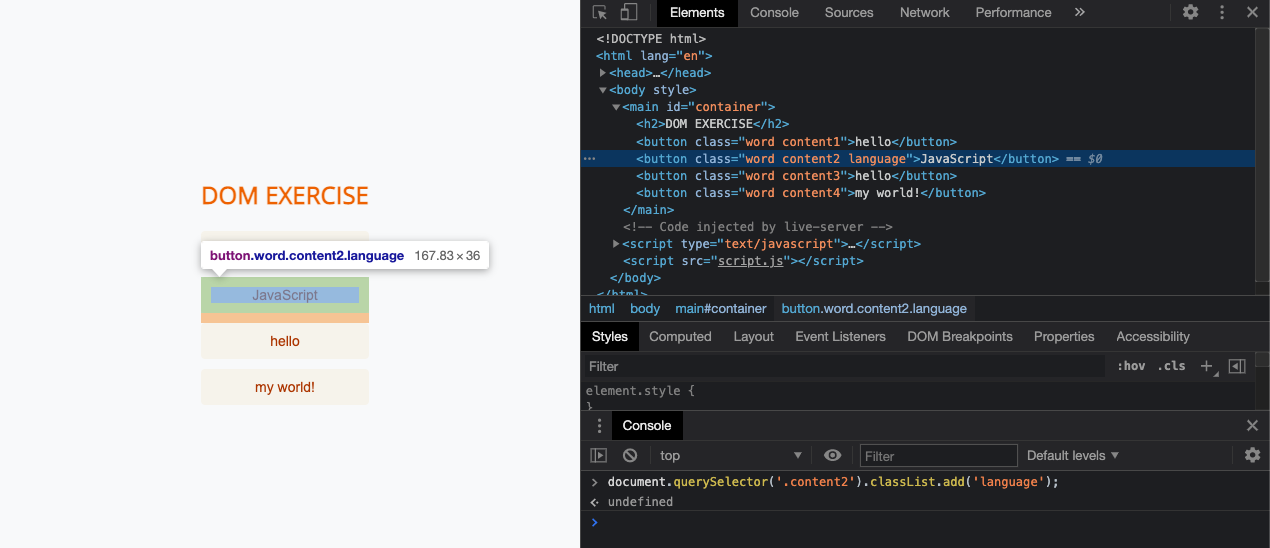
- JavaScript라 쓰여있는 버튼에 클래스를 추가한다.
- 클래스명은 language로 준다.
document.querySelector('.content2').classList.add('language');
class를 추가하기 전
class에 language를 추가한 후
setAttribute
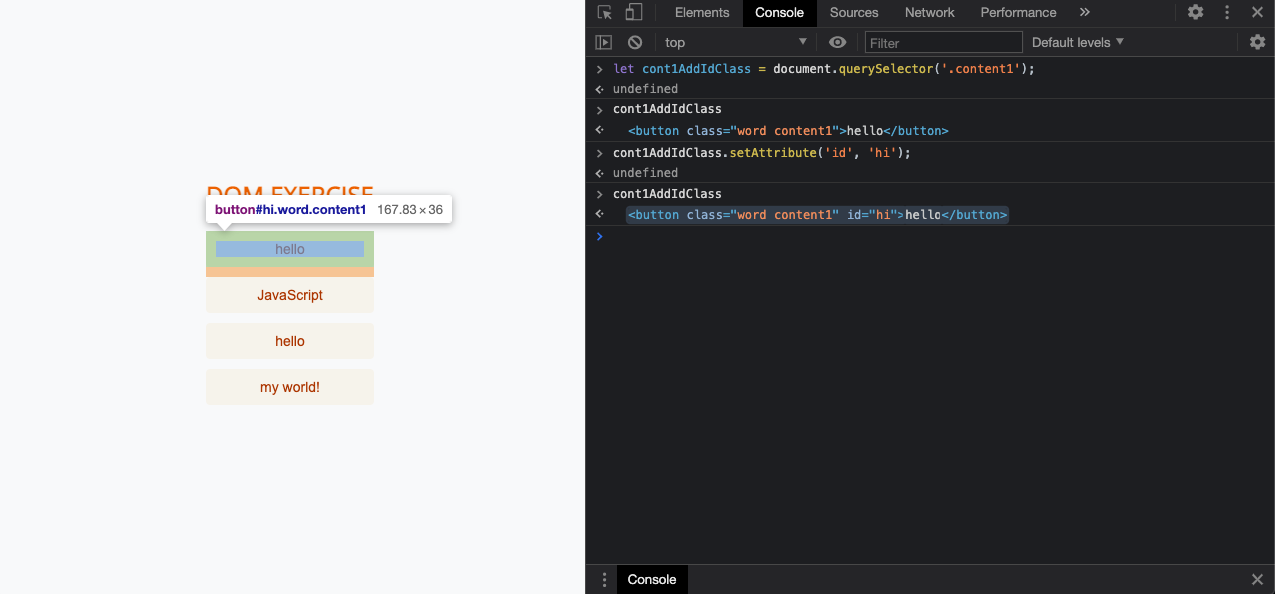
위에서 살펴본 id를 추가하는 방법을 더 좋은 방법으로 사용할 수 있다.
setAttribute 속성을 이용해서 사용한다.
- 첫 번째 버튼에 id를 'hi'로 추가하기
let cont1AddIdClass = document.querySelector('.content1');
cont1AddIdClass.setAttribute('id', 'hi');
