SSH를 이용해서 Local Repository와 연결을 할 것이다.
SSH: Secure Shell
안전하게 통신을 하기 위해서 SSH를 설정해야 된다.
우선 설치가 되어있는지 확인하기 위해서 터미널에서 명령어로 확인해보았다.
$ ls -a ~/.ssh위의 명령어를 실행했을 때 id_rea, id_rea.pub이 나오면 설치가 되어있는 상태다.
- id_rsa: private key
- id_rsa.pub: public key
없기 때문에 만들러 가야됩니당!
SSH 설정 방법
구글에 GIT SSH를 쳐서 사이트를 들어간다.
connecting하기 전에 먼저 생성을 해야된다.
1. SSH KEY 만들기
터미널을 열고 아래의 명령어를 실행합니다.
이메일은 본인의 이메일 주소를 작성하면 된다.
$ ssh-keygen -t ed25519 -C "your_email@example.com"그 다음에 계속해서
Enter ~~라는 것이 나오는데 끝날 때까지Enter키를 누르면 된다.
2. SSH Agent를 Background에 킨다.
$ eval "$(ssh-agent -s)"
위의 명령어를 실행하면 Agent pid가 나온다.
3. SSH private key를 SSH Agent에 추가
$ ssh-add -K ~/.ssh/id_ed25519그러면 아래와 같은 문구가 출력된다.
Identity added: /Users/[home]/.ssh/id_ed25519 ([your_email])
4. SSH public key를 Github에 연결
아래의 링크를 타고 들어간다.
$ pbcopy < ~/.ssh/id_ed25519.pub
위의 명령어를 복사하고 터미널에 간다.위의 명령어를 실행하면, 클립보드에 SSH public key가 복사된다.
이 public key를 Github에 넣어준다.
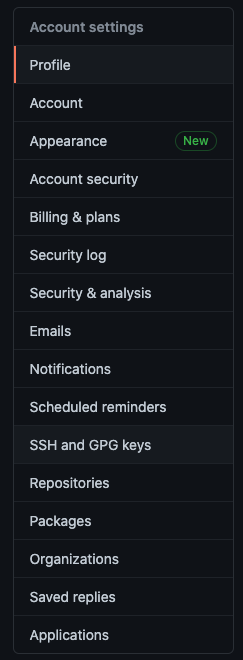
5. githubg settings
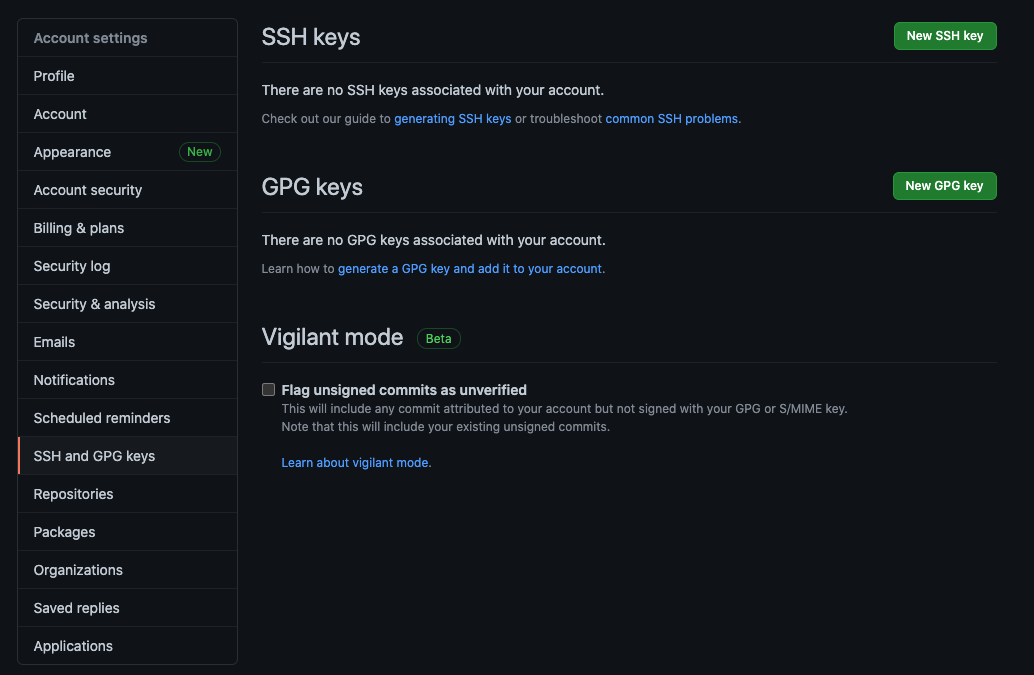
SSH and GPG keys탭을 클릭한다.
New SHH key버튼을 클릭한다.
클립보드에 복사되어있는 아래의 키 부분에 넣어준다.
local repository와 연결하기
$ echo "# node-react-boiler-plate" >> README.md
$ git remote add origin https://github.com/[user]/[repo name].git
$ git push -u origin master


