플러터 프로젝트 구성요소
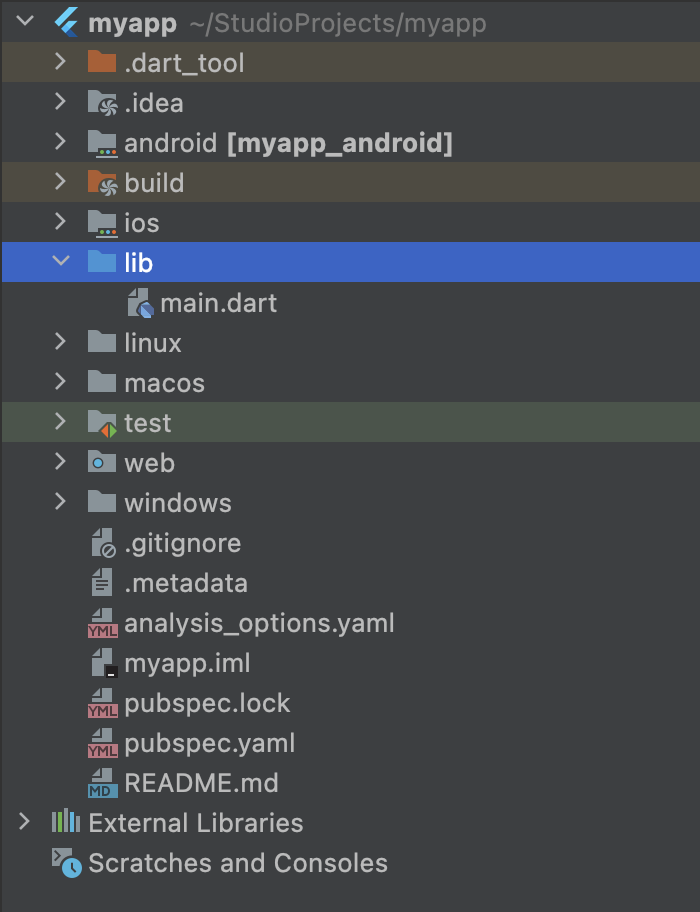
플러터 프로젝트의 기본 폴더(물리적 폴더)
- lib 폴더 : 플러터 소스코드(.dart 파일) 위치
- android 폴더 : 플러트를 컴파일하여 생성된 안드로이드 앱 소스코드. 자동 생성되어 있기 때문에 임의로 수정하지 않는다.(플랫폼 채널 프로그래밍에 대한 내용에서 android 폴더를 수정하는 방법을 다룸.)
- ios 폴더 : 플러터를 컴파일하여 생성된 iOS 앱 소스코드. 역시 자동생성 된다.
- test 폴더 : 테스트 코드 위치
최상위 폴더의 주요 파일
- .gitignore 파일 : git 파일. 로컬에만 필요한 파일이 git에 올라가지 않도록 한다
- .metadata 파일 : 플러터 프로젝트를 위한 내부 파일. 개발자가 편집하지 않는다.
- .packages 파일 : pubspec.yaml 파일과 관련된 내부 파일로 자동 생성
- .hello_flutter.iml 파일 : .iml 파일은 안드로이드 스튜디오에서 생성한 프로젝트 내부 파일
- .pubspec.yaml 파일 : 플러터 프로젝트에 필요한 라이브러리와 리소스 등을 지정한다.
import 'package:flutter/material.dart';
void main() {
runApp(const MyApp()); // 1.
}
class MyApp extends StatelessWidget { // 2.
const MyApp({super.key});
// This widget is the root of your application.
Widget build(BuildContext context) {
return MaterialApp(
title: 'Flutter Demo',
theme: ThemeData(
primarySwatch: Colors.blue,
),
home: const MyHomePage(title: '플러터 데모 홈페이지'),
);
}
}- 플러터 앱의 시작점은 main() 함수이다. 메인 함수에서는 단순히 runApp() 함수를 호출하고 있다. => 기호는 함수의 내용이 한 줄일 때 중괄호({})를 대체하는 역할을 한다. 원래 코드는 다음과 같다.
void main() {
	runApp(MyApp());
}
runApp() 함수는 인수로 넘긴 위젯을 화면에 표시한다. 여기서는 Stateless 위젯인 MyApp 클래스를 사용한다. runApp() 함수에는 Stateful 위젯도 넣을 수 있다.
- MyApp 위젯은 Stateless 위젯이다. 단순히 화면에 표시되는 UI 컴포넌트라고 생각하면 된다. 앱의 제목은 'Flutter Demo'이고 타이틀바의 색상은 파란색, home 속성은 위젯의 몸체이다. 몸체는 MyHomePage 클래스로 지정하였다.
class MyHomePage extends StatefulWidget { // 3.
const MyHomePage({super.key, required this.title});
final String title;
State<MyHomePage> createState() => _MyHomePageState();
}- MyHomePage 위젯은 MyApp 위젯과 다르게 Stateful 위젯이다. Stateless 위젯과 다른 점은 createState() 메서드를 통해 상태를 담당하는 클래스를 지정할 수 있다. 즉, 조건에 따라 내용을 갱신할 수 있다. 실제 상태 값은 _MyHomePageState 클래스에 저장한다.
class _MyHomePageState extends State<MyHomePage> { // 4.
int _counter = 0; // 5.
void _incrementCounter() { // 6.
setState(() {
_counter++;
});
}
Widget build(BuildContext context) {
return Scaffold(
appBar: AppBar(
title: Text(widget.title),
),
body: Center(
child: Column(
mainAxisAlignment: MainAxisAlignment.center,
children: <Widget>[
const Text(
'You have pushed the button this many times:',
),
Text(
'$_counter',
style: Theme.of(context).textTheme.headlineMedium,
),
],
),
),
floatingActionButton: FloatingActionButton( // 7.
onPressed: _incrementCounter,
tooltip: 'Increment',
child: const Icon(Icons.add),
), // This trailing comma makes auto-formatting nicer for build methods.
);
}
}- 클래스의 이름이다. MyHomePageState에서 언더바()의 의미는 이 클래스가 동일한 파일에서만 접근할 수 있음(private)을 의미한다. 다트에서는 자바와 같은 접근 제어자 키워드가 없으며 클래스 이름 앞에 언더바(_)가 있으면 내부(private) 클래스로 본다.
- _MyHomePageState 클래스에는 _counter라는 정수형(int) 멤버 변수가 있다. 초기값은 0으로 할당했다.
- _incrementCounter() 메서드는 _counter 값을 1 증가시킨다. setState() 함수를 호출하고 인수고 _counter 변수를 1 증가하는 람다 표현식을 넘기고 있다. setState() 함수를 호출하면 Stateful 위젯인 MyHomePage 위젯 상태가 변했으니 위젯을 갱신한다.
- floatingActionButton 속성은 우측 하단에 표시되는 [+] 버튼을 의미한다. 플로팅이라는 의미처럼 위치를 변경할 수 있다. FloatingActionButton 위젯을 지정했으며 onPressed 이벤트가 발생하면 _incrementCounter() 메서드를 호출한다.

ㅎㅇ