
- 사이트 : https://openweathermap.org/ 에 가서 가입 후 로그인
회원가입 시 입력했던 이메일로 인증키가 가는데 클릭해서 활성화 시켜주면 된다.
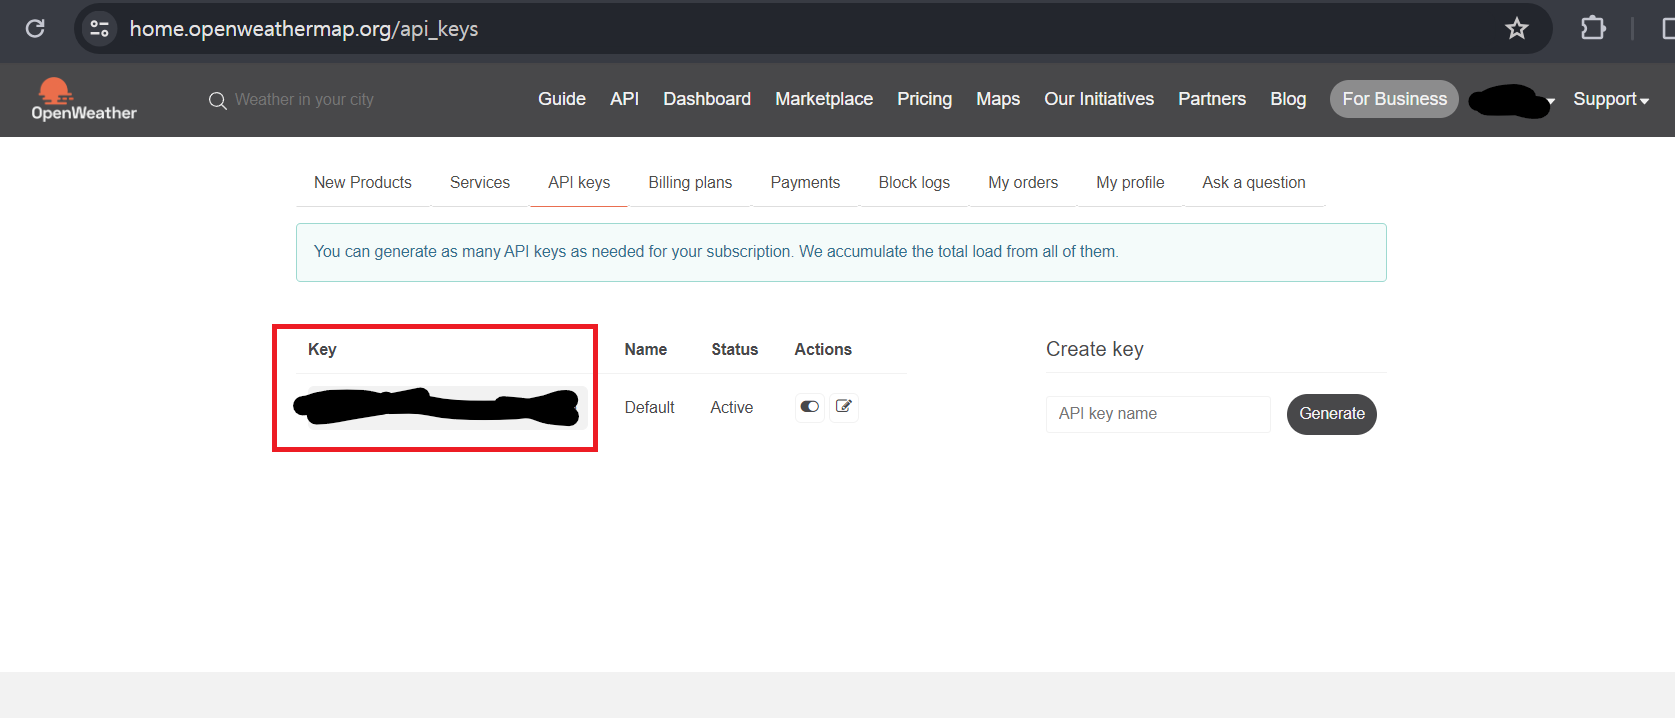
- 로그인 후 마이페이지 -> My API Keys -> api 키 복사해두기
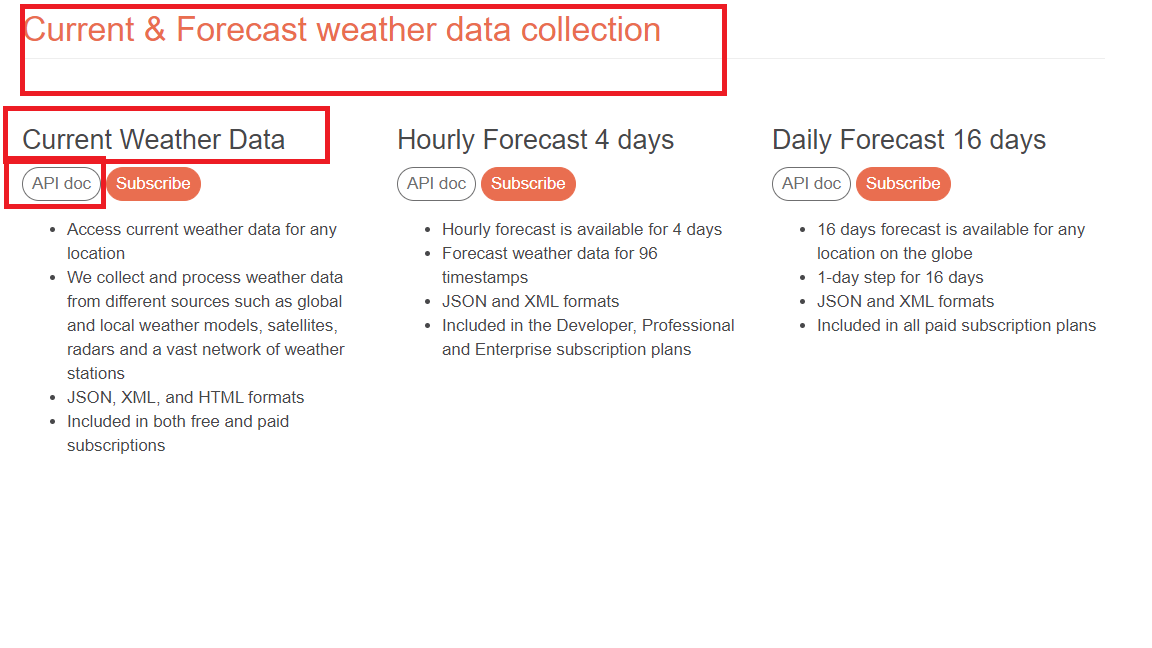
- https://openweathermap.org/api 페이지에서 스크롤을 조금 내려서 Current & Forecast weather data collection을 찾고 API doc를 클릭
- 스크롤을 어느정도 내리다 Built-in API request by city ID 찾기
4-2. 해당 API call 주소를 복사해두기.
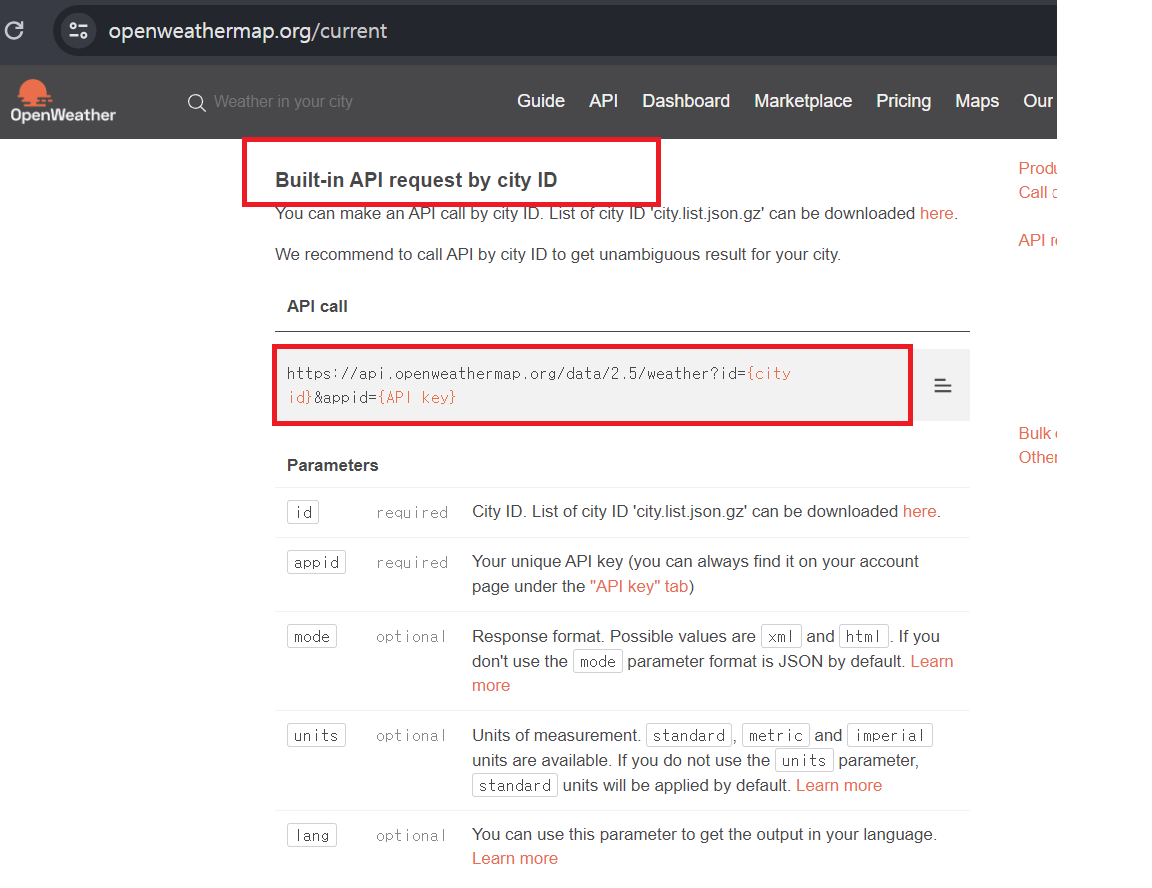
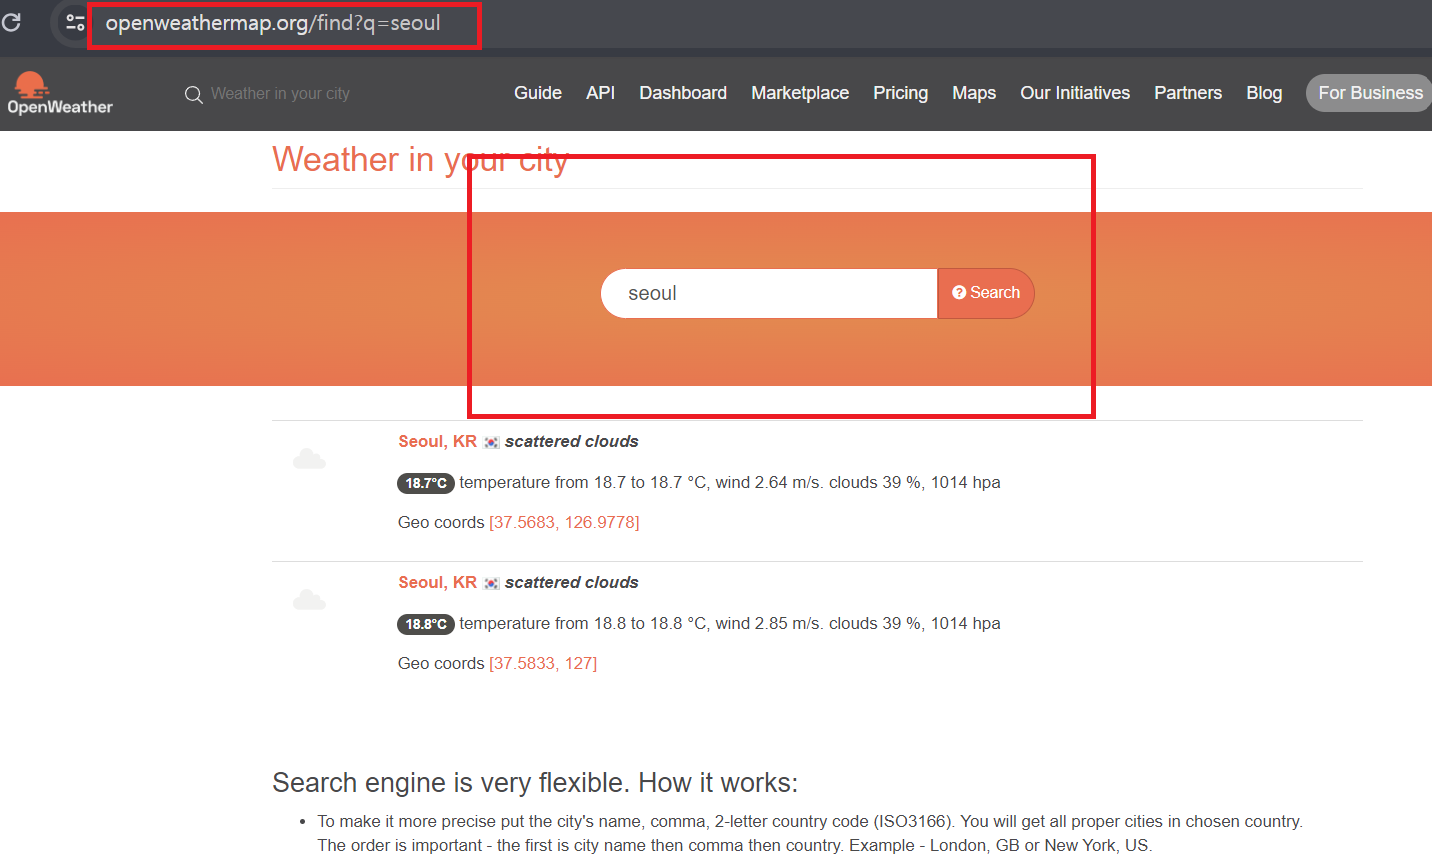
- 이제 복사해둔 해당 주소에 cityid 와 api key를 삽입하면 되는데 도시명은 영문으로 검색해서 나오는 것을 cityid에 넣으면 된다.
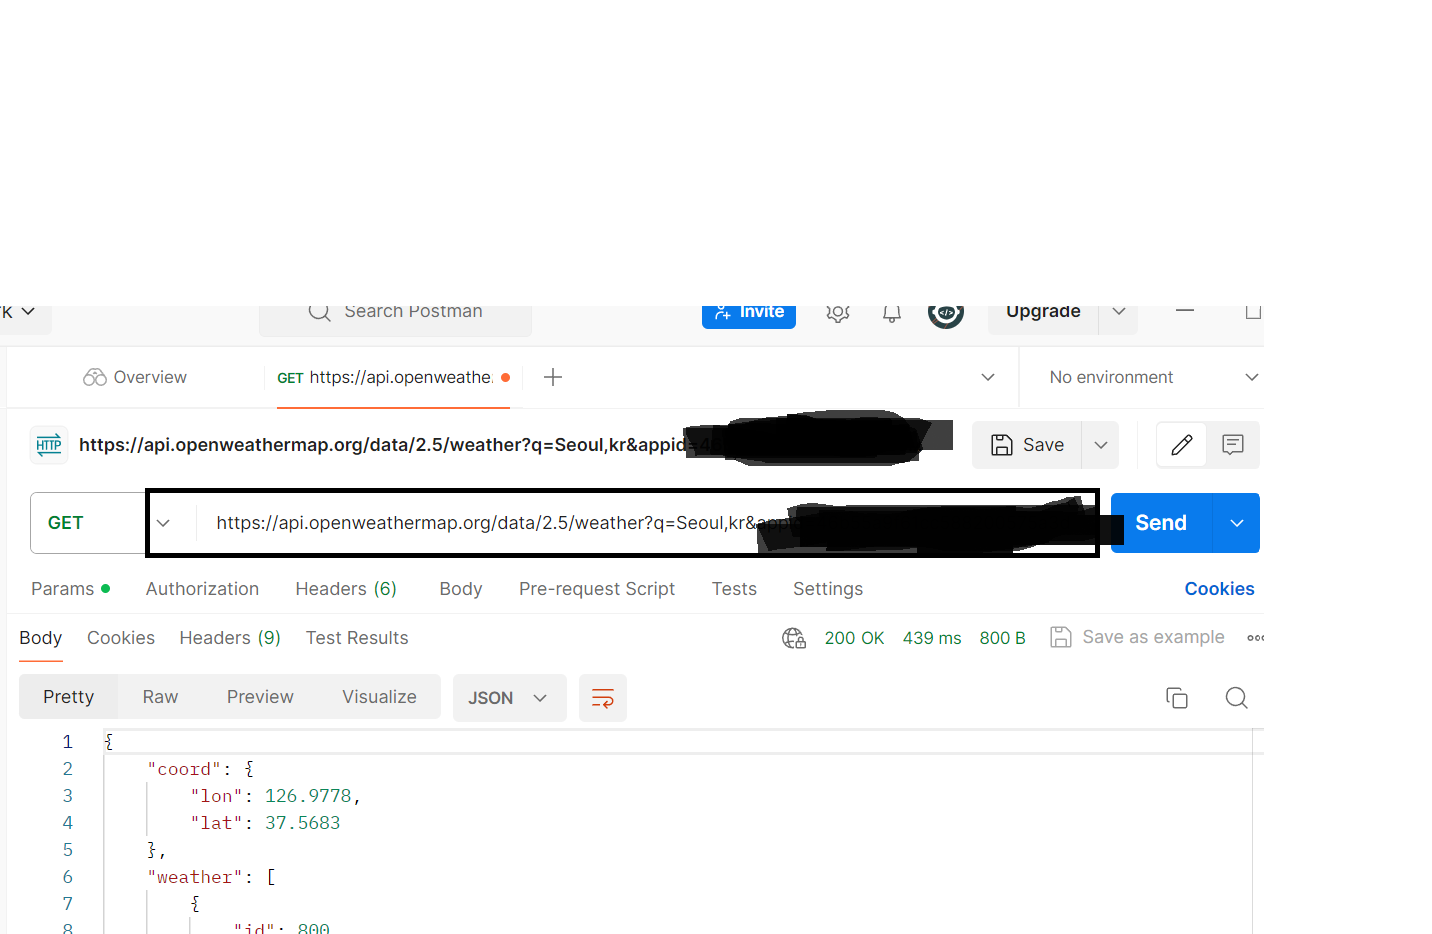
- PostMan으로 보내보면 값이 출력되는걸 확인할 수 있다.
function App() {
  return (
    <div>
      <Header/>
      <Container>
        <Route path="/" exact component={List}/>
        <Route path="/write" exact component={Write}/>
        <Route path="/append" exact component={append}/>
      </Container>
    </div>
  );
}
APP.js에 가서 주소를 추가해준다.
append.js
import $ from 'jquery'; // jQuery에서 json 파일을 가져와서 사용하기.
const Append = () => {
const [currentTime, setCurrentTime] = useState('');
useEffect(() => {
// 현재 시간 가져오기
const convertTime = () => {
const now = new Date();
const month = now.getMonth() + 1;
const date = now.getDate();
return `${month}월 ${date}일`;
};
const currentTime = convertTime();
setCurrentTime(currentTime);
// jQuery를 사용하여 현재 시간 추가
$('.nowtime').text(currentTime);
// OpenWeatherMap API를 통해 날씨 정보 가져오기
$.getJSON('https://api.openweathermap.org/data/2.5/weather?q=Seoul,kr&appid=46b55a9f61cc588200575a3dda8e3069&units=metric',
function (WeatherResult) {
// 기온 정보 추가
$('.SeoulNowtemp').text(`현재기온: ${WeatherResult.main.temp}`);
$('.SeoulLowtemp').text(`최저기온: ${WeatherResult.main.temp_min}`);
$('.SeoulHightemp').text(`최대기온: ${WeatherResult.main.temp_max}`);
// 날씨 아이콘 추가
const weatherIconUrl = `<img src="http://openweathermap.org/img/wn/${WeatherResult.weather[0].icon}.png" alt="${WeatherResult.weather[0].description}"/>`;
$('.SeoulIcon').html(weatherIconUrl);
});
}, []); // 빈 배열을 전달하여 한 번만 실행되도록 합니다.
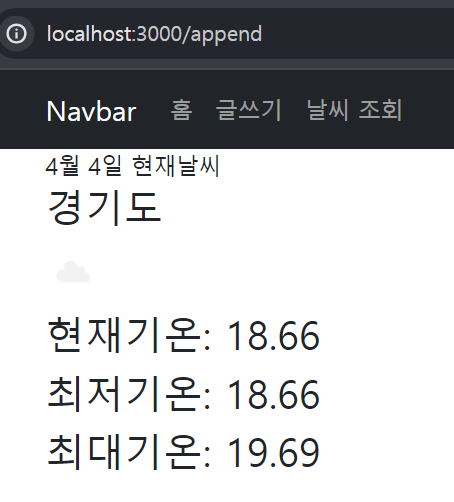
return (
<div>
<span className="nowtime"></span>
<span>현재날씨</span>
<h3>경기도</h3>
<h3 className="SeoulIcon"></h3>
<h3 className="SeoulNowtemp">현재기온:</h3>
<h3 className="SeoulLowtemp">최저기온:</h3>
<h3 className="SeoulHightemp">최대기온:</h3>
</div>
);
};
export default Append;8.

계단식 성장