배경
- 스프링 부트 개발 환경에서 ajax 사용법에 대해 공부하면서 만든 예제이다. 먼저 간단히 ajax의 개념에 대하여 살펴 보자.
Ajax 란?
- ajax 는 JavaScript를 사용한 비동기 통신, 클라이언트와 서버간에 XML,JSON 데이터를 주고 받는 기술입니다. 이 기술을 사용하면 전체 페이지를 새로 고치지 않아도 뷰를 갱신할 수 있습니다.
Ajax 사용 이유
-
단순히 Web 화면에서 무언가를 부르거나 데이터를 조회하고 싶은 경우, 페이지 전체를 새로고침하지 않기 위해서 사용한다고 볼 수 있습니다. JSON 이나 XML 형태로 필요한 데이터만 받아 갱신하기 때문에 그만큼의 자원과 시간을 아낄 수 있습니다.
Ajax 진행과정
XMLHttpRequest Object를 만든다.
-
request를 보낼 준비를 브라우저에게 시키는 과정
-
이것을 위해서 필요한 method를 갖춘 object가 필요합니다.
callback 함수를 만든다.
-
서버에서 response가 왔을 때 실행시키는 함수
-
HTML 페이지를 업데이트 합니다.
Callback 함수란?
A callback function is a function which is:
- passed as an argument to another function, and,
- is invoked after some kind of event.
- 콜백함수란 다른 함수의 인자로써 이용되는 함수, 어떤 이벤트에 의해 호출되어 지는 함수라고 합니다.
// The callback method
function meaningOfLife() {
	log("The meaning of life is: 42");
}

// A method which accepts a callback method as an argument
// takes a function reference to be executed when printANumber completes

function printANumber(int number, function callbackFunction) {
	print("The number you provided is: " + number);
}

// Driver method
function event() {
	printANumber(6, meaningOfLife);
}- 위 코드는 event()라는 function 을 통해 meaningOfList()함수를 invoke 하고 있다.
- 첫 번째에 해당하는 함수가 callback function 이 됩니다.
AJAX가 쓰이는 방법
var serverAddress = 'https://hacker-news.firebaseio.com/v0/topstories.json';

//jQuery의 .get 메서드 사용
$.ajax({
  url: ,
  type: 'GET',
  success: function onData(data){
  console.log(data);
},
  error: function onError(error){
    console.error(error);
  }
});
- XMLHttpRequest 객체를 얻은 뒤, url을 통해 요청하고 응답을 받으면 응답 결과에 맞는 함수를 실행하는 구조
- Ajax가 효율적이라고는 코드가 길어지기 때문에 jQuery에서 그 문제를 해결함
SpringBoot 에서 ajax 사용법
개발환경
- html + javascript + thymelef + bootstrap4
- java + SprinBoot
- ajax
ajax.html 코드
<!doctype html>
<html xmlns:th="http://www.thymeleaf.org">

<th:block th:replace="~{/layout/basic :: setContent(~{this::content} )}">

    <th:block th:fragment="content">

<nav class="navbar navbar-expand-lg navbar-light " style="background-color: #F2D7D5;">
    <div class="container-fluid">
        <a class="navbar-brand" href="#">🌺</a>
        <button class="navbar-toggler" type="button" data-bs-toggle="collapse" data-bs-target="#navbarNavAltMarkup"
                aria-controls="navbarNavAltMarkup" aria-expanded="false" aria-label="Toggle navigation">
            <span class="navbar-toggler-icon"></span>
        </button>
        <div class="collapse navbar-collapse" id="navbarNavAltMarkup">
            <div class="navbar-nav">
                <a class="nav-link" aria-current="page" href="#">Home</a>
                <a class="nav-link" href="#">Features</a>
            </div>
        </div>
    </div>
</nav>

<div class="container">
    <div class="row mt-3">
        <div class="card text-center">
            <h5 class="card-header">Data transmission using ajax</h5>
            <div class="card-body">
                <h5 class="card-title">hello! 😀 </h5>
                <p class="card-text">
                    Enter the text you want to send and click the button.</p>
                <form class="card-text">
                    <div class="col-12">
                        <div class="input-group mb-3">
                            <input id="input" placeholder="Please enter text" type="text" class="form-control">
                            <button class="btn btn-outline-secondary" type="button" onclick="dataSend()">submit</button>
                        </div>
                    </div>
                    <div id="resultDiv">
                        <p th:if="${msg}!=null" th:text="${msg}"></p>
                    </div>
                </form>
                <a href="#" class="btn" style="background-color: #EBDEF0">Go github</a>
            </div>
        </div>
    </div>
</div>
    </th:block>
</th:block>
</html>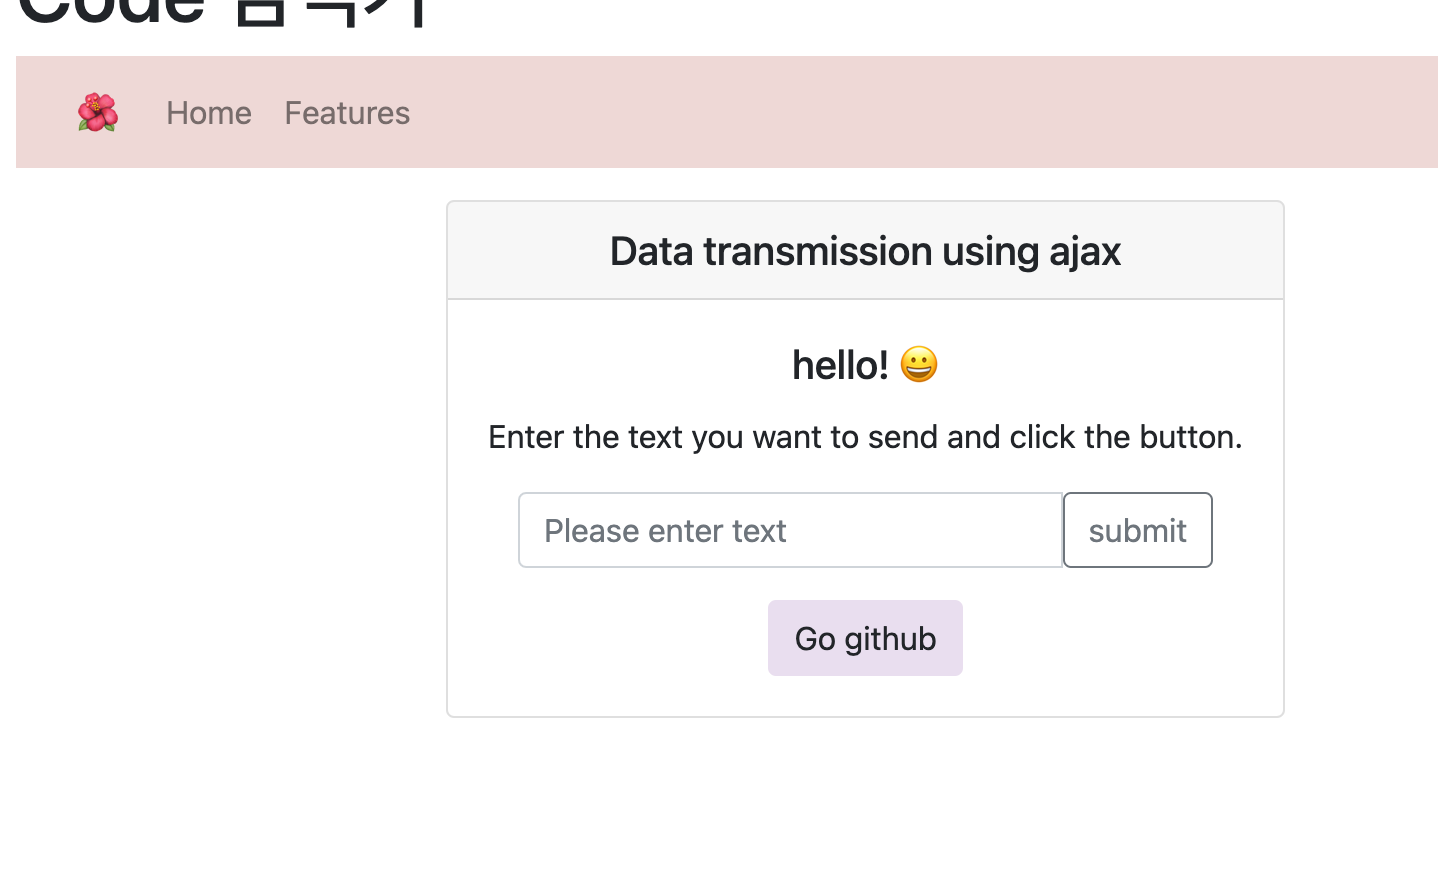
Ajax 통신 코드
<script th:inline="javascript">
            function dataSend(){
                const data =$("#input").val();
                const sendDTO = {
                          result:data
                          };
                $.ajax({
                    url: "/send",
                    data: sendDTO,
                    type: 'POST',
                }).done(function (data){
                    $("#resultDiv").replaceWith(data);
                });
            }
</script>- dataSend 는 jQeury로 ajax 통신을 진행하였습니다.
- 먼저 var data =$("#input").val();
코드로 입력값을 받아온 뒤 그 값을 객체에 넣어줍니다. - 그 후 $.ajax를 통해 통신을 시작합니다.
- 그리고 done 부분에 갱신하고자하는 부분의 id를 적고 replaceWith로 해당 영역을 통신 후 교체하도록 하였습니다.
Controller
package com.example.demo.controller;

import com.example.demo.dto.SendDto;
import org.springframework.stereotype.Controller;
import org.springframework.ui.Model;
import org.springframework.web.bind.annotation.*;

@Controller
public class AjaxController {

    @GetMapping("/")
    public String index(){
        return "/ajax";
    }

    @PostMapping("/send")
    public String ajaxHome(Model model, SendDto dto){
        model.addAttribute("msg",dto.getResult());
        return "ajax :: #resultDiv";
    }
}
- 컨트롤러를 만들 때 서버로부터 보내진 값임을 알려주는 텍스트를 추가하였습니다.
DTO
@Data
public class sendDto {
    private String msg;
    private String Result;
}- 잘 작동되는 것을 볼 수 있습니다.


블로그 이전합니다! https://jyyoun1022.tistory.com/