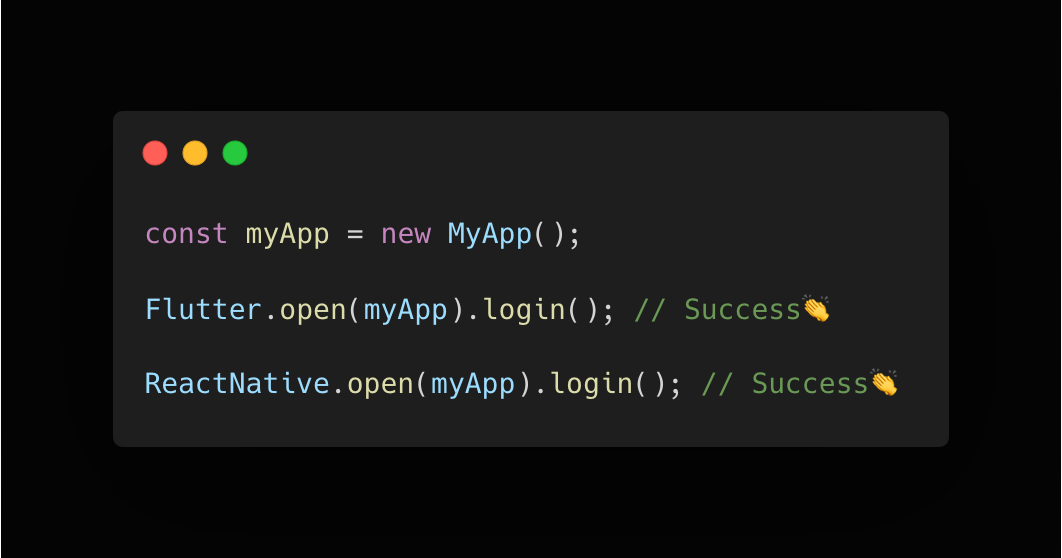
Flutter로 만들어진 앱을 React Native로 다시 작성하는 과정에서 FlutterSecureStorage로 저장중인 토큰값들을 React Native앱에서 조회해 로그인이 풀리지 않고 매끄럽게 넘어갈 수 있게 만드는 과정을 기록한다.
버전 참고사항
flutter 3.0.1
flutter_secure_storage 7.0.1react-native 0.73.6
react-native-keychain 8.2.0
Flutter 기존 구현체
class AuthLocalDatasource {
	const AuthLocalDatasource({
	    required FlutterSecureStorage storage,
	}) : _storage = storage;

	final FlutterSecureStorage _secureStorage;

    ...

    Future<void> setAccessToken() {
    	try {
            await _storage.write(SecureStorageKeys.accessToken);
            ...
        } catch(e) {
        	throw LocalException(...);
        }
    }
}
React Native에서 시도해보기
// expo-secure-store way
const accessToken = await SecureStore.getItemAsync(ACCESS_TOKEN_KEY); // Flutter 앱과 동일한 키
console.log(accessToken); // null

// react-native-keychain way
const credential = await Keychain.getGenericPassword();
console.log(credential); // false
실제 구현하기 전에는 앱 번들 아이디를 동일하게 설정하고 동일한 키값으로 조회하면 간단하게 끝난다고 생각했지만 막상 구현해보니 조회가 되지 않았다. 그래서 FlutterSecureStorage 내부 코드를 보며 하나씩 정리하기 시작했다.
...
flutter_secure_storage 탐방하기
일단, FlutterSecureStorage에서 스위프트로 작성된 모듈을 확인해보면
read, write, delete등 데이터 조작를 할 때 baseQuery라는 함수 호출을 통해 동작하는걸 확인할 수 있다. 그리고 dart쪽 코드에는 IOSOptions라는 클래스로 해당 옵션을 설정할 수 있게 되어있다.
FlutterSecureStorage.swift
...
private func baseQuery(...) {
	if (key != nil) {
		keychainQuery[kSecAttrAccount] = key
	}

	if (accountName != nil) {
		keychainQuery[kSecAttrService] = accountName
	}

    ...
}
플러터쪽에서 read, write, delete등의 행위가 일어날 때 넣어주는 key가 kSecAttrAccount, accountName이 kSecAttrService에 할당되는 부분을 확인할 수 있었다. 기존에 아무런 iOptions 설정 없이 패키지를 사용하고 있었기 때문에 accountName이 무엇인가 하고 다시 dart 코드쪽으로 시선을 돌린다.
apple_options.dart
abstract class AppleOptions extends Optios {

	...

    static const defaultAccountName = 'flutter_secure_storage_service';
}
패키지에서 accountName 파라미터를 제공하지 않으면 flutter_secure_storage_service라는 스트링값을 기본값으로 제공해주고 있다는 것을 알 수 있다.
React Native Keychain 탐방하기
위 flutter_secure_storage 스위프트 코드에서 할당해주던 값을 분명 react-native-keychain에서도 비슷한 방식으로 할당해주고 있을거라 생각했다. RNKeychainManager.m 파일에서 작성된 브릿지 코드를 볼 수 있었다.
RNKeychainManager.m
RCT_EXPORT_METHOD(setGenericPasswordForOptions:(NSDictionary *)options
	...
{
	...

    (__bridge NSString *)kSecAttrService: service, // here!
    (__bridge NSString *)kSecAttrAccount: username, // here!
}

RCT_EXPORT_METHOD(getGenericPasswordForOptions:(NSDictionary * __nullable)options
	...
{
	...

    (__bridge NSString *)kSecAttrService: service, // here!
  };
flutter_secure_storage와 react-native-keychain에서 부르는 단어만 다를 뿐 사실 같은 목적을 위해 넣어주는 값이라는 것을 알 수 있다. 결과적으로 매우 간단한 부분에서 삽질을 너무 오래했지만 앱에 핏한 방식으로 마이그레이션 코드를 짜기 수월해졌다.
다른 값들도 많지만, 문제 해결 과정에서 크게 중요한 부분은 아래 두가지였기 때문에 대충 표로 정리하자면 아래와 같다.
| react-native-keychain | flutter-secure-storage | |
|---|---|---|
| kSecAttrService | service | accountName |
| kSecAttrAccount | username | key |
참고 사항으로는 react-native-keychain에서는 service 기본값을 앱의 번들 아이디로 설정한다. 나중에 배포될 React Native에 맞추기 위해 Flutter앱에서 키체인 조회 메소드를 호출하는 코드에서 accountName를 앱 번들 아이디로 설정했다. (물론 기존 유저를 위한 마이그레이션 작업도 필요하다.)
그리고 expo-secure-store 패키지를 사용하는 사람이라면 여기에서 코드를 볼 수 있다.
마무리
각 앱의 상황에 맞게 키체인 요청전략을 완성했다면 Flutter앱을 구동시켜 로그인한 후, React Native앱을 실행해보자.
const credential = await Keychain.getGenericPassword();
console.log(JSON.parse(credential));

// {
//   username: '${my-access-token-key}',
//   storage: keychain,
//   password: '${my-access-token}',
//   service: '${my-bundle-id}'
// }