알림 띄우기
알림
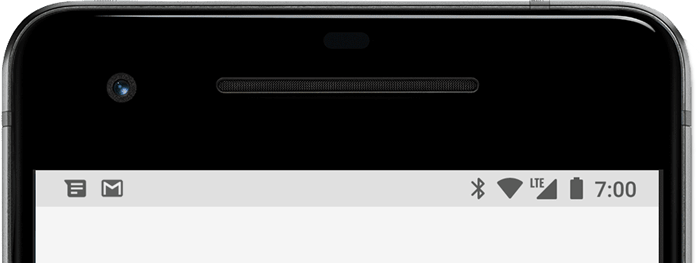
상태바에 앱의 정보를 출력하는 것을 알림이라고 한다.
<uses-permission android:name="android.permission.POST_NOTIFICATIONS"/>API Level 33 부터는 퍼미션을 요청해야 한다.
알림을 위한 API 순서는 다음과 같다.
1. NotificationChannel로 알림채널을 생성
2. NotificationCompat.Builder()에 위의 알림채널을 넣고 Notification 객체를 생성
3. NotificationManager.notify()에 위의 객체를 대입한다.
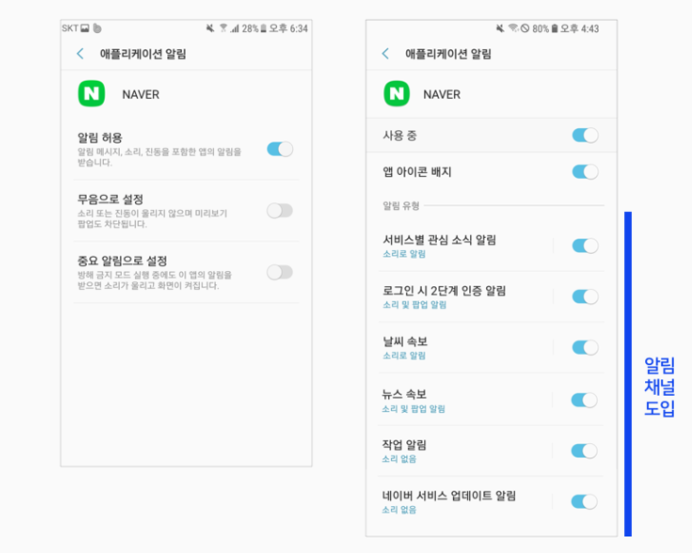
API레벨 26버전에서 채널이라는 개념이 추가되었다.
이는 앱의 알림을 채널로 구분하겠다는 의도이다.
알림 채널의 도입으로 하나의 앱에 대해서 여러개의 알림을 설정할 수 있다.
알림 빌더 작성
val manager = getSystemService(NOTIFICATION_SERVICE) as NotificationManager
val builder: NotificationCompat.Builder

if (Build.VERSION.SDK_INT >= Build.VERSION_CODES.O) {
        val channelId = "one channel"
        val channelName = "My Channel One"
        val channel = NotificationChannel(
            channelId,
            channelName,
            NotificationManager.IMPORTANCE_HIGH
        )

        // 채널에 다양한 정보 설정
        channel.description = "My Channel One Description"
        channel.setShowBadge(true)
        val uri: Uri = RingtoneManager.getDefaultUri(RingtoneManager.TYPE_NOTIFICATION)
        val audioAttributes = AudioAttributes.Builder()
            .setContentType(AudioAttributes.CONTENT_TYPE_SONIFICATION)
            .setUsage(AudioAttributes.USAGE_ALARM)
            .build()
        channel.setSound(uri, audioAttributes)
        channel.enableLights(true)
        channel.lightColor = Color.RED
        channel.enableVibration(true)
        channel.vibrationPattern = longArrayOf(100, 200, 100, 200)

        // 채널을 NotificationManager에 등록
        manager.createNotificationChannel(channel)

        builder = NotificationCompat.Builder(this, channelId)
    } else {
        builder = NotificationCompat.Builder(this)
    }
알림 객체 설정 및 발생
builder.setSmallIcon(android.R.drawable.ic_notification_overlay)
builder.setWhen(System.currentTimeMillis())
builder.setContentTitle("Content Title")
builder.setContentText("Content Message")

manager.notify(11, builder.build())

...

manager.cancel(11) // 알림을 취소할 때 사용builder.setAutoCancel(false) // 알림을 터치해도 사라지지 않음
builder.setOngoing(true) // 알림을 스와이프해도 사라지지 않는다.알림 구성
알림 터치 이벤트
알림은 시스템에서 관리하는 상태 바에 출력하는 정보이다.
따라서 앱의 터치 이벤트 onTouchEvent() 함수로 처리할 수 없다.
알림을 터치했을 때 실행해야 하는 정보를 Notification 객채에 담아 두고, 이벤트가 발생하면 객체에 등록된 이벤트 처리 내용을 시스템이 실행한다.
인텐트를 준비한 후 Notitication 객체에 담아서 이벤트가 발생할 때 인텐트를 실행해 달라고 시스템에 의뢰해야 한다.
이러한 의뢰는 PendingIntent 클래스를 이용한다.
val intent = Intent(this, DetailActivity::class.java)	//	DetailActivity 액티비티의 실행 정보
val pendingIntent =
	PendingIntent.getActivity(this, 10, intent, PendingIntent.FLAG_IMMUTABKE)

builder.setContentIntent(pendingIntent)	// 터치 이벤트 등록
액션
액션도 사용자 이벤트 처리가 목적이다.
따라서 실행할 인텐트 정보를 PendingIntent로 구성해서 등록한다.
addAction() 함수를 이용한다.
val actionIntent = Intent(this, OnReceiver::class.java)
val actionPendingIntent = PendingIntent.getBroadcast(this, 20, actionIntent, PendingIntent.FLAG_IMMUTABLE)
builder.addAction(
NotificationCompat.Action.Builder(
android.R.drawable.stat_notify_more,
"Action",
actionPendingIntent
).build()
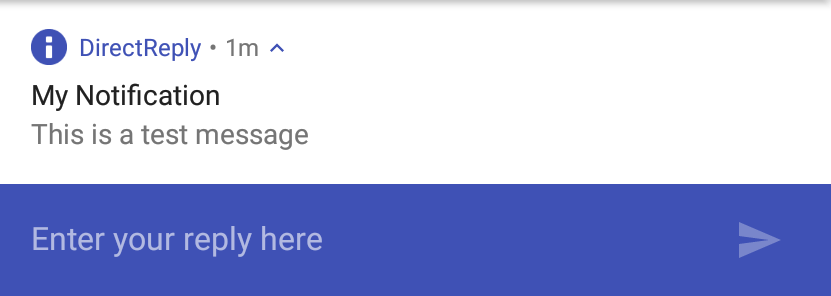
)원격 입력
알림에서 사용자 입력을 직접 받는 기법
// 원격 입력
val KEY_TEXT_REPLY = "key_text_reply"
var replyLabel: String = "답장"
var remoteInput: RemoteInput = RemoteInput.Builder(KEY_TEXT_REPLY).run {
    setLabel(replyLabel)
    build()
}

// 인텐트 준비
val replyIntent = Intent(this, ReplyReceiver::class.java)
val replyPendingIntent = PendingIntent.getBroadcast(this, 30, replyIntent, PendingIntent.FLAG_MUTABLE)

// 원격 입력 액션 등록하기
builder.addAction(
    NotificationCompat.Action.Builder(
        R.drawable.send,
         "답장",
        replyPendingIntent
    ).addRemoteInput(remoteInput).build()
)
프로그레스
일의 진행 상황을 알려주는 알림
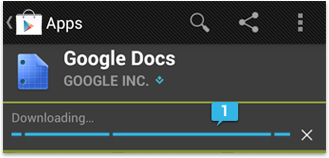
빌더에 setProgress() 함수만 추가해주면 자동으로 나온다.
open fun setProgress(max: Int, progress: Int, interminate: Boolean): Notification.Builder