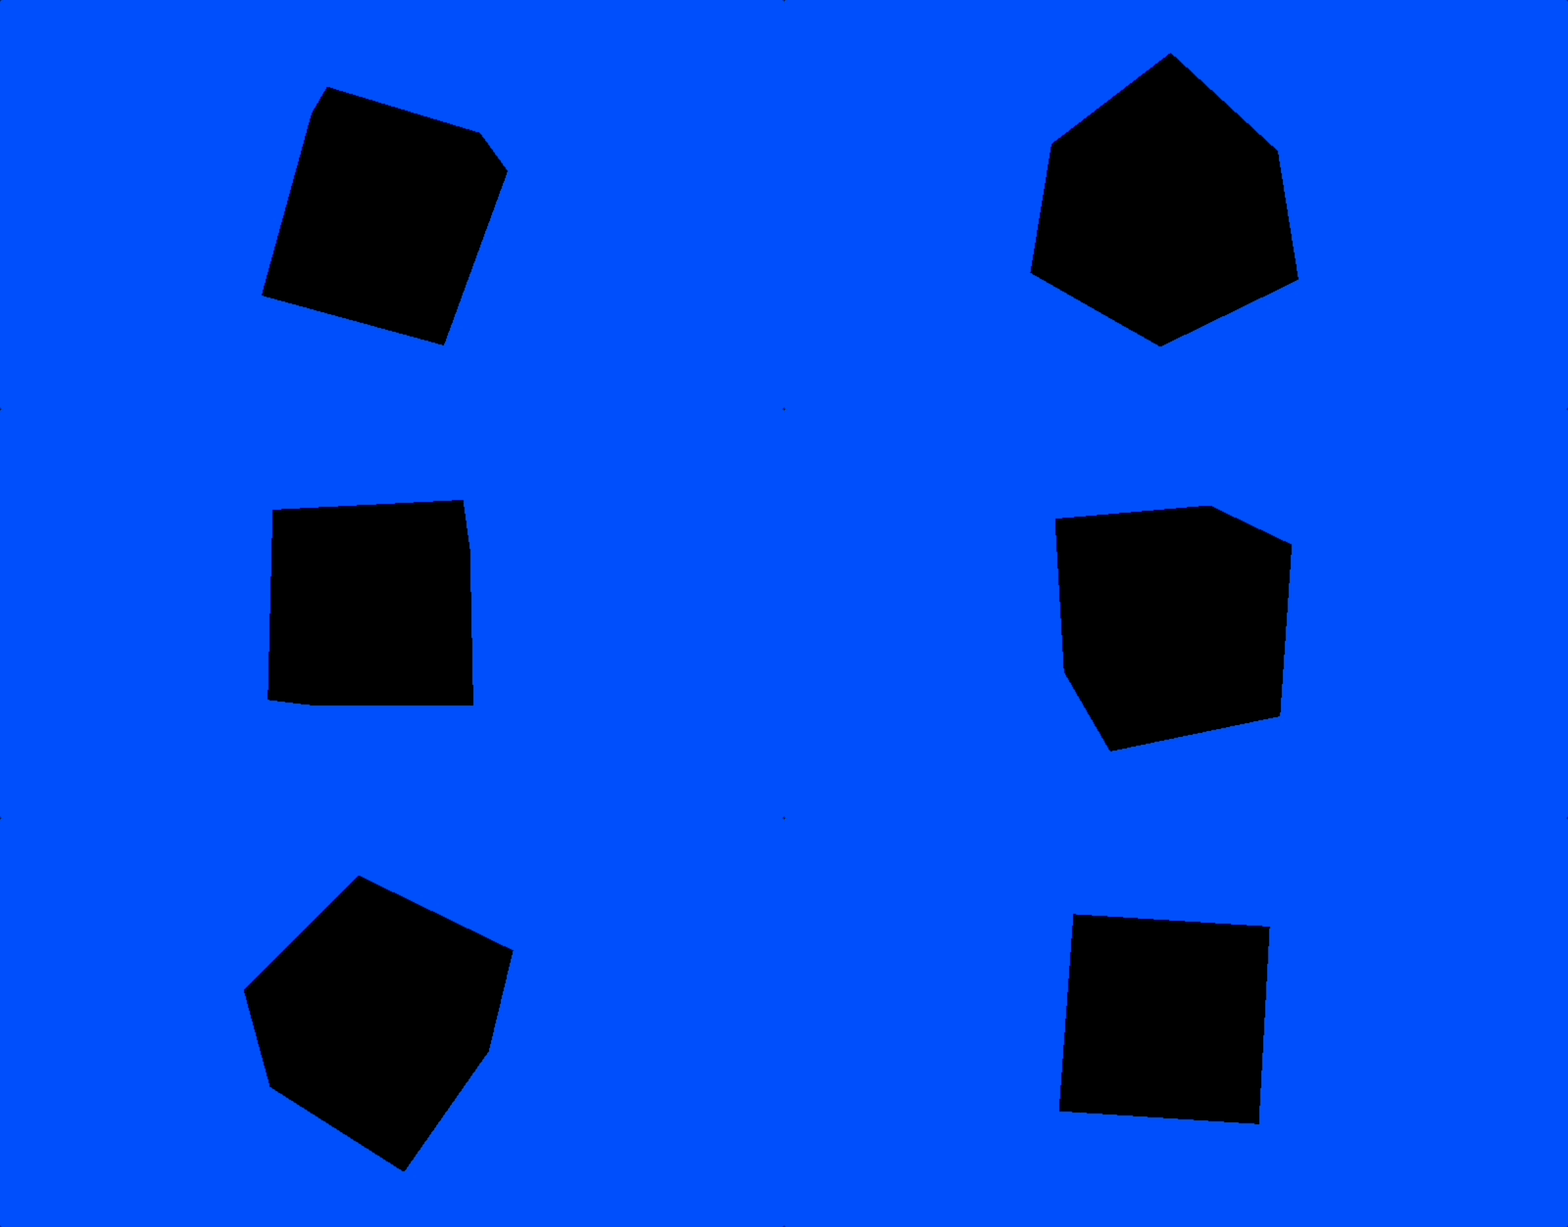
🧩 전체 코드
import * as THREE from 'three'
import { WEBGL } from './webgl'

if (WEBGL.isWebGLAvailable()) {
  // 장면
  const scene = new THREE.Scene()
  scene.background = new THREE.Color(0x004fff)

  // 카메라
  const camera = new THREE.PerspectiveCamera(
    75,
    window.innerWidth / window.innerHeight,
    0.1,
    1000
  )
  camera.position.z = 2

  // 렌더러
  const renderer = new THREE.WebGLRenderer()
  renderer.setSize(window.innerWidth, window.innerHeight)

  document.body.appendChild(renderer.domElement)

  // 매쉬
  const geometry = new THREE.BoxGeometry(0.5, 0.5, 0.5)
  const material = new THREE.MeshStandardMaterial({
    color: 0x999999,
  })
  const cube = new THREE.Mesh(geometry, material)
  scene.add(cube)

  function render(time) {
    time *= 0.001

    cube.rotation.x = time
    cube.rotation.y = time

    renderer.render(scene, camera)

    requestAnimationFrame(render)
  }

  requestAnimationFrame(render)
} else {
  var warning = WEBGL.getWebGLErrorMessage()
  document.body.appendChild(warning)
}
1. 필수 라이브러리 import
import * as THREE from 'three'
import { WEBGL } from './webgl'three.js라이브러리에서 모든 객체를THREE라는 네임스페이스로 가져옵니다../webgl모듈에서WEBGL객체를 가져옵니다. 이는 브라우저가 WebGL을 지원하는지 확인하는 유틸입니다.
2. WebGL 지원 여부 확인
if (WEBGL.isWebGLAvailable()) {
  // WebGL을 지원하면 아래 코드 실행
} else {
  var warning = WEBGL.getWebGLErrorMessage()
  document.body.appendChild(warning)
}- 브라우저가 WebGL을 지원하는지 확인합니다.
- 지원하지 않으면 경고 메시지를 화면에 표시하고 렌더링을 하지 않습니다.
3. 장면(Scene) 만들기
const scene = new THREE.Scene()
scene.background = new THREE.Color(0x004fff)Scene은 3D 오브젝트들이 배치될 공간입니다.- 배경 색상은 파란색으로 설정했습니다.
4. 카메라(Camera) 설정
const camera = new THREE.PerspectiveCamera(
  75,
  window.innerWidth / window.innerHeight,
  0.1,
  1000
)
camera.position.z = 2- 원근 투영 카메라를 생성합니다.
75: 시야각aspect: 화면 비율0.1 ~ 1000: 클리핑 거리
- 카메라를 z축으로 2만큼 이동시켜 장면을 좀 더 멀리서 보게 합니다.
5. 렌더러(Renderer) 설정
const renderer = new THREE.WebGLRenderer()
renderer.setSize(window.innerWidth, window.innerHeight)
document.body.appendChild(renderer.domElement)WebGLRenderer를 생성하여 화면에 그릴 준비를 합니다.- 캔버스 크기를 브라우저 전체 크기에 맞게 설정합니다.
- 생성된 canvas를 DOM에 추가하여 실제로 브라우저에 표시합니다.
6. 큐브 만들기
Geometry + Material + Mesh
const geometry = new THREE.BoxGeometry(0.5, 0.5, 0.5)
const material = new THREE.MeshStandardMaterial({ color: 0x999999 })
const cube = new THREE.Mesh(geometry, material)
scene.add(cube)- 큐브 형태의 기하 구조(
BoxGeometry)를 생성합니다. - 회색 재질(
MeshStandardMaterial)을 설정합니다. - geometry와 material을 결합해 큐브 메쉬를 만들고 장면에 추가합니다.
❗ MeshStandardMaterial은 광원(Light)의 영향을 받는 재질이기 때문에 조명이 없으면 큐브가 검게 보일 수 있습니다. 따라서 DirectionalLight나 AmbientLight와 같은 조명을 추가해줘야 큐브 색상이 정상적으로 보입니다.
7. 애니메이션 루프(렌더링 반복)
function render(time) {
  time *= 0.001

  cube.rotation.x = time
  cube.rotation.y = time

  renderer.render(scene, camera)
  requestAnimationFrame(render)
}

requestAnimationFrame(render)requestAnimationFrame()을 이용해 부드러운 애니메이션을 만듭니다.time은 초 단위로 변환하여 큐브를 회전시킵니다.- 매 프레임마다
scene과camera를 이용해 화면을 다시 그립니다.

공부합니다.