안드로이드와 스프링 부트 연결 관계

- 서버에서는 JSON형식으로 많이 전송한다.
[Android]
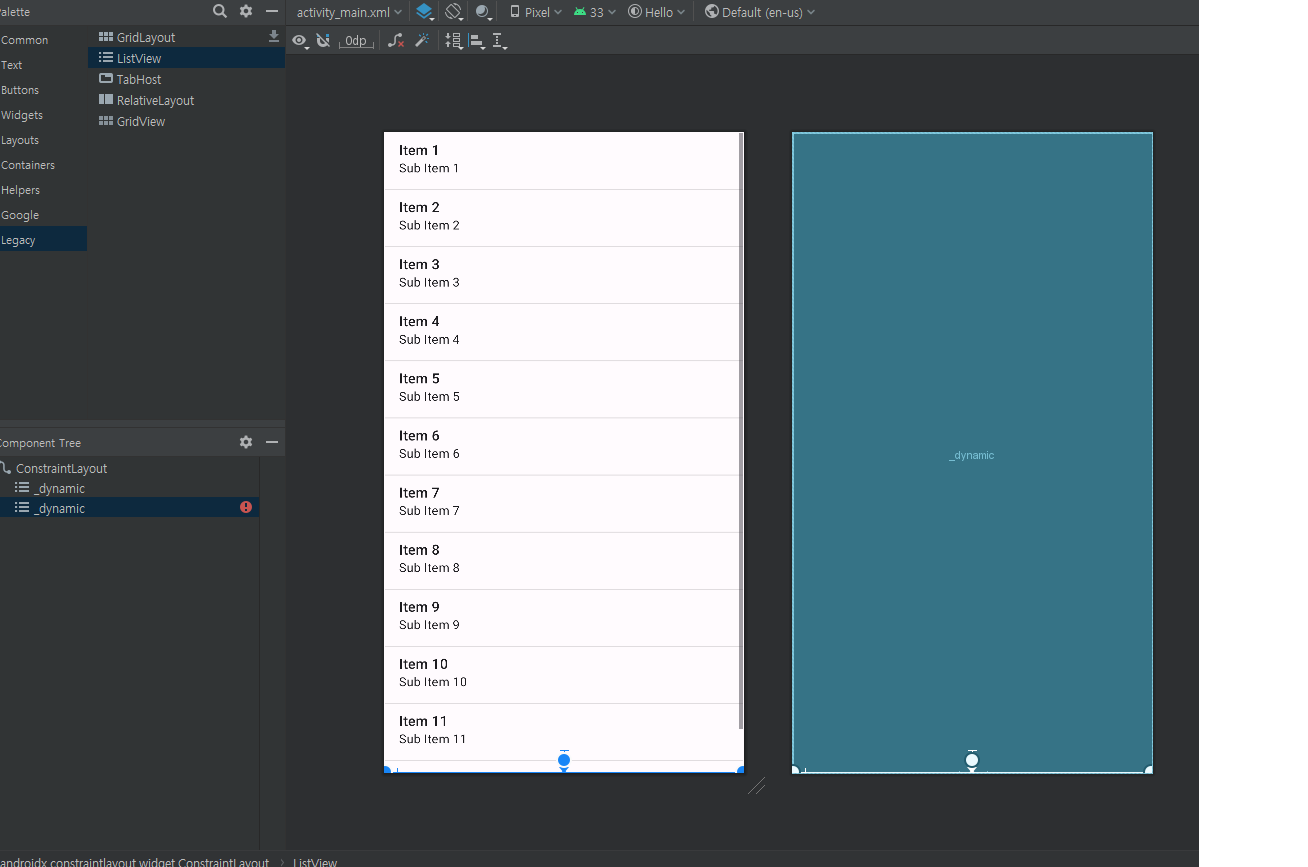
- layout 에서 listView를 만들고 id를 listView를 부여해준다.
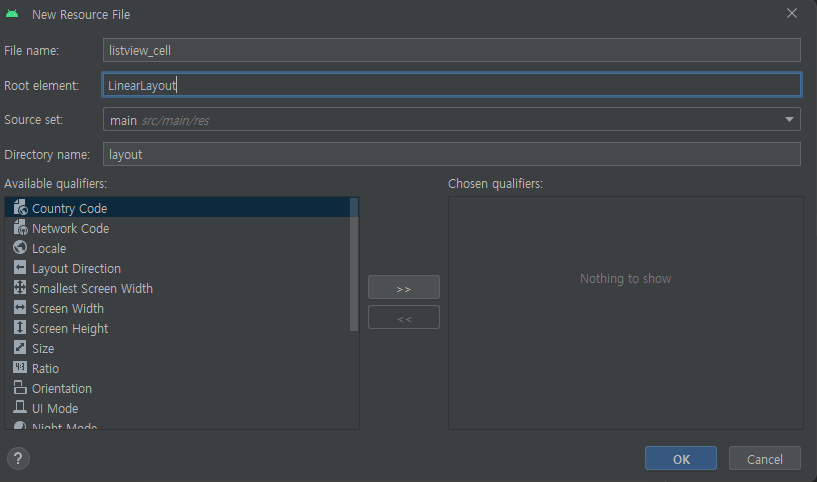
- 새로운 layout Resource file을 만들어주고 Root Element는 linearLayout으로 만들어 준다.
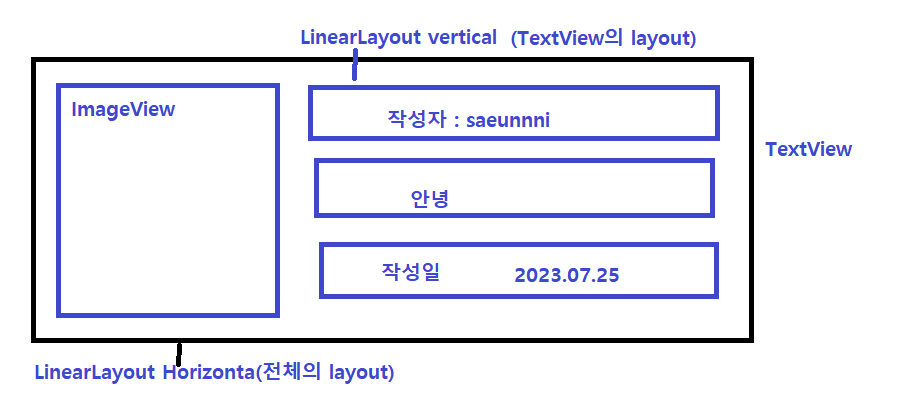
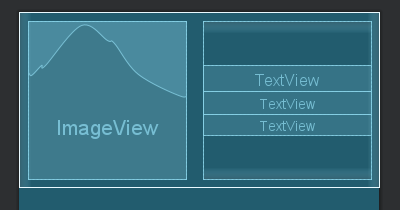
이러한 형태로 만들 예정 !
[activity_main.xml]
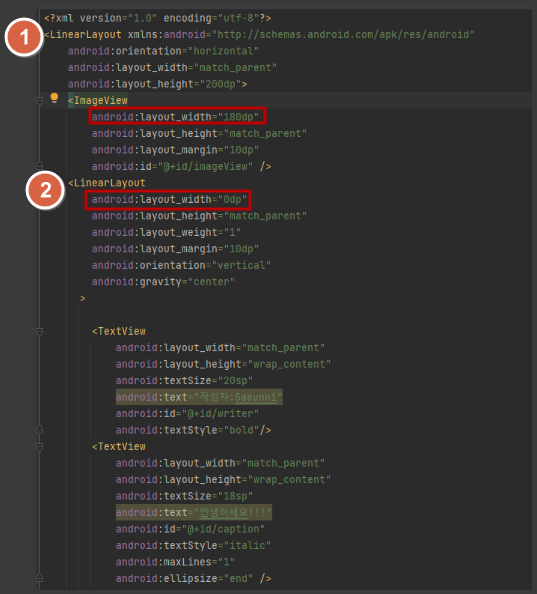
(두개의 LinearLayout으로 감쌀 예정이다 )
안드로이드는 절대적인 크기로 지정하기 힘들기 때문에
하나만 절대적인 크기로 지정하고 나머지가 영역을 차이 할 수 있게 설정해주는 것이 좋다 .
그래서 imgae의 width를 180으로 정하고
나머지 LinearLayout의 width를 0으로 설정하고 weight를 1로 잡아주면
나머지의 영역을 차이 할 수 있다.
이러한 형태로 layout의 코드를 작성하면 아래와 같이 나타난다.
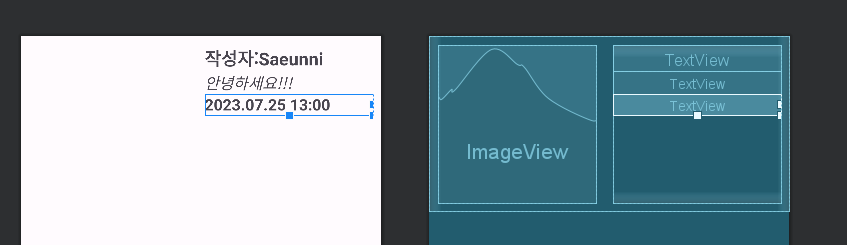
Gravity 설정으로 textView의 위치를 설정할 수 있음
[GalleryDto]
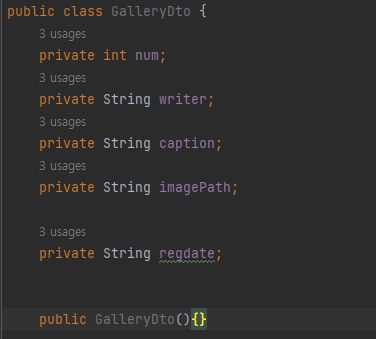
construtor와 setter,getter도 만들어준다 !
[GalleryAdater]
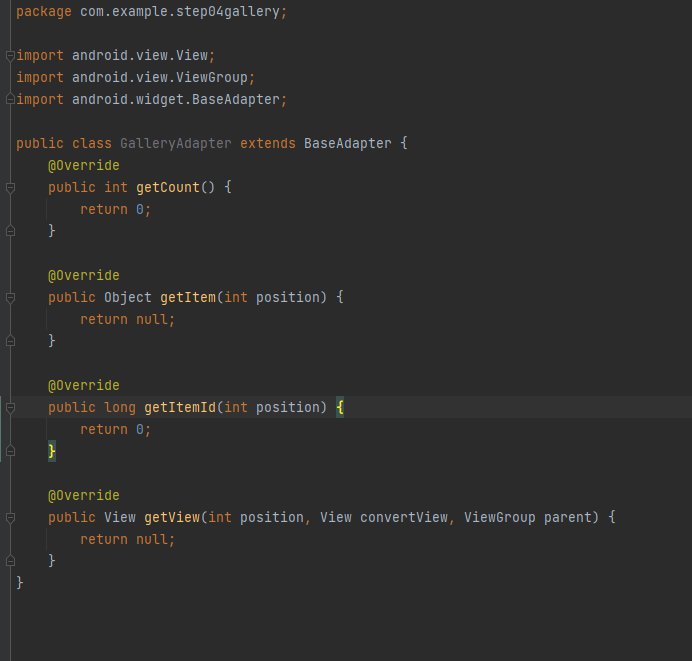
baseAdapter를 extend해주고 implment 메소드를 만들어준다.
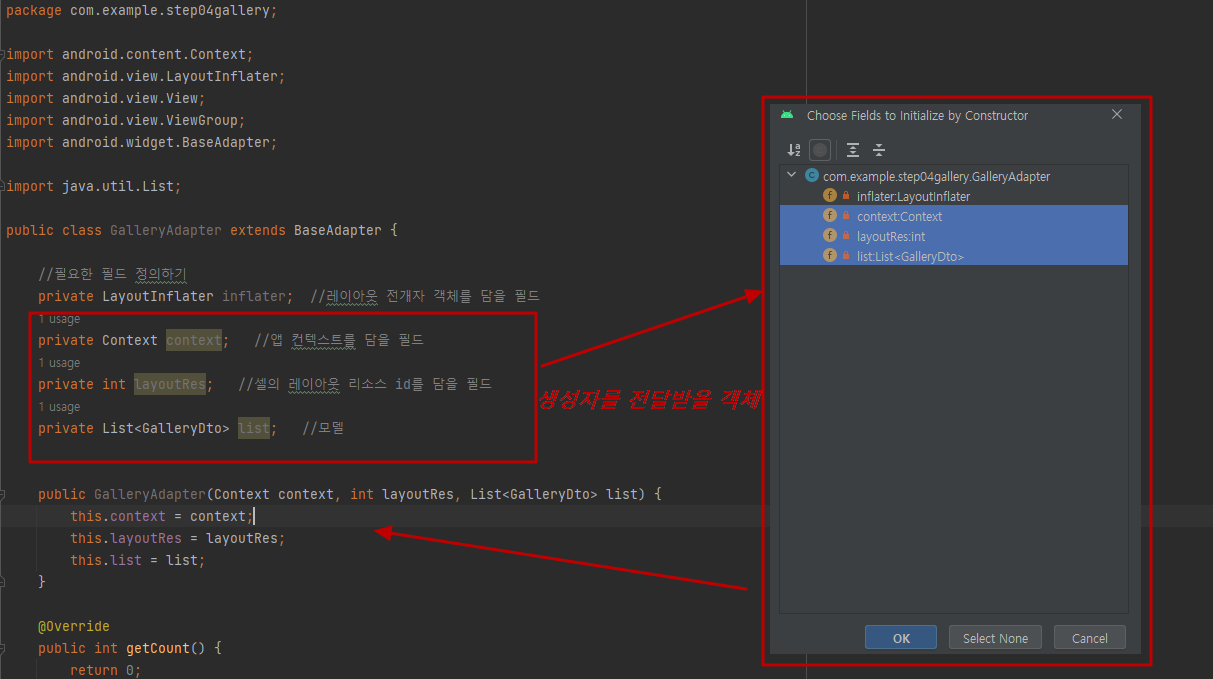
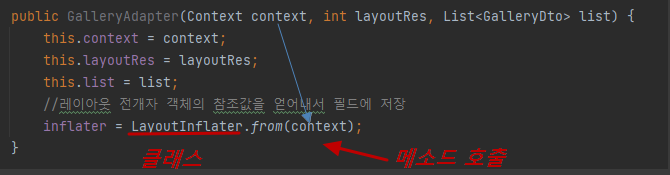
- layout전개자의 객체를 이용해서 view를 만들겠다.
- 레이아웃 전개자(LayoutInflater)는 안드로이드에서 XML 레이아웃 파일을 실제 뷰(View) 객체로 만들어주는 역할을 한다.
- LayoutInflater를 통해 from메서드에 context를 담아서 inflater에 담아준다.
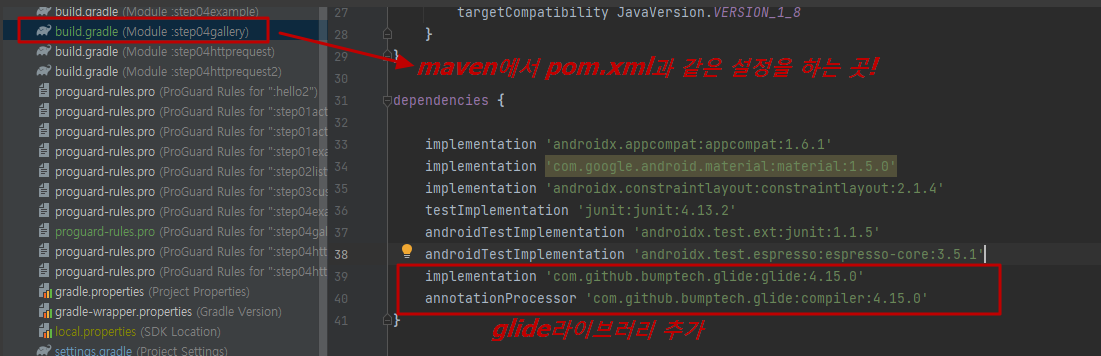
아래 문자열을 gradle dependency에 추가
implementation 'com.github.bumptech.glide:glide:4.15.0'
    annotationProcessor 'com.github.bumptech.glide:compiler:4.15.0'
override한 메소드 안에 작성 할 코드!
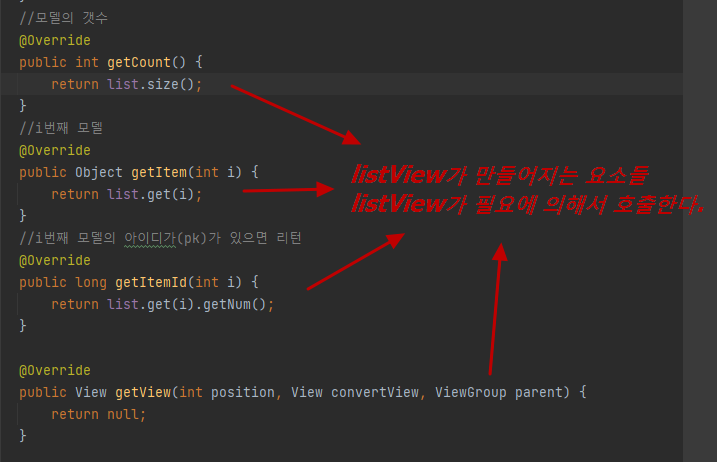
	//모델의 갯수
    @Override
    public int getCount() {

        return list.size();
    }
    //i번째 모델
    @Override
    public Object getItem(int i) {
        return list.get(i);
    }
    //i번째 모델의 아이디가(pk)가 있으면 리턴
    @Override
    public long getItemId(int i) {

        return list.get(i).getNum();
    }
    //i번째 cell의 view를 만들거나 수정해서 리턴
    @Override
    public View getView(int position, View convertView, ViewGroup viewGroup) {

        if(convertView == null){
            //레이아웃 전개자를 이용해서 cell view를 만든다.
            //(cellview를 만들기 위해서는 layoutresource가 필요하다)
            //layoutRes = R.layout
            convertView=inflater.inflate(layoutRes, viewGroup, false);
        }
        // position 에 해당하는 GalleryDto 를 얻어내서
        GalleryDto dto=list.get(position);
        ImageView imageView=convertView.findViewById(R.id.imageView);
        TextView textWriter=convertView.findViewById(R.id.writer);
        TextView textCaption=convertView.findViewById(R.id.caption);
        TextView textRegdate=convertView.findViewById(R.id.regdate);
        //TextView에는 작성자, 제목, 등록일을 출력하고
        textWriter.setText(dto.getWriter());
        textCaption.setText(dto.getCaption());
        textRegdate.setText(dto.getRegdate());
        //ImgaeView에는 Glide를 이용해서 이미지를 출력하기
        //glide가 복잡한 view를 알아서 ?  데리고 와주고 사용이 끝나면 해제까지 해줌 !(glide라이브러리)
        Glide.with(context)
                .load(dto.getImagePath())
                .centerCrop()
                .placeholder(R.drawable.ic_launcher_background)
                .into(imageView);
        //gallery정보가 출력된 View객체 리턴해주기
        return convertView;
}- glide 라이브러리의 역할 : 이미지를 로드하고 보여주는 과정을 간편하게 처리하기 위해 사용되는 오픈소스 라이브러리. 이미지를 빠르게 로딩하고 메모리 관리, 캐싱, 이미지 리사이징등을 지원하여 앱의 성능을 향상시킨다.
[androidController]
- SpirngBoot에서 androidController 코드 입력!
	@Autowired GalleryDao galleryDao;

	@GetMapping("/android/gallery/list")
	//20개만 select해오도록 GalleryDto에 정보 담기
	public List<GalleryDto> galleryList(){
		GalleryDto dto = new GalleryDto();
		dto.setStartRowNum(1);
		dto.setEndRowNum(20);
		//GalleryDao 객체가 리턴해주는 데이터를 바로 리턴해주기
		return galleryDao.getList(dto);
	}
localhost/android/gallery/list에서 확인해보면 ! json배열을 확인 할 수 있다!
[MainActivity]
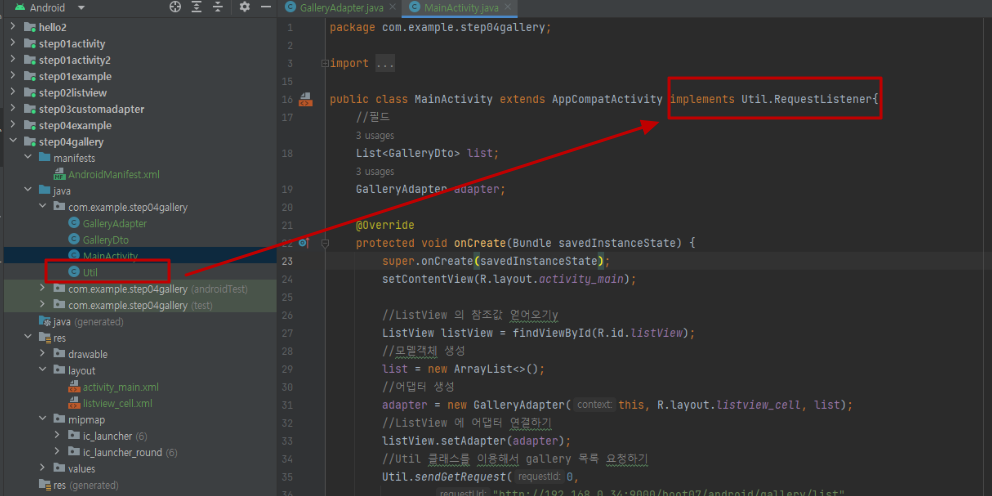
- 지난 시간에 작성했던 Util 클래스를 가져와서 mainactivity에 상속 시킨다.
	@Override
    protected void onCreate(Bundle savedInstanceState) {
        super.onCreate(savedInstanceState);
        setContentView(R.layout.activity_main);

        //ListView 의 참조값 얻어오기y
        ListView listView = findViewById(R.id.listView);
        //모델객체 생성
        list = new ArrayList<>();
        //어댑터 생성
        adapter = new GalleryAdapter(this, R.layout.listview_cell, list);
        //ListView 에 어댑터 연결하기
        listView.setAdapter(adapter);
        //Util 클래스를 이용해서 gallery 목록 요청하기
        Util.sendGetRequest(0,
                "http://192.168.0.34:9000/boot07/android/gallery/list",
                null,
                this);
    }
    @Override
    public void onSuccess(int requestId, Map<String, Object> result) {
        if(requestId==0){
            //Map 에는 "data" 라는 키값으로 [{}, {}, {}] 형식의 json 문자열이 들어 있다.
            String json = (String) result.get("data");
            try {
                JSONArray arr = new JSONArray(json);
                //반복문 돌면서 JSONObject 객체를 하나씩 얻어낸다.
                for(int i=0; i<arr.length(); i++){
                    JSONObject tmp = arr.getJSONObject(i);
                    //JSONObject 안에 있는 정보를 추출해서 GalleryDto 에 담는다.
                    GalleryDto dto = new GalleryDto();
                    dto.setNum(tmp.getInt("num"));
                    dto.setWriter(tmp.getString("writer"));
                    dto.setCaption(tmp.getString("caption"));
                    String url = "http://192.168.0.34:9000/boot07/gallery/images/"+tmp.getString("imagePath");
                    dto.setImagePath(url);
                    //GalleryDto 를 list 에 누적시킨다.
                    list.add(dto);
                }
                //모델이 업데이트 되었다고 어댑터에 알려서 ListView 가 업데이트 되도록 한다.
                adapter.notifyDataSetChanged();
            } catch (JSONException e) {
                throw new RuntimeException(e);
            }
        }
}- 현재 list의 목록은 없지만 Util 클래스를 이용해서 gallery 목록 요청한다.
spring에서 받아온 JSONObject를 이용해서 GalleryDto에 담아주고 list에 누적시킨다.
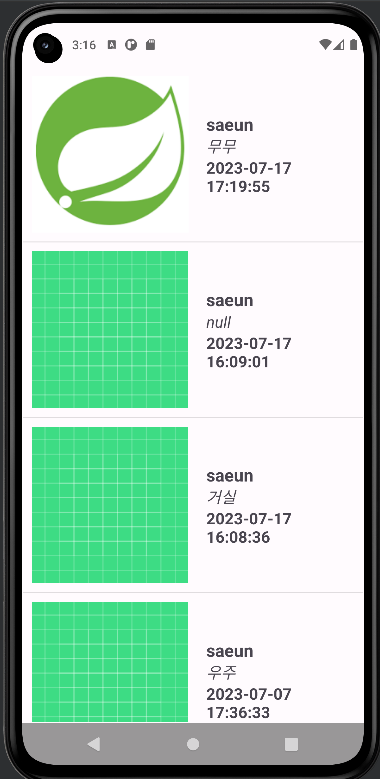
- springBoot에서 받아온 GaelleryList를 화면에 나타냈다!

새니의 뒤죽박죽 개발 일기📝