구글 로그인 에러(feat. 공식문서)
현재 진행하고 있는 사이드 프로젝트에서 nextjs 이용해서 풀스택으로 개발하고 있다.
next-auth를 활용하여 구글 소셜 로그인을 이용하고 있는데 공식문서를 참조하여 셋팅을 해보아도 계속해서 다음과 같이 에러가 발생하였다.
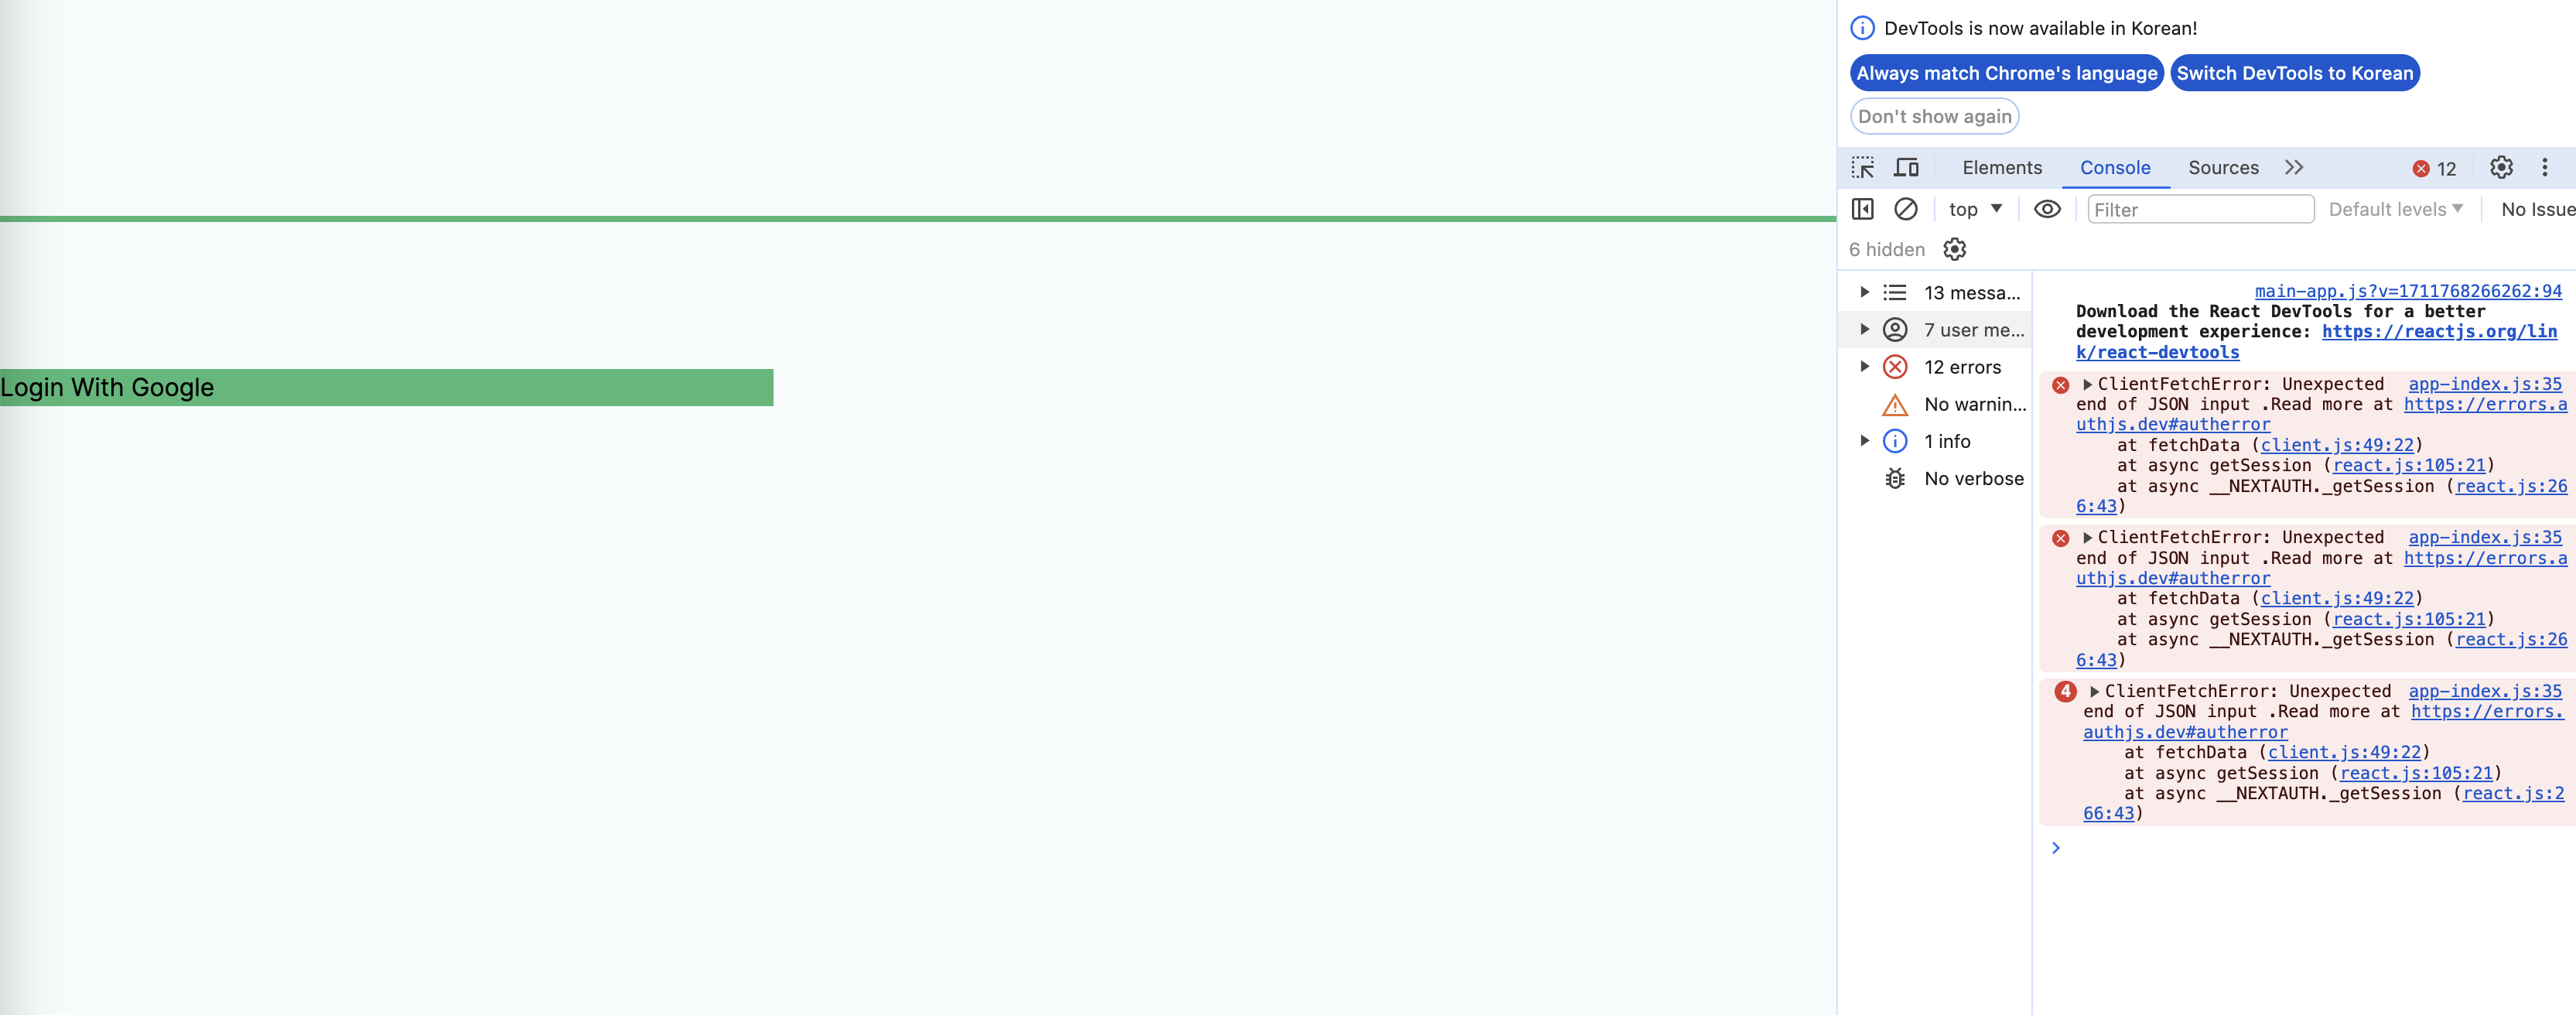
app-index.js:35 ClientFetchError: Unexpected end of JSON input .Read more at https://errors.authjs.dev#autherror
at fetchData (client.js:49:22)
at async getSession (react.js:105:21)
at async __NEXTAUTH._getSession (react.js:266:43)
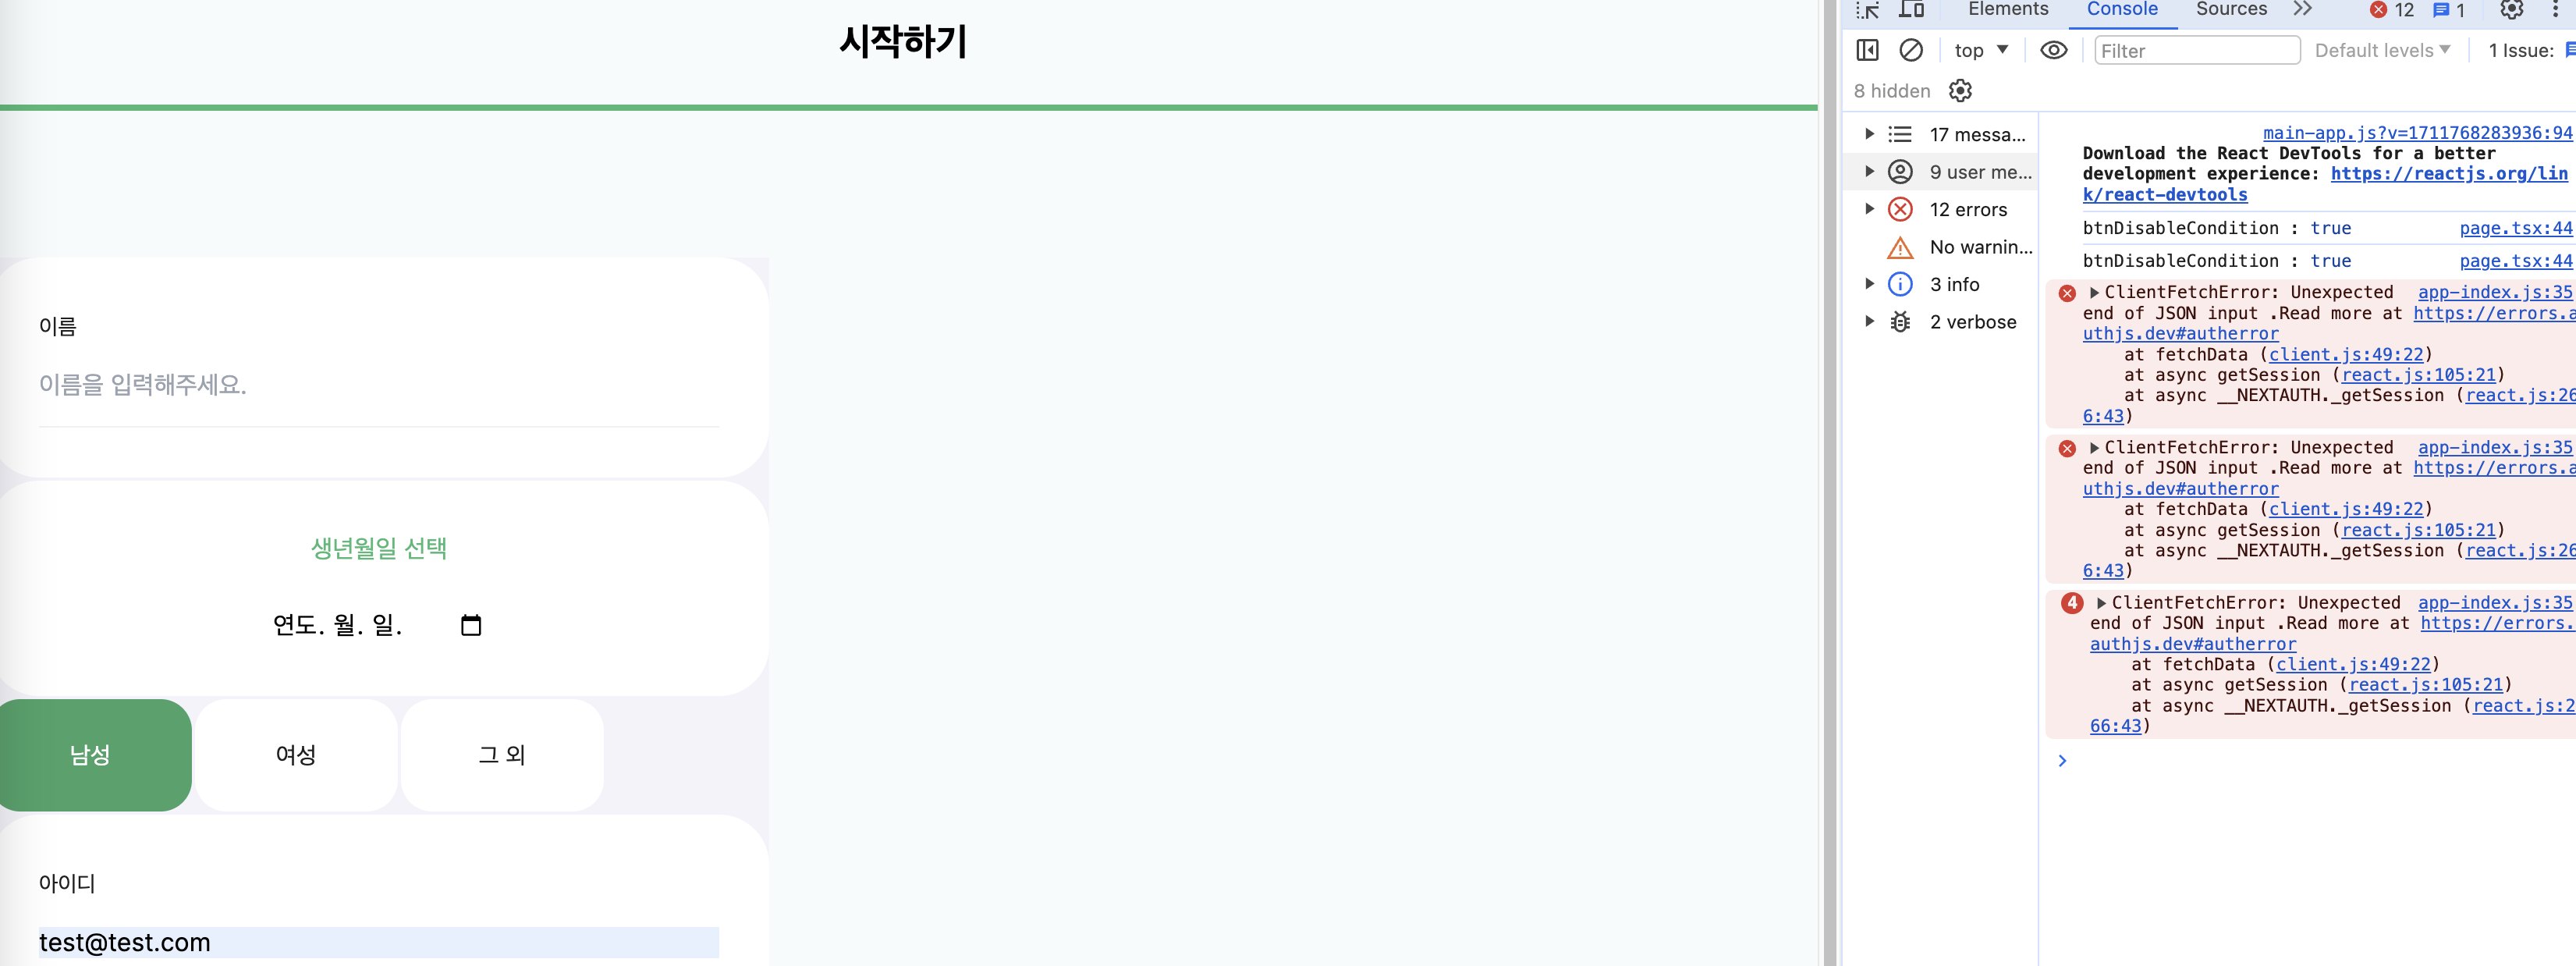
위와 같이 모든 페이지에서 동일한 에러가 발생하였다.
구글 로그인을 하는 테스트 페이지 코드는 다음과 같다.
"use client";
import LevelStatusBox from "@/components/ui/LevelStatusBox";
import { signIn, useSession, signOut } from "next-auth/react";
import React from "react";


export default function TestPage() {
  const { data: session } = useSession();

  return (
    <div className="bg-Primary">
      {session ? ( //세션 정보가 있으면 signOut()호출
        <button onClick={() => signOut()}>Logout</button>
      ) : (
        //세션 정보가 없으면 signIn()호출
        <button onClick={() => signIn("google")}>Login With Google</button>
      )}
    </div>
  );
}
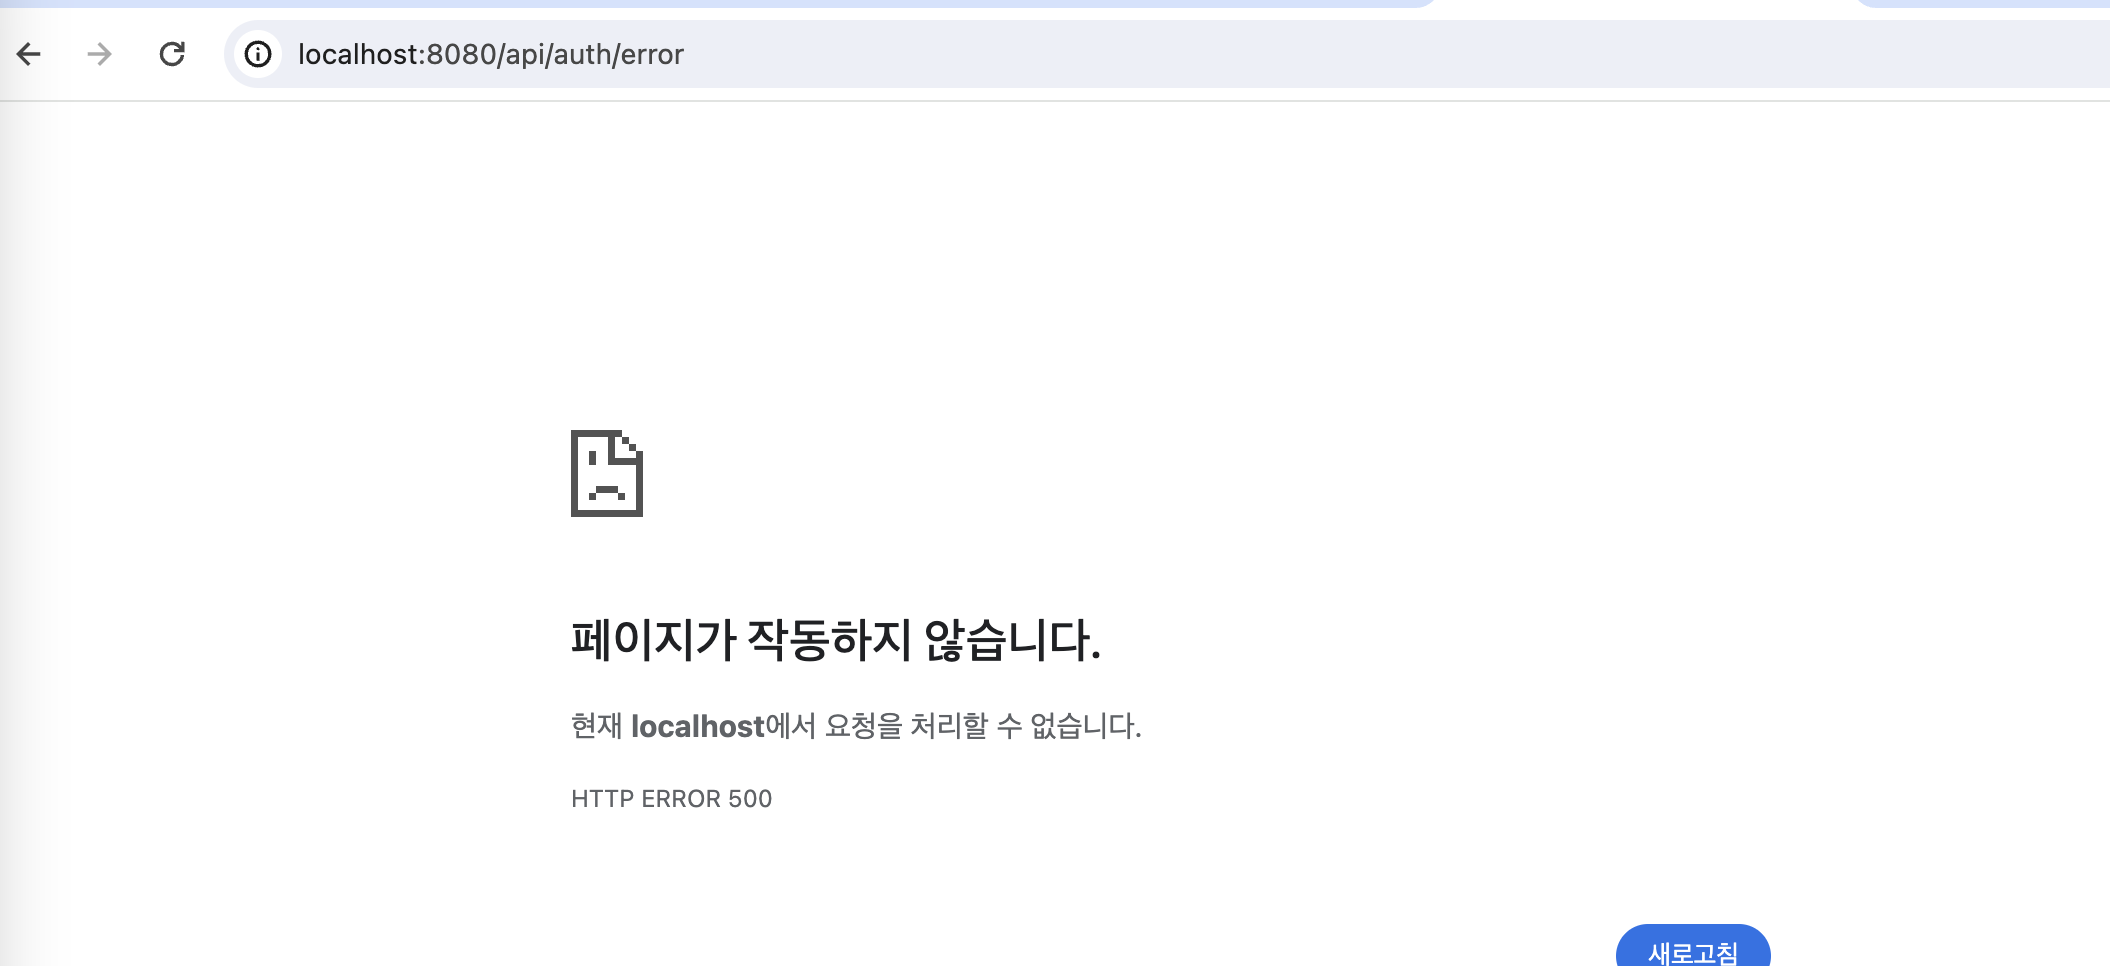
Login With Google 버튼을 누르면 구글 소셜로그인 창으로 리다이렉트 되야하는게 정상인데 계속하여 다음 화면이 뜬다.
원인은? next-auth 버전에 따른 셋팅 설정
현재 next-auth 5 버전을 사용하고 있다.

우선 결론적으로 next-auth 5 관련한 셋팅 방법이 아닌 next-auth4에 맞는 셋팅 방법으로 구상하여 에러가 발생한 것 같다.
참고로 프로젝트 폴더 구조는 src 내부에 app 디렉터리가 있다.(그리고 app 디렉터리 모드 사용중이며 nextjs14 버전)
Fail setting for next-auth4(Before)
기존에는 다음과 같이 설정하였다.
1. 아래 경로에서 다음과 같이 NextAuth 및 구글 로그인 관련한 설정 코드를 입력해준다.
src/app/api/auth/[...nextauth]/route.ts
import NextAuth from "next-auth";
import GoogleProvider from "next-auth/providers/google";

const authOption = {
    providers: [
        GoogleProvider({
            clientId: process.env.GOOGLE_CLIENT_ID,
            clientSecret: process.env.GOOGLE_CLIENT_SECRET,
        }),
    ],
    secret: process.env.NEXTAUTH_SECRET,
};

const handler = NextAuth(
    //NextAuth.js를 사용하여 인증과 관련된 작업을 처리하는 핵심 함수이다.
    authOption
);
export {handler as GET, handler as POST};- 루트 레이아웃 페이지에서 다음과 같이 SessionProvider로 감싸준다.
src/app/layout.tsx
import { SessionProvider } from "next-auth/react";

type Props = {
  children: React.ReactNode;
};

export default function AuthContext({ children }: Props) {
  return <SessionProvider>{children}</SessionProvider>;
}


export default function RootLayout({
  children,
}: Readonly<{
  children: React.ReactNode;
}>) {
  return (
    <html lang="en">
      <AuthContext>
        <body className={inter.className}>
          <Header />
          <main className="max-w-[500px] h-full">{children}</main>
        </body>
      </AuthContext>
    </html>
  );
}
Success setting for next-auth 5(After)
설정에 성공한 코드는 다음과 같다.
- 아래 경로에서 다음과 같이 NextAuth 및 구글 로그인 관련한 설정 코드를 입력해준다.
src/middleware.ts
import NextAuth from 'next-auth';
import { authConfig } from './auth.config';

export default NextAuth(authConfig).auth

export const config = {
    // https://nextjs.org/docs/app/building-your-application/routing/middleware#matcher
    matcher: ['/((?!api|_next/static|_next/image|.*\\.png$).*)'],
};
src/auth.config.ts
import type {NextAuthConfig} from 'next-auth';

export const authConfig = {
    pages: {
        // signIn: '/login'
    },
    callbacks: {
       // async authorized({ auth, request: { nextUrl } }) {
       //      const isLoggedIn = !!auth?.user;
       //      const isLoginPage = nextUrl.pathname.startsWith('/login')
       //
       //     // 로그인이 되어있는 상태에서 로그인 페이지에 진입하면 메인 페이지로 리다이렉션해줍니다.
       //     if(isLoggedIn &&isLoginPage ){
       //         return Response.redirect(new URL('/main', nextUrl));
       //     }
       //     return isLoggedIn
       // },
       //  // 로그인 이후, 기본 페이지로 이동합니다.
       //  async redirect({ url, baseUrl }) {
       //      return baseUrl
       //  }
    },
    providers: [],
} satisfies NextAuthConfig
src/auth.ts
import NextAuth from 'next-auth';
import {authConfig} from './auth.config';
import Credentials from 'next-auth/providers/credentials';
import {z} from "zod";

import {getUser} from "@/app/server/api/auth/auth";
import GoogleProvider from "next-auth/providers/google";


export const {handlers: {GET, POST}, auth, signIn, signOut} = NextAuth({
    ...authConfig,
    providers: [Credentials({
        async authorize(credentials) {
            const parsedCredentials = z
                .object({email: z.string().email(), password: z.string().min(6)})
                .safeParse(credentials);

            if (parsedCredentials.success) {
                const {email, password} = parsedCredentials.data;
                const user = await getUser(email);

                if (!user) return null;

                // return user
                // const passwordsMatch = await bcrypt.compare(password, user.password);
                //
                // if (passwordsMatch) return user;

            }
            console.log('Invalid credentials');
            return null;
        },
    }),
        GoogleProvider({
            clientId: process.env.GOOGLE_CLIENT_ID,
            clientSecret: process.env.GOOGLE_CLIENT_SECRET,
        }),

    ],
    secret: process.env.NEXTAUTH_SECRET,


});
src/app/api/auth/[...nextauth]/route.ts
export {GET, POST} from "@/auth";- Before와 동일하게 루트 레이아웃 페이지에서 다음과 같이 SessionProvider로 감싸준다.
src/app/layout.tsx
import { SessionProvider } from "next-auth/react";

type Props = {
  children: React.ReactNode;
};

export default function AuthContext({ children }: Props) {
  return <SessionProvider>{children}</SessionProvider>;
}


export default function RootLayout({
  children,
}: Readonly<{
  children: React.ReactNode;
}>) {
  return (
    <html lang="en">
      <AuthContext>
        <body className={inter.className}>
          <Header />
          <main className="max-w-[500px] h-full">{children}</main>
        </body>
      </AuthContext>
    </html>
  );
}
그래서 뭐가 변경된거야?
결론적으로 NextAuth 내부에서 소셜로그인 및 로그인 관련 설정을 providers 속성 내부에 배열로 적어줘야한다.
하지만 이를 src/app/api/auth/[...nextauth]/route.ts에서 적어주는 것이 아닌 src/auth.ts에서 적어주는 것이다.
-
next-auth4 버전에서는 src/app/api/auth/[...nextauth]/route.ts에 설정 코드를 적어주는 것 같지만
-
next-auth5 버전에서는 src/middleware.ts와 같이 middleware를 통해 nextauth를 통과하는 식으로 코드를 설정해주고 src/auth.ts와 같이 next-auth 관련한 설정 파일을 만들어 설정 코드를 입력해주는 방식으로 설정해주는 것 같다.
성공
레퍼런스