FancyBox 라이브러리 사용법
설치
1.패키지 관리자로 설치
Usage with NPM
$ npm install --save @fancyapps/ui

# and with Yarn
$ yarn add @fancyapps/ui
- FancyBox 홈페이지에 들어가보면 NPM 패키지 레지스트리에서 설치하고 빌드 도구를 사용하는 것이 권장되는 방법이라고 설명을 함
import { Fancybox } from "@fancyapps/ui";
import "@fancyapps/ui/dist/fancybox/fancybox.css";
2. CDN 방식 사용
<script src="https://cdn.jsdelivr.net/npm/@fancyapps/ui@5.0/dist/fancybox/fancybox.umd.js"></script>
<link
  rel="stylesheet"
  href="https://cdn.jsdelivr.net/npm/@fancyapps/ui@5.0/dist/fancybox/fancybox.css"
/>
사용법
단일 이미지
<a href="image-a.jpeg" data-fancybox data-caption="Single image">
  <img src="thumbnail-a.jpeg" />
</a>
- a태그를 만들고 href나 data-src 속성을 이용해서 콘텐츠 소스를 지정해야함
- a태그 안에 표시할 콘텐츠를 넣음
data-caption 속성은 콘텐츠 아래에 뜨는 글을 의미함.

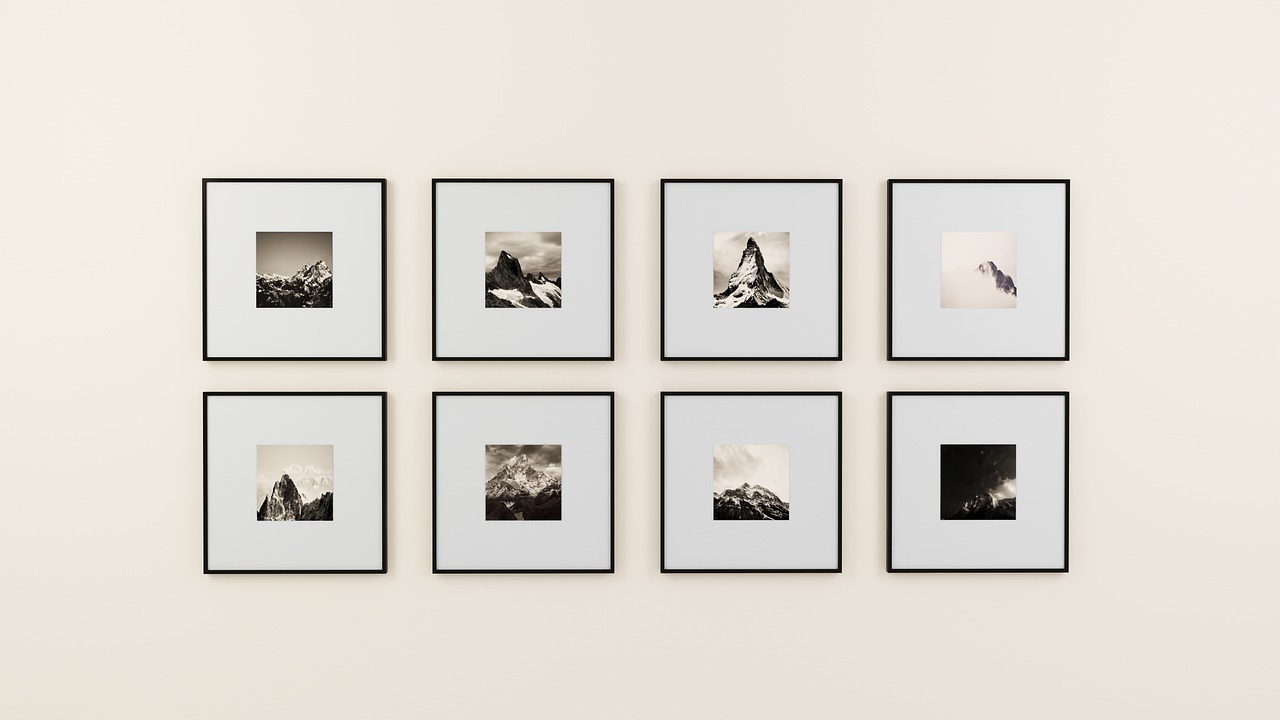
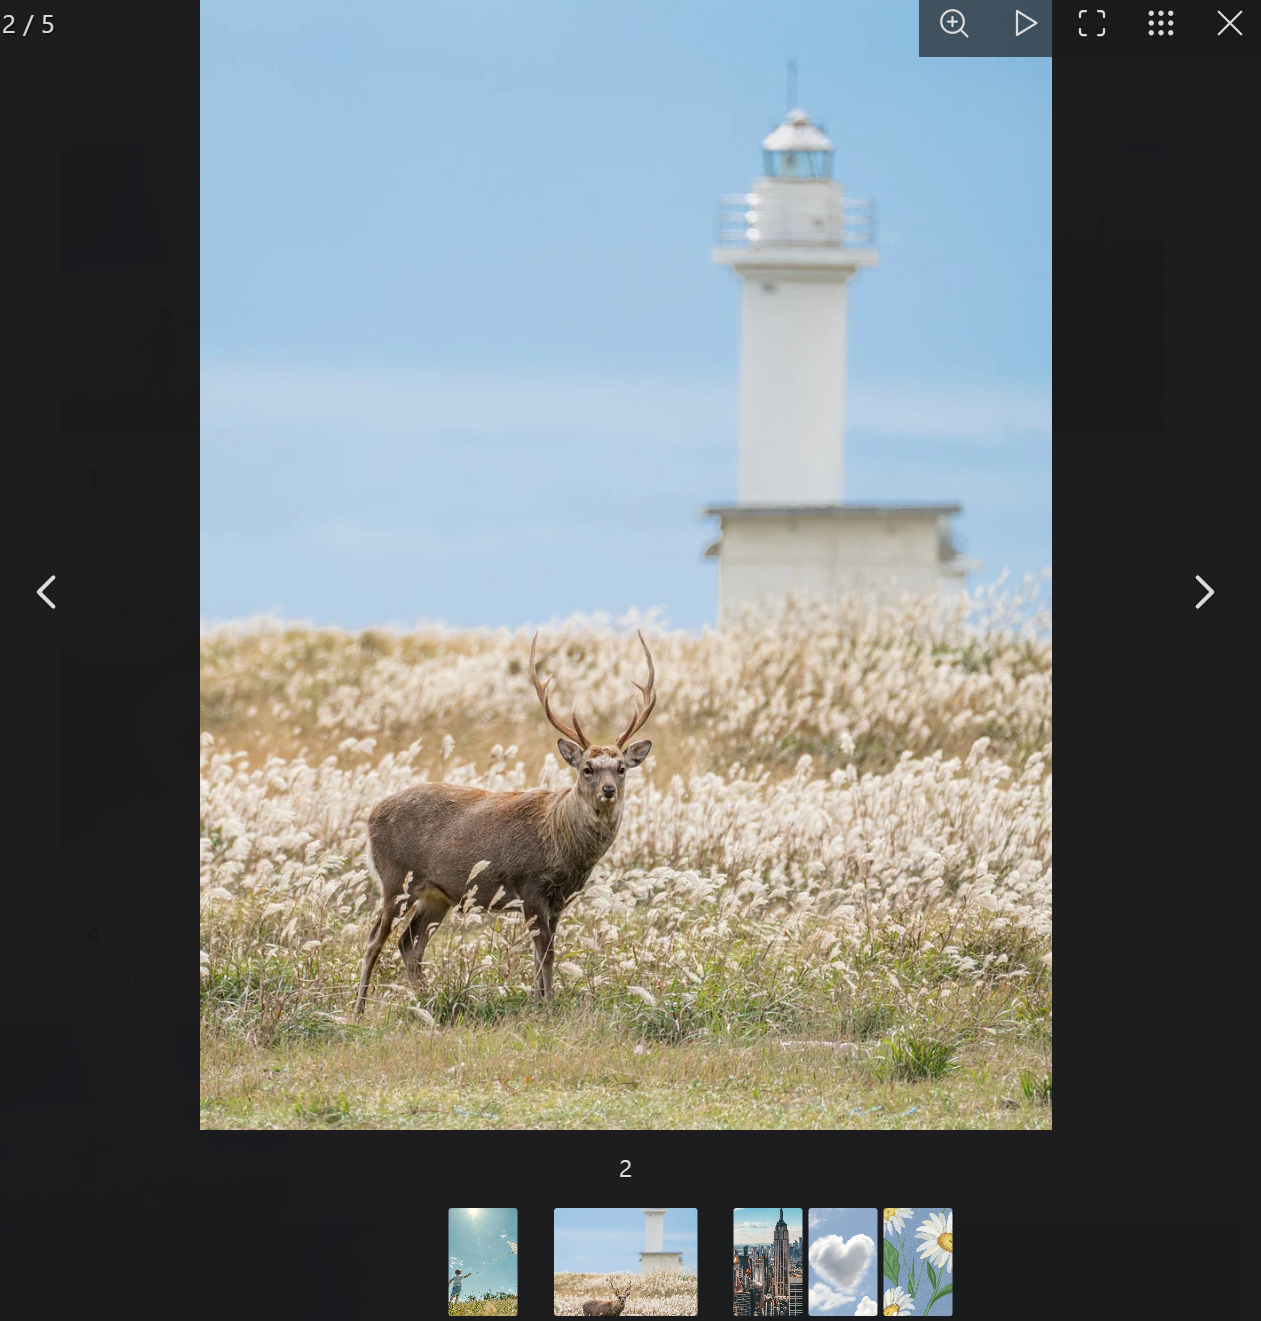
갤러리 형식의 다중 이미지
<a href="image-a.jpeg" data-fancybox="gallery" data-caption="Caption #1">
  <img src="thumbnail-a.jpeg" />
</a>

<a href="image-b.jpeg" data-fancybox="gallery" data-caption="Caption #2">
  <img src="thumbnail-b.jpeg" />
</a>
- 여러 개의 이미지를 넣고
data-fancybox를 선언해서 이름에 맞게 사용하면 됨
- 중요한 점은 여기서 Fancybox.bind() 메서드를 통해서 이벤트에 핸들러를 추가해줘야함.
Fancybox.bind("[data-fancybox]", {
data-fancybox에 선언을 하면 그에 맞는 이름으로 묶임- ex)
[data-fancybox="gallery"] 로 선언을 하면 a태그에 data-fancybox="gallery"로 선언한 것과 묶이게 됨.
FancyBox 여러 옵션들
비디오 첨부
<a href="https://www.youtube.com/watch?v=tHnwV5ay8-8" data-fancybox="gallery">
  <img alt="" width="200" src="http://i3.ytimg.com/vi/tHnwV5ay8-8/hqdefault.jpg">
</a>
- 위에랑 똑같이 href안에 이미지 대신 링크 넣어주면 됨
HTML 첨부
<div>
      <div id="dialog-content" className="hidden max-w-[500px]">
        <h2>Hello, world!</h2>
        <p>
          <input type="text" value="" />
        </p>
        <p>
          Try hitting the tab key and notice how the focus stays within the dialog
          itself.
        </p>
        <p>
          To close dialog hit the esc button, click on the overlay or just click the
          close button.
        </p>
        <p>
          Element used to launch the modal would receive focus back after closing.
        </p>
      </div>
      <p>
        <button data-fancybox data-src="#dialog-content">Launch Dialog</button>
      </p>
</div>
- HTML태그들을 작성하고 button에 data-src와 div에 id를 맞춰주면 됨

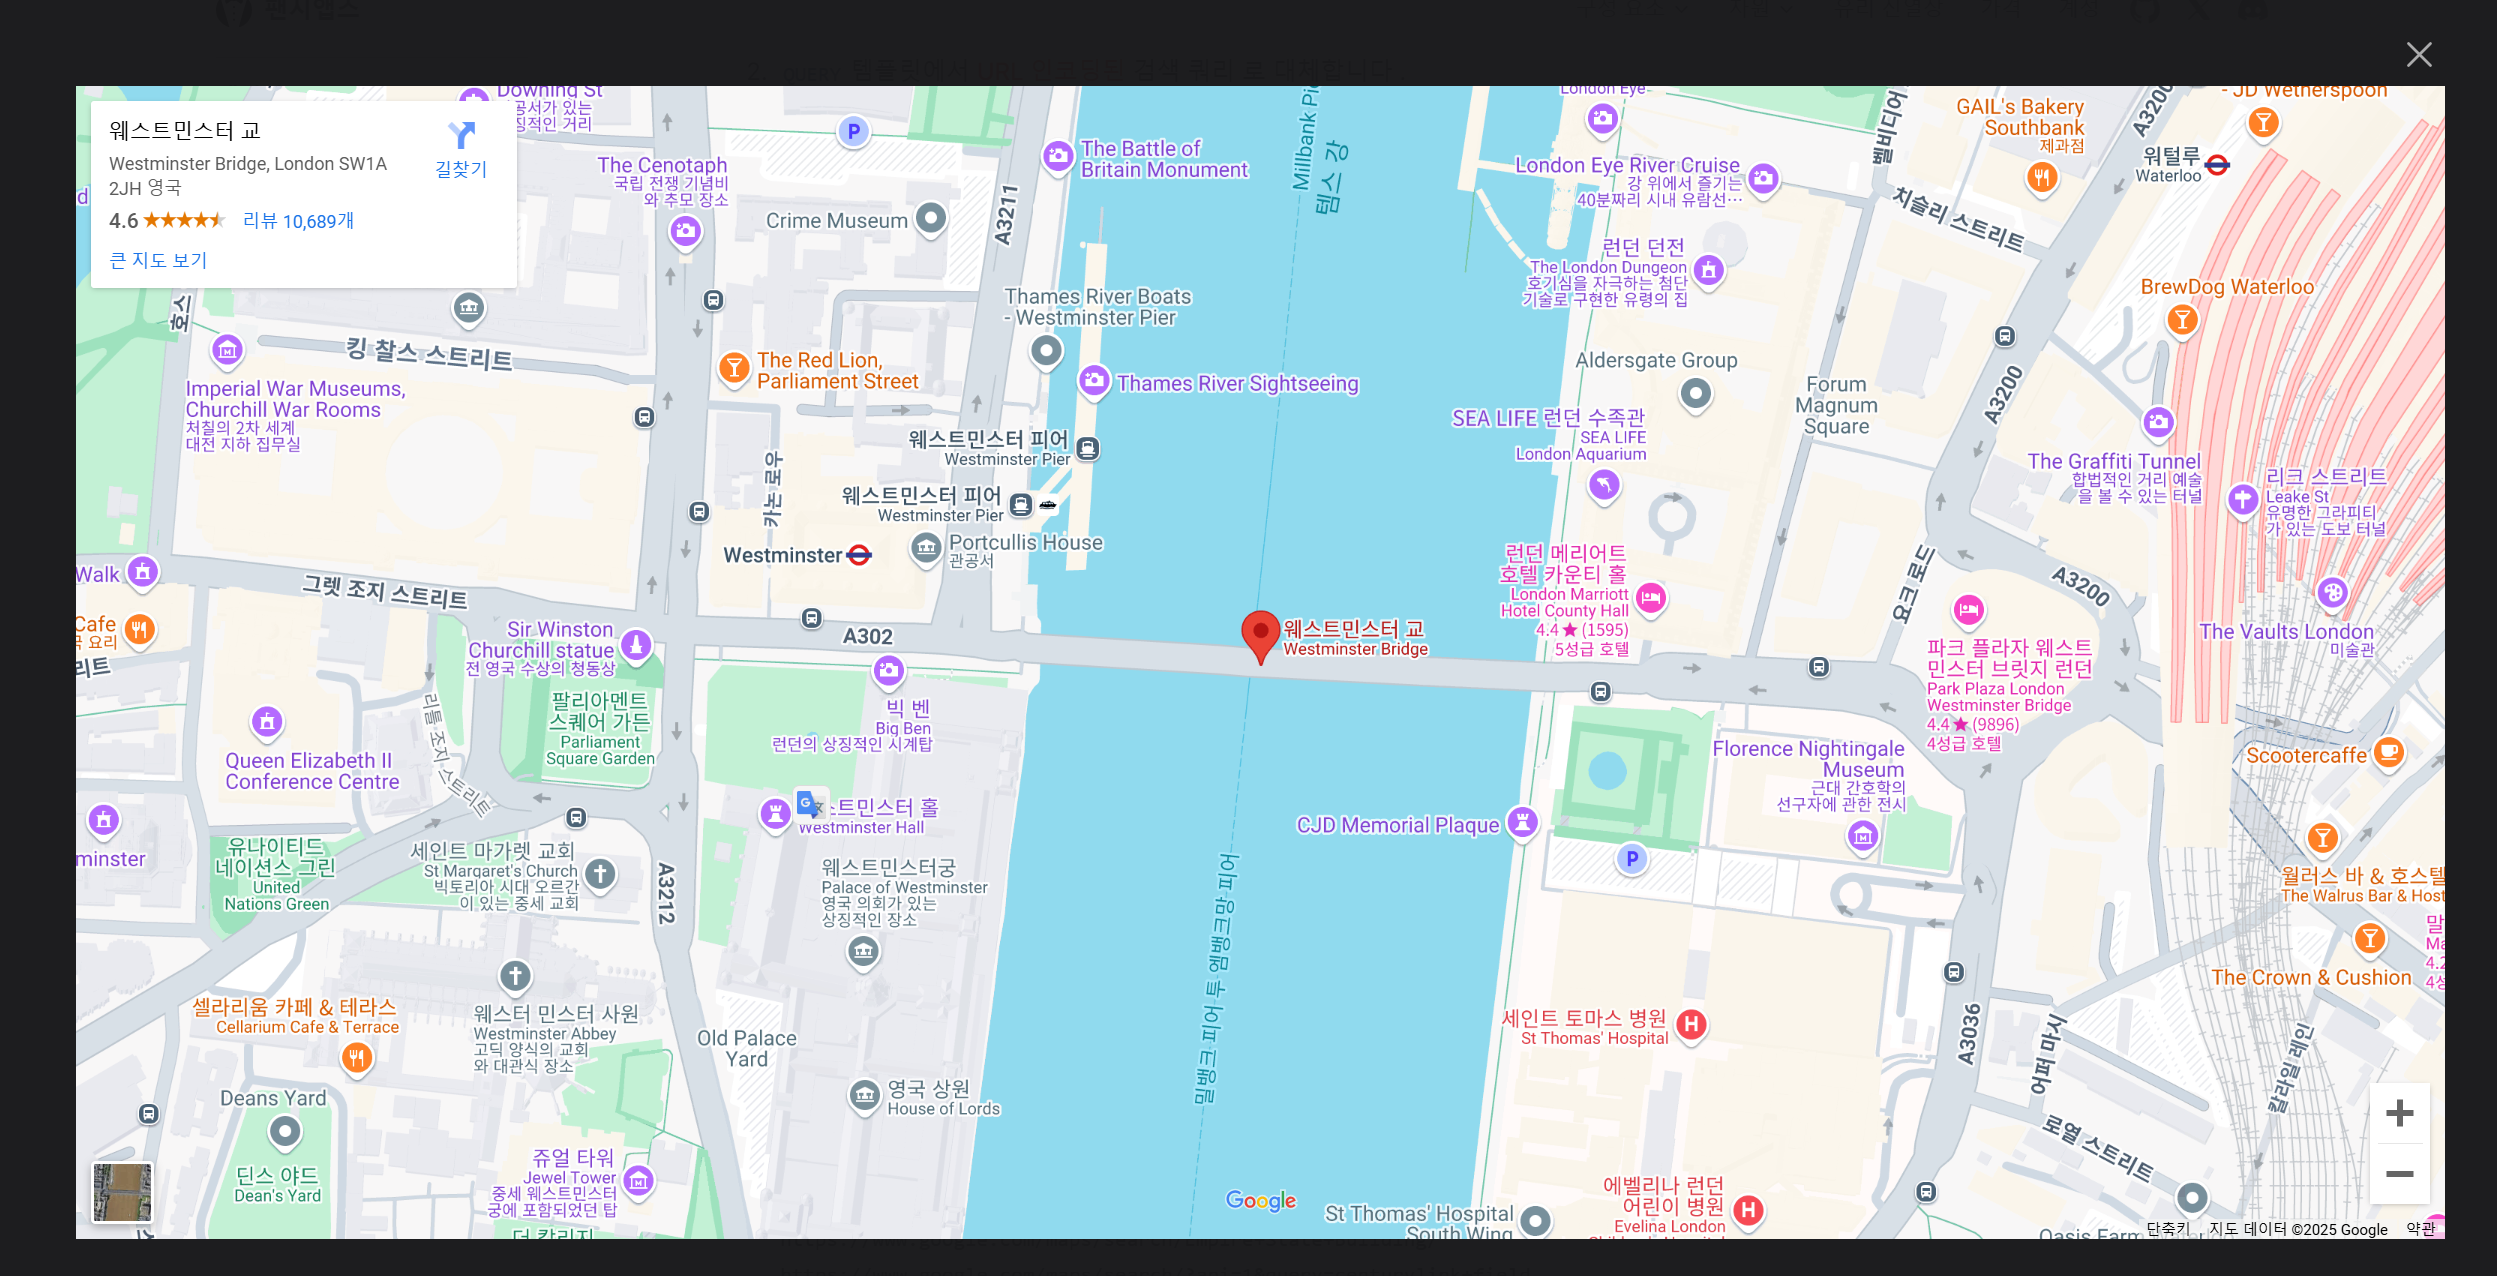
구글맵 첨부
<a
  href="https://www.google.com/maps/search/?api=1&query=Westminster+Bridge%2C+London&query_place_id=ChIJoaH8k8YEdkgRnmDd5iuUl9Y"
  data-fancybox
>
  Launch Map
</a>
- 똑같은데 href만 구글 지도 링크로 달아주면 가능함.
단일 이미지 ++
    Fancybox.bind("[data-fancybox]", {
      groupAttr: false,
    });
- groupAttr 속성을 false로 둬서 같은 data-fancybox 값이어도 갤러리로 만들지 않고 따로 볼 수 있음.
툴바 속성들
- 툴바는 주로 이미지에 유용하므로 현재 갤러리에 이미지가 없으면 자동으로 비활성화됨.
- enabled: true모든 유형의 콘텐츠에 툴바를 표시하는 옵션을 설정함.
Fancybox.bind('[data-fancybox="gallery"]', {
Toolbar: {
display: {
left: ["infobar"],
middle: [
"zoomIn",
"zoomOut",
"toggle1to1",
"rotateCCW",
"rotateCW",
"flipX",
"flipY",
],
right: [
"slideshow",
"download",
"thumbs",
"close",
],
},
}
});