
1. Swagger는 왜 쓰는걸까?
Swagger 는 REST API를 설계, 빌드, 문서화 및 사용하는 데 도움이되는 OpenAPI 사양을 중심으로 구축 된 오픈 소스 도구 세트임
1) 쓰면 뭐가 좋지?
- Swgge가 자동으로 프로젝트 내의 RESTful API를 문서화 해주며 API를 Swagger에서 바로 테스트가 가능하고, API 호출 시 전달해야할 파라미터를 바로 확인하는 것이 가능해짐.
👉 그로인해, 개발자가 API 문서를 작성 할 시간을 단축시켜줌으로써 개발자가 좀 더 API 개발에 집중할 수 있게 해줌
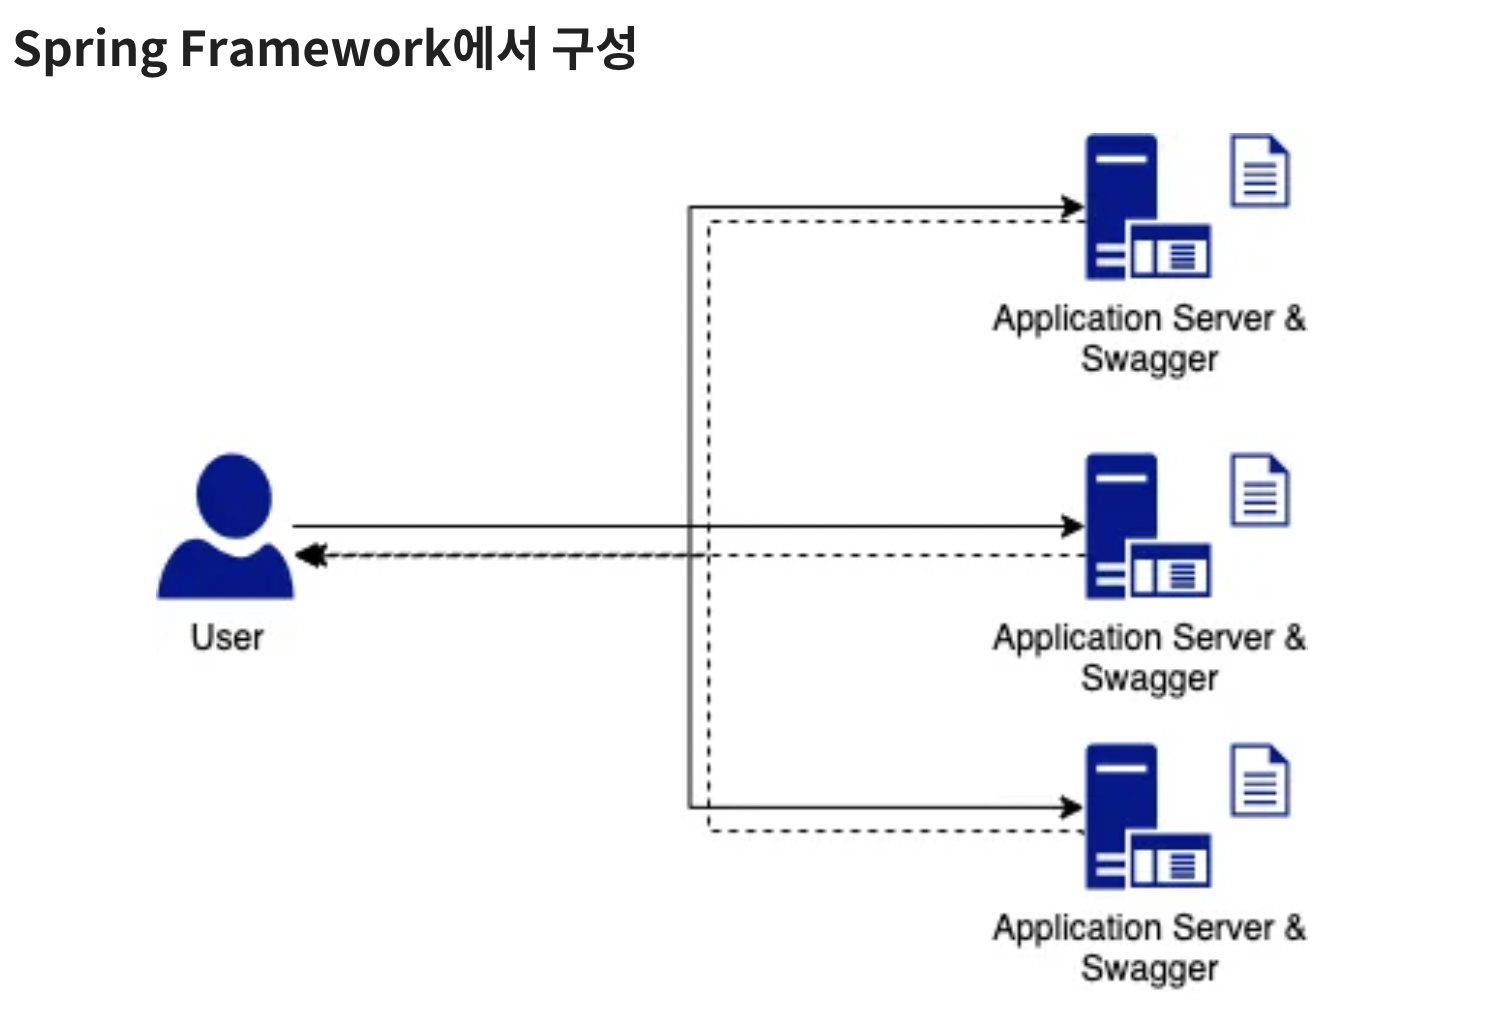
2. Swagger 프로젝트 적용 방법 (2가지 버전)
※ YAML에서 구성하는 법과 Spring Framework에서 구성하는 방법이 있으나, Spring Framework에서 적용하는 방법만 다루도록 하겠다.
1) springfox 라이브러리 사용
- Gradle에 의존성 추가
implementation group: 'io.springfox', name: 'springfox-swagger-ui', version: '2.9.2'
implementation group: 'io.springfox', name: 'springfox-swagger2', version: '2.9.2'- SwaggerConfig.java 파일 생성
@Configuration
@EnableWebMvc
@EnableSwagger2
public class SwaggerConfig implements WebMvcConfigurer {

    private static final String SERVICE_NAME = "Swagger API test";
    private static final String API_VERSION = "1.0.0";
    private static final String API_DESCRIPTION = "Swagger test";
    private static final String API_URL = "http://localhost:8080/";

    @Bean
    public Docket api() {
        return new Docket(DocumentationType.SWAGGER_2)
                .apiInfo(apiInfo())
                .select()
                .apis(RequestHandlerSelectors.any()) // RequestMapping의 모든 URL LIST
                .paths(PathSelectors.any()) // .any() -> ant(/api/**") /api/**인 URL만 표시
                .build();
    }

    private ApiInfo apiInfo() {
        return new ApiInfoBuilder().title(SERVICE_NAME) // 서비스명
                .version(API_VERSION)                   // API 버전
                .description(API_DESCRIPTION)           // API 설명
                .termsOfServiceUrl(API_URL)             // 서비스 url
                .licenseUrl("라이센스 표시할 url")
                .build();

    }// API INFO

    // WebMvcConfigure를 상속받아서 설정
    @Override
    public void addResourceHandlers(ResourceHandlerRegistry registry) {
        registry.addResourceHandler("/swagger-ui.html")
                .addResourceLocations("classpath:/META-INF/resources/");

        registry.addResourceHandler("/webjars/**")
                .addResourceLocations("classpath:/META-INF/resources/webjars/");
        // -- Static resources
        registry.addResourceHandler("/static/**").addResourceLocations("classpath:/static/");

    }
}- Swagger-ui 확인
http://localhost:8080/swagger-ui.html/ 로 이동 후 확인
2) Springdoc
※ SpringBoot 3.x 이상 사용 시 Springdoc을 사용하는 것이 좋음
- Gradle에 의존성 추가
implementation 'org.springdoc:springdoc-openapi-starter-webmvc-ui:2.2.0'- SwaggerConfig.java 파일 생성
@Configuration
public class SwaggerConfig {
    @Bean
    public OpenAPI openAPI() {
        return new OpenAPI()
                .components(new Components())
                .info(apiInfo());
    }

    private Info apiInfo() {
        return new Info()
                .title("API Test") // API의 제목
                .description("Let's practice Swagger UI") // API에 대한 설명
                .version("1.0.0"); // API의 버전
    }
}- application.properties 파일로 구성
# Swagger springdoc-ui Configuration
springdoc.packages-to-scan=com.test.demo
springdoc.default-consumes-media-type=application/json;charset=UTF-8
springdoc.default-produces-media-type=application/json;charset=UTF-8
springdoc.swagger-ui.path=swagger-ui-bandee.html
springdoc.swagger-ui.tags-sorter=alpha
springdoc.swagger-ui.operations-sorter=alpha
springdoc.api-docs.path=/api-docs/json
springdoc.api-docs.groups.enabled=true
springdoc.cache.disabled=true- yaml 파일로 구성
# Swagger springdoc-ui Configuration
springdoc:
  packages-to-scan: com.test.demo
  default-consumes-media-type: application/json;charset=UTF-8
  default-produces-media-type: application/json;charset=UTF-8
  swagger-ui:
    path: demo-ui.html            # Swagger UI 경로 => localhost:8000/demo-ui.html
    tags-sorter: alpha            # alpha: 알파벳 순 태그 정렬, method: HTTP Method 순 정렬
    operations-sorter: alpha      # alpha: 알파벳 순 태그 정렬, method: HTTP Method 순 정렬
  api-docs:
    path: /api-docs/json
    groups:
      enabled: true
  cache:
disabled: true- Swagger-ui 확인
2.x.x 버전: localhost:8080/swagger-ui.html
3.x.x 버전: localhost:8080/swagger-ui/index.html
[출처]

hi~hello