오늘은 AWS Pipeline 을 삽질하면서 찍먹(?) 해보는 시간을 가져보았는데 그 과정에서 리눅스의 권한부여에 대해 확실히 알게되었다. 사실 결과적으로 삽질은 권한부여와는 상관이 없었지만..
따라서 나같이 길을 잃고 시간을 쏟는 사람들이 있을까봐 기록해두는 용도로 블로그를 작성해보려고 한다..사실 내가 나중에 보려고 적어두는거긴한데 ㅋ
※배경: 제 EC2에는 이미 jdk가 설치되어있는 상황입니다.
어쩌다가 이런일이 !
먼저 여유롭게 공식문서를 보면서 AWS CLI(명령줄도구)를 설치하기 위해 레퍼런스를 보면서
본인의 EC2에 AWS CLI를 설치해주자 !
해당코드는
본인의 EC2의 ubuntu버전이 16.04 이상일때 사용하면 된다!
보통 20.04니까 다 될것으로 생각합니다
복붙만하면 된다!
$ curl "https://awscli.amazonaws.com/awscli-exe-linux-x86_64.zip" -o "awscliv2.zip"
$ sudo apt install unzip
$ unzip awscliv2.zip
$ sudo ./aws/install
해당 명령어들을 차례대로 입력해주고 난뒤에
$ aws --version을 입력해주면 현재의 aws-cli의 버전이 뜨는데 그러면 성공한것이다.
축하드립니다
다음은 자동화 배포를 위해서 CodeDeploy Agent를 설치해줘야하는데
※ 밑의 코드는 Ubuntu 20.04기준이다 !
$ sudo apt update
$ sudo apt install ruby-full
$ sudo apt install wget
$ cd /home/ubuntu
$ sudo wget https://aws-codedeploy-ap-northeast-2.s3.ap-northeast2.amazonaws.com/latest/install
$ sudo chmod +x ./install
$ sudo ./install auto > /tmp/logfile

$ sudo service codedeploy-agent status
마찬가지로 차례차례 입력하면
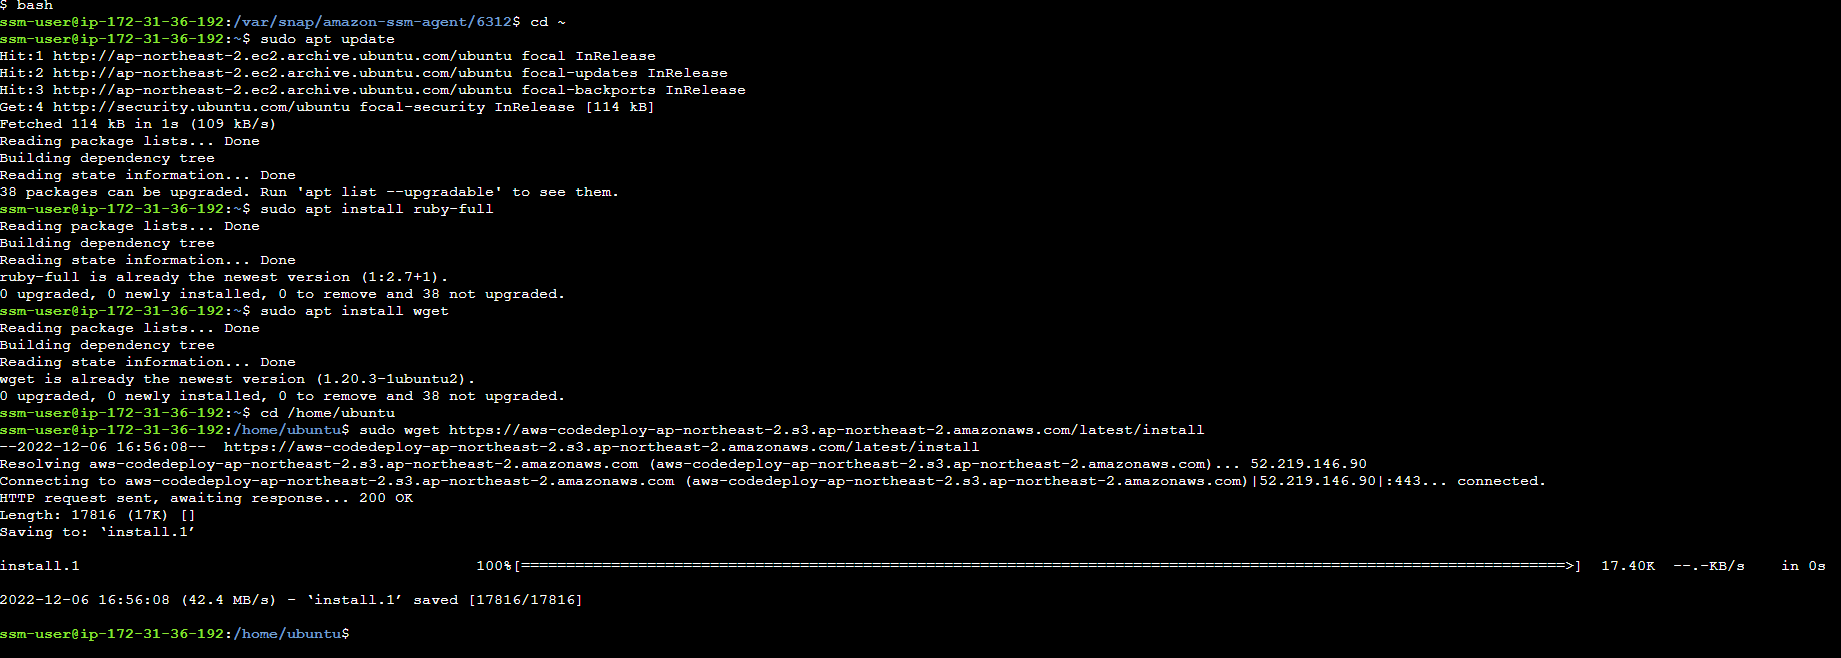
ssm-user@ip-172-31-36-192:~$ sudo apt update
Hit:1 http://ap-northeast-2.ec2.archive.ubuntu.com/ubuntu focal InRelease
Hit:2 http://ap-northeast-2.ec2.archive.ubuntu.com/ubuntu focal-updates InRelease
Hit:3 http://ap-northeast-2.ec2.archive.ubuntu.com/ubuntu focal-backports InRelease
Get:4 http://security.ubuntu.com/ubuntu focal-security InRelease [114 kB]
Fetched 114 kB in 1s (109 kB/s)
Reading package lists... Done
Building dependency tree
Reading state information... Done
38 packages can be upgraded. Run 'apt list --upgradable' to see them.
ssm-user@ip-172-31-36-192:~$ sudo apt install ruby-full
Reading package lists... Done
Building dependency tree
Reading state information... Done
ruby-full is already the newest version (1:2.7+1).
0 upgraded, 0 newly installed, 0 to remove and 38 not upgraded.
ssm-user@ip-172-31-36-192:~$ sudo apt install wget
Reading package lists... Done
Building dependency tree
Reading state information... Done
wget is already the newest version (1.20.3-1ubuntu2).
0 upgraded, 0 newly installed, 0 to remove and 38 not upgraded.
ssm-user@ip-172-31-36-192:~$ cd /home/ubuntu
ssm-user@ip-172-31-36-192:/home/ubuntu$ sudo wget https://aws-codedeploy-ap-northeast-2.s3.ap-northeast-2.amazonaws.com/latest/install
--2022-12-06 16:56:08--  https://aws-codedeploy-ap-northeast-2.s3.ap-northeast-2.amazonaws.com/latest/install
Resolving aws-codedeploy-ap-northeast-2.s3.ap-northeast-2.amazonaws.com (aws-codedeploy-ap-northeast-2.s3.ap-northeast-2.amazonaws.com)... 52.219.146.90
Connecting to aws-codedeploy-ap-northeast-2.s3.ap-northeast-2.amazonaws.com (aws-codedeploy-ap-northeast-2.s3.ap-northeast-2.amazonaws.com)|52.219.146.90|:443... connected.
HTTP request sent, awaiting response... 200 OK
Length: 17816 (17K) []
Saving to: ‘install.1’
install.1                                            100%[====================================================================================================================>]  17.40K  --.-KB/s    in 0s
2022-12-06 16:56:08 (42.4 MB/s) - ‘install.1’ saved [17816/17816]
와 같은 결과를 볼수있을것이다 !
※본인이 포스팅을 하는 시점에선 이미 install 파일을 S3에서 받고 난 뒤의 상황이기 때문에 도스창 마지막에 있는 install.1이 나왔지만 여러분은 install <파일이 생겼을것이다 (< 중복을 피하기위해 이런 이름을선택)
남은 명령어들도 차례차례 입력해주자!
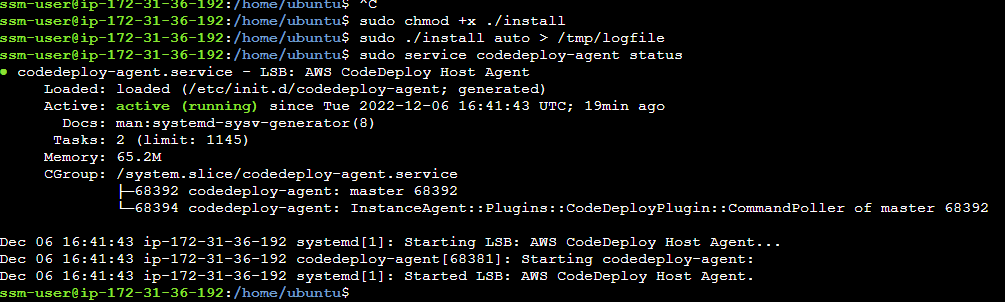
install 파일에 chmod +x 로 실행권한을 부여해주고, (sudo chmod +x ./install)
" > "를 사용해서 왼쪽의 명령 실행결과를 logfile로 만드는 명령줄이다. (sudo ./install auto > /tmp/logfile)
그리고 codedeploy-agent 가 실행되고있는지를 확인하는 코드를 쳐주고 running이 보이면 설치가 끝났다!
이대로만 진행된다면 여러분은 고민없이 사전준비가 끝났습니다 ! 축하드립니다.
짝짝짝 해피엔딩
근데 본인은 어째서인지
sudo ./install auto > /tmp/logfile명령어를 입력했을때
Permission Denied rb_io_reopen - /tmp/codedeploy-agent.update.log
같은 오류가 발생했고
이후에
sudo service codedeploy-agent status
명령어도 codedeploy-agent가 설치가 안됐다는 에러를 뿜었다.
오류를 맞이하고 내가 생각(삽질)했던 과정은 이렇다 .
1) ./install auto 명령어 실행시 권한오류(install 파일의 43번째 line의 reopen메소드가 권한이없다)가 발생을 했다.
-> 해당 파일에 엮여있는 파일은 실행에 관련있는 ruby 관련 .env파일과 codedeploy-agent.update.log 파일 그리고 /tmp경로에 생성되는 logfile이니까
-> 해당 파일들에만 777권한을 부여하고 다시 실행시켜 보았는데
-> 똑같은 오류가 발생했고, 그 후에 내가 취한 행동은
-> tmp 디렉토리안에있는 codedeploy-agent.update.log파일과 ./install auto의 실행 결과를 담는 /tml/logfile 두개를 삭제하고
-> 다시 sudo ./install auto 까지만 실행해서 실행여부를 판단했다.
-> 결과는 성공이었다!
-> 따라서 sudo ./install auto > /tmp/logfile 명령어를 다시 실행시켜서 logfile을 생성시키고
-> 절차에 때라 sudo service codedeploy-agent status 명령어를 실행시켰더니
-> 위의 포스팅과 같이 성공적으로 codedeploy가 동작하게 되었다!..
근데 왜 지웠다가 다시 설치하니까 되는거지..
괜히 권한건드렸네 아니애초에 permisson denied @ ./install : 42 line rb_io_reopen - /tmp/codedeploy-agent.update.log 오류를 마주했을때 codedeploy-agent.update.log 파일안에있는 루비쪽코드에문제가있다고 생각하는게 합리적인거아닌가 왜 지웠다가 다시하니까 되는거냐구..
라는 생각만이 머리를 멤돌고있는 새벽 두 시 였다...