회사에서 테스트용으로 구축했다가 어쩌다보니 현재 실사용하고있는 k8s클러스터(마스터 1, 워커 2) 서버가 우분투 데스크탑인데다가, 간헐적인 네트워크 끊김 문제가 생겨서 새로 구축할 생각이라 실습을 진행했습니다.
위 링크에서 netinst CD image 에서 원하는 아키텍쳐를 선택해 다운받고 vm에 설치했습니다.
로컬 환경 : Mac OS Sonoma 14.5 | Macbook Air M1 | 16G RAM
vm 설치 환경 : Debian 12.6 | 2코어 | 4G RAM
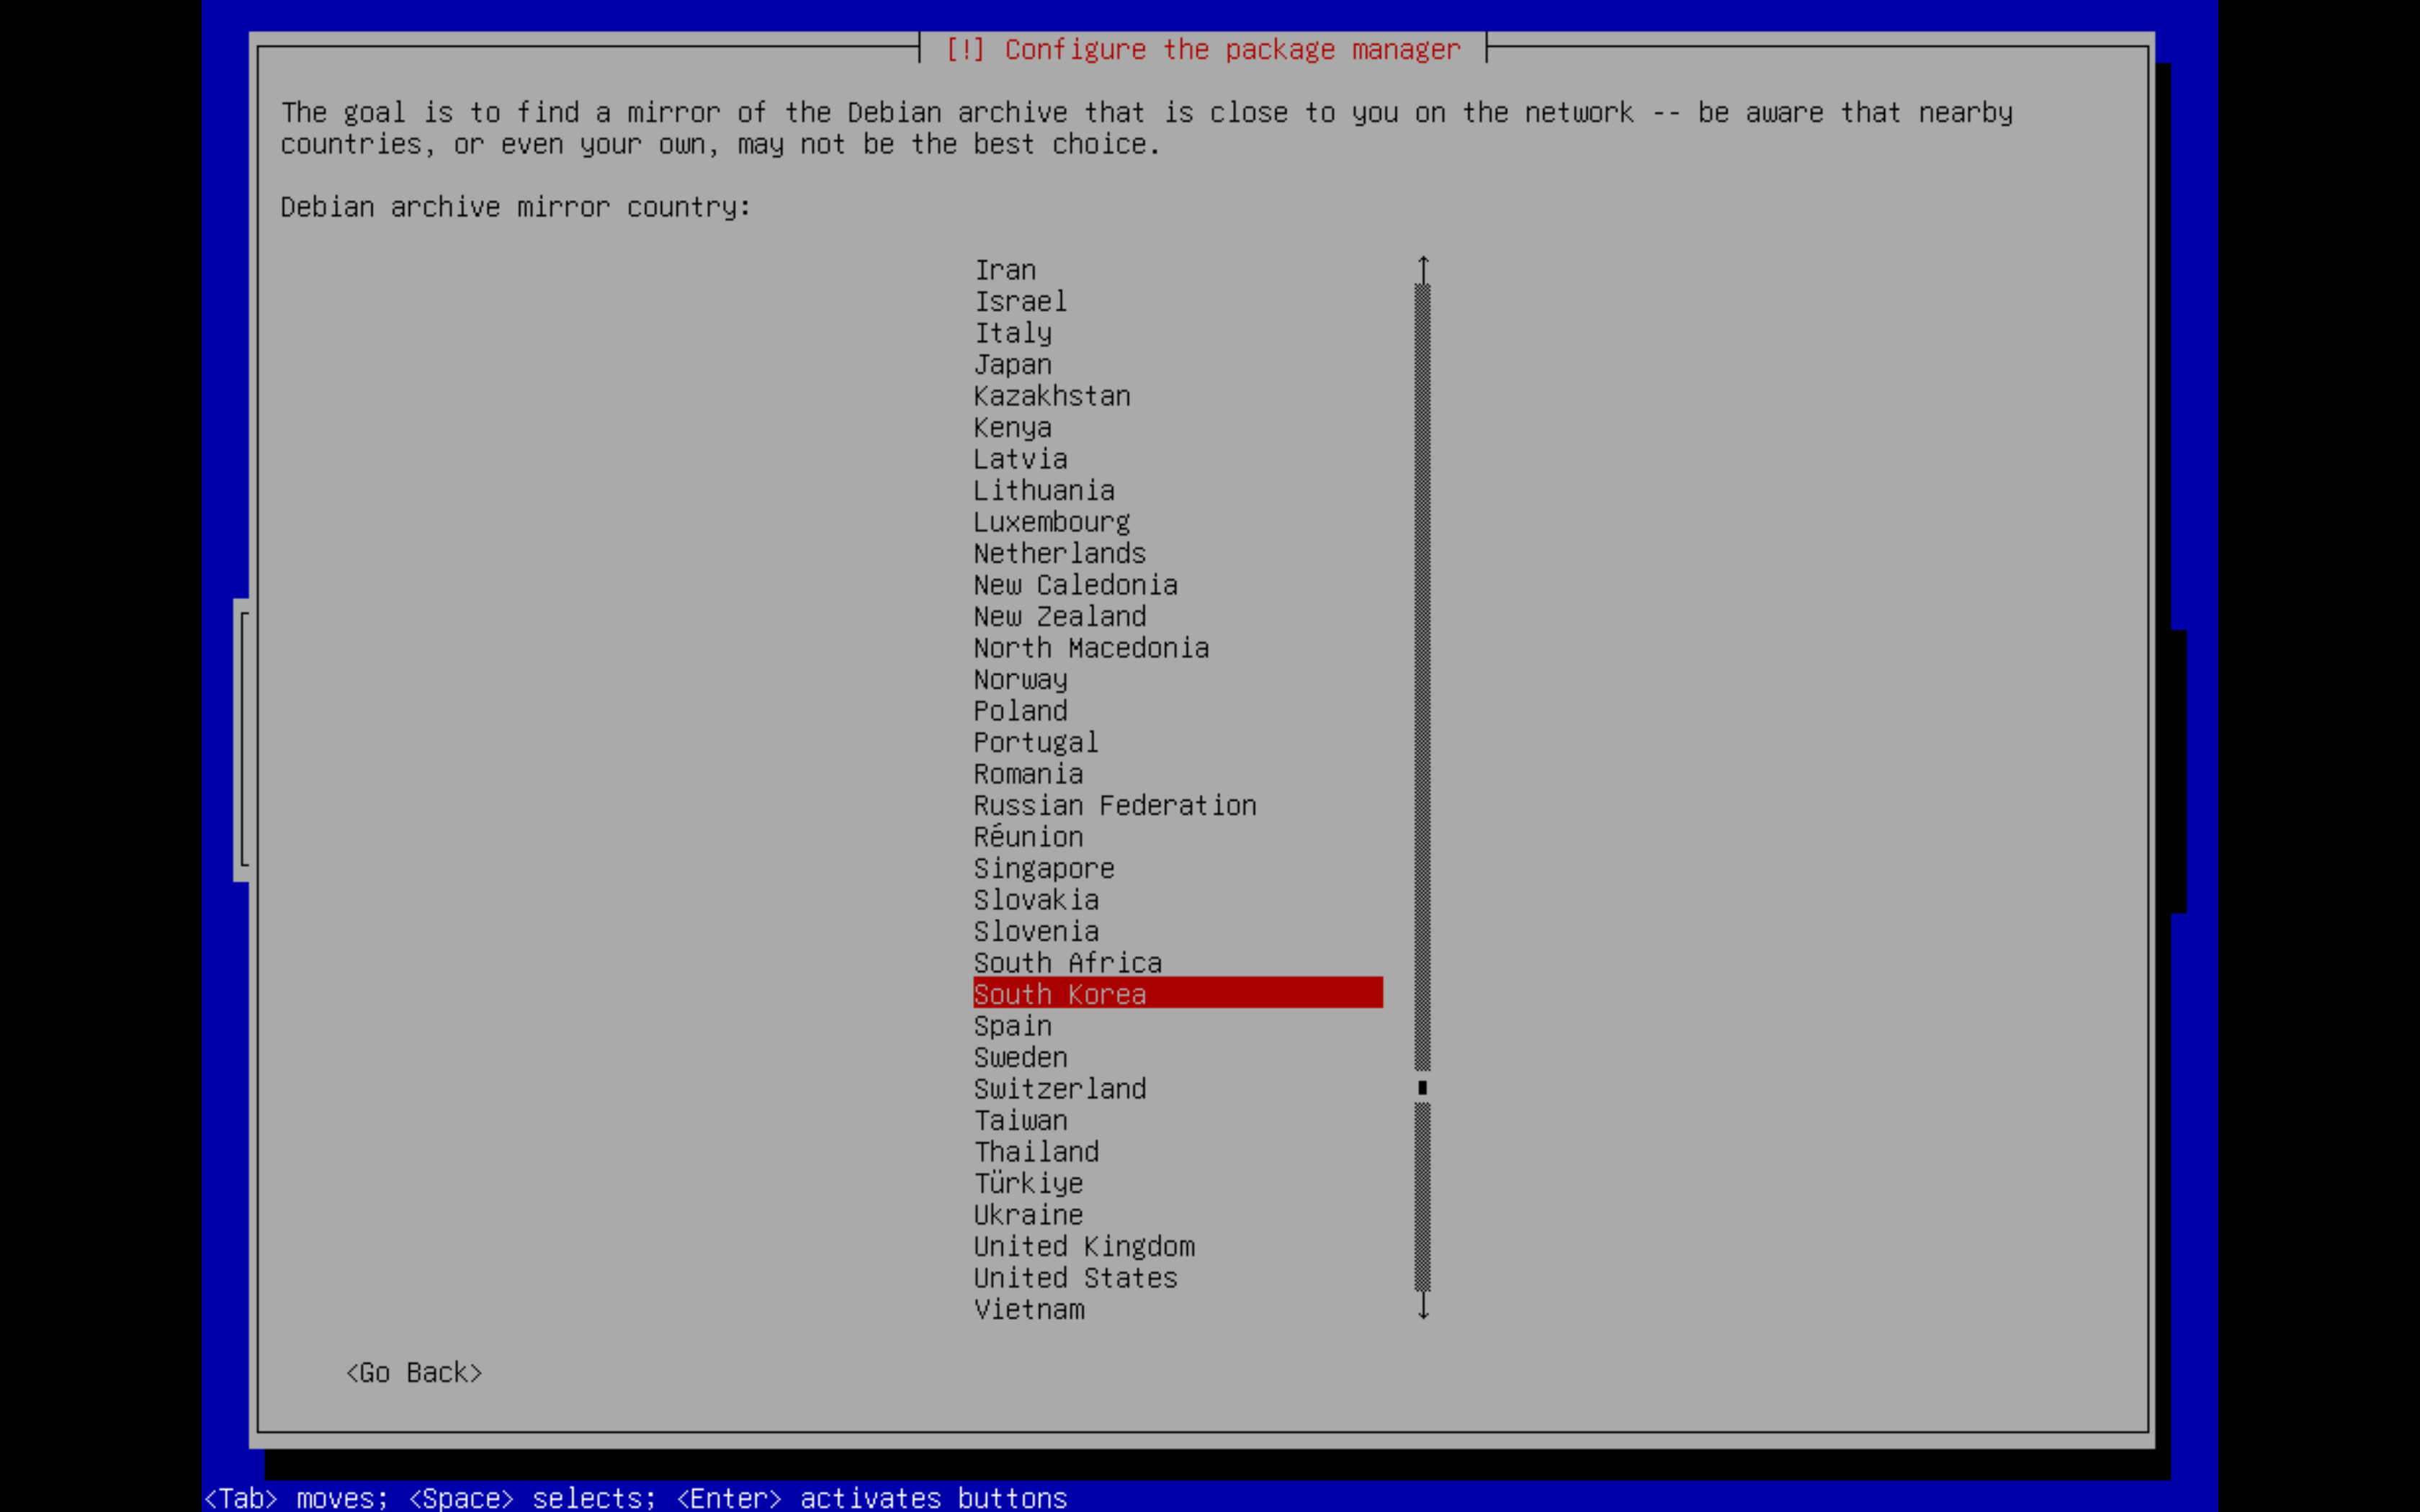
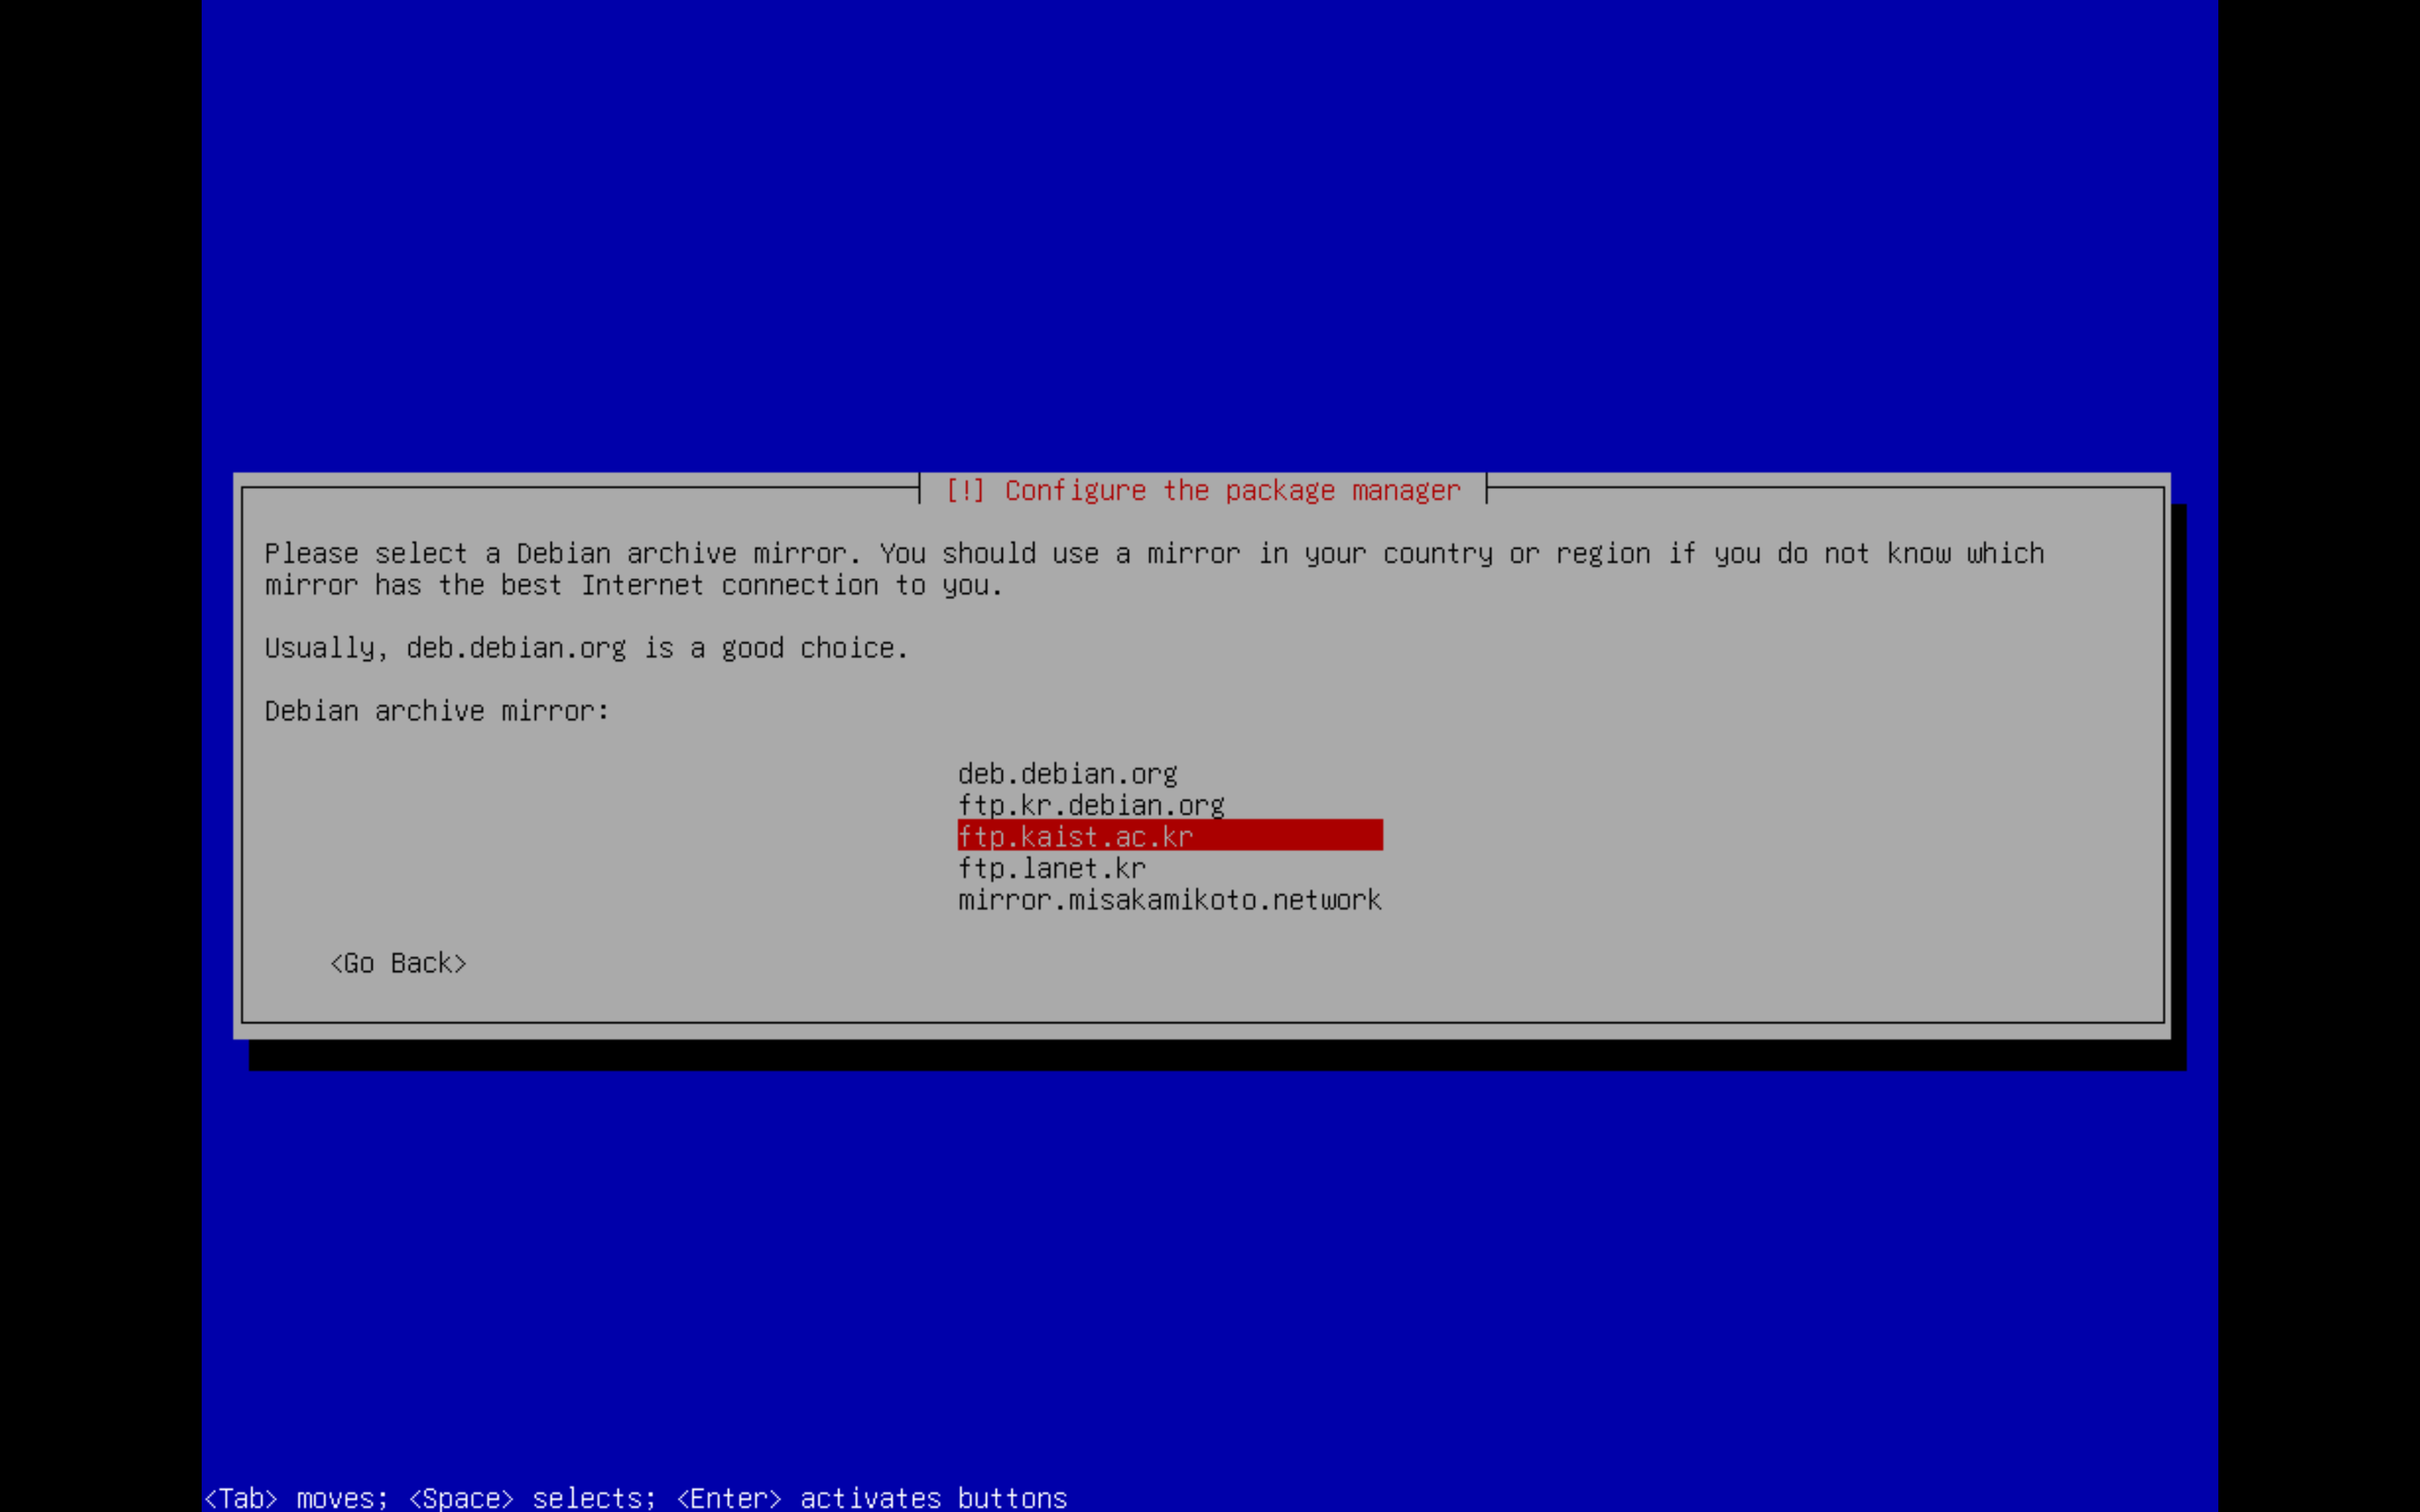
1. Debian 설치
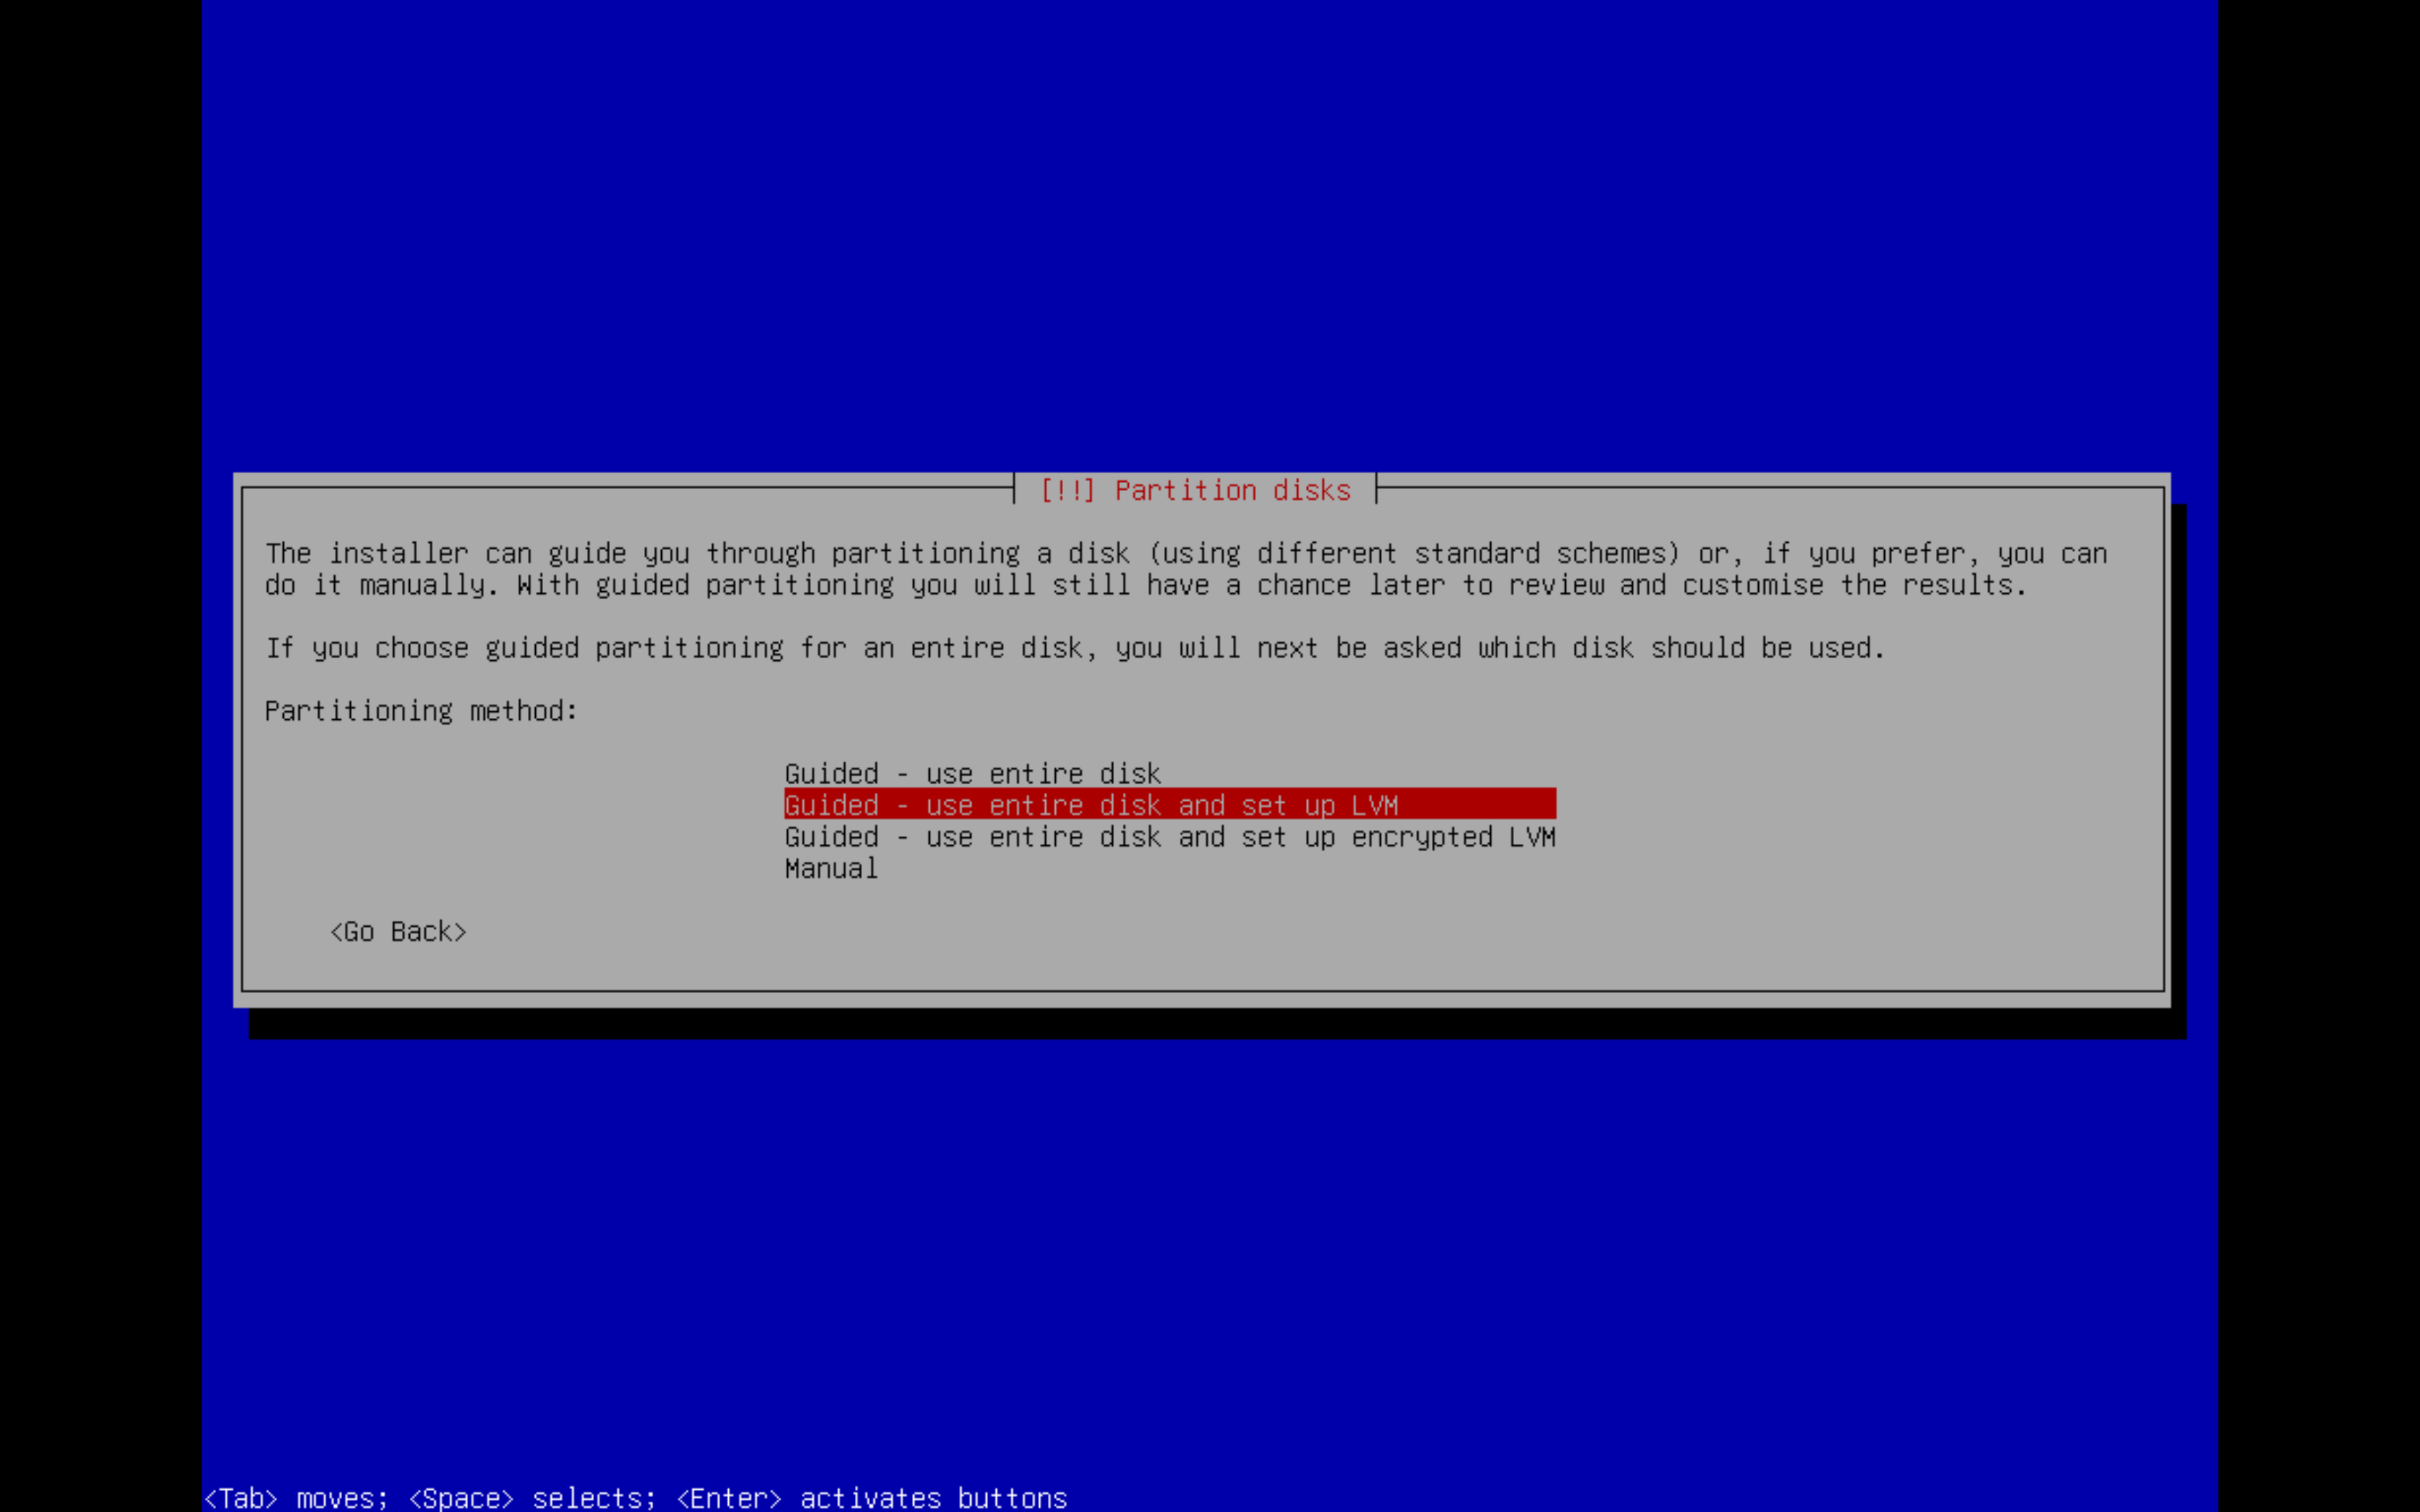
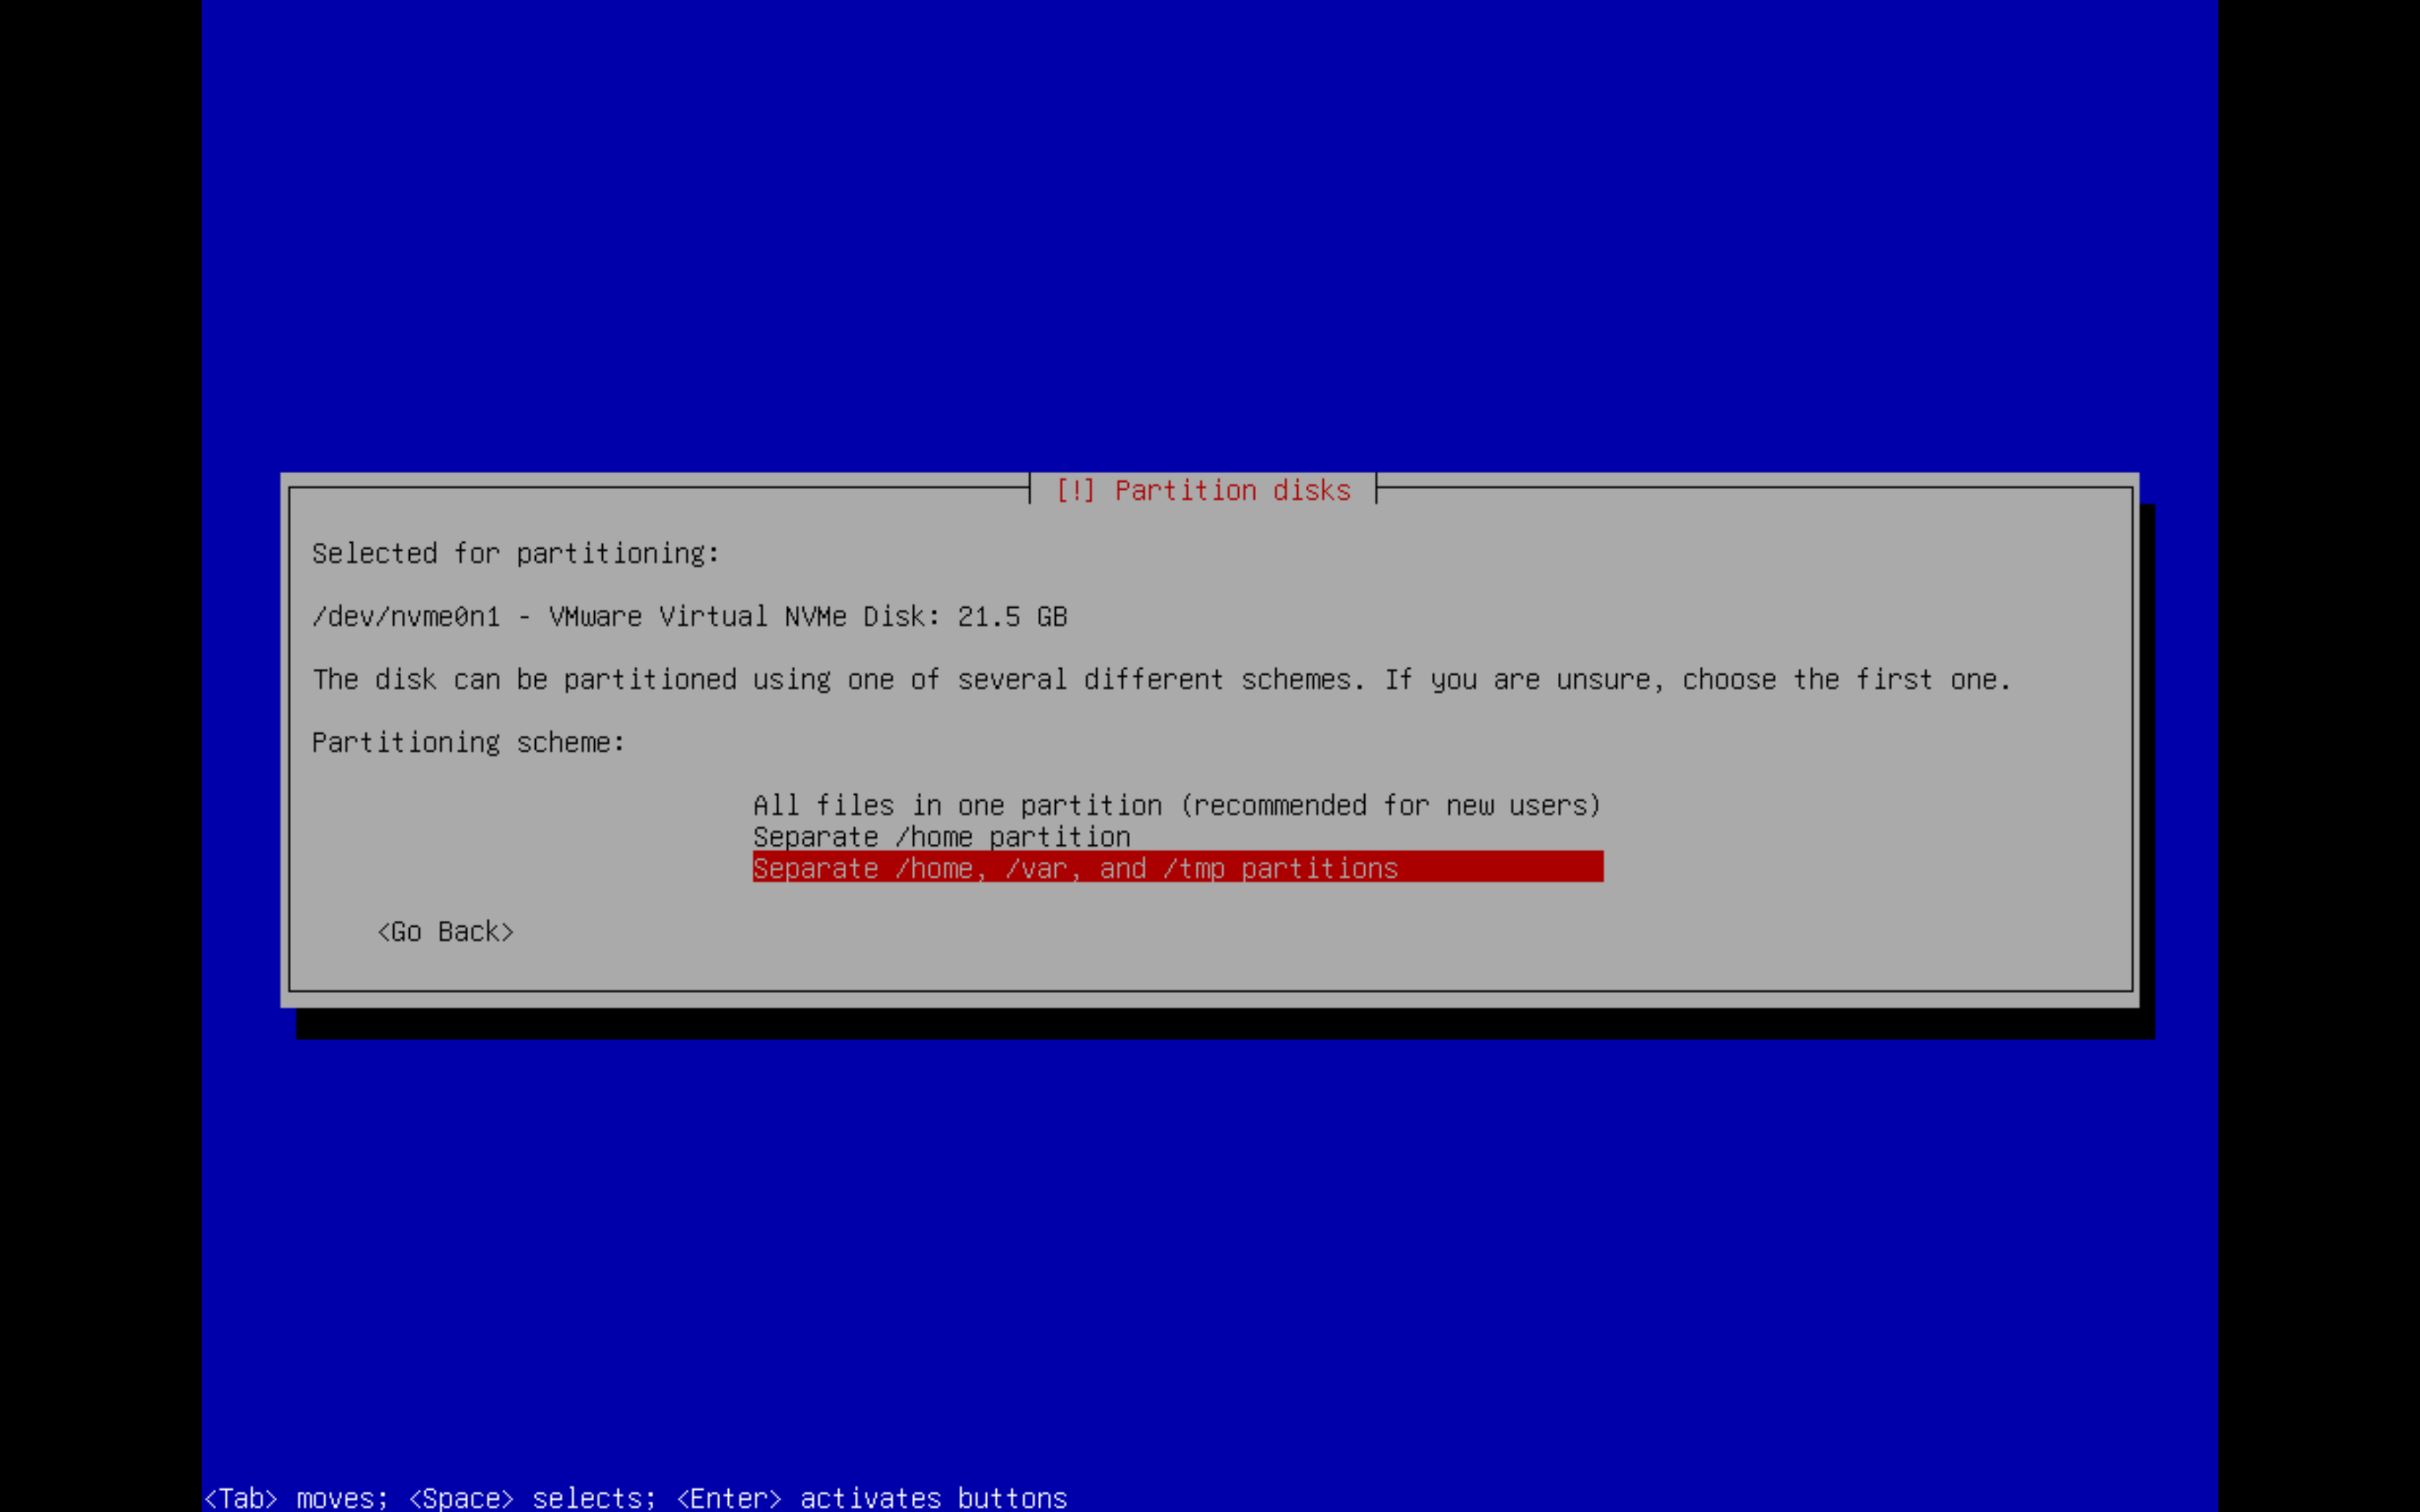
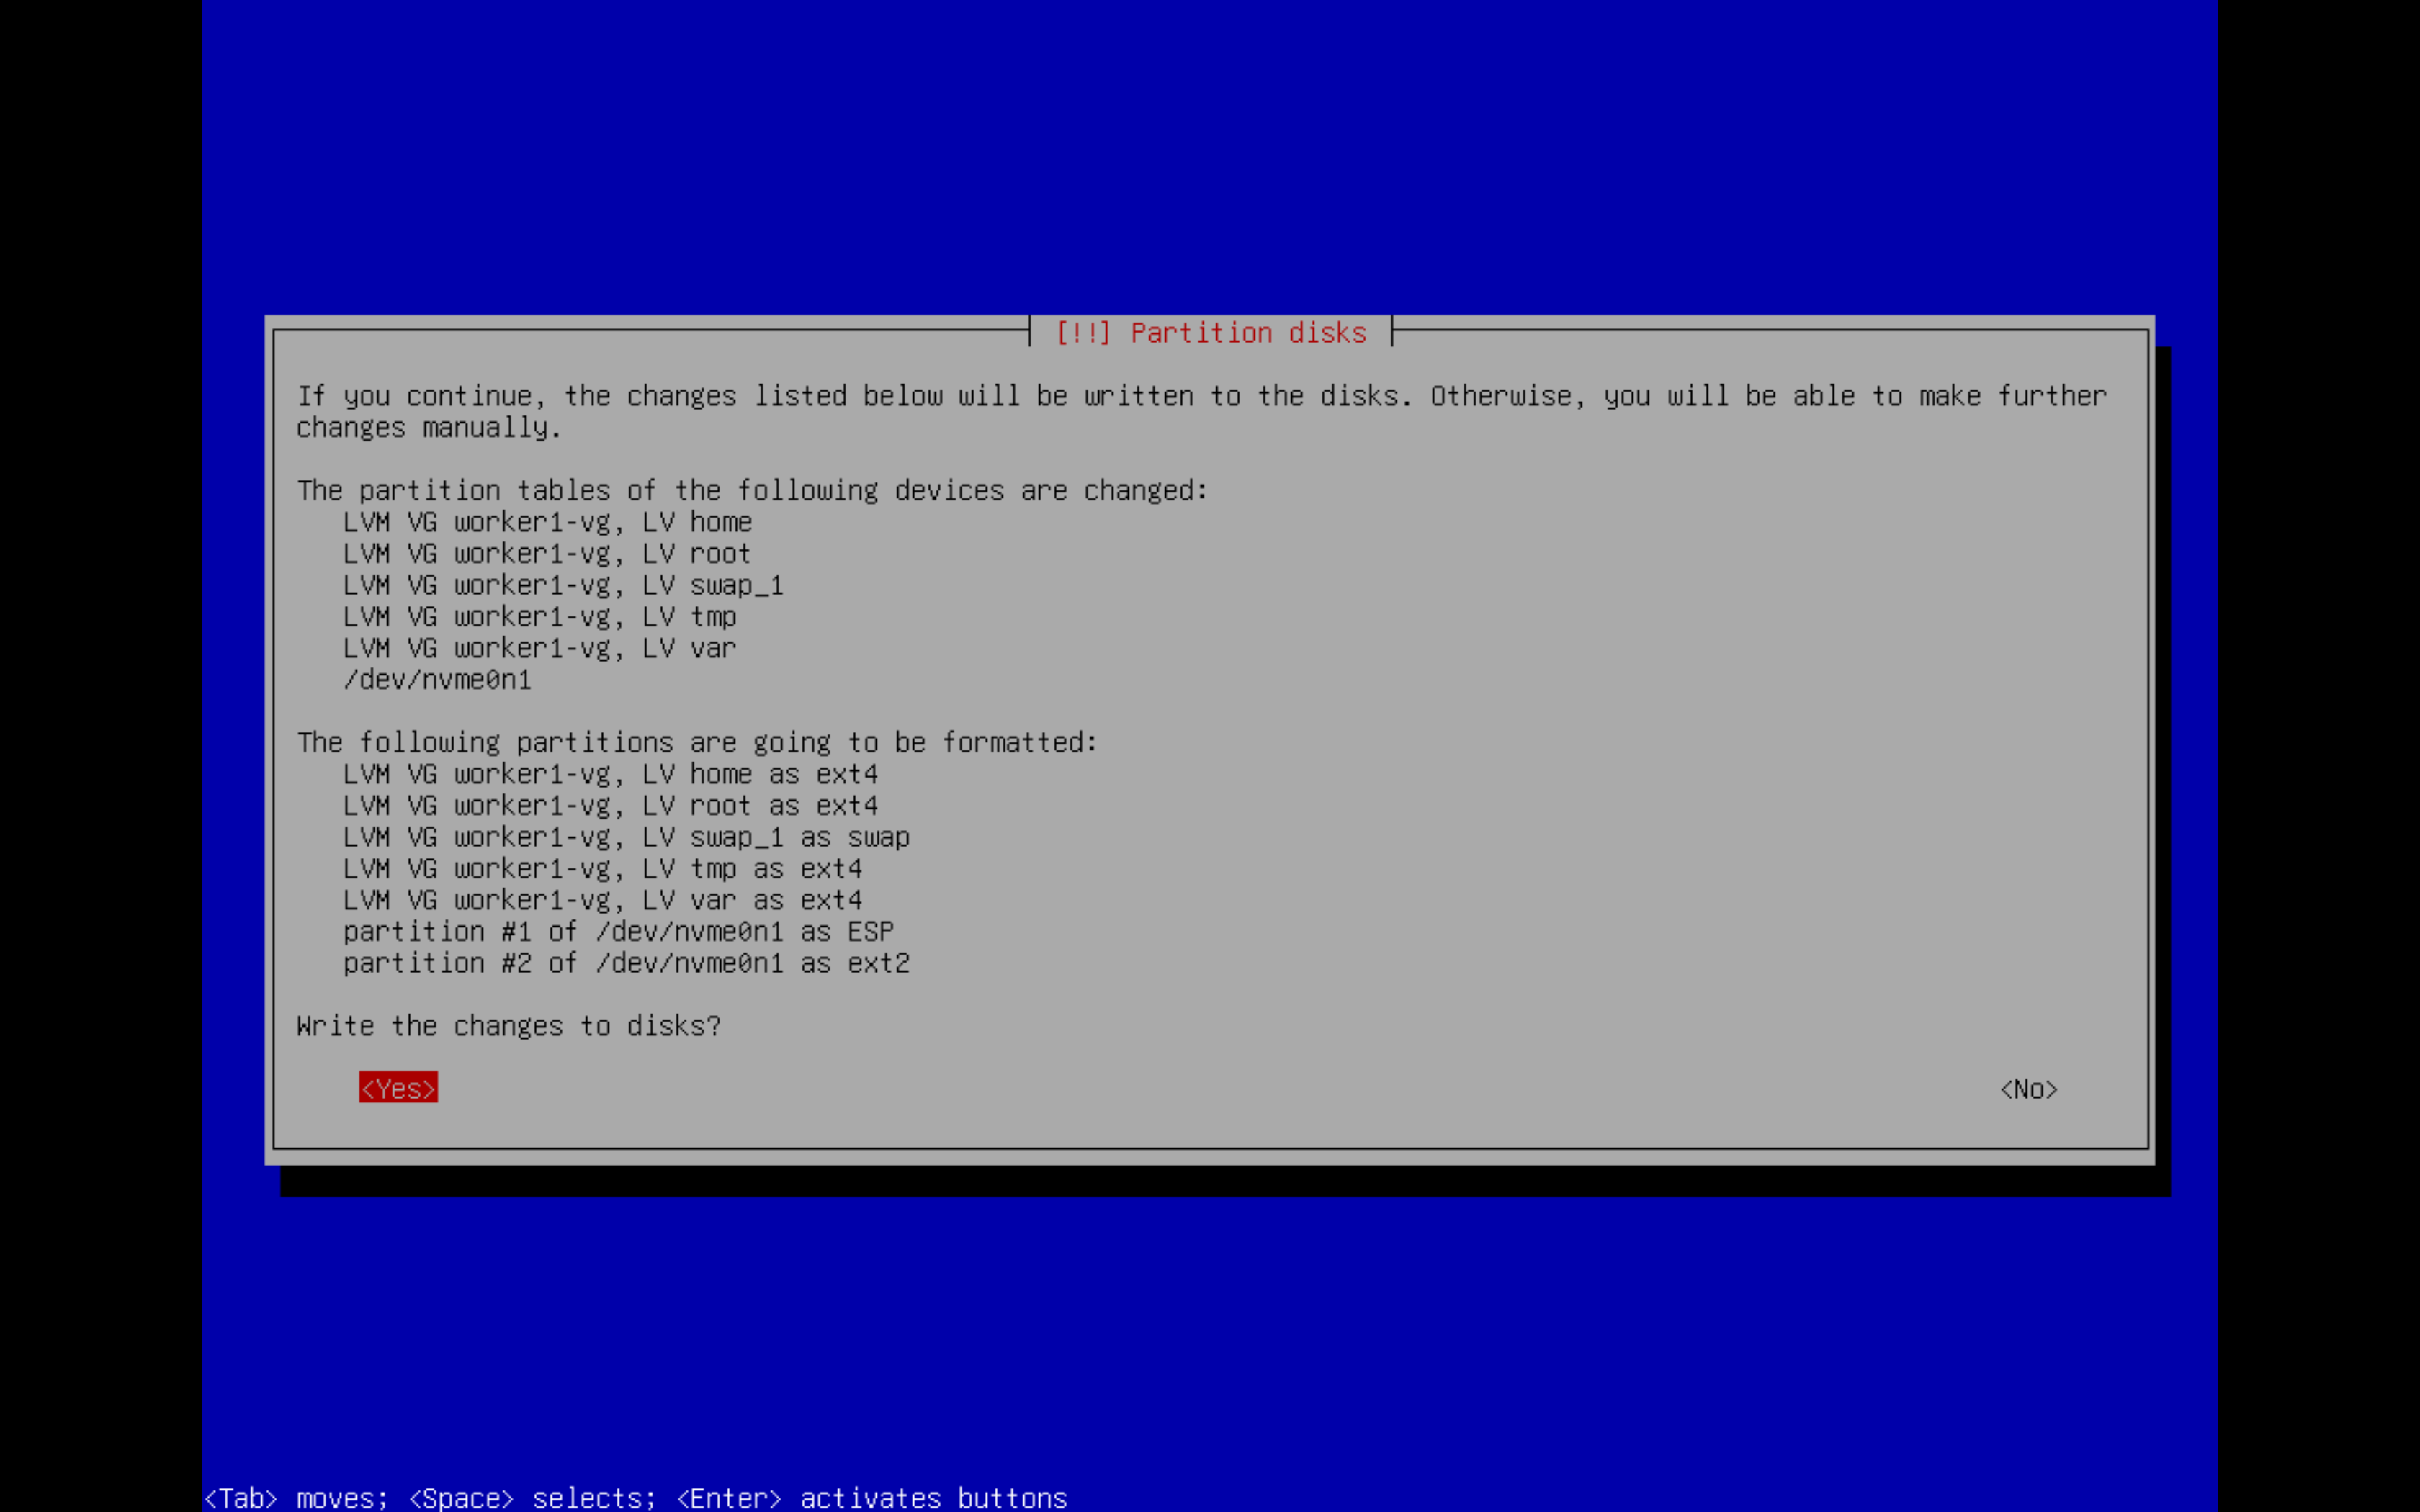
Debian 은 처음이기에 나오는 설명들을 하나하나 읽으며 진행했습니다,
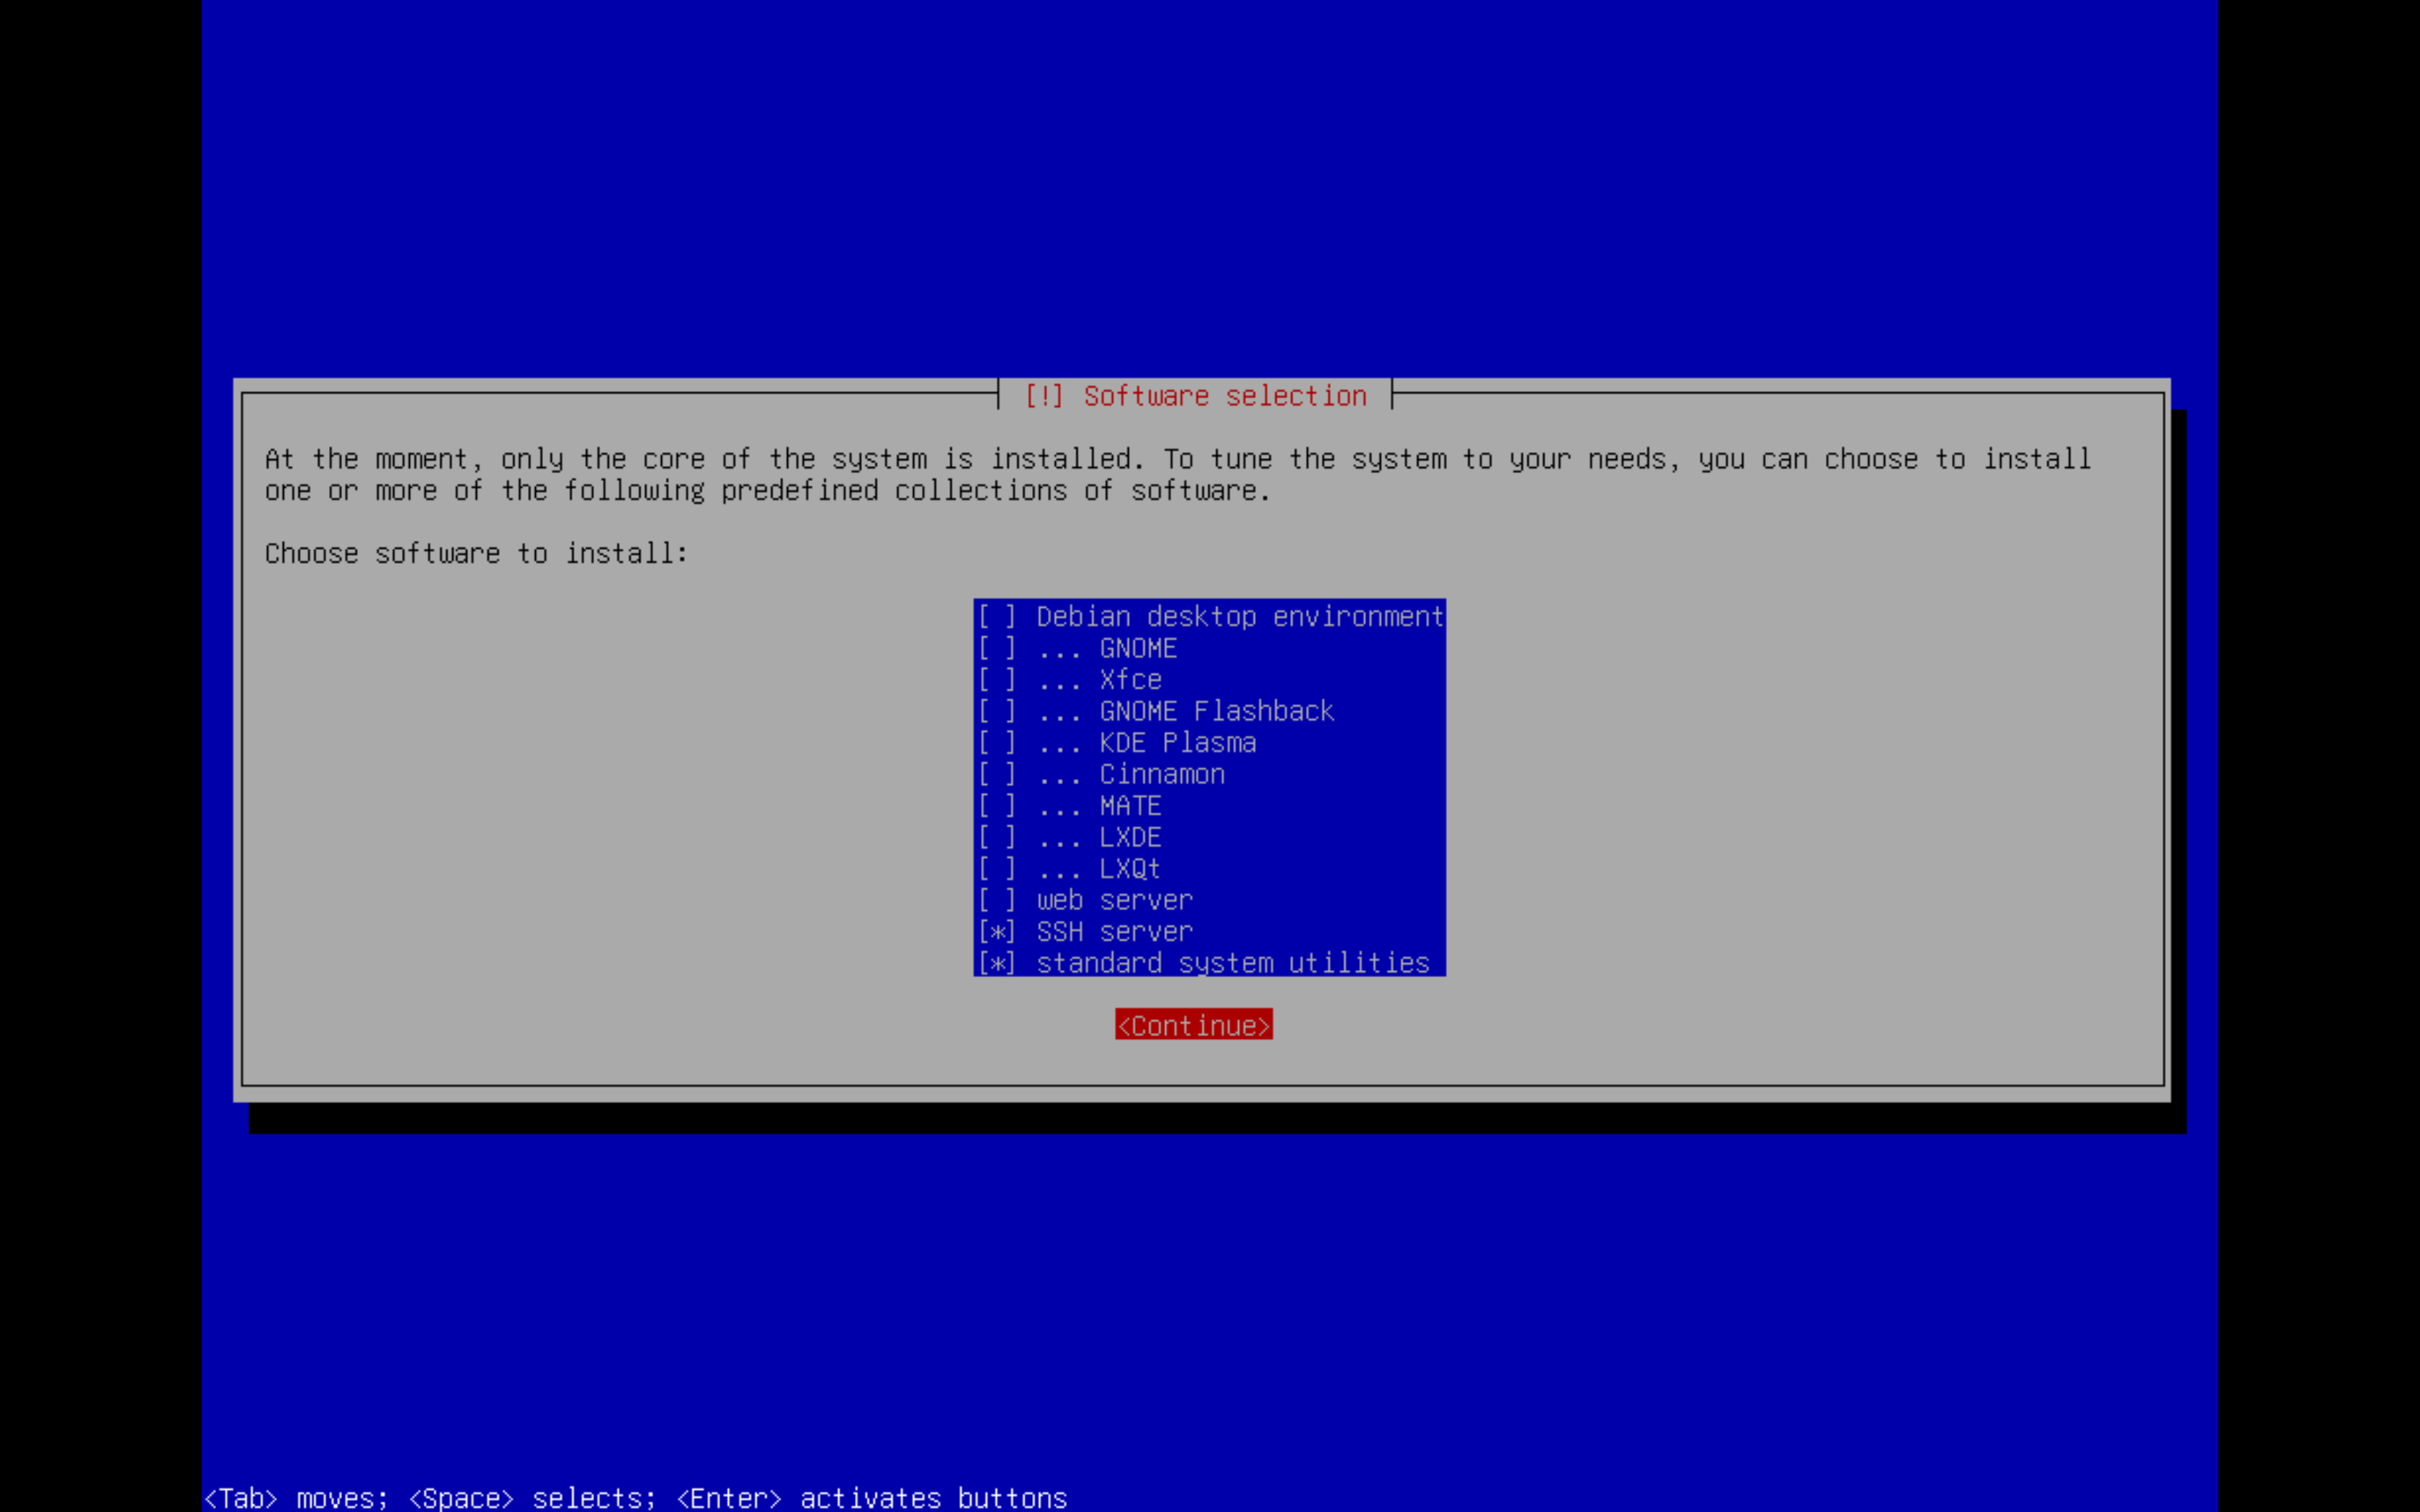
Software Installation 탭에서는 기본으로 체크되어있는
SSH server, standart system utilities만 체크 한후 설치했고, 파티션은 /var, /tmp, /home등으로 나누는 사항을 체크했습니다.
설치 이후에는 로컬 터미널에서 접속 할수 있게 /etc/ssh/sshd_config파일에서
PermitRootLogin yes를 추가해서 root 접속 권한을 열었습니다.
2. k3s 설치
공식 페이지를 보며 설치했습니다.
2-1. 요구사항
k3s는 경량화된 쿠버네티스 클러스터 인 만큼 요구하는 스펙도 낮습니다.
| Spec | Minimum | Recommended |
|---|---|---|
| CPU | 1 core | 2 cores |
| RAM | 512 MB | 1 GB |
만약 여러 노드로 클러스터를 구성한다면 아래와 같습니다.
| Deployment Size | Nodes | VCPUS | RAM |
|---|---|---|---|
| Small | Up to 10 | 2 | 4 GB |
| Medium | Up to 100 | 4 | 8 GB |
| Large | Up to 250 | 8 | 16 GB |
| X-Large | Up to 500 | 16 | 32 GB |
| XX-Large | 500+ | 32 | 64 GB |
It is recommended to turn off ufw (uncomplicated firewall):
k3s 공식 사이트에서는 ufw를 끄길 권장하고 있습니다.
ufw disable만약 ufw를 켜놓고 싶다면 아래 룰을 추가해줘야 합니다.
ufw allow 6443/tcp #apiserver
ufw allow from 10.42.0.0/16 to any #pods
ufw allow from 10.43.0.0/16 to any #services
2-2. k3s 설치
k3s 설치 스크립트
위의 스크립트를 복사해서 vim ${원하는이름}.sh으로 열어서 붙여넣고 저장한후 chmod 744 ${저장한 파일} 로 실행권한을 주고 실행합니다.
혹은
curl -sfL https://get.k3s.io | sh -와 같이 설치할 수 있고, 뒤에 파이프|를 두고 환경변수와 함께 실행해 여러 옵션과 함께 설치가 가능합니다.
다른 설정 방법은 여기서확인 할 수 있습니다.
root@master:~# ls -alhr
total 72K
-rw-r--r--  1 root root  35K Jun 30 03:12 k3s-isntallation.sh
-rw-------  1 root root 9.7K Jun 30 03:12 .viminfo
drwx------  2 root root 4.0K Jun 30 02:34 .ssh
-rw-r--r--  1 root root  161 Jun  5 22:35 .profile
-rw-------  1 root root   20 Jun 30 02:43 .lesshst
-rw-r--r--  1 root root  607 Jun  5 22:35 .bashrc
drwxr-xr-x 18 root root 4.0K Jun 30 02:34 ..
drwx------  3 root root 4.0K Jun 30 03:12 .
root@master:~# chmod 744 k3s-isntallation.sh
root@master:~# ls -alhr
total 72K
-rwxr--r--  1 root root  35K Jun 30 03:12 k3s-isntallation.sh
-rw-------  1 root root 9.7K Jun 30 03:12 .viminfo
drwx------  2 root root 4.0K Jun 30 02:34 .ssh
-rw-r--r--  1 root root  161 Jun  5 22:35 .profile
-rw-------  1 root root   20 Jun 30 02:43 .lesshst
-rw-r--r--  1 root root  607 Jun  5 22:35 .bashrc
drwxr-xr-x 18 root root 4.0K Jun 30 02:34 ..
drwx------  3 root root 4.0K Jun 30 03:12 .
root@master:~# ./k3s-isntallation.sh
[INFO]  Finding release for channel stable
[INFO]  Using v1.29.6+k3s1 as release
[INFO]  Downloading hash https://github.com/k3s-io/k3s/releases/download/v1.29.6+k3s1/sha256sum-arm64.txt
[INFO]  Downloading binary https://github.com/k3s-io/k3s/releases/download/v1.29.6+k3s1/k3s-arm64
[INFO]  Verifying binary download
[INFO]  Installing k3s to /usr/local/bin/k3s
./k3s-isntallation.sh: 579: [: Illegal number:
[INFO]  Skipping installation of SELinux RPM
[INFO]  Creating /usr/local/bin/kubectl symlink to k3s
[INFO]  Creating /usr/local/bin/crictl symlink to k3s
[INFO]  Creating /usr/local/bin/ctr symlink to k3s
[INFO]  Creating killall script /usr/local/bin/k3s-killall.sh
[INFO]  Creating uninstall script /usr/local/bin/k3s-uninstall.sh
[INFO]  env: Creating environment file /etc/systemd/system/k3s.service.env
[INFO]  systemd: Creating service file /etc/systemd/system/k3s.service
[INFO]  systemd: Enabling k3s unit
Created symlink '/etc/systemd/system/multi-user.target.wants/k3s.service' → '/etc/systemd/system/k3s.service'.
[INFO]  Host iptables-save/iptables-restore tools not found
[INFO]  Host ip6tables-save/ip6tables-restore tools not found
[INFO]  systemd: Starting k3s
systemd: Starting k3s와 함께 k3s가 실행되었습니다.
~/.bashrc에 alias k='kubectl'을 넣어 kubectl을 k로 할 수 있게 바꿉니다.
2-3. 배포해보기
테스트용으로 nginx 를 배포해보겠습니다.
apiVersion: apps/v1
kind: Deployment
metadata:
  name: nginx
spec:
  selector:
    matchLabels:
      app: nginx
  replicas: 1
  template:
    metadata:
      labels:
        app: nginx
    spec:
      containers:
        - name: nginx
          image: nginx
---
apiVersion: v1
kind: Service
metadata:
  name: nginx
  labels:
    app: nginx
spec:
  ports:
  - name: http
    port: 80
    protocol: TCP
    targetPort: 80
    nodePort: 30080
  selector:
    app: nginx
type: NodePortroot@master:~/kube# k apply -f test.yaml
deployment.apps/nginx created
service/nginx created
root@master:~/kube# k get all
NAME READY STATUS RESTARTS AGE
pod/nginx-7854ff8877-fvlwr 1/1 Running 0 81s
NAME TYPE CLUSTER-IP EXTERNAL-IP PORT(S) AGE
service/kubernetes ClusterIP 10.43.0.1 <none> 443/TCP 57m
service/nginx NodePort 10.43.201.68 <none> 80:30080/TCP 81s
NAME READY UP-TO-DATE AVAILABLE AGE
deployment.apps/nginx 1/1 1 1 81s
NAME DESIRED CURRENT READY AGE
replicaset.apps/nginx-7854ff8877 1 1 1 81s만들어진 nginx서비스의 nodePort 인 30080으로 접속해보겠습니다.
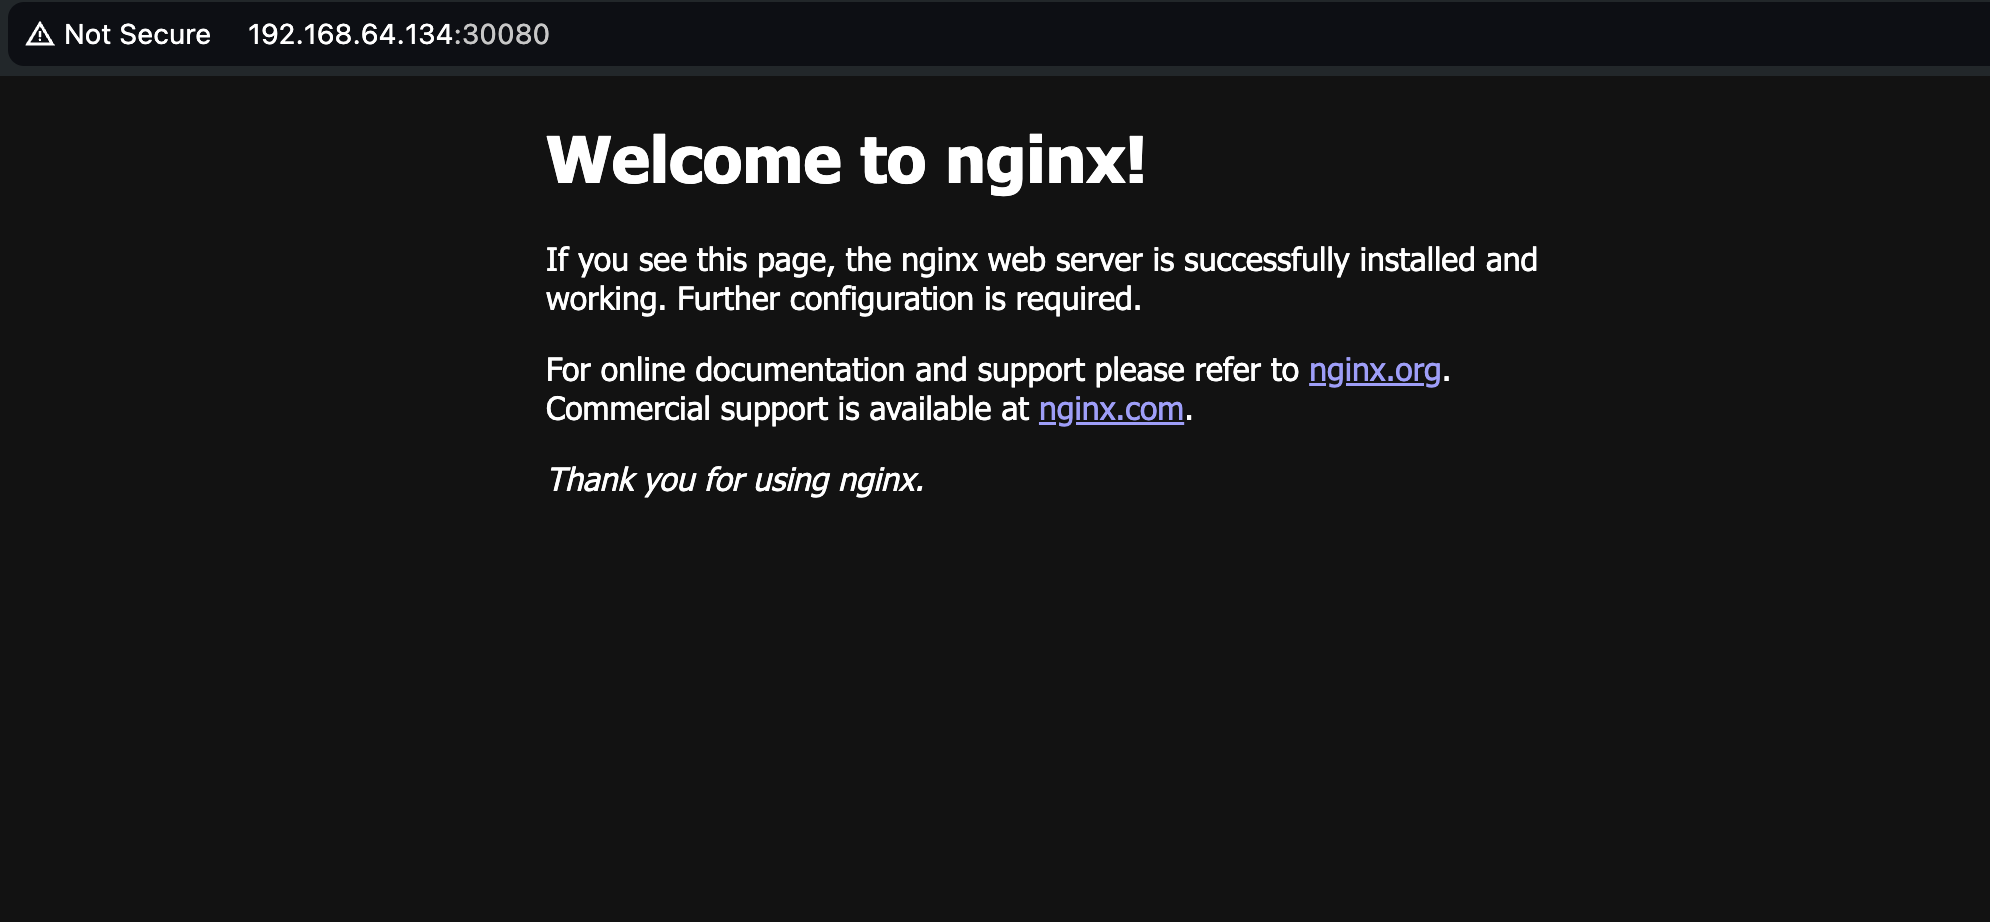
접속이 잘 됩니다.
3. 여러노드 클러스터 구성
이제 2대의 Debian을 더 설치해서 클러스터를 구성하겠습니다.
k3s설치 이전까지의 과정을 2번 반복합니다.
마스터
마스터 노드 그러니까 nginx테스트 해봤던 노드에서
k3s token generate/var/lib/rancher/k3s/server에 node-token이 생깁니다.
이걸 복사합니다.
워커노드
curl -sfL https://get.k3s.io | K3S_URL=https://${마스터노드IP}:6443 K3S_TOKEN=${복사한 토큰값} sh -root@worker1:~# curl -sfL https://get.k3s.io | K3S_URL=https://192.168.64.134:6443 K3S_TOKEN=K1023d2d3a735f97fdf521b0476204cdb8ac834d218ce17e6f00b2343855ea18847::server:93aebf25320deadb1695897d9e2c66ba sh -
[INFO] Finding release for channel stable
[INFO] Using v1.29.6+k3s1 as release
[INFO] Downloading hash https://github.com/k3s-io/k3s/releases/download/v1.29.6+k3s1/sha256sum-arm64.txt
[INFO] Skipping binary downloaded, installed k3s matches hash
sh: 579: [: Illegal number:
[INFO] Skipping installation of SELinux RPM
[INFO] Skipping /usr/local/bin/kubectl symlink to k3s, already exists
[INFO] Skipping /usr/local/bin/crictl symlink to k3s, already exists
[INFO] Skipping /usr/local/bin/ctr symlink to k3s, already exists
[INFO] Creating killall script /usr/local/bin/k3s-killall.sh
[INFO] Creating uninstall script /usr/local/bin/k3s-agent-uninstall.sh
[INFO] env: Creating environment file /etc/systemd/system/k3s-agent.service.env
[INFO] systemd: Creating service file /etc/systemd/system/k3s-agent.service
[INFO] systemd: Enabling k3s-agent unit
Created symlink '/etc/systemd/system/multi-user.target.wants/k3s-agent.service' → '/etc/systemd/system/k3s-agent.service'.
[INFO] Host iptables-save/iptables-restore tools not found
[INFO] Host ip6tables-save/ip6tables-restore tools not found
[INFO] systemd: Starting k3s-agent마스터
k get nodes 로 클러스터에 조인이 되었는지 확인합니다.
root@master:/var/lib/rancher/k3s/server# k get nodes
NAME      STATUS   ROLES                  AGE    VERSION
master    Ready    control-plane,master   80m    v1.29.6+k3s1
worker1   Ready    <none>                 102s   v1.29.6+k3s1
조인이 되었습니다.
4. kube-prometheus-stack 배포
이제 helm chart를 사용해 kube-prometheus-stack을 배포해보겠습니다.
helm 은 쿠버네티스 패키지 매니저 이고,
kube-prometheus-stack은 Grafana, Prometheus, Alertmanager등을 한번에 설치 할 수 있는 helm chart 입니다.
먼저 helm을 설치하겠습니다.
curl -fsSL -o get_helm.sh https://raw.githubusercontent.com/helm/helm/main/scripts/get-helm-3
chmod 700 get_helm.sh
./get_helm.sh
설치하고 helm ls명령어를 실행하면
Error: Kubernetes cluster unreachable: Get "http://localhost:8080/version": dial tcp [::1]:8080: connect: connection refused와 같은 오류를 볼 수 있습니다.
KUBECONFIG환경변수가 설정되어 있지 않기때문에 발생하는 오류입니다.
export KUBECONFIG=/etc/rancher/k3s/k3s.yaml
명령어로 KUBECONFIG환경변수를 설정해줍니다.
helm repo add prometheus-community https://prometheus-community.github.io/helm-charts
helm repo update
위의 명령어로 helm repo를 추가해주고 업데이트합니다.
그리고 네임스페이스도 만들어줍니다.
k create ns monitoring
명령어로 설치합니다.
helm install [RELEASE_NAME] prometheus-community/kube-prometheus-stack -n monitoring 명령어로 설치합니다.
이후 k get all -n monitoring으로 설치된 팟을 확인하면 됩니다.
5. 마무리
k3s 는 처음 사용해보는데, k8s보다 훨씬 간단하고 쉽다는 느낌을 받았습니다.
Great for:

Edge
Homelab
Internet of Things (IoT)
Continuous Integration (CI)
Development
Single board computers (ARM)
Air-gapped environments
Embedded K8s
Situations where a PhD in K8s clusterology is infeasible
등의 용도로 사용하기 좋은 경량화 쿠버네티스입니다. 만약 간단한 애플리케이션들만 배포하거나, 홈랩, 테스트 용도로 사용하기 좋은 것 같습니다.
감사합니다.