강의를 듣다 vite-plugin-next-react-router의 설치가 강의녹화 시점과 현재의 버전이 달라 동작이 안되는 에러가 발생했습니다. 공식깃허브와 블로그를 참고하여 에러 해결을 진행했습니다.
1. vite 프로젝트 생성
yarn create vite로 vite 프로젝트를 생성 합니다.
➜ yarn create vite
yarn create v1.22.19
(node:11216) [DEP0040] DeprecationWarning: The `punycode` module is deprecated. Please use a userland alternative instead.
(Use `node --trace-deprecation ...` to show where the warning was created)
[1/4] 🔍  Resolving packages...
[2/4] 🚚  Fetching packages...
[3/4] 🔗  Linking dependencies...
[4/4] 🔨  Building fresh packages...
success Installed "create-vite@5.1.0" with binaries:
      - create-vite
      - cva
✔ Project name: … vite-practice
✔ Select a framework: › React
✔ Select a variant: › TypeScript

Scaffolding project in /Users/location/toyour/project/vite-practice...

Done. Now run:

  cd vite-practice
  yarn
  yarn dev

✨  Done in 13.75s.
프로젝트명을 입력하고 상황에 맞게 선택하면 됩니다. 저는 React와 Typescript를 선택했습니다.
cd 설정한 프로젝트명 명령어로 폴더로 이동하고
yarn install 혹은 yarn을 입력해 디펜던시들을 설치합니다.
이후 yarn dev로 로컬 서버를 구동할 수 있습니다.
vite는 기본적으로 5173포트에 열리기 때문에 localhost:5173에 접속하면 화면을 확인 할 수 있습니다.

2. plugin 설치
yarn add vite-plugin-next-react-router
yarn add react-router-dom 명령어로 플러그인을 설치합니다
vite-plugin-next-react-router을 사용하기위해 react-router-dom도 필요하기 때문에 설치했습니다.
3. routing
React의 라우팅은 <BrowserRouter>, <Routes>, <Route>를 사용해 동적 라우팅을 구성 할 수 있습니다.
Next.js 는 폴더명을 따라 자동으로 라우팅이 됩니다.
이 vite-plugin-next-react-router 플러그인은 React안에서 Next.js같은 라우팅을 가능하게 해줍니다.
우선 App.tsx를 수정합니다
import './App.css'

function App() {
  return (
  <div>
      App.tsx 입니다.
  </div>
  )
}

export default App
3-1. routing할 페이지 생성
├── README.md
├── index.html
├── package.json
├── public
│   └── vite.svg
├── src
│   ├── App.css
│   ├── App.tsx
│   ├── assets
│   │   └── react.svg
│   ├── index.css
│   ├── main.tsx
│   ├── pages
│   │   ├── index.tsx
│   │   └── products
│   │       ├── [id].tsx
│   │       └── index.tsx
│   └── vite-env.d.ts
├── tsconfig.json
├── tsconfig.node.json
├── vite.config.ts
└── yarn.locksrc폴더안에pages폴더를 생성합니다.src/pages안에index.tsx를 생성합니다. 이 파일이 앞으로locahost:5173/의 반환 컴포넌트가 됩니다.src/pages안에products폴더를 생성합니다.src/pages/products안에[id].tsx와index.tsx를 생성합니다.
4-1.[id].tsx는 상품번호에 맞는 동적라우팅이 됩니다. ex)localhost:5173/products/22
4-2.index.tsx는 상품리스트를 보여주는localhost:5173/products페이지 입니다.
3-2. routing 준비
vite로 프로젝트를 생성하면 프로젝트루트에 vite.config.ts혹은 vite.config.js가 있습니다.
vite.config.ts
plugins 배열에 withReactRouter()를 추가해줍니다.
import { defineConfig } from 'vite'
import react from '@vitejs/plugin-react'
import withReactRouter from 'vite-plugin-next-react-router';

// https://vitejs.dev/config/
export default defineConfig({
  plugins: [react(),
  withReactRouter()],
})
main.tsx
src폴더 안에 main.tsx를 보면 CRA를 통해 React앱을 생성하면 있는 index.js와 같은 파일이 있습니다. <App />을 react-router-dom의 <BrowserRouter>로 감싸줍니다.
import React from 'react'
import ReactDOM from 'react-dom/client'
import App from './app.tsx'
import { BrowserRouter } from 'react-router-dom';

ReactDOM.createRoot(document.getElementById('root')!).render(
  <React.StrictMode>
    <BrowserRouter>
    <App />
    </BrowserRouter>
  </React.StrictMode>,
)
src/pages/index.tsx, products/index.tsx, [id].tsx
routing이 되는지 확인할 것이기에 간단하게 화면을 보여주도록 하겠습니다.
- src/pages/index.tsx
앱의 메인 페이지가 되는 파일입니다.
const IndexPage = () => {
return (
<div>
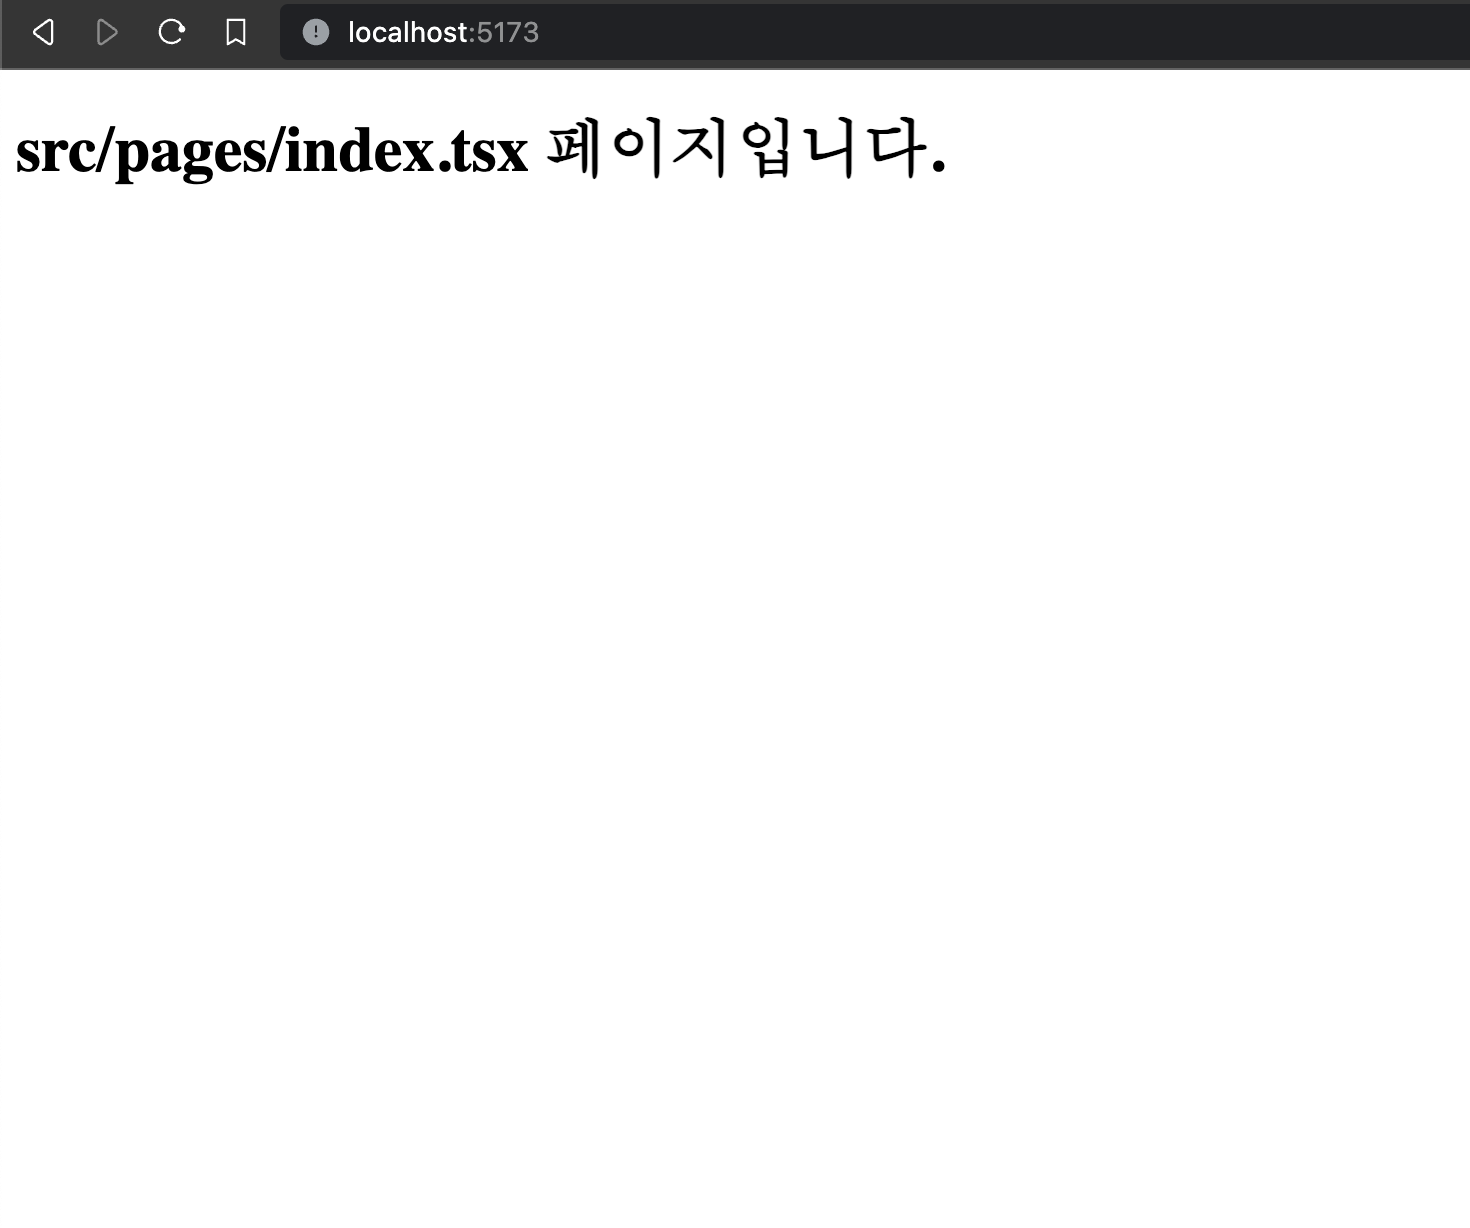
src/pages/index.tsx 페이지입니다.
</div>
)
}
export default IndexPage;- products/index.tsx
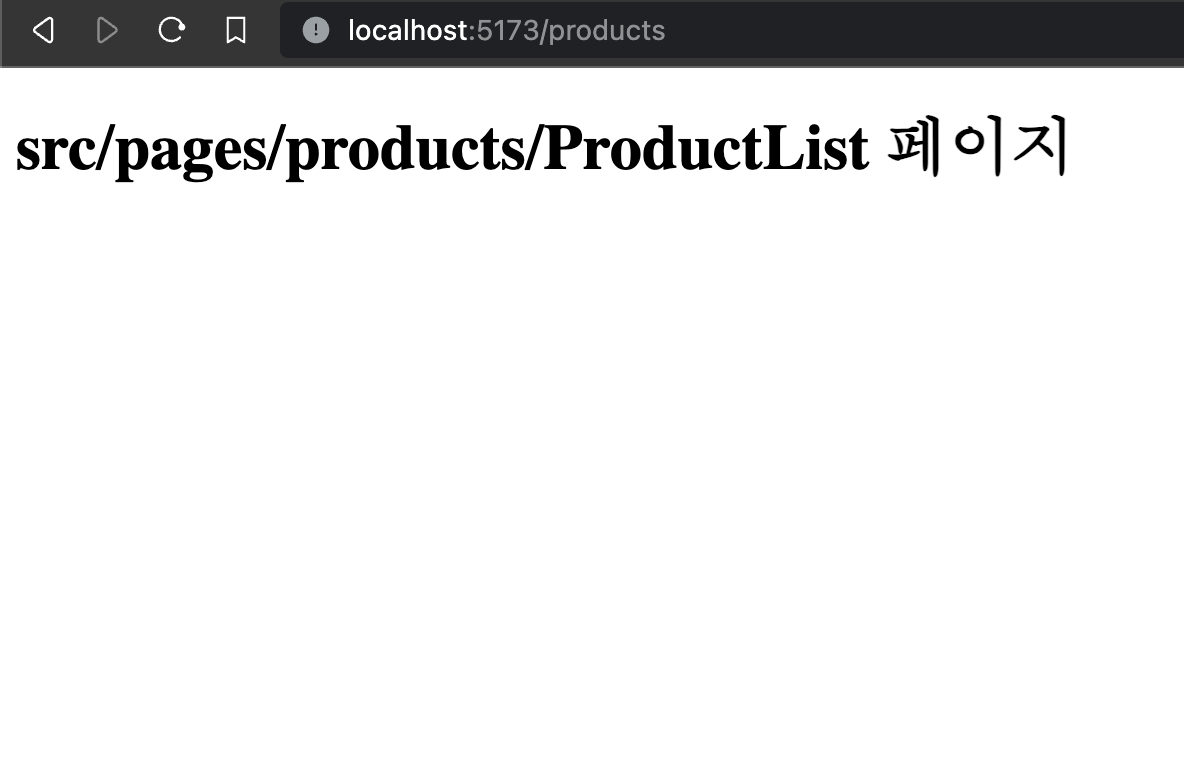
localhost:5173/products/의 화면입니다
const ProductList = () => {
  return (
  <div>
      src/pages/products/ProductList 페이지
  </div>
  )
}

export default ProductList;- products/[id].tsx
locahost:5173/products/${상품번호}/에 동적으로 routing되는 파일입니다.
현재 상품번호를 보기위해useParams를 이용해id값을 가져왔습니다.
import { useParams } from "react-router-dom";

const ProductDetail = () => {
  let { id } = useParams<"id">();
  return (
  <div>
      {id}번 상품상세
  </div>
  )
}

export default ProductDetail;
3-3. _layout.tsx
공식깃허브를 참고해 작성했습니다.
src/pages경로에 작성하면 됩니다.
import React, { Suspense } from 'react';
import { Outlet } from 'react-router-dom';

const Layout: React.FC = () => {
  return (
  <div>
    <Suspense fallback={'loading...'}>
      <Outlet />
    </Suspense>
  </div>
  )
}

export default Layout;
3-4. routes.tsx
플러그인의 버전업이 되면서 생긴 문제가 이곳이었습니다. 강의에선 routes.tsx가 자동으로 생성되었지만 자동으로 생성이 되지않아 직접 작성 했습니다.
src경로에 작성하면 됩니다.
import { lazy } from "react";
import GlobalLayout from "./pages/_layout";

const Index = lazy(() => import("./pages/index"));
const PoroductsIndex = lazy(() => import("./pages/products/index"));
const ProductsId = lazy(() => import("./pages/products/[id]"));

export const routes = [
  {
    path: "/",
    element: <GlobalLayout />,
    children: [
      { path: "/", element: <Index /> },
      { path: "/products", element: <PoroductsIndex /> },
      { path: "/products/:id", element: <ProductsId /> },
    ],
  },
];

export const pages = [
  { route: "/" },
  { route: "/products" },
  { route: "/products/:id" },
];/경로에선 Index컴포넌트를 보여주고 /products경로는 ProductsIndex(products/index.tsx파일)을 보여줍니다
vite-plugin-next-react-router는 react-router의 방식을 사용해 경로마다 보여주는 컴포넌트를 이 routes.tsx파일을 사용해 설정해주는것 입니다.
3-5. App.tsx
아시다시피 Next.js에는 _app.tsx와 같은 전역 파일이 있습니다. 이제 App.tsx는 그 _app.tsx와 흡사한 역할을 하게 됩니다.
import { useRoutes } from 'react-router-dom';
import { routes } from './routes';

const App = () => {
  const elem = useRoutes(routes)
  return elem
}

export default App;elem이라는 변수에 userRoutes훅을 사용해 작성한 routes.tsx파일을 사용하고 반환합니다.
이제 정상적으로 routing.tsx는 작동할 것입니다. 확인해보겠습니다.
4. 결과
- localhost:5173/
- localhost:5173/products
- localhost:5173/products/22
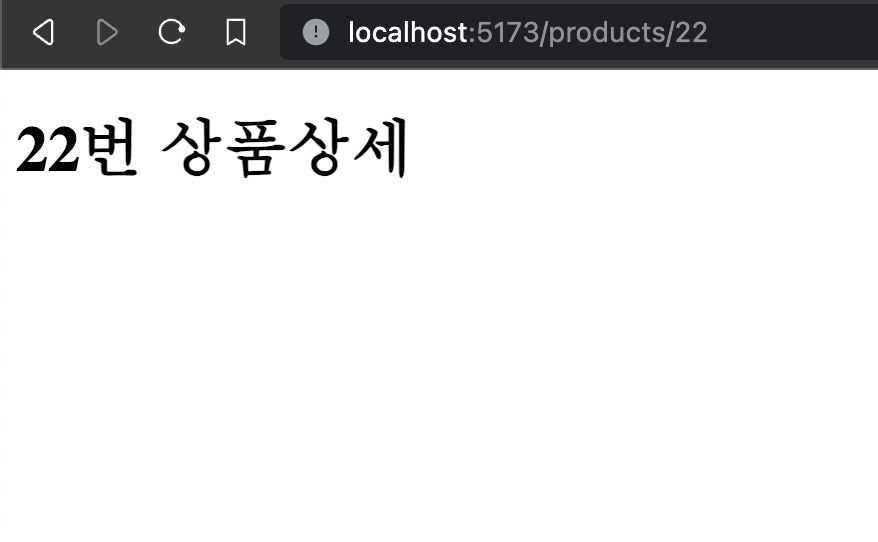
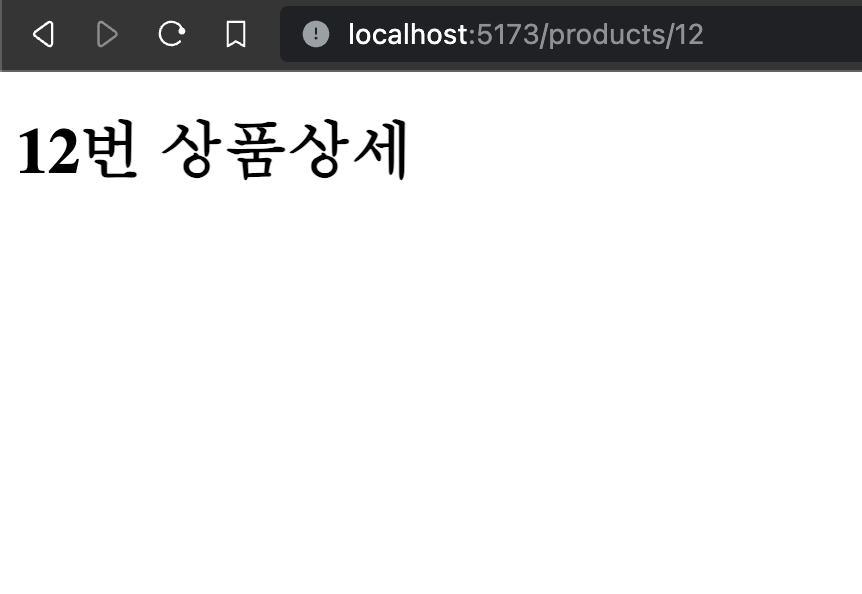
products/[id]의 id값에 따라 바뀌는것도 확인 할 수 있습니다.
포스팅은 여기서 마치겠습니다. 감사합니다.