본글은 maximeheckel의 Framer-Motion 튜토리얼과Framer-Motion 문서를 재구성한 글입니다.
Framer Motion이 필요할 때
항상 화려한 애니메이션을 보면 만들어보고 싶은 생각이 들다가도 css transition을 다룰 생각에 포기하곤 했다. Framer는 이런 사람들을 위한 라이브러리라고 생각해도 좋다. (하지만 어느정도 애니메이션 개념을 알아야한다. ) Framer Motion은 직관적인 코드를 통해 손쉽게 애니메이션을 제작하게 해준다. 그리고 React 기반 라이브러리이므로 리액트 개발자라면 배울 것을 추천한다.
Getting Started
CRA 나 NextApp 을 통해 리액트 앱을 만들어준다.
npx create-react-app my-app // ts 사용자라면 --template typescript를 추가로 입력
// or
npx create-next-app@latest // ts 사용자라면 --ts 플래그를 붙여준다.
그리고 framer-motion을 설치한다.
npm i framer-motion
// or
yarn add framer-motion
⭐Framer Motion의 Main Concept⭐
애니메이션을 다룰 때에는 3가지 요소를 중요하게 생각해야한다.
- 애니메이션 시작 전에는 어디서,어떤 모습을 나타낼까? the initial state (마운트 될 때)
- 애니메이션이 끝났을 때 어떤 모습일까? the target state
- 애니메이션은 어떻게 진행될까? (linear, easeIn 등) the transition state
이는 Framer-Motion 의 컨셉과 일맥상통하다. Framer-Motion은 우리에게 motion이라는 컴포넌트를 제공한다. motion 컴포넌트는 위 세가지에 대한 props를 제공한다. 우리는 이 props를 통해서 animation을 만들 수 있다.
🙄 Framer Motion은 Framer Component에 props를 전달하는 형식으로 애니메이션을 추가한다.
motion.div,motion.span와 같은 형태로 Framer Component를 만들 수 있다.
<motion.div
    initial={{ // 처음 마운트 될 때 상태,
    // 마운트시 애니메이션을 원하지 않다면 initial = {false}
      x: 0,
      rotate: 45,
    }}
		animate={{ // 애니메이션이 끝났을 때의 상태
      x: 50,
      rotate: 270,
    }}
		transition={{ // animate state까지 어떻게 변할지 정하는 옵션
			// 여러 transition type을 정의 할 수 있다.
      ease: "easeIn",
      duration: 0.7,
    }}
  />
transition props에서는 delay, 반복 횟수 등의 애니메이션이 어떻게 진행될지 정할 수 있다. 그리고 애니메이션은 3가지 타입을 가질 수 있다.
- tween: default 값이다. (between의 약어다.) 아무것도 설정하지 않은 css 애니메이션과 같다.
- spring : 스프링처럼 애니메이션이 끝나도 조금 탄성을 가진다.
- Inertia : 관성과 관련되어있다.
animateprop 대신에 gesture props인whileHover혹은whileTap등을 사용할 수 있다. (hover,drag,tap할 때 애니메이션 발생시킨다.)initial과transitionprops의 값을 설정하지 않아도 된다. 없으면 자동으로 설정해준다.
Variants
props들을 열거하다보면 코드가 지저분해진다. 따라서 variants를 이용해 미리 애니메이션 상태를 정의할 수 있다.
mport { motion } from 'framer-motion';

const AnimatedComponent = () => {
  const variants = {
    first: {
      x: 0,
      rotate: 45,
    },
    animationEnd: {
      x: 50,
      rotate: 270,
    },
  };

  return (
    <motion.div
     variants={variants}
     initial="first" // variants에서 설정한 key값 string형태로 넣어준다.
     animate="animationEnd"
	transition={{
      ease: "easeIn",
      duration: 0.7,
    }}
  />
  );
};
이렇게 미리 정의한다면 의문이 들 수 있다. 항상 정해진 애니메이션 상태만 나타내야할까? 동적으로 애니메이션을 바꾸려면 어떻게 해야할까? 이를 위해서 framer motion은 함수 형태의 variants를 지원한다.
variants 를 함수로 정의해 동적으로 애니메이션을 바꿀 수 있게 할 수 있다. (이 함수는 하나의 인수를 받고 animation 객체를 반환한다.) 이 인수는 컴포넌트의 custom prop에 의해서 값을 전달받는다. 예시를 살펴보자.
import { motion } from 'framer-motion';

const AnimatedButton = () => {
  const buttonVariants = {
    // function으로 정의하는 모습
    hover: (clicked) => ({
      // 클릭된 버튼은 scale이 커지지 않는다.
      scale: clicked ? 1 : 1.5,
    }),
    pressed: {
      scale: 0.5,
    },
    rest: {
      scale: 1,
    },
  };

  const [clicked, setClicked] = React.useState(false);

  return (
    <motion.button
      initial="rest"
      whileHover="hover" // hover상태 일 때 hover animation발생
      whileTap="pressed"
      variants={buttonVariants}
      custom={clicked} // custom을 통해 값을 전달 할 수 있다.
      onClick={() => setClicked(true)}
    >
      Click me!
    </motion.button>
  );
};
이제 기본 개념을 모두 파악했으니 더욱 깊이 알아보자.
Advanced Concepts: Motion Values
MotionValue는 애니메이션 상태를 나타내는 값이다.UseMotionValue를 이용하면 애니메이션 상태를 계속 관찰할 수 있다.(애니메이션 상태를 구독한다.) React의 State와 비슷하다고 생각하면 된다. 그러나 state가 변할 때 다시 랜더링하는 반면, MotionValue는 다시 랜더링을 일으키지 않는다. (React render tree 밖에 존재하기 때문이다.)
어떻게 활용할 수 있을까? https://toss.im/career 에 접속하면 스크롤 정도에 따라 opacity가 달라지고 텍스트의 위치가 변하는 애니메이션을 체험할 수 있다. 이런 복잡한 애니메이션을 보면 항상 여러 값들이 서로 얽혀있다. 이렇게 하나의 애니메이션이 다른 애니메이션 상태와 연관되었을 때 MotionValue를 활용할 수 있다. 애니메이션 상태 사이를 연결시키려면 useTransform의 도움을 받아야한다. 자세한 예시를 보자.
rotate에 따라 scale 이 달라지는 애니메이션을 만들어보자. 우선 Variants를 정의한다.
// AnimatedComponent
const blockVariants = {
    initial: {
      rotate: 0,
    }, // 처음 컴포넌트 나타날 때 상태
    target: {
      rotate: 270,
    }, // 애니메이션 끝날 때 상태
  };
그리고 motionValue를 정의하고 useTransform을 통해 둘의 상태를 연결한다.
const rotate = useMotionValue(0); // 변수이름 달라도 됨, 애니메이션 상태 구독
const scale = useTransform(rotate, [0, 270], [0, 1]); // 변수이름 달라도 된다.
⭐중요 :
useTransform은 세개의 인수를 가진다. (연결할motionValue, inputRange , outputRange)
useTransform은 연결된motionValue의 값에 따라 새로운 값을 반환한다.
위 예시에서는 rotate MotionValue를 만들었고, scale에 이를 연결시켰다. rotate 이 0~270의 값을 가질 때 이에 비례해 scale은 0~1의 값을 가질 수 있다. rotate가 0이라면 scale은 0의 값을 가지고 rotate가 270이라면 scale은 1의 값을 가진다. 그 사이 값들은 rotate에 비레해서 변한다. 둘의 관계를 그림으로 표현하면 이렇다.

이제 컴포넌트를 반환한다.
return (
    <motion.div
      style={{
        background: "linear-gradient(90deg,#ffa0ae 0%,#aacaef 75%)",
        height: "100px",
        width: "100px",
        borderRadius: "10px",
        rotate, // rotate: rotate 와 동일
        scale,  // scale : scale 과 동일
      }}
      variants={blockVariants}
      initial="initial"
      animate="target"
      transition={{
        ease: "easeInOut",
        duration: 4,
      }}
    />
컴포넌트가 로드되면 initial에서 animate까지 진행되는 애니메이션이 시작된다. (rotate가 0~270 까지 변하는 애니메이션) 그러면 style의 rotate값이 변하는데 이에 따라 scale의 값도 달라진다. 결과물은 다음과 같다.
.gif)
Advanced Concepts: Orchestration
쉽게 애니메이션을 지휘한다고 생각하자. 비슷한 애니메이션을 순차적으로 진행할 때 , 딜레이를 주거나 반복 횟수를 설정할 때 orchestration을 사용한다.
Delays and Repetition
motion 컴포넌트의 transition 속성의 repeat, delay , repeatDelay , repeatType을 통해 delay 와 repeat을 구현할 수 있다.
const RepeatComponent = () => {
  const blockVariants = {
    initial: {
      y: -50,
    },
    target: {
      y: 100,
    },
  };

  return (
    <motion.div
      style={{
        background: "linear-gradient(90deg,#ffa0ae 0%,#aacaef 75%)",
        height: "100px",
        width: "100px",
        borderRadius: "50%",
      }}
      variants={blockVariants}
      initial="initial"
      animate="target"
      transition={{
        ease: "easeInOut",
        duration: 0.7, // 애니메이션이 총 걸리는 시간
        delay: 2, // 처음 애니메이션 delay
        repeat: 3, // 3번 반복
        // repeat: Infinity,
        repeatType: "loop", //   "loop" | "reverse" | "mirror";
        repeatDelay: 1, // 반복 될 때 delay
      }}
    />
  );
};
2초 기다린 후 애니메이션이 시작되고 반복되기 전 1초 기다린다. 그리고 3번 반복해서 총 4번 실행된다.

자식 컴포넌트 Animation에 Delay 주기 (순차적으로 Delay주기)
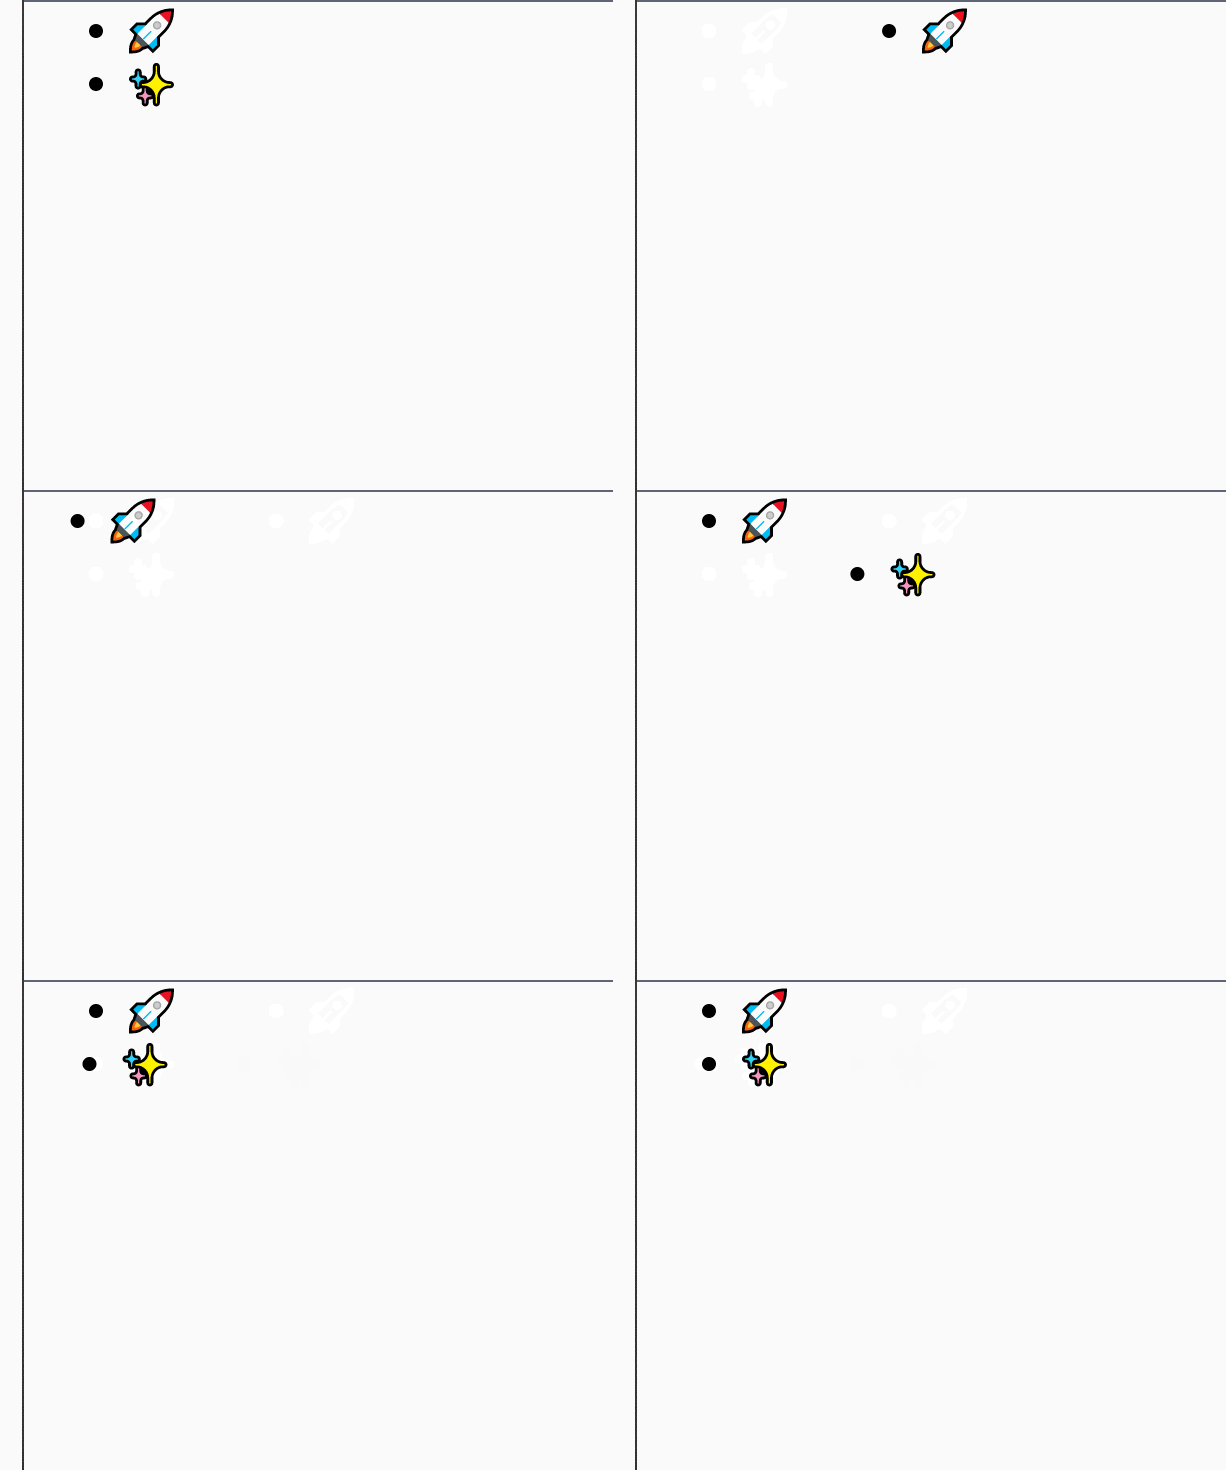
자식 컴포넌트 애니메이션에 순차적으로 delay를 주고싶을 때는 어떻게 해야할까? Framer Motion은 transition 옵션에 delayChildren 속성과 staggerChildren 속성을 제공해 이를 구현하게 해준다. (stagger는 ‘망설이다’의 뜻을 가진다.)
자식 컴포넌트에 순차적으로 Delay를 주는 것은 비둘기 떼가 날아가는 모습과 비슷하다.
비둘기들이 동시에 날아가는 것 같지만 사실 시간차를 두고 날아간다.

const ChildrenDelayComponent = () => {
  const boxVariants = {
    out: {
      y: 600,
    },
    in: {
      y: 0,
      transition: {
        duration: 0.6,
        // first child는 parent가 나타나고 0.5s 후에 나타난다.
        delayChildren: 0.5,
        // first child의 sibling child는 0.5s의 간격을 두고 나타난다
        staggerChildren: 0.5,
				// staggerChildren이 없다면
				//모든 child가 parent가 나타나고0.5s 후 동시에 나타난다.
      },
    },
  };

  const iconVariants = {
    out: {
      x: -600, // translateX(-600)
    },
    in: {
      x: 0,
    },
  };

  return (
    <motion.ul variants={boxVariants} initial="out" animate="in">
      <motion.li
        role="img"
        aria-labelledby="magic wand"
        variants={iconVariants}
				// parent의 initial, animate를 그대로 상속받기 때문에
				// 속성을 입력하지 않아도된다.
      >
        🚀
      </motion.li>
      <motion.li role="img" aria-labelledby="sparkles" variants={iconVariants}>
        ✨
      </motion.li>
    </motion.ul>
  );
};
😁 이제 Framer-Motion 입문 시작
이제 대부분의 기본개념들을 습득했다. 이제 간단한 애니메이션은 Framer-Motion으로 작성할 수 있다.Variants까지만 봤을 때는 유용함을 느끼지 못하겠지만 useMotionValue와 useTransform을 경험하면 Framer-Motion에 대한 애정이 샘솟는다. 그런데 아직 다루지 못한 항목들이 많다는 것도 놀랍다. 정말 유용한 개념들은 다루지않았다. 차차 이번 글에서 다루지 못한 개념들을 소개하겠다.
.svg)
framer-motion 라이브러리 공식 문서를 처음 들여다봤을 때에는 다소 헷갈렸는데, 이해가 너무 잘 됩니다! 감사합니다