✨ Home Page 생성
프로젝트를 실행했을 때 아무것도 없었기 때문에 성공적으로 실행되었지만 Error Page가 출력되었었다.
Error Page가 아닌 내가 만든 Page를 보기위해 간단한 html 파일을 작성하였다.
Spring Boot는 src/main/resources/static/index.html 파일을 찾아 서버의 Home Page로 사용한다고 한다.(Spring Boot 설명 페이지)
<!-- static/index.html -->
<!DOCTYPE HTML>
<html>
<head>
    <title>Hello</title>
    <meta http-equiv="Content-Type" content="text/html; charset=UTF-8" />
</head>
<body>
Hello
<a href="/hello">hello</a>
</body>
</html>
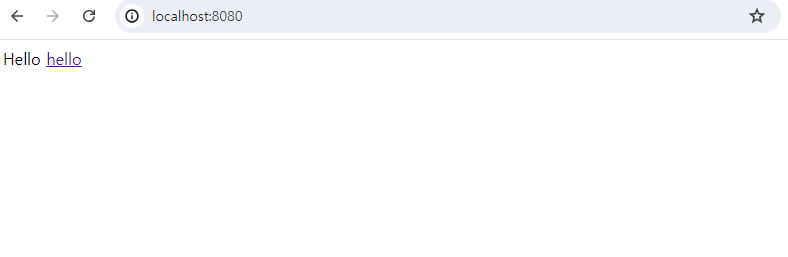
위 html을 작성한 후 서버를 실행해 localhost:8080으로 접속해보면 다음과 같은 화면을 볼 수 있다.
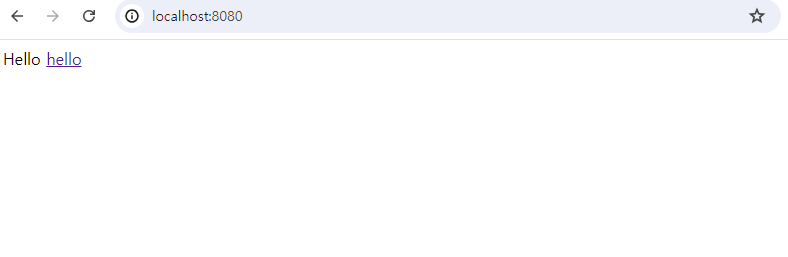
내가 Html파일에 작성한 Hello와 hello문구로 되어있는 링크가 출력되지만 아직 아무 기능도 작성한 것이 없어 링크를 클릭하면 Error Page가 출력된다.
✨ 기능 추가
첫 기능을 추가해보기 위해 Controller 파일을 작성했다.
Controller는 Java Spring에서 웹 애플리케이션의 Request를 처리하고 Response를 생성하는 역할을 담당한다고 한다.
설명만 들었을 때는 Django의 View와 같은 느낌이었지만 작성하면서 보니 View뿐만이 아닌 View+URL의 느낌이었다.
// hello.hello_spring/controller/HelloController.java
package hello.hello_spring.controller;

import org.springframework.stereotype.Controller;
import org.springframework.ui.Model;
import org.springframework.web.bind.annotation.GetMapping;

@Controller
public class HelloController {

    @GetMapping("hello")
    public String hello(Model model) {
        model.addAttribute("data", "hello");
        return "hello";
    }
}
@GetMapping("hello") 코드를 통해 맵핑되어 localhost:8080/hello 로 get요청을 보내면 기능이 호출된다.
기능이 호출되면 addAttribute 메서드를 통해 data에 hello 값을 전달하게 된다.
마지막으로 return "hello"; 를 통해 hello.html 템플릿 파일을 반환한다.
(Spring Boot에서는 기본적으로 return 되는 문자열을 기준으로 templates 폴더에서 렌더링 할 템플릿 파일을 찾는다고 한다.)
🚩 추가한 기능 확인
따라서 다음은 hello.html 파일을 작성했다.
<!-- templates/hello.html -->
<!DOCTYPE HTML>
<html xmlns:th="http://www.thymeleaf.org">
<head>
    <title>Hello</title>
    <meta http-equiv="Content-Type" content="text/html; charset=UTF-8" />
</head>
<body>
<p th:text="'안녕하세요. ' + ${data}">안녕하세요. 손님</p>
</body>
</html>
위 코드에서 xmlns:th="http://www.thymeleaf.org" 와 같이 Thymeleaf 템플릿 엔진을 선언하면 Thymeleaf 문법을 사용할 수 있다고 한다.
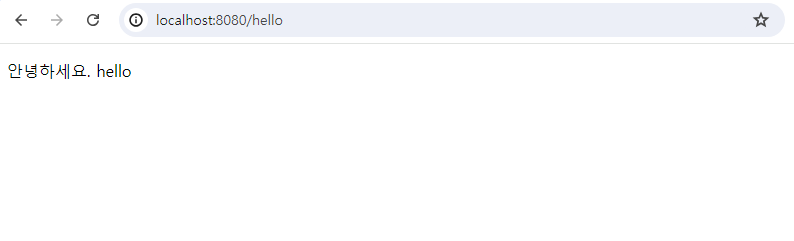
p 태그에 작성된 Thymeleaf 문법 (th:text="'안녕하세요. ' + ${data}") 이 처리되면서 text를 "안녕하세요. + data" 로 바꾸게 되고 data는 addAttribute 메서드를 통해 hello 값을 전달했으므로 다음과 같이 "안녕하세요. hello"가 출력된다.