Airflow 환경 세팅
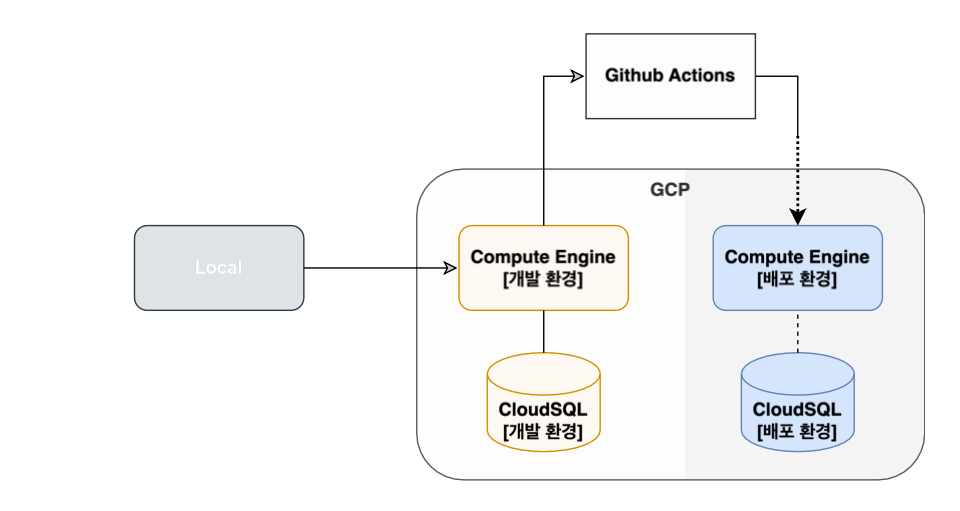
GCP를 사용해서 개발서버와 배포서버를 만든다음에 개발환경을 세팅하고 그다음에 똑같이 세팅해야하는 배포환경을 Github Action을 사용하여 자동화로 간편하고 시간을 단축 시킬 것이다.
-
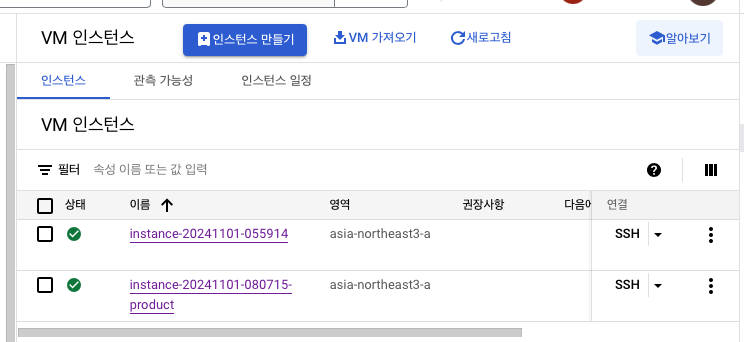
컴퓨터 엔진 인스턴스 만들기
: 개발용과 배포용
-
작업을 위해 Visual Studio Code에서 remote-ssh를 사용하여 접속
1) 마켓에서 remote-ssh 설치

2) 왼쪽 모니터 표시 -> ssh 톱니바퀴 -> /users/khm/.ssh/config
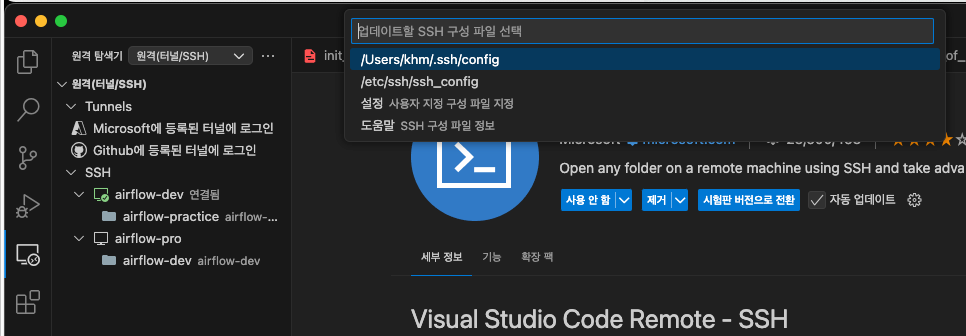
3) 호스트 , GCP 서버 외부 ip, 로컬 private ssh key path, user name 작성
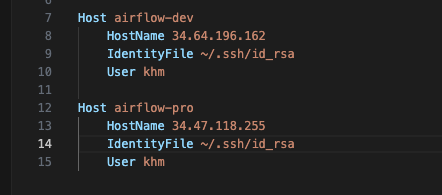
4) ssh airflow-dev(설정한 이름)로 접속
-
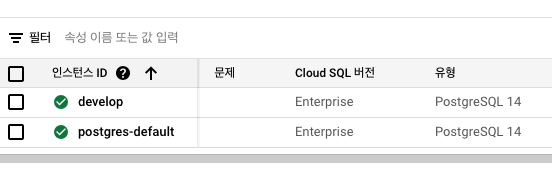
GCP PostgreSQL 생성 (aws의 Aurora)
-
본격적인 환경 세팅 시작
1) Miniconda 설치
:시스템 자원을 절약하며 유연한 환경 구성을 지원합니다.
- 비주얼 스토디오 코드에서 개발서버 ssh 접속 후 작성
enter -> q -> yes -> enter -> yes
wget https://repo.anaconda.com/miniconda/Miniconda3 latest-Linux-x86_64.sh
bash Miniconda3-latest-Linux-x86_64.sh

source ~/.bashrc
2) postgresql 설치
sudo apt update && sudo apt upgrade
sudo sh -c 'echo "deb http://apt.postgresql.org/pub/repos/apt $(lsb_release -cs)-pgdg
main" >/etc/apt/sources.list.d/pgdg.list'
wget --quiet -O - https://www.postgresql.org/media/keys/ACCC4CF8.asc | sudo apt-key add -
sudo apt-get update
sudo apt-get -y install postgresql-14
psql -h [DB ip] -U postgres -p 5432
3) Docker 설치
sudo apt-get update
sudo apt-get install apt-transport-https ca-certificates curl gnupg-agent software-properties-common
curl -fsSL https://download.docker.com/linux/ubuntu/gpg | sudo apt-key add -
sudo add-apt-repository "deb [arch=amd64] https://download.docker.com/linux/ubuntu $(lsb_release -cs) stable"
sudo apt-get update
sudo apt-get install docker-ce docker-ce-cli containerd.io
sudo docker ps
sudo 권한 부여
sudo usermod -aG docker ubuntu 또는 sudo gpasswd -a $USER docker
sudo chmod 666 /var/run/docker.sock
sudo systemctl restart docker
sudo service docker restart
Docker 재실행
sudo service docker restart
현재 사용자 로그아웃 및 재로그인
sudo su - // 루트사용자로 변경
su - ubuntu // 사용자로 변경
확인
docker psdocker-compose 설치
sudo apt install docker-composeAstronomer 설치
curl -sSL install.astronomer.io | sudo bash -s -- v1.25.0
astro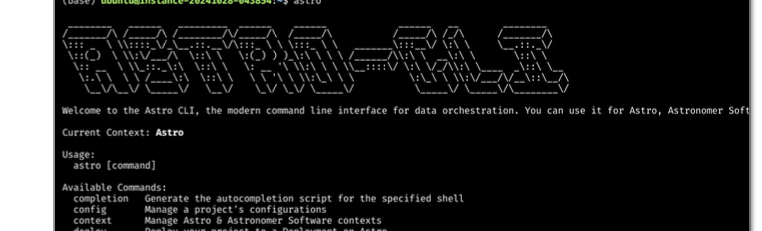
이런거 뜨면 됨
5) 개발 서버와 깃헙 secure 통신
1) 개발서버에서 ssh-keygen -> 뭐나오면 계속 엔터
2) cat ~/.ssh/id_rsa.pub (ssh pulic key)
: 공개 되도 괜찮 , 나중에 ssh private key랑 쌍을 이루면서 통신 되는 원리
이 값을 복사해서
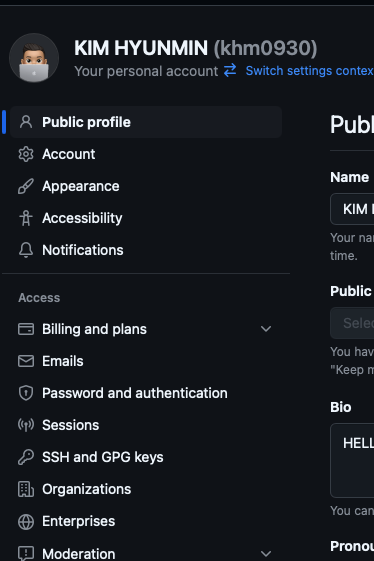
SSH and GPG keys 누른다음에 -> new key 하고 아까 복사한거 붙여넣기 -> 개발서버의 private key 와 깃허브에 등록한 public key가 서로 쌍을 이루면서 통신
- 초기 설정
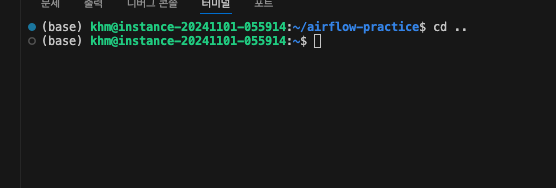
폴더 생성 -> 이동 -> astro 초기화
mkdir airflow-practice
cd airflow-practice
astro dev init
깃헙 이름 ,이메일 등록
git config --global user.name ""
git config --global user.email ""
airflow-pratice 폴더 열기
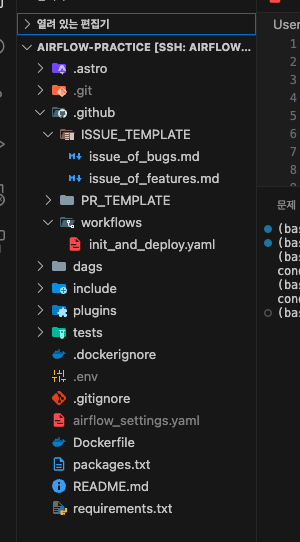
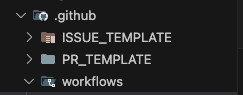
PR 템플릿 만들기
mkdir PR_TEMPLATE
cd PR_TEMPLATE
touch pull_request_template.md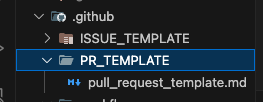
파일에 작성
## Overview
- 해당 작업의 개요

## Change Log
- 변경된 부분

## To Reviewer
- 리뷰어에게 전달할 사항

## Issue Tags
- Closed:
레포 생성
git status
git add .
git commit -m 'init'
git remote add origin [repo url]
git push origin main
콘다 가상환경 접속
conda create -n airflow-practice python=3.11 –y
conda activate airflow-practice
poetry,pre-commit 설치
pip install poetry
pip install pre-commit
astro dev 초기화 시작
astro dev init
astro dev start
주소 이미 사용중이라는 에러가 뜨면 postgresql 정지
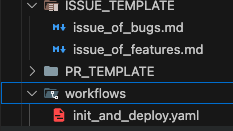
sudo systemctl stop postgresql - 이슈 템플릿 생성
issue_of_bugs.md, issue_of_features.md 파일 생성
issue_of_bugs.md
---
name: "Bug Report"
about: "Use this template for tracking bugs."
title: "[BUG] 버그 요약"
labels: bug
assignees: ''
---

## What
- 어떤 문제가 있는가?

## Why
- 왜 발생했는가?

## How
- 어떻게 할 계획인가?

## To-Do
- [ ] 할 작업 1
- [ ] 할 작업 2

## Reference
- 무엇을 참고할 것인가?
issue_of_features.md
---
name: "Feature Creation"
about: "Use this template for tracking new features."
title: "[FEAT] 기능 요약"
labels: enhancement
assignees: ''
---

## What
- 무슨 작업을 하는가?

## Why
- 왜 하는가?

## How
- 어떻게 할 계획인가?

## To-Do
- [ ] 할 작업 1
- [ ] 할 작업 2

## Reference
- 무엇을 참고할 것인가?
하고 깃허브 올리기