목표
postman에서 사용하는 Header 토큰을 코드의
fetch 코드로도 동작하게 만들기
필요한 url과 내용
baseurl/auth-user
인증 확인

사용자가 인증이 되었는지 확인합니다.

> GET /auth-user

Request Header => Authorization: bearer JWT토큰
Response => User
Authorization에 bearer 관련 token을 넣어 보내면 User를 받아온다.
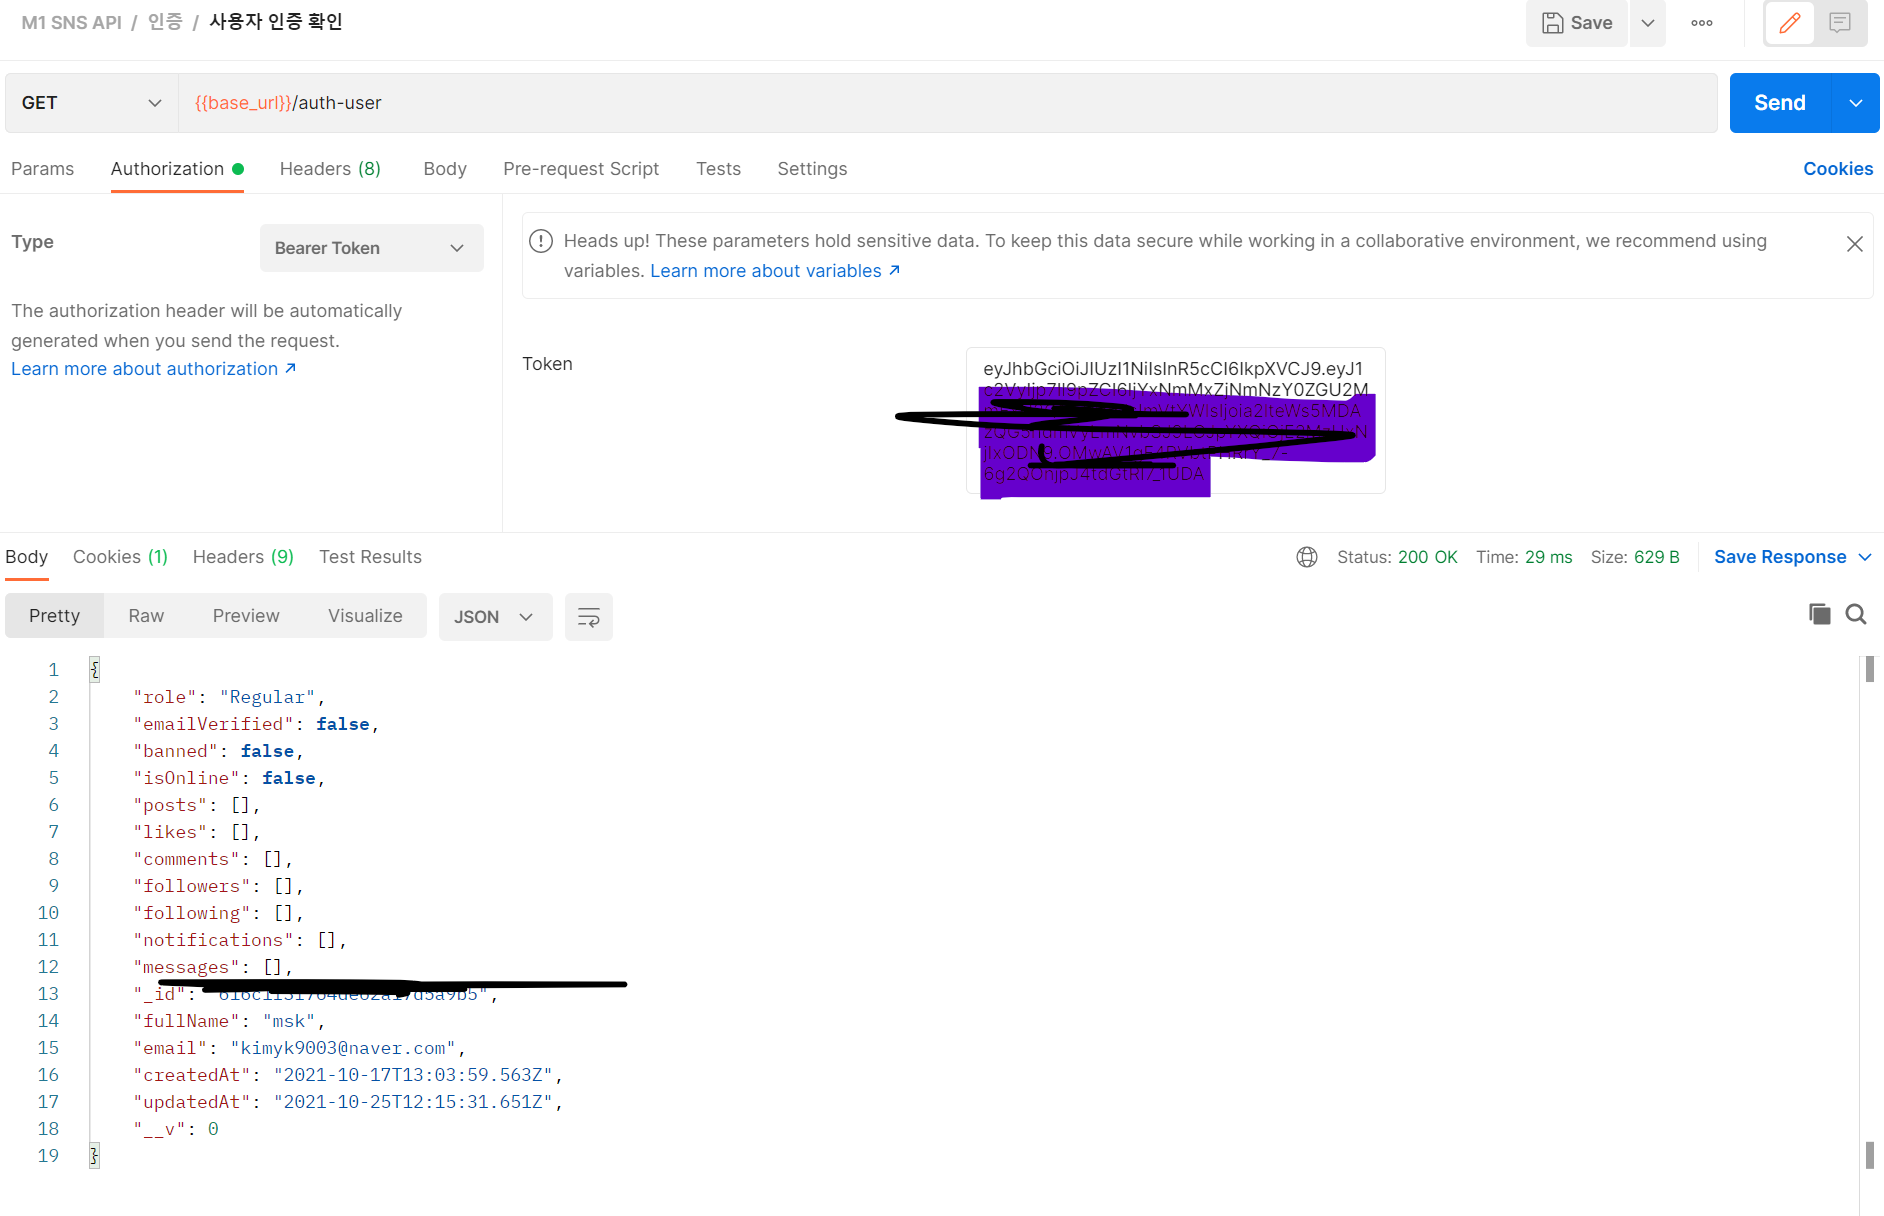
postman 작성하기
postman에서
Authorization부분에 Bearer Token을 넣어서 Get 메소드로 Send를 하면 결과를 받아온다.

fetch로 작성하기 (실패)
  fetch('baseurl/auth-user', {
    headers: {
      'Content-Type': 'application/json',
      Authorization:
        'token내용',
    },
  })
    .then((res) => res.json())
    .then((data) => {
      console.log('!')
      console.log(data)
    })
이와같은 에러가 떴다.
fetch로 작성하기 (성공)
  fetch('baseurl/auth-user', {
    headers: {
      'Content-Type': 'application/json',
      Authorization:
        'Bearer ' + 'token내용',
    },
  })
    .then((res) => res.json())
    .then((data) => {
      console.log('!')
      console.log(data)
    })
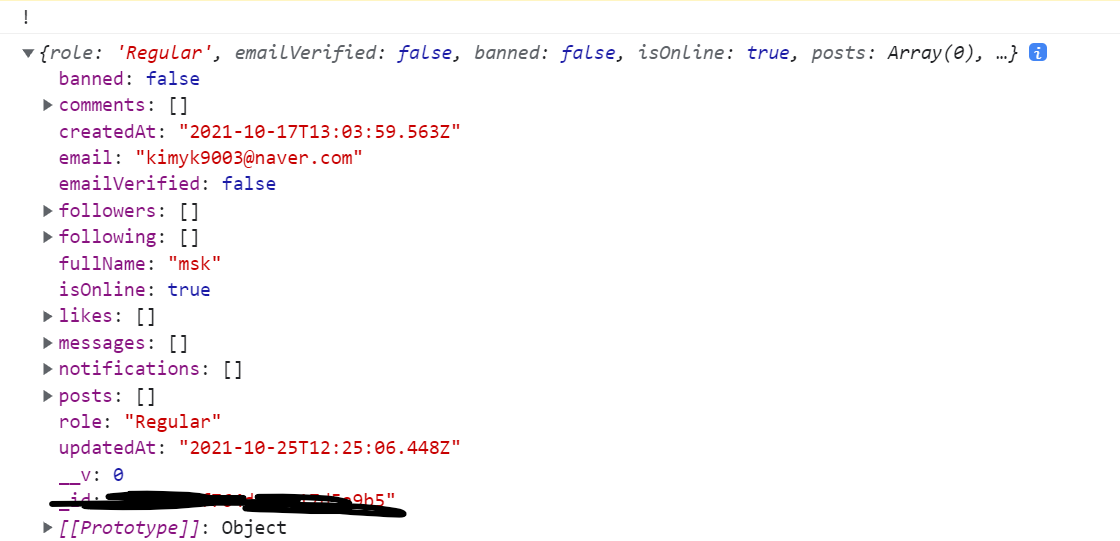
마찬가지의 출력 결과를 확인 할 수 있다.
('Content-Type'부분은 안넣어도 문제는 없는데 예비상 넣었다)
(Bearer부분 뒤에 띄어쓰기를 잊지말아야한다. (안그럼 에러 터짐)
정리
API에 접속하기 위해서는 access token을 API 서버에 제출해서 인증을 해야 합니다. 이 때 사용하는 인증 방법이 Bearer Authentication이다
해당 내용을 postman에서 넣는것은 간단하지만 fetch로 사용할 때에는 headers 내부에 Authorization의 대상에 token을 넣되 대상이 bearer일 경우에는 앞에
'bearer '형태를 추가해야한다.
