GSAP
GSAP이란
애니메이션 속성을 조금 더 디테일하게 사용하게끔 도와주는 라이브러리 / 플러그인
GSAP 설치 🖥️
- http://gsap.com 접속 후 get GSAP 버튼 클릭
- CDN 들어가서 scrollTrigger 체크 후, 스크립트 복사 후 붙여넣기
GSAP.to
- .image-2를 x축 200만큼 이동 / .image-3를 x축 300만큼 이동 / .image-4를 x축 400만큼 이동 시키는 코드
gsap.to('.image-2',{
  x:200
})
gsap.to('.image-3',{
  x:300
})
gsap.to('.image-4',{
  x:400
})- x:200, 300 대신해서 퍼센테이지 만큼 이동 시킬 수 있음.
gsap.to('.image-2',{
  xPercent:200
})
gsap.to('.image-3',{
  xPercent:300
})
gsap.to('.image-4',{
  xPercent:400
})
GSAP.from
- to는 이후에 나타날 액션을 설정하는 반면, from의 경우 이전 액션을 정해놓고 스크롤이 지점에 닿으면 원래 코드의 css로 변하게 하는 것.
ex) 아래의 경우 도달하기전에 opacity:0으로 액션을 정해두고, 도달하면 원래대로의 opacity:1로 변경되는 코드
textmotion1.from('.sc-intro .desc .line',{opacity:0},'a')GSAP.timeline
- timeline은 시간 순서대로 작동할 때 사용
.image-2 부터 .image-4 까지 하나하나 순서대로 작동하게됨.
circleMotion = gsap.timeline({})
circleMotion.to('.image-2',{
  x:200
})
circleMotion.to('.image-3',{
  x:300
})
circleMotion.to('.image-4',{
  x:400
})- 위 timeline을 한번에 동시에 작동되게 하려면
라벨을 붙이면 됨.
아래의 경우 'a' 라는 라벨로 묶어줌
circleMotion = gsap.timeline({})
circleMotion.to('.image-2',{
  x:200
},'a')
circleMotion.to('.image-3',{
  x:300
},'a')
circleMotion.to('.image-4',{
  x:400
},'a')
stagger
- 동일한 클래스의 코드의 순차적으로 효과 적용 시킬 때 사용
ex)
<p>
  <span class="line">1</span>
  <span class="line">2</span>
  <span class="line">3</span>
</p>textMotion1.from('.sc-intro .desc .line',{opacity:0, stagger:0.1})- span과 함께 a태그도 stagger를 같이 적용 하고 싶다면
data-를 사용하자!
<div>
  <p>
    <span class="line" data-motion="text">1</span>
    <span class="line" data-motion="text">2</span>
    <span class="line" data-motion="text">3</span>
  </p>
</div>
<a data-motion="text">444</a>textMotion1.from('.sc-intro [data-motion="text"]',{opacity:0, stagger:0.1})scrollTrigger
scrollTrigger란?
시작지점을 잡아줄 때 GSAP과 연계해서 사용하는 라이브러리 / 플러그인
trigger
- 기준이되는 태그 설정시 사용
.sc-history .image 라는 것을 기준으로 잡겠다는 코드
circleMotion = gsap.timeline({
	scrollTrigger:{
    	trigger:".sc-history .image"
    }
})
start , end
- 시작지점 , 끝지점
각 시작지점 끝지점의 앞칸은 기준으로 잡은 트리거의 시작지점 , 끝지점 / 뒷칸은 윈도우 기준으로 설정된 지점
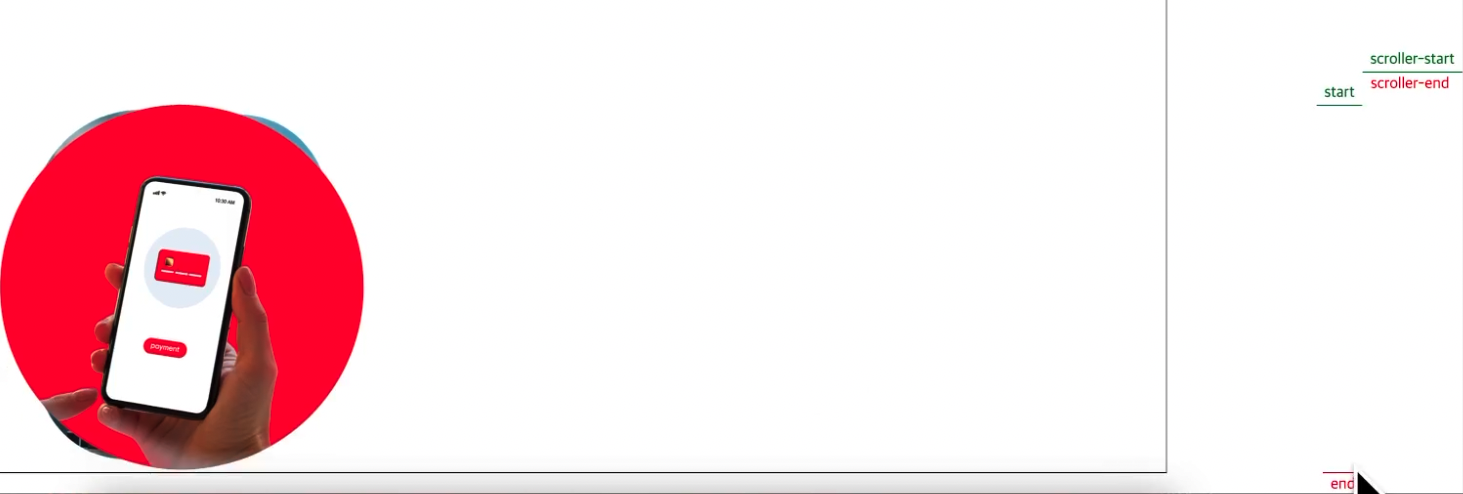
markers
- 눈으로 보이는 표시자
circleMotion = gsap.timeline({
	scrollTrigger:{
    	trigger:".sc-history .image",
      	start:"0% 50%",
      	end:"100% 50%",
      	markers:true,
    }
})
toggleActions
- 토글기능 사용할때 씀, 네칸이 있는데 앞에서부터 (도달, 떠날때, 떠났다가 다시돌아올때, 도달했다가 다시올라갈때) 효과 줄수있음.
ex) 도달했을때 play , 도달했다가 다시올라가면 reverse(리셋)
circleMotion = gsap.timeline({
	scrollTrigger:{
    	trigger:".sc-history .image",
      	start:"0% 50%",
      	end:"100% 50%",
      	markers:true,
      	toggleActions:"play none none reverse",
    }
})
ScrollTrigger.create
- 정해준 지점에서 토글기능 사용 할때 씀
ex) "active"라는 클래스를 정해놓은 시점에서 토글기능 사용할때 씀.
ScrollTrigger.create({
	trigger:".sc-history .image",
  	start:"0% 50%",
  	end:"100% 50%",
  	markers:true,
  	toggleClass:"active",
}) - onEnter, onLeave, onEnterBack, onLeaveBack으로 toggleAction 기능 사용 가능
ex) 도달했을때 'active'라는 클래스를 주고, 도달했다가 다시 올라갔을때는 'active'라는 클래스를 빼주는 코드
ScrollTrigger.create({
	trigger:".sc-history .image",
  	start:"0% 50%",
  	end:"100% 50%",
  	markers:true,
  	onEnter:function(){
    	$('.sc-history .image').addClass('active');
    },
  	onLeave:function(){

    },
  	onEnterBack:function(){

    },
  	onLeaveBack:function(){
    	$('.sc-history .image').removeClass('active');
    }
}) 
Code log