
1. Django Template system
파이썬 데이터를 HTML 문서와 결합해 로직과 표현을 분리한 채 동적인 웹페이지를 생성하는 도구이다.
목적
- 페이지 틀에 데이터를 동적으로 결합하여 수많은 페이지를 효율적으로 만들어 내기 위함이다.
2. Django Template Language
DTL → Template에서 조건, 반복, 변수 등의 프로그래밍적 기능을 제공하는 시스템이다.
- Variable
- Django Template에서의 변수이다.
- render 함수의 세번째 인자로 딕셔너리 타입으로 전달한다.
- 해당 딕셔너리
key에 해당하는 문자열이 template에서 사용 가능한 변수명이 된다.dot (’.’)을 사용해 변수 속성에 접근할 수 있다.
views.py
from django.shortcuts import render

# Create your views here.

# 메인 페이지를 응답하는 함수

# view함수의 약속
    # 모든 view 함수는 반드시 첫번째 인자로 요청 객체(urls.py로 부터 받은)가 들어온다.
    # 매개변수 이름이 request일 필요는 없음. 하지만 다른 이름을 사용하지 않는다.
def index(request):
    # 메인 페이지 (템플릿)을 응답 데이터로 생성
    # 템플릿을 취합해서 최종적으로 만들어주는 함수
		# index 탬플릿에서 사용할 데이터를 정의
		# 딕셔너리 이름이 반드시 context일 필요는 없으나 보통은 context로 지정한다.
    context = {
        'name': '동건',
    }

    return render(request, 'articles/index.html', context)
index.html
<!DOCTYPE html>
<html lang="en">
<head>
  <meta charset="UTF-8">
  <meta name="viewport" content="width=device-width, initial-scale=1.0">
  <title>Document</title>
</head>
<body>
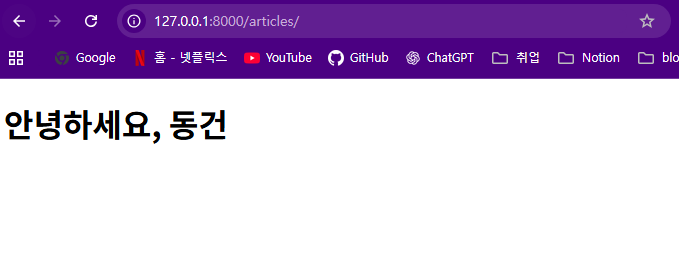
  <h1>안녕하세요, {{name}}</h1>
</body>
</html>
출력
- Filters
- 표시할 변수를 수정할 때 사용한다 (변수 +
|+ 필터) - 연결이 가능하며 일부 필터는 인자를 받기도 한다.
- 표시할 변수를 수정할 때 사용한다 (변수 +
index.html
<!DOCTYPE html>
<html lang="en">
<head>
  <meta charset="UTF-8">
  <meta name="viewport" content="width=device-width, initial-scale=1.0">
  <title>Document</title>
</head>
<body>
<!-- 기존 변수 -->
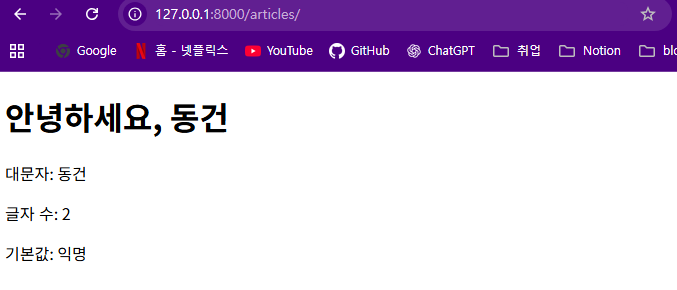
<h1>안녕하세요, {{ name }}</h1>

<!-- 필터 사용 -->
<p>대문자: {{ name|upper }}</p>
<p>글자 수: {{ name|length }}</p>
<p>기본값: {{ nickname|default:"익명" }}</p>
</body>
</html>
출력
-
Tags
- 반복 또는 논리를 수행하여 제어 흐름을 만든다.
- 일부 태그는 시작과 종료 태그가 필요하다.
dinner.html
<!DOCTYPE html>
<html lang="en">
<head>
    <meta charset="UTF-8">
    <title>Title</title>
</head>
<body>
<h1>저녁 메뉴판</h1>
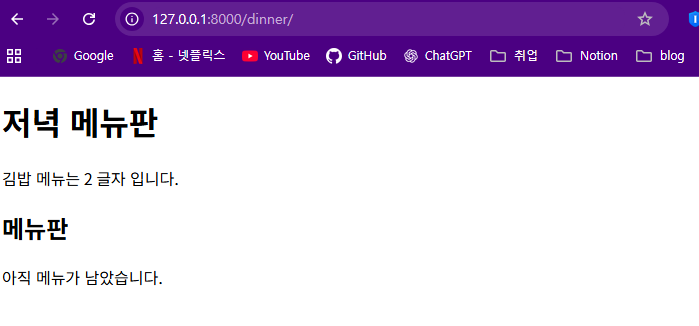
<p>{{picked}} 메뉴는 {{picked|length}} 글자 입니다.</p>
<h2>메뉴판</h2>
<ul>
    {% for food in foods %}
    {% endfor %}
</ul>
{% if foods|length == 0 %}
<p>메뉴가 모두 소진되었습니다.</p>
{% else %}
<p>아직 메뉴가 남았습니다.</p>
{% endif %}
</body>
</html>
출력
-
Comments
- 주석
3. 탬플릿 상속
- 페이지의 공통요소를 포함한다.
- 하위 탬플릿이 재정의 할 수 있는 공간을 정의한다.
여러 탬플릿이 공통요소를 공유할 수 있게 해주는 기능이다.
상속 구조 만들기
- skeleton 코드 역할을 하게 되는 상위 탬플릿
base.html작성
<!DOCTYPE html>
<html lang="en">
<head>
    <meta charset="UTF-8">
    <title>Title</title>
    {% block style %}
    {% endblock style %}
</head>
<body>
{% comment %}모든 탬플릿이 공유 했으면 하는 공통요소{% endcomment %}
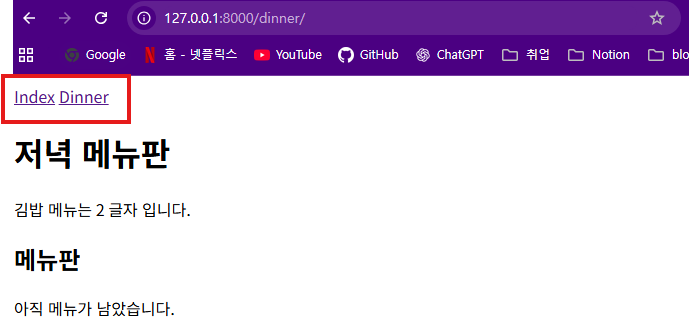
<a href="/articles/">Index</a>
<a href="/dinner/">Dinner</a>
{% comment %}다른 탬플릿을 재정의 할 수 있는 공간{% endcomment %}
{% block content %}
{% endblock content %}

</body>
</html>- 기존 하위 탬플릿들이 상위 탬플릿을 상속 받도록 변경한다.
extends태그로 상속받을 탬플릿을 결정한다.
{% extends "articles/base.html" %}
<!DOCTYPE html>
<html lang="en">
<head>
    <meta charset="UTF-8">
    <title>Title</title>
</head>
<body>
{% block content %}
<h1>저녁 메뉴판</h1>
<p>{{picked}} 메뉴는 {{picked|length}} 글자 입니다.</p>
<h2>메뉴판</h2>
<ul>
    {% for food in foods %}
    {% endfor %}
</ul>
{% if foods|length == 0 %}
<p>메뉴가 모두 소진되었습니다.</p>
{% else %}
<p>아직 메뉴가 남았습니다.</p>
{% endif %}
{% endblock content %}
</body>
</html>
출력
4. 요청과 응답
- HTML
form요소를 통해 사용자와 애플리케이션 간의 상호작용을 한다.
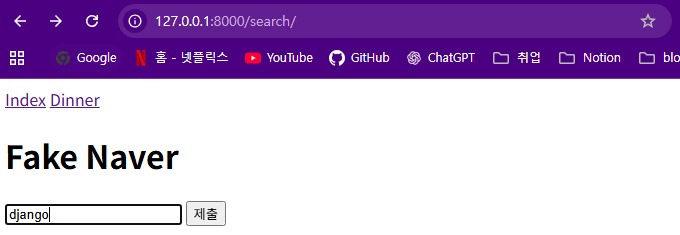
form을 통해 Naver로 요청 보내기
{% extends "articles/base.html" %}
<!DOCTYPE html>
<html lang="en">
<head>
    <meta charset="UTF-8">
    <title>Title</title>
</head>
<body>
{% block content %}
    <h1>Fake Naver</h1>
    <form action="https://search.naver.com/search.naver", method="GET">
        <input type="text", name="query">
        <input type="submit">
    </form>
{% endblock content %}
</body>
</html>
출력
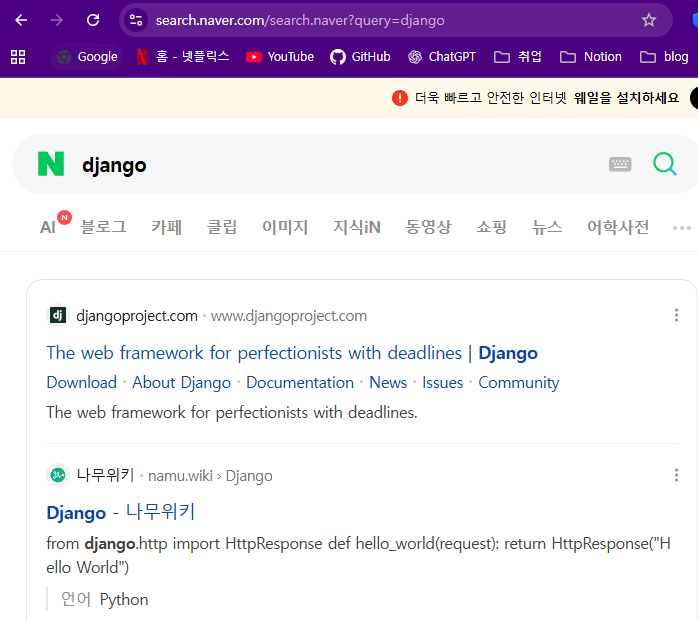
요청 성공
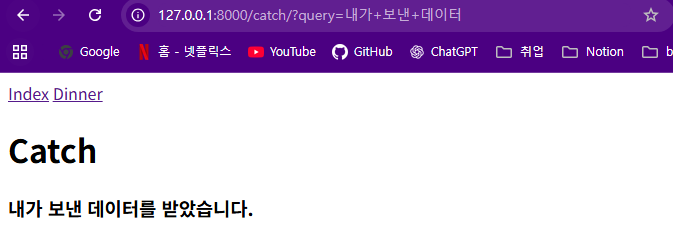
HTML form 핵심 속성들
action&method- 데이터를 어디로 어떤 방식으로 요청할지를 결정한다.
<form action="https://search.naver.com/search.naver", method="GET">input- 사용자의 데이터를 입력 받을 수 있는 HTML 요소이다. type 속성에 따라 다양한 유형의 입력 데이터를 받는다.
<input type="text", name="query">- Query String Parameters
- 사용자의 입력 데이터를 URL 주소에 파라미터를 통해 서버로 보내는 방법이다.
- 문자열은
&으로 연결된key,value쌍으로 구성되며, 기본 URL과?로 구분된다.
http://host:port/path?key=value&key=value-
HTTP request 객체
클라이언트가 Django 서버로 보낸 요청에 대한 정보를 담고 있는 객체이다.
request에는 사용자가 전송한 데이터뿐만 아니라 URL, HTTP 메서드 등 요청 관련 정보가 담겨 있다.request.GET은 GET 방식으로 전달된 데이터를 담고 있다.request.GET.get("query")를 사용하면query라는 이름으로 전달된 값을 가져올 수 있다.
request.GET.get("query")
예시
사용자가 안녕하세요를 입력하고 전송하면 다음과 같은 URL로 요청이 전달된다.
/catch/?query=안녕하세요/catch/: 요청을 받을 URL?: URL 경로와 쿼리 문자열을 구분query: form의name속성에 지정한 이름안녕하세요: 사용자가 입력한 값
※ 실제 브라우저 주소창에서는 한글이 URL 인코딩되어 표시될 수 있다.
사용자가 입력 데이터를 받아 그대로 출력하는 서버 만들기
veiws.py
# 클라이언트에게 데이터를 입력할 form이 담긴 페이지를 응답하는 함수이다.
def throw(request):
    return render(request, "articles/throw.html")

# 사용자 입력 데이터를 받아 그 데이터를 추출해 어떤 데이터를 보냈는지 다시 알려주는 함수이다.
def catch(request):
    # 사용자가 입력한 데이터를 찾아야 함
    query = request.GET.get("query")
    context = {
        "query": query,
    }
    # 찾은 데이터를 변수에 담아 탬플릿과 함께 응답
    return render(request, "articles/catch.html", context)
throw.html
{% extends "articles/base.html" %}
<!DOCTYPE html>
<html lang="en">
<head>
    <meta charset="UTF-8">
    <title>Title</title>
</head>
<body>
{% block content %}
    <h1>Throw</h1>
    <form action="/catch/" method="GET">
        <input type="text" name="query">
        <input type="submit">
    </form>
{% endblock content %}
</body>
</html>
catch.html
{% extends "articles/base.html" %}
<!DOCTYPE html>
<html lang="en">
<head>
    <meta charset="UTF-8">
    <title>Title</title>
</head>
<body>
{% block content %}
    <h1>Catch</h1>
    <h3>
    {{ query }}를 받았습니다.
    </h3>
{% endblock content %}
</body>
</html>
{{ query }}는 views.py에서 전달한 context 딕셔너리의 "query" 키에 해당하는 값을 출력한다.
출력
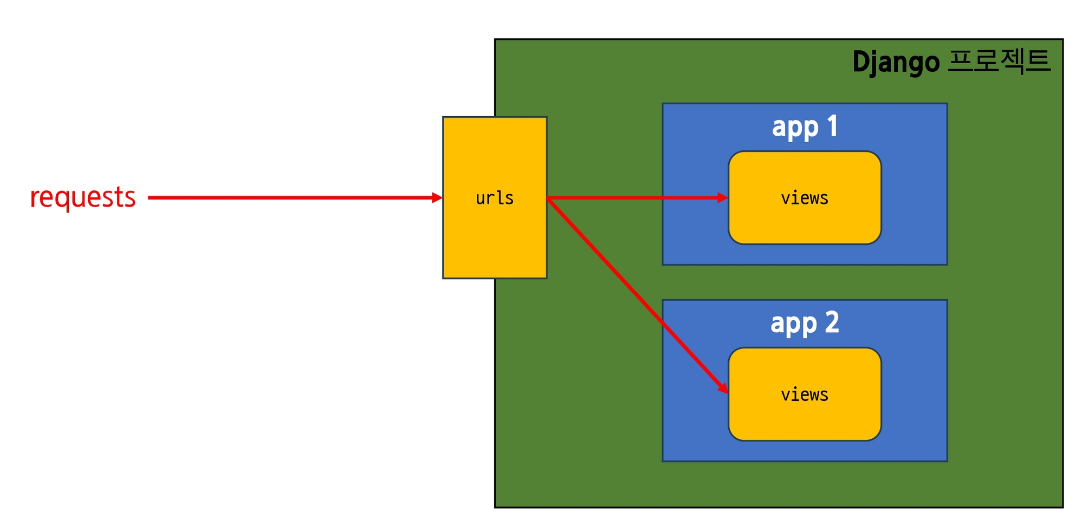
데이터 전달 흐름
throw.html
    ↓
<input name="query">
    ↓
GET /catch/?query=안녕하세요
    ↓
views.py
request.GET.get("query")
    ↓
context = {"query": query}
    ↓
render(request, "articles/catch.html", context)
    ↓
catch.html
{{ query }}
    ↓
안녕하세요를 받았습니다.
5. Django URLs
요청 URL에 따라 실행될 View 함수가 달라진다.
Variable Routing
URL 일부에 변수를 포함시키는 것이다.
urlpatterns = [
	path("articles/1/, ..."),
	path("articles/2/, ..."),
	path("articles/3/, ..."),
	path("articles/4/, ..."),
]
위 처럼 정의 하면 코드가 가독성이 없어진다. 그러므로, 변수로 포함시킨다.
urlpatterns = [
	path("articles/<int:num>/", ...)
]
예시는 int 로 들었지만 str 도 가능하다.
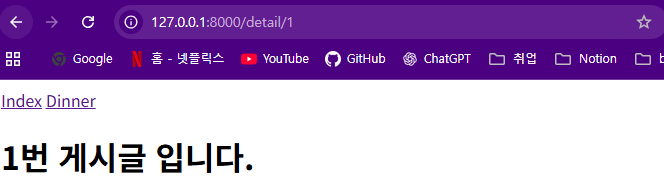
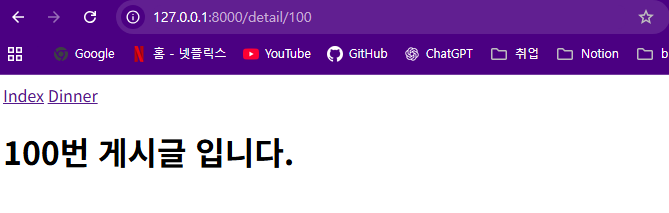
urls.py
urlpatterns = [
    path("detail/<int:num>", views.detail)
    ]
views.py
# variable 라우팅에 선언한 변수명과 동일한 매개변수 이름을 사용해야한다.
def detail(request, num):
    context = {
        "num": num,
    }
    return render(request, "articles/detail.html", context)
detail.html
{% extends"articles/base.html"%}

{% blockcontent%}
    <h1>{{ num}}번 게시글 입니다.</h1>{% endblockcontent%}
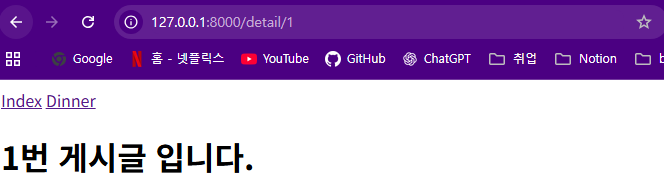
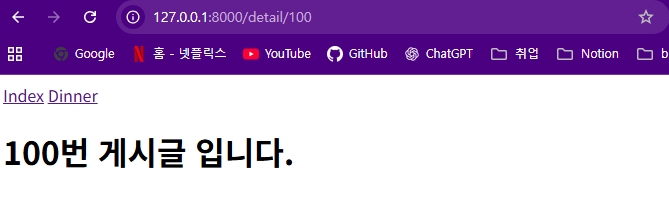
출력

백엔드를 학습하는 주니어 개발자입니다.