
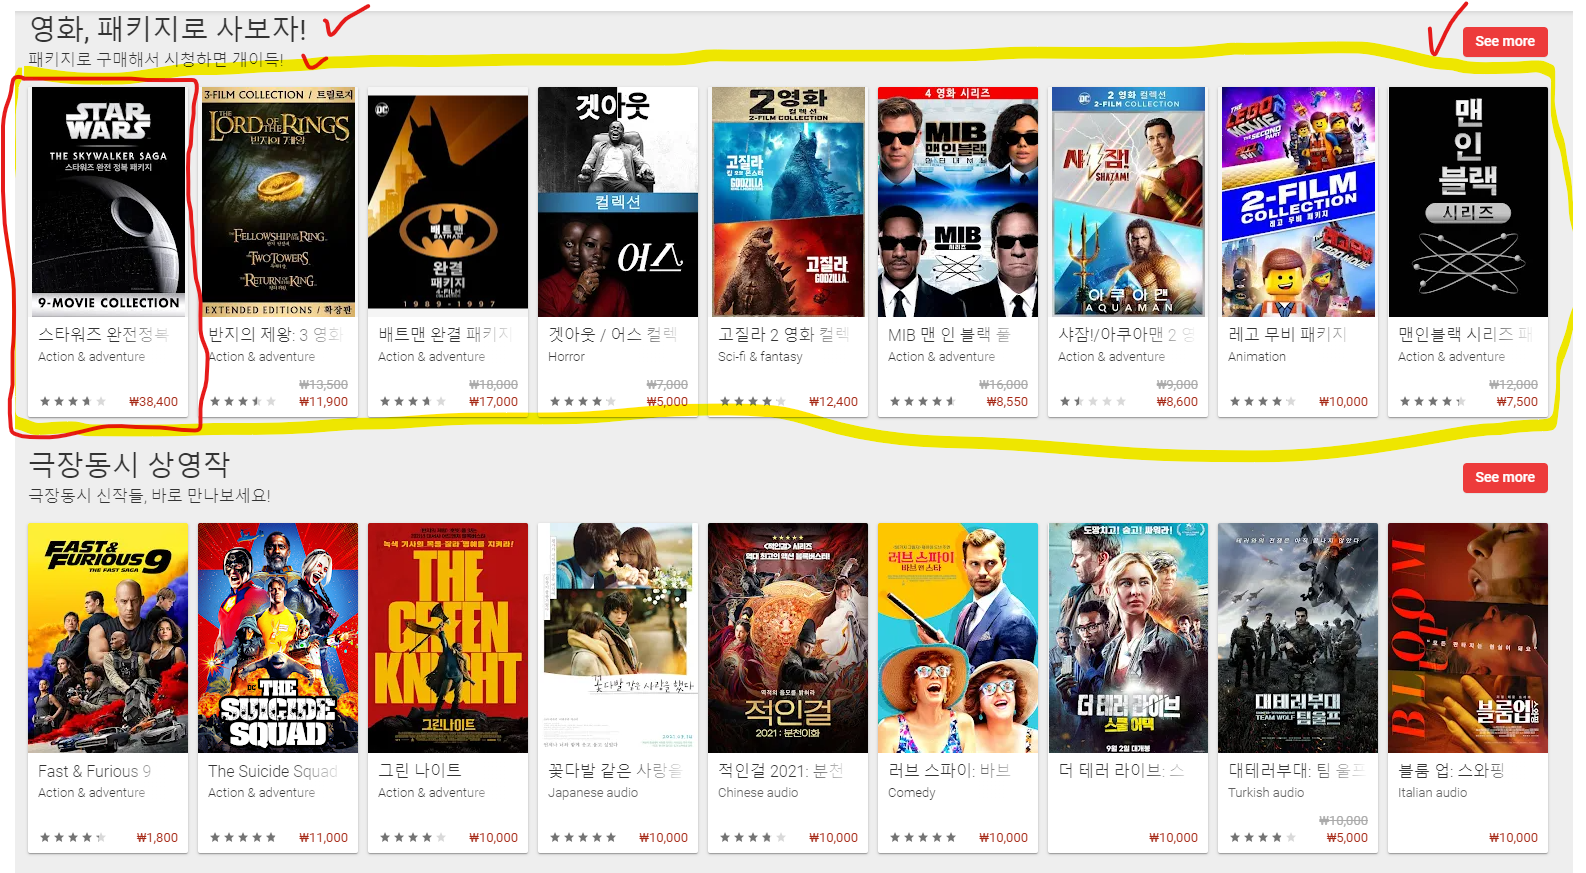
웹으로 오픈한 구글 플레이 스토어 페이지 화면입니다.
자세히 보시면 화면 아이템 레이아웃에 대한 간단한 규칙이 존재합니다.
이 레이아웃은 어떻게 구성되어 있을까요?
레아이웃을 간단히 분해 해보자면- 제목(헤더)
- 설명(Description)
- See more 버튼
- 마지막으로 실제 데이터가 반복적으로 표현되는 여러개의 아이템 레이아웃(RecyclerView)
- 1~4번을 하나로 묶은 아이템 레이아웃이 반복적으로 나타나는 RecyclerView(1번에서 3번까지를 합쳐서 하나라고 생각하셔도 될 듯 합니다.)
제가 진행하던 프로젝트의 Main Fragment가 이런식으로 구현이 되어있었고,
처음에는 무식하게 NestedScrollView에 n개의 헤더뷰, n개의 recyclerview를 했는데,
이렇게 하므로써 경험했던 가장 큰 문제점들은
1. 새로운 아이템이 추가 되면 layout.xml 파일에 다시 추가 해야 한다.
<?xml version="1.0" encoding="utf-8"?>
<androidx.core.widget.NestedScrollView xmlns:android="http://schemas.android.com/apk/res/android"
    android:layout_width="match_parent"
    android:layout_height="match_parent">

    <헤더>
        ...
    </헤더>

    <androidx.recyclerview.widget.RecyclerView
        android:layout_width="wrap_content"
        android:layout_height="wrap_content" />

    <ProgressBar
        android:layout_width="wrap_content"
        android:layout_height="wrap_content" />

    <에러메세지 뷰
        android:layout_width="wrap_content"
        android:layout_height="wrap_content" />

    ...
    위 내용들의 연속
    ...


</androidx.core.widget.NestedScrollView>- 각각의 Recyclerview에 해당하는 네트워크 요청들을(n개) 보낸다고 하면, 일반적으로 요청이 일어나는 동안 각각의 상태를 Progress bar로 사용자에게 알려줍니다.
- 만약 위 xml처럼(초기의 저처럼) 하게 된다면 n개의 progress bar, n개의 에러알림 textview를 사용하게 될 수도 있습니다.
- n개의 progressbar, n개의 에러알림 처리, 무엇보다 참혹했던건 main fragment의 무자비한 n개의 recyclerview, recyclerview adapter입니다... 어떤 네크워크 요청을 하는지에 대해서만 다르고 나머지 동작들은 모두 같다면 도저히 두고 볼 수 없는 녀석들입니다.
위와 같은 고통으로 인해 검색 전에 몇몇개의 앱을 관찰한 결과, 서두에 언급한 규칙이 있는것을 알게 되었습니다.
어떻게 구현하나?
구현은 나름 간단합니다.(머리로는 이해했으나 코드로는 못써서 결국 샘플을 찾아봤지만..)
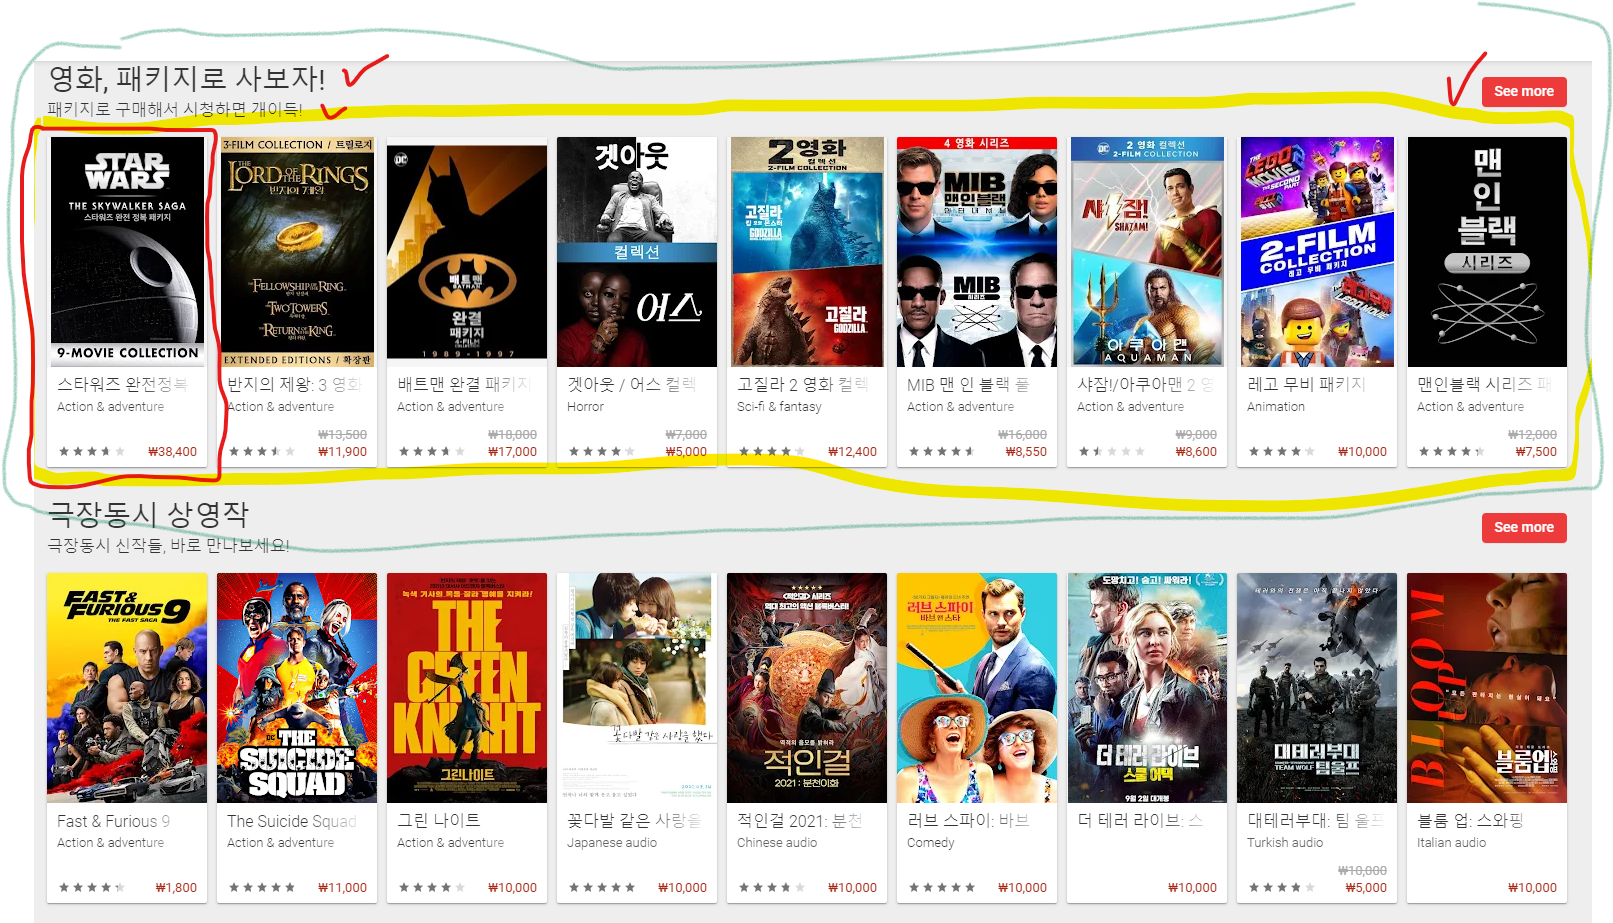
앞선 이미지를 통해 다시 한번 더 top-down방식으로 설명을 드려보겠습니다.
- 하나의 RecyclerView
- 부모 RecyclerView라고 생각하면 됩니다.
- 이 레이아웃은 큰 틀에서의 아이템 레이아웃을 반복적으로 표현합니다
- 큰 틀이란 헤더, 설명, 버튼, 그 안에 RecyclerView를 하나로 다 합친 것을 의미합니다. - 큰 틀에서 반복되는 item_layout(outer item view) 예시
- 저는 헤더 설명, 버튼을 하나의 레이아웃으로 합쳤습니다.
<?xml version="1.0" encoding="utf-8"?>
<layout xmlns:android="http://schemas.android.com/apk/res/android"
    xmlns:app="http://schemas.android.com/apk/res-auto"
    xmlns:tools="http://schemas.android.com/tools">

    <androidx.constraintlayout.widget.ConstraintLayout
        android:layout_width="match_parent"
        android:layout_height="wrap_content">

        <com.example.hellovelog.view.ViewMainSectionTitle
            ... />

        <androidx.recyclerview.widget.RecyclerView
            ... />

    </androidx.constraintlayout.widget.ConstraintLayout>

</layout>
- 부모 RecyclerView에 사용 될 data class 정의
- 부모 RecyclerView의 사용될 아이템은 내부적으로 List타입의 변수를 가지고 있을
수 밖에 없습니다. - 그리고 헤더에 해당하는 문자열 혹은 리소스, 등 구현하고자 하는 목적에 따라 다양한 멤버 변수를 가지고 있을 것입니다.
- 부모 RecyclerView의 사용될 아이템은 내부적으로 List타입의 변수를 가지고 있을
          data class Section (
          val titleRes: Int,
          val descriptionRes: Int,
          val data: List<item>
          ...
)- 부모 RecyclerView에 사용 될 RecyclerView.Adapter(혹은 ListAdapter)
onBindViewHolders와viewHolder는 실제 아이템을 뷰로 나타는 역할을 하는데,
viewHolder에서 아이템 뷰 안에 있는 RecyclerView, 즉 자식 RecyclerView, Adapter, Linearlayout Manager 등 필요한 내용을 정의해 주시면 됩니다.- 부모 onCreateViewHolder, onBindViewHolder 예
override fun onCreateViewHolder(parent: ViewGroup, viewType: Int): BaseParentViewHolder {
        val view = ItemTitleWithListBinding.inflate(LayoutInflater.from(parent.context), parent, false)
        val childLayoutManager =
            LinearLayoutManager(activity, LinearLayoutManager.HORIZONTAL, false).apply {
                initialPrefetchItemCount = 3
                isItemPrefetchEnabled = true
            }
        val viewHolder = ParentViewHolder(from, activity, view, childLayoutManager)
        viewHolder.onCreate()
        return viewHolder
}

override fun onBindViewHolder(holder: BaseParentViewHolder, position: Int) {
	getItem(position)?.let { holder.bind(it) }
}
- onBindViewHolder( )에서 다시 자식 RecyclerView에 대한 세팅을 해주는 예시 입니다. override fun bind(item: Statement) {
binding.title.apply {
setTitleText(item.titleRes)
...
}
val childAdapter = ChildAdapterFactory.create(item, activity, from)
binding.list.run {
layoutManager = linearLayoutManager
adapter = childAdapter
...
}
}코드를 잠깐 보시면 ChildAdapterFactory라는게 보이실겁니다.
팩토리 디자인 패턴을 활용하여 작업을 하였는데 이렇게, 한 가장 큰 이유는 제가 진행하고 있는
프로젝트에서는 자식 RecyclerView에 사용되는 아이템 종류가 여러 가지 라서 각각의 아이템 타입에 맞는 Adapter를 생성하고 있습니다.
핵심
- 껍데기 RecyclerView가 있다(부모)
- 그 껍데기 RecyclerView안에 또 다른 RecyclerView(자식)를 포함한 다른 뷰가 있다.
- 부모는 부모대로 아이템 뷰를 그리는데, 그리면서 자식 RecyclerView를 한번 더 그려준다.
- onBindViewHolder에서 자식이 필요한 아이템을 잘 넘겨 주고 필요 세팅만 잘해주면 된다.
아래 링크는 자세하게 구현까지 포함이 되어있는 링크입니다. 위에 내용이 이해가 가신다면 바로 코드만 봐도 무방할듯합니다.
감사합니다.
참조 링크

I will be the King of