Using Your Own Images
먼저, Assets.xcassets 에 이미지를 추가합니다.
"Assets.xcassets" 파일은 프로젝트 내 이미지를 추가할 수 있는 폴더 입니다.
이미지를 추가하다보면, 해상도가 화면을 초과하는 경우가 발생할 수 있겠죠?
그 때는 Image("이미지이름") 에 .resizable() 을 추가해주면 됩니다.
Image("이미지이름")
	.resizable()
이미지를 추가할 때, safeArea 를 무시하고 싶다면,
edgesIgnoringSafeArea 수식어를 추가합니다.
Image("이미지이름")
	.resizable()
	.edgesIgnoringSafeArea(.all)
Aspect Fit and Aspect Fill
이미지를 추가하다보면, 원하는 비율료 나오지 않을 수 있겠죠?
이때, 사용하는 수식어가 아래 코드입니다.
Image("이미지이름")
	.resizable()
	.scaledToFit()
scaledToFit 의 경우, 원본 이미지의 비율을 유지하면서 크기를 맞추는 수식어입니다.
같은 결과믈이지만 다른 코드로 작성 가능합니다.
aspectRatio 를 사용한 이후 파라미터로 .fit 을 할당해주면 됩니다.
Image("이미지이름")
	.resizable()
	.aspectRatio(contentMode: .fit) // <--
만약, 원본의 비율은 유지하고 싶은데, 이미지를 가능하면 크게확대하고 싶다면 파라미터로 .fill을 할당하면 됩니다.
Image("이미지이름")
	.resizable()
	.aspectRatio(contentMode: .fill) // <--
여기까지 정리해보자면,
.aspectRatio(contentMode: .fit)==scaledToFit()⇒ 이미지의 비율을 유지 + 이미지의 전체를 보여준다..aspectRatio(contentMode: .fill)⇒ 이미지의 비율을 유지 + 이미지가 잘리더라도 꽉채움
두 효과과의 차이를 확실히 보기 위해서 .frame() 수식어를 사용하면 확인하실 수 있습니다.
(이미지출처 : unsplash.com)
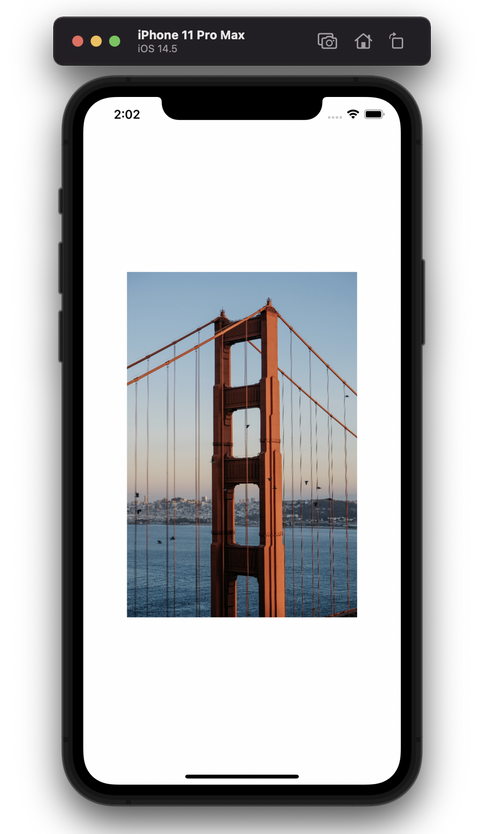
- .aspectRatio(contentMode: .fit) 예시
struct ContentView: View {
    var body: some View {
        Image("골든스테이츠")
            .resizable()
            .edgesIgnoringSafeArea(.all)
            .aspectRatio(contentMode: .fit) // <--
            .frame(width: 300) // <--
    }
}
- .aspectRatio(contentMode: .fill) 예시
struct ContentView: View {
    var body: some View {
        Image("골든스테이츠")
            .resizable()
            .edgesIgnoringSafeArea(.all)
            .aspectRatio(contentMode: .fill) // <--
            .frame(width: 300) // <--
    }
}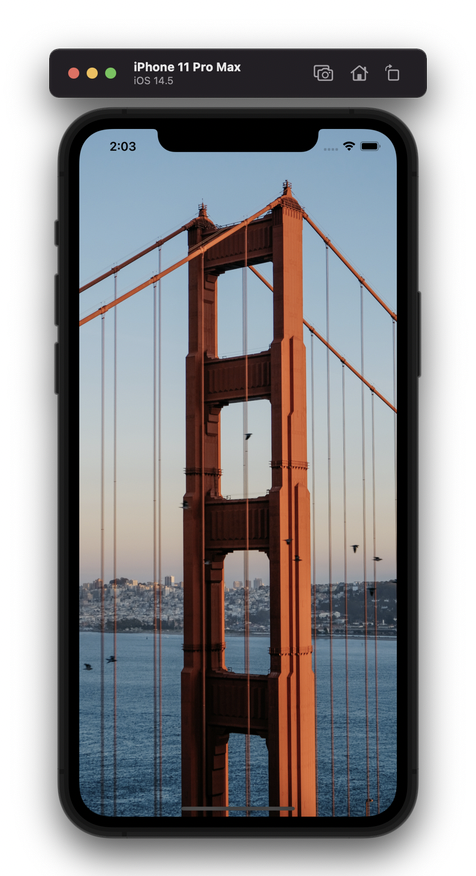
두 이미지를 보시면 차이가 확연하죠.
하지만 설정한 frame을 초과하고 있죠. 이런경우 다음과 같이 .clipped() 수식어를 추가해주면 원하느 사이즈로 이미지를 자를 수 있습니다.
struct ContentView: View {
    var body: some View {
        Image("골든스테이츠")
            .resizable()
            .edgesIgnoringSafeArea(.all)
            .aspectRatio(contentMode: .fill)
            .frame(width: 300)
            .clipped() // <--
    }
}
Creating a Circulr Image
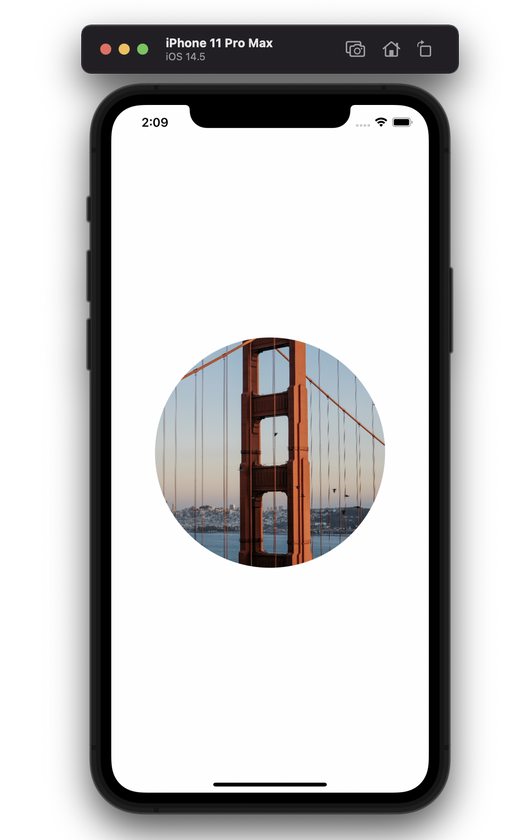
SwiftUI에서는 여러가지 shape를 기본으로 제공해주고 있습니다.
ex) circle, elliopse 그리고 capsule
예시로 circle 을 보면 다음과 같습니다.
struct ContentView: View {
    var body: some View {
        Image("골든스테이츠")
            .resizable()
            .edgesIgnoringSafeArea(.all)
            .aspectRatio(contentMode: .fit)
            .frame(width: 300)
            .clipShape(Circle()) // <--
    }
}
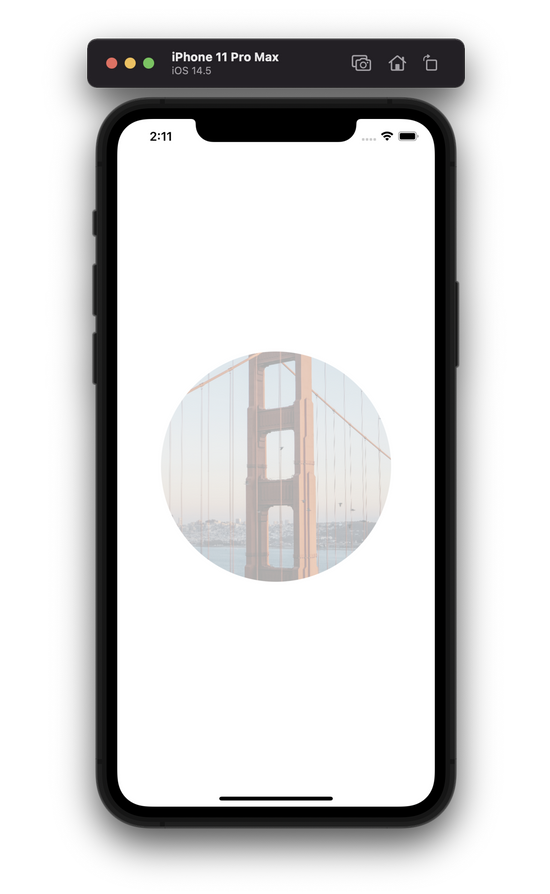
Adjusting the Opacity
SwiftUI는 투명도 설정을 위해서 opacity 수식어를 활용하여 조절할 수 있습니다.
값은 0 ~ 1 사이의 값을 할당하시면 됩니다.
struct ContentView: View {
    var body: some View {
        Image("골든스테이츠")
            .resizable()
            .edgesIgnoringSafeArea(.all)
            .aspectRatio(contentMode: .fit)
            .frame(width: 300)
            .clipShape(Circle())
            .opacity(0.33) // <--
    }
}
Applying an Overlay to an Image
UIKit 에서 이미지를 중복시키는 방식은 ContainerView를 활용하는 방법이 있습니다.
UIImageView를 ContainerView 로 사용하여 진행하면, 이미지를 겹쳐서 구현이 가능합니다.
SwiftUI에서는 overlay 라는 수식어를 활용하여 구현할 수 있습니다.
코드를 먼저 보겠습니다.
struct ContentView: View {
    var body: some View {
        Image("골든스테이츠")
            .resizable()
            .edgesIgnoringSafeArea(.all)
            .aspectRatio(contentMode: .fit)
            .frame(width: 300)
            .clipShape(Circle())
            .overlay( // <---
                Image(systemName: "heart.fill")
                    .font(.system(size: 150))
                    .foregroundColor(.black)
                    .opacity(0.8)
            )
    }
}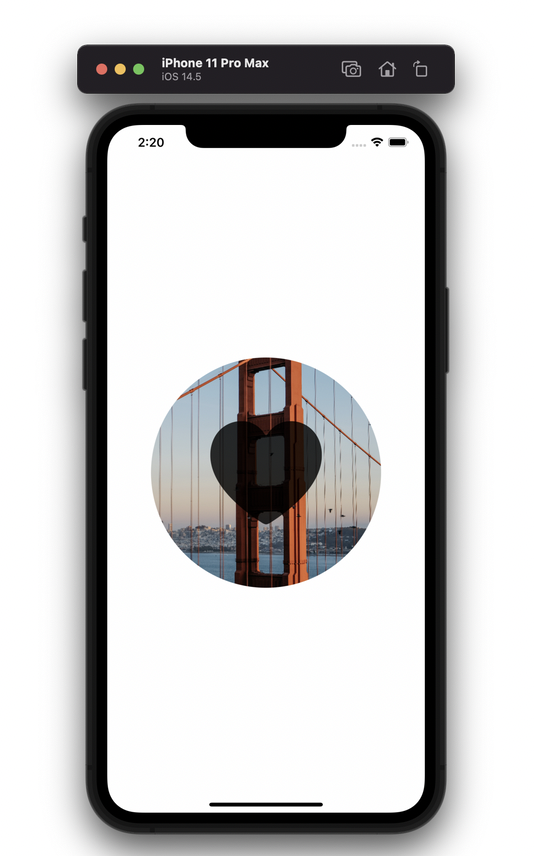
overlay라는 수식어를 사용하면, 다음과 같이 겹치게 설정할 수 있습니다.
overlay를 이용한 예제를 하나 보겠습니다.
struct ContentView: View {
    var body: some View {
        Image("골든스테이츠")
            .resizable()
            .edgesIgnoringSafeArea(.all)
            .aspectRatio(contentMode: .fill)
            .frame(height: 750)
            .clipped()
            .opacity(0.77)
            .overlay( // <----
                Text("데모가 아무리 매끄럽다고 하더라도,\n 완벽한 프리젠테이션을 할 확률은\n 지켜보는 사람의 숫자에 반비례 하며\n 투입되는 돈에 정비례 한다.")
                    .fontWeight(.heavy)
                    .lineSpacing(10.0)
                    .foregroundColor(.white)
                    .font(.system(.title2, design: .rounded))
                    .padding(20)
                    .background(Color.black)
                    .cornerRadius(10)
                    .opacity(0.8)
                    .padding(),
                alignment: .top
            )
    }
}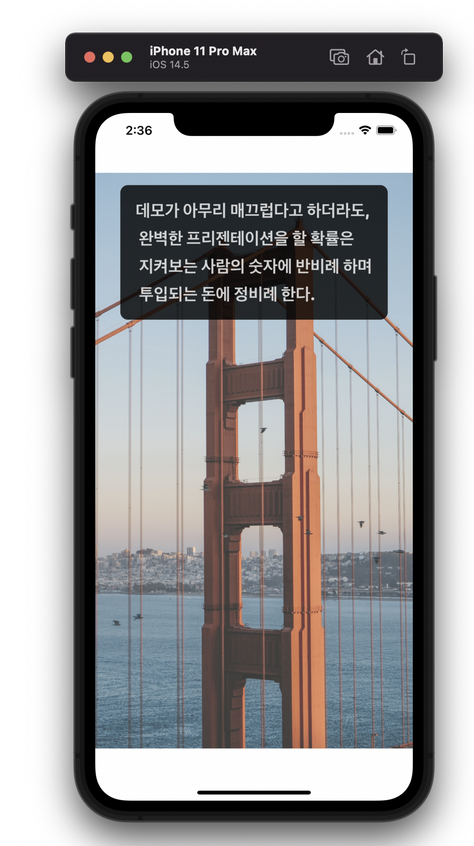
overlay 수식어를 활용해서 Text 객체를 추가했습니다. 이미지 위에 텍스트를 올린거죠.
텍스트를 원하는 방식으로 변경하기 위해서 다양한 수식어가 추가되어있죠? 이런 부분에 익숙해져야 하는 부분입니다.
많은 수식어들은 이미 눈에 익으실 텐데 조금 독특한 파라미터로 , alignment 파라미터를 보시면 좋을 것 같아요.
해당 수식어를 뺀다면 정중앙에 Text가 위치했을 것입니다. 이 Text를 올리는 방법이 VStack활용할 수도 있겠으나, 다음 파라미터 값으로 좀더 짧은 코드로도 동일한 효과를 줄 수 있습니다.
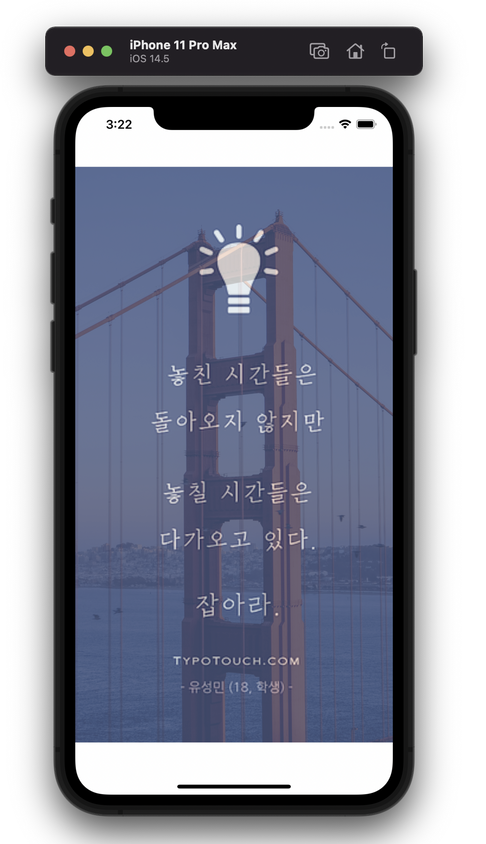
Darken an Image Using Overlay
overlay를 이용하여 텍스트 뿐만아니라 image를 넣을 수도 있습니다.
이전 프로젝트에 Text가 아닌 Image를 이용해보겠습니다.
(추가 이미지 출처 : https://www.typotouch.com/blank-2)
struct ContentView: View {
    var body: some View {
        Image("골든스테이츠")
            .resizable()
            .edgesIgnoringSafeArea(.all)
            .aspectRatio(contentMode: .fill)
            .frame(height: 750)
            .clipped()
            .opacity(0.77)
            .overlay(
                Image("명언") // <--
                    .resizable()
                    .opacity(0.7)
            )
    }
}
같은 원리를 이용해서 Color객체를 overlay에 적용할 수도 있습니다.
.overlay(
				Color.black
					.opacity(0.4)
        )
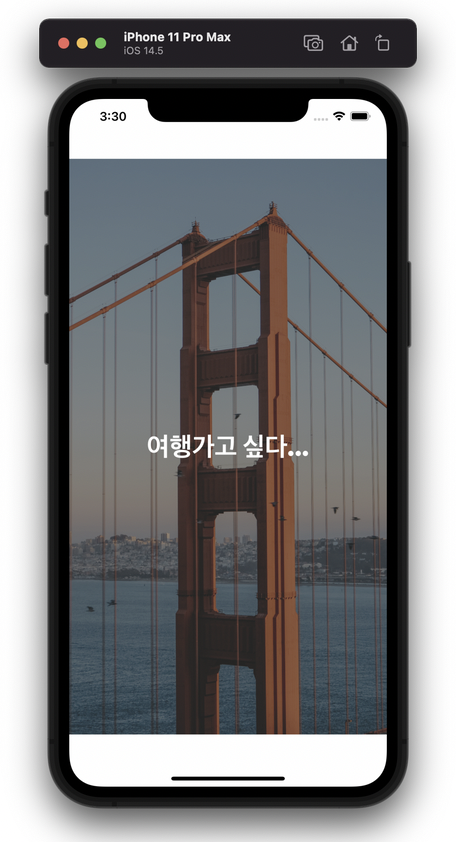
그러면 overlay 를 중첩할 수도 있겠죠?
overlay 위에 overlay 를 올려보겠습니다. (물론 ZStack 을 이용해서도 동일한 UI 문제를 풀 수도 있을 것 같습니다!)
struct ContentView: View {
    var body: some View {
        Image("골든스테이츠")
            .resizable()
            .edgesIgnoringSafeArea(.all)
            .aspectRatio(contentMode: .fill)
            .frame(height: 750)
            .clipped()
            .opacity(0.77)
            .overlay(
                Color.black
                    .opacity(0.4)
                    .overlay(
                        Text("여행가고 싶다...")
                            .font(.largeTitle)
                            .fontWeight(.black)
                            .foregroundColor(.white)
                            .frame(width: 300)
                    )
            )
    }
}
참고자료
"Mastering SwiftUI(iOS 14 and Xcode 12)" 책