결과물 미리보기:

준비사항:
- 구글계정
- API 키
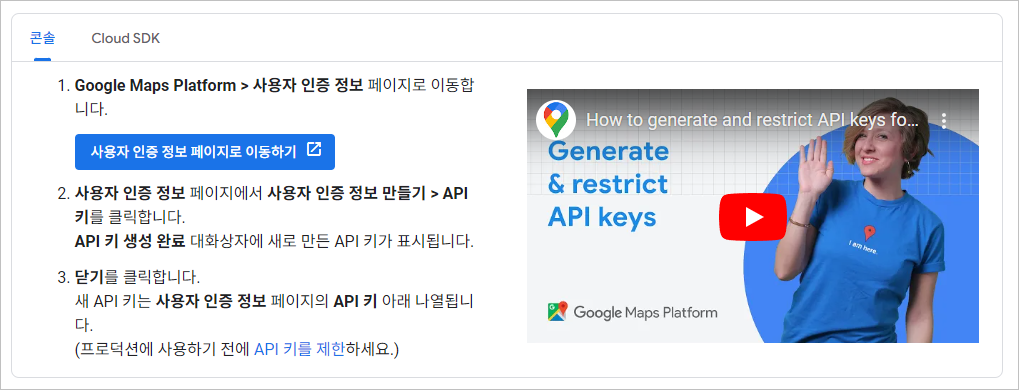
이미 구글계정이 있으면 https://console.cloud.google.com/ 들어가서,
'사용자 인증 정보'에서 프로젝트 생성한 다음,
본인인증하고 결제카드 정보 입력하면 API 키가 생성된다.
일정한 사용량 한도 내에서는 무료로 사용 가능하다.
자세한 내용은 아래 안내 따라하면 되는데, Cloud SDK는 필수가 아니다.
보안을 위해 백에서 ggmapsKey 값 대입하고 프론트로 가져올 것
<%
String ggmapsKey=(String) request.getAttribute("ggmapsKey");
%>
준비가 완료되면 지도 표시할 영역 지정:
<div id="orderDetailPopup"> ...
    <div id="map" style="width: 300px; height: 300px;"></div>
</div>
script:
<script src="https://ajax.googleapis.com/ajax/libs/jquery/3.5.1/jquery.min.js"></script>
<script type="text/javascript">
    function showOrderDetail(orderRef) {
        $.ajax({
            url: 'CardCtrl?sw=viewOrder',
            type: 'GET',
            data: { orderRef: orderRef },
            dataType: 'json',
            success: function(response) {
                var order = response.order;
                var ggmapsKey = response.ggmapsKey;

                var content = '<h2>주문 상세 정보</h2>';
                ...
                content += '<tr><th>카드 수령지:</th><td>' + order.custAdd + ', ' + order.detailAddress + '</td></tr>';

                $('#orderDetailContent').html(content);
                $('#orderDetailPopup').show();
                $('#overlay').show();

                // 동적으로 Google Maps API 스크립트 삽입
                var script = document.createElement('script');
                script.src = 'https://maps.googleapis.com/maps/api/js?key=' + ggmapsKey + '&callback=initMap&libraries=places';
                script.async = true;
                script.defer = true;
                document.body.appendChild(script);

                // initMap 함수 정의
                window.initMap = function() {
                    var geocoder = new google.maps.Geocoder();
                    var map = new google.maps.Map(document.getElementById('map'), {
                        zoom: 10
                    });

                    geocoder.geocode({ 'address': order.custAdd }, function(results, status) {
                        if (status === 'OK') {
                            map.setCenter(results[0].geometry.location);
                            var marker = new google.maps.Marker({
                                map: map,
                                position: results[0].geometry.location
                            });
                        } else {
                            alert('Geocode was not successful for the following reason: ' + status);
                        }
                    });
                }
            }
        });
    }

    function closePopup() {
        $('#orderDetailPopup').hide();
        $('#overlay').hide();
        $('#map').empty();
    }
</script>
또한 상세보기 들어갈 때 페이지 전환 없이 팝업을 통해 데이터 조회를 위해 ajax 도 함께 사용했다.
이번에도 chat gpt의 도움 받았당.

기기 좋아하는 여자