CRUD ~ 게시판 제작
[목차]
1. JSON.stringify & JSON.parse
2. localStorage
3. 게시판 만들기
지금까지 만들어 온 것과 달리 게시판을 구현하기 위해서는 HTML 파일이 다수 필요하다
(전체 리스트 페이지부터 글 보기, 쓰기와 수정 등)
다수의 HTML 파일과 자바스크립트가 막힘없이 동작하려면
다른 HTML 페이지를 열 때마다 자바스크립트에 담긴 데이터를
주고 받을 수 있어야 하는데...
이제부터 알아야 할 개념은 localStorage와JSON 관련 메서드
1. JSON.stringify & JSON.parse
JSON.stringify: javascript 객체를 JSON 문자열로 반환한다.
const person = {
    name: "js",
    age: 20,
}

console.log(person) // {"name":"js","age":20}

const person2 = JSON.stringify(person)
// JSON.stringify : Object -> String 으로 변환하는 메서드
// 객체파일의 정보를 String 타입으로 바꿔서 리턴한다

console.log(person2) // > {"name":"js","age":20}
// 모양은 객체지만 실질적인 내용은 string으로 변환된 상태


// typeof 연산자 : 데이터의 타입을 반환한다.
console.log(typeof person) // > object로 출력
console.log(typeof person2) // > string으로 출력


// 검증
const str = '{"name":"js","age":20}'
console.log(person2 === str)
// > true. 즉 person2는 string타입임이 증명
JSON.parse: JSON 문자열을 javascript 객체로 반환한다.
const person3 = JSON.parse(person2)
console.log(person3)

// > {"name":"js","age":20} 객체화된 데이터를 출력한다.
예제 코드를 통해 살펴본 대로 JSON.stringify와 JSON.parse는
데이터의 형변환을 위한 메서드이다.
브라우저 내부에는 문자열 형태로만 데이터를 저장할 수 있기 때문에
이러한 형변환 과정을 꼭 거쳐야만 하는 것...

2. 로컬 스토리지(localStorage)
문자열로 데이터의 형변환이 끝나면 이제는 데이터를 브라우저에 저장할 수 있게 된다.
데이터를 브라우저에 저장하는 방식에는 웹 스토리지와 쿠키가 있는데
(쿠키는 약 4KB까지 밖에 저장 공간을 이용하지 못하는 반면,
웹 스토리지는 약 5MB까지 저장 공간을 이용 가능하다)
웹 스토리지는 로컬 스토리지와 세션 스토리지로 나뉜다.
그 중에서도 로컬 스토리지에 대해 알아보기로 하자
로컬 스토리지는 브라우저에 반영구적으로 데이터를 저장하며 브라우저를 종료해도 데이터가 유지된다는 특징이 있다. (사용자가 삭제하기 전까지)
- 브라우저에서 localStorage 진입 방법
개발자도구(f12)>애플리케이션>저장용량(Storage)- Javascript에서의 사용 문법
localStorage.setItem():localStorage에 아이템 추가
localStorage.getItem():localStorage의 아이템 읽기
(엄밀하게는 window.localStorage를 사용해야하지만, window 객체는 생략해서 localStorage로 축약해도 접근할 수 있다.)
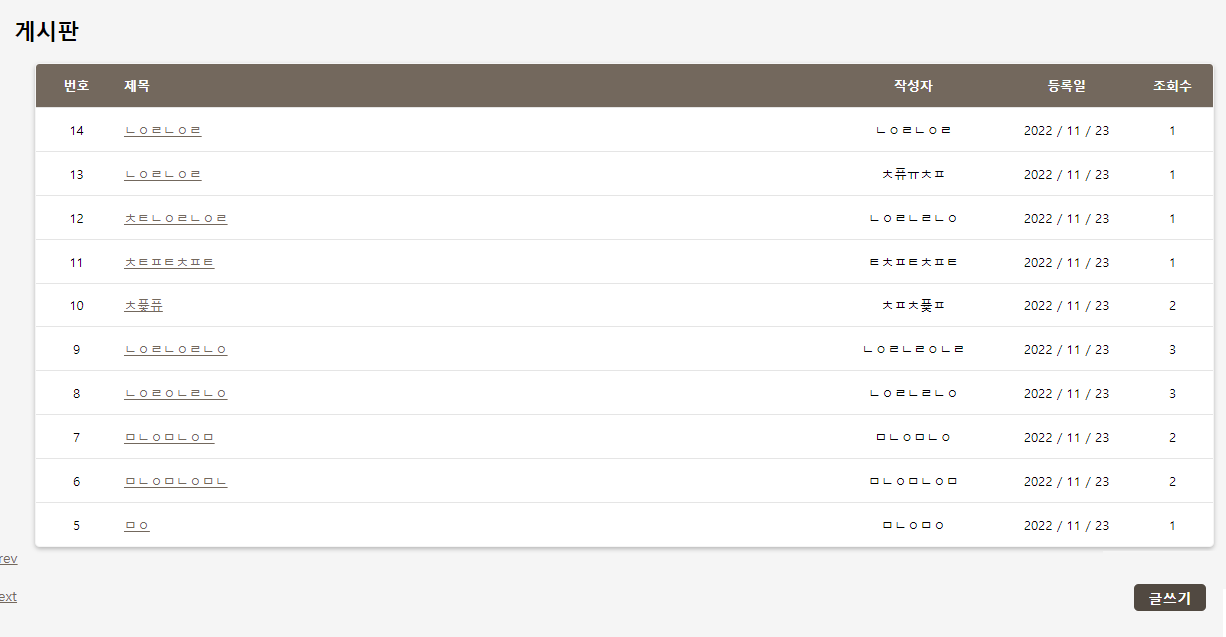
3. 게시판 만들기
게시판 제작의 개요 및 흐름에 대한 설명
3-1. List 페이지 구현
먼저 로컬 스토리지에 있는 코드를 가져와야 한다
(localStorage.getItem())
- list 페이지에서는 아직 글이 없을 때와 글이 생겼을 때를 구분지을 필요가 있다.
let item = localStorage.getItem("boards")
if (item === null) {
    const initialState = []
    const state = JSON.stringify(initialState)
    localStorage.setItem('boards', state)
    item = state
}
(전자의 경우를 대비해서 if문으로 빈 배열을 넣어야 한다)
- 필요에 따라 데이터를 로컬 스토리지에 저장할 수도 있어야 한다.
(localStorage.setItem())
- 게시판 리스트에는 두가지 클릭 이벤트가 있어야 한다
(view 페이지로 이동하기, write 페이지로 이동하기)
3-2. Write 페이지 구현
- 로컬스토리지에 담긴 데이터를 꺼낼 수 있어야 한다.
- 저장 (JSON.stringify>localStorage.setItem())
- 꺼내기 (JSON.parse(localStorage.getItem()))
    const boards = JSON.parse(localStorage.getItem("boards"))
    // 배열을 불러온다

    boards.push(instance)
    console.log(boards)
    // push 메서드에서 오류가 난다면 십중팔구 변수의 데이터 타입이 문제
    // boards가 배열 타입이 맞는지를 먼저 확인해야 한다

    const index = boards.length-1
    const item = JSON.stringify(boards)
3-3. view 페이지 구현
-
view 페이지를 만들기 위해서는 url의 쿼리스트링 정보가 필요하다
(?index=number) -
필요한 데이터는 배열 형태로 존재하고 있으므로
view페이지에서는 배열 속의 특정 객체만을 불러와서
화면에 띄울 수 있어야 한다
이를 위해 객체의 인덱스(파라미터)값을 url에 남기는 것
(location.search객체로 url에서 파라미터값을 추출한다)
location.search:// location.search // > ?index=3 const idx = location.search.split('=') // 'index=3' > ['?index', '3'] const index = idx[1] // 인덱스는 배열의 두번째 요소를 가져오도록 (↑3) const board = boards[index]
불러온 변수 board를 화면에 그리면 view 페이지 완성
3-4. modify 페이지 구현
- view 페이지에 글 수정 버튼과 이벤트 등록이 필요하다
(현재 보고 있는 view 페이지의 인덱스값을 modify.html 파일에 보내줘야 함)
const boards = JSON.parse(localStorage.getItem("boards"))
const boards = JSON.parse(item)
const idx = location.search.split('=')
const index = idx[1]
const item = boards[index]const writer = document.querySelector("input[name=writer]")
const subject = document.querySelector("input[name=subject]")
const content = document.querySelector("textarea[name=content]")
writer.value = item.writer
subject.value = item.subject
// input은 value
content.innerHTML = item.content
// textarea는 평소처럼 innerHTML가져온 데이터에서 필요한 객체 정보를 추출해서 채워 넣으면 modify 페이지도 완성
(글 삭제는 아래 완성 코드에서 확인하기)
↓ 각 페이지의 완성 코드
[write.js]
const writeFrm = document.querySelector("#writeFrm")
class Board {
// 매개변수는 우선 제목, 내용, 작성자만 받기로
constructor(subject, content, writer) {
this.index = 0
this.subject = subject
this.content = content
this.writer = writer
this.date = "2022-11-17"
this.hit = 0
}
}
function submitHandler(e) {
e.preventDefault()
const subject = e.target.subject.value
const content = e.target.content.value
const writer = e.target.writer.value
// const {subject, content, writer} = e.target
const instance = new Board(subject, content, writer)
console.log(instance)
// "[]" -> []
// boards -> []
// boards.push(instance)
const boards = JSON.parse(localStorage.getItem("boards"))
// 배열을 불러온다
boards.push(instance)
console.log(boards)
// push 메서드에서 오류가 나면 대부분은 변수의 데이터 타입이 문제
// boards가 배열 타입인지를 확인해야 한다
const index = boards.length-1
const item = JSON.stringify(boards)
localStorage.setItem("boards", item)
// 글을 쓸 때마다 로컬스토리지에 배열 속의 객체 형태로 저장
// const item = JSON.stringify(instance)
// 객체 데이터 > 스트링 타입으로
//boards: []
// localStorage.setItem('boards', item)
// [] > {}
// 현재는 새로운 글을 쓸 때마다 키값 내부 내용을 덮어쓰는 상태
window.location.href = "../board/view.html?index=" + index
//submit을 누르면 링크 이동
}
writeFrm.addEventListener('submit', submitHandler)
[list.js]
let item = localStorage.getItem("boards");
if (item === null) {
const initialState = [];
const state = JSON.stringify(initialState);
localStorage.setItem("boards", state);
// 값은 그냥 배열을 넣어준다
item = state;
}
// ↑ 글이 아직 없을때(최초진입시) 실행될 코드
item = localStorage.getItem("boards");
const tbody = document.querySelector("tbody");
function template(item, index) {
return `
<tr>
<td>${index + 1}</td>
<td><a href='../board/view.html?index=${index}'>${item.subject}</a></td>
<td>${item.content}</td>
<td>${item.date}</td>
<td>${item.hit}</td>
</tr>
`;
}
const obj = {
index: 0,
subject: 0,
content: 0,
date: 0,
hit: 0,
};
tbody.innerHTML = template(obj);
console.log(item);
const boards = JSON.parse(item);
// [{},{},{}]
for (let i = boards.length - 1; i >= 0; i--) {
tbody.innerHTML += template(boards[i], i);
}[view.js]
const item = window.localStorage.getItem("boards")
console.log(item)
// 가져온 객체의 내용이 스트링 상태로 찍힌다
// 이제 string > object로 형변환이 필요
const boards = JSON.parse(item)
// 불러온 데이터가 객체로 변환된 상태
// location.search // > ?index=3
const idx = location.search.split('=')
// 'index=3' > ['?index', '3']
const index = idx[1] // 인덱스는 배열의 두번째 요소를 가져오도록 (↑3)
const board = boards[index]
const viewFrm = document.querySelectorAll("#viewFrm > div")
// 가져온 내용을 DOM에 뿌리기 위해 배열 선택
for (let i=0; i<viewFrm.length; i++) {
const id = viewFrm[i].id // element id
console.log('id', id, board[id]) // board[id] ~ 가져온 value값
// 0
// id subject werw
// id writer rwerewr
// id date 2022-11-17
// id content werwer
const span = viewFrm[i].querySelector("span")
span.innerHTML = board[id]
}
// 업데이트 구현
const modify = document.querySelector("#modify")
function modifyHandler (e) {
e.preventDefault()
console.log(idx[1])
console.log(boards[index])
// location.href = "../board/modify.html?index=" + index
location.href = `../board/modify.html?index=${index}`
}
modify.addEventListener('click', modifyHandler)
// 딜리트 구현
// view.html에 글 삭제 버튼 추가
// 삭제버튼 누를 시 경고창 팝업
// 정말 삭제하시겠습니까? 예 > 삭제후 리스트로 이동
// ㄴ 배열 splice
// 취소 > view.html로
const dlt = document.querySelector("#delete")
console.log(boards)
console.log(index)
function dltHandler (e) {
if(confirm("정말 삭제하시습니까 ?") == true){
boards.splice(index,1)
alert("삭제 완료");
const dltd = JSON.stringify(boards)
localStorage.setItem("boards", dltd)
location.href = "../board/list.html"
console.log(boards)
}
else return console.log(boards)
}
dlt.addEventListener ('click', dltHandler)[modify.js]
const modifyFrm = document.querySelector("#modifyFrm")


// console.log(location.search) > ?index=3
const idx= location.search.split("=") // > ['index', '3']
const index = idx[1] // > '3'

// console.log(index) > '3'


const boards = JSON.parse(localStorage.getItem("boards"))
// console.log(boards)
// 게시판 정보가 담긴 배열 데이터를 로컬스토리지에서 불러온다


const item = boards[index]
// console.log(item)
// console.log(item.writer)


const writer = document.querySelector("input[name=writer]")
const subject = document.querySelector("input[name=subject]")
const content = document.querySelector("textarea[name=content]")


writer.value = item.writer
subject.value = item.subject
// input은 value를 선택해야 함
content.innerHTML = item.content
// textarea는 평소와 같이 innerHTML

// console.log(writer.value)
// console.log(subject.value)
// console.log(content.value)
// // 확인할 때는 textarea도 value를 찍어야 보인다...미스테리


function submitHandler (e) {
    e.preventDefault()


    item.writer = writer.value
    item.subject = subject.value
    item.content = content.value
    // 대입 순서에 주의!


    console.log(item.writer)
    console.log(item.subject)
    console.log(item.content)


    const modified = JSON.stringify(boards)
    localStorage.setItem("boards", modified)
    // 형변환 > 저장

    console.log(modified)

    // localStorage.setItem(writer.value, subject.value, content.innerHTML)
    // console.log(item)

    location.href = `../board/view.html?index=${index}`
    // submit을 누르면 view 페이지로 이동
}

modifyFrm.addEventListener('submit', submitHandler)
// form 태그는 submit!
앞으로는 개요도를 먼저 손으로 그리고 시작하는 습관을 들이자 ㅠㅠ
