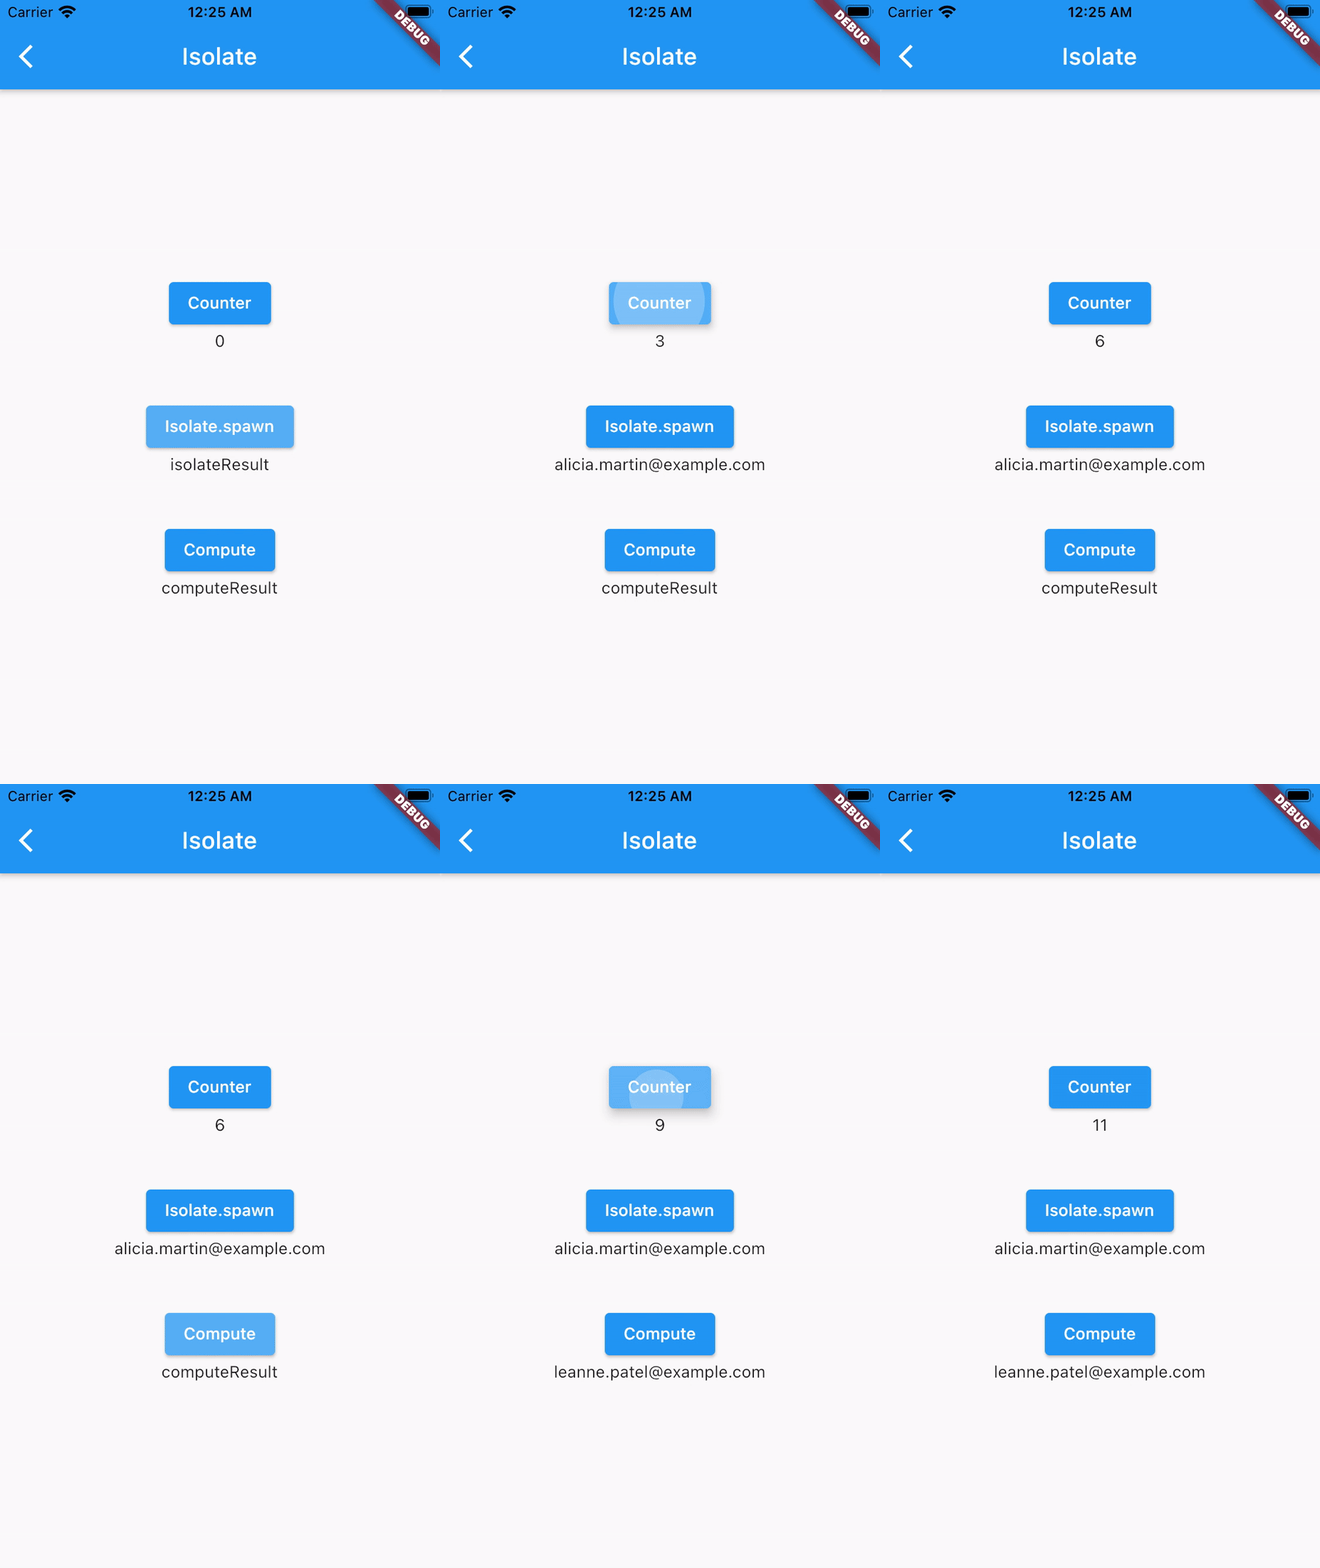
Isolate?
모든 Dart 코드가 실행되는 곳. 단일 스레드가 이벤트 루프를 실행하고 있다.
C++ 같은 언어들은 같은 메모리를 공유하는 다중 스레드를 가질 수 있고 원하는 어떤 코드든지 실행시킬 수 있다.
Dart에서는 스레드가 메모리를 가진채로 isolate에 있고 이벤트만 처리한다.
실행해야 할 계산이 너무 많아서 프레임을 낮추는 경우에 isolate.spawn이나 compute를 이용한다.
→ 둘다 개별 isolate를 만들어서 수 처리를 하며 그동안 메인에 부담을 주지 않으면서 widget tree를 rebuild하고 rendering한다.
새로운 isolate는 해당 메모리에서 고유 이벤트 루프를 가지게 된다. isolate는 서로 분리된 작은 공간들이고,
둘을 함께 작동시키려면 메시지를 서로 전달하도록 하면된다.
이벤트 루프 - 이벤트 큐에서 가장 오래된 이벤트를 처리하고 그다음으로 넘어가서 처리하면서 큐가 비어질때까지 동작한다.
ReceivePort and SendPort
Isolate 사이의 커뮤니케이션은 receivePort 와 sendPort를 통해서 이루어진다.
모든 isolate는 자신의 receivePort를 생성할 수 있고, multiple receivePort도 가능하다. 그리고 모든 receivePort는 자신의 sendPort가 있고, sendPort로 메시지를 보내면 receivePort에서 받는다.
Example
Isolate.spawn
Isolate.spawn을 이용하여 새로운 isolate를 생성한다.
argument로 entryPoint 와 message가 필요하다.
일반적으로 message는 isolate들이 서로 communication할 수 있도록 SendPort를 포함한다.
Isolate _isolate;
SendPort _sendPort;
ReceivePort _receivePort;

SendPort get sendPort => _sendPort;

Future<void> initIsolate() async {
    _receivePort = ReceivePort();
    _isolate = await Isolate.spawn<SendPort>(
    	_entryPoint,
        _receivePort.sendPort,
    );

    _sendPort = await _receivePort.first;
}
entryPoint
entryPoint는 top-level function or a static method 이어야 한다.
static void _entryPoint(SendPort mainSendPort) async {
    final childReceivePort = ReceivePort();
    mainSendPort.send(childReceivePort.sendPort);

    await for (final _IsolateData isolateData in childReceivePort) {
      if (isolateData != null) {
        final results = await isolateData.handler(isolateData.params);

        isolateData.responsePort.send(results);
      }
    }
  }
sendPort.send()
send() 를 이용해서 메시지를 전달한다.
message의 타입은 다음과 같다.
- Null
- bool
- int
- double
- String
- List or Map
- TransferableTypedData
- SendPort
- Capability
void sendMessage(
    Function handler,
    SendPort sendPort,
    ReceivePort responsePort, {
    dynamic params,
  }) {
    final isolateData = _IsolateData(
      handler,
      params,
      responsePort.sendPort,
    );
    sendPort.send(isolateData);
  }
isolate.kill()
isolate.kill()을 이용해서 isolate를 shut down할 수 있다.
void dispose() {
    _receivePort.close();
    _isolate.kill(priority: Isolate.immediate);
    _isolate = null;
  }
}
IsolateData
class _IsolateData {
  Function handler;
  dynamic params;
  SendPort responsePort;

  _IsolateData(
    this.handler,
    this.params,
    this.responsePort,
  );
}
sendMessage
void _isolateSpawn() async {
    final responsePort = ReceivePort();
    const url = 'https://randomuser.me/api';

    _isolateUtils.sendMessage(
      handler,
      _isolateUtils.sendPort,
      responsePort,
      params: url,
    );

    final result = await responsePort.first;
    setState(() {
      _isolateResult = result.toString();
    });
  }
Compute
Isolate대신 Compute를 이용해서 더 간단하게 구현할 수 있다.
void _compute() async {
    final result = await compute(handler, 'https://randomuser.me/api');
    setState(() {
      _computeResult = result;
    });
  }
Reference
Flutter - Isolates and Event Loops
Flutter Explained - Dart Isolates
Tadas Petra - Dart Isolates
dart:isolate library
[flutter] Isolate, Compute. 화면 안버벅이고 큰 이벤트 실행하기

