리액트 컴포넌트에서 다루는 데이터는 state, porps 두 개로 나뉜다.
state는 컴포넌트 내부에서 선언하여 내부에서 값을 변경할 수 있고
props는 부모 컴포넌트가 자식 컴포넌트에게 주는 값이다.
1. state
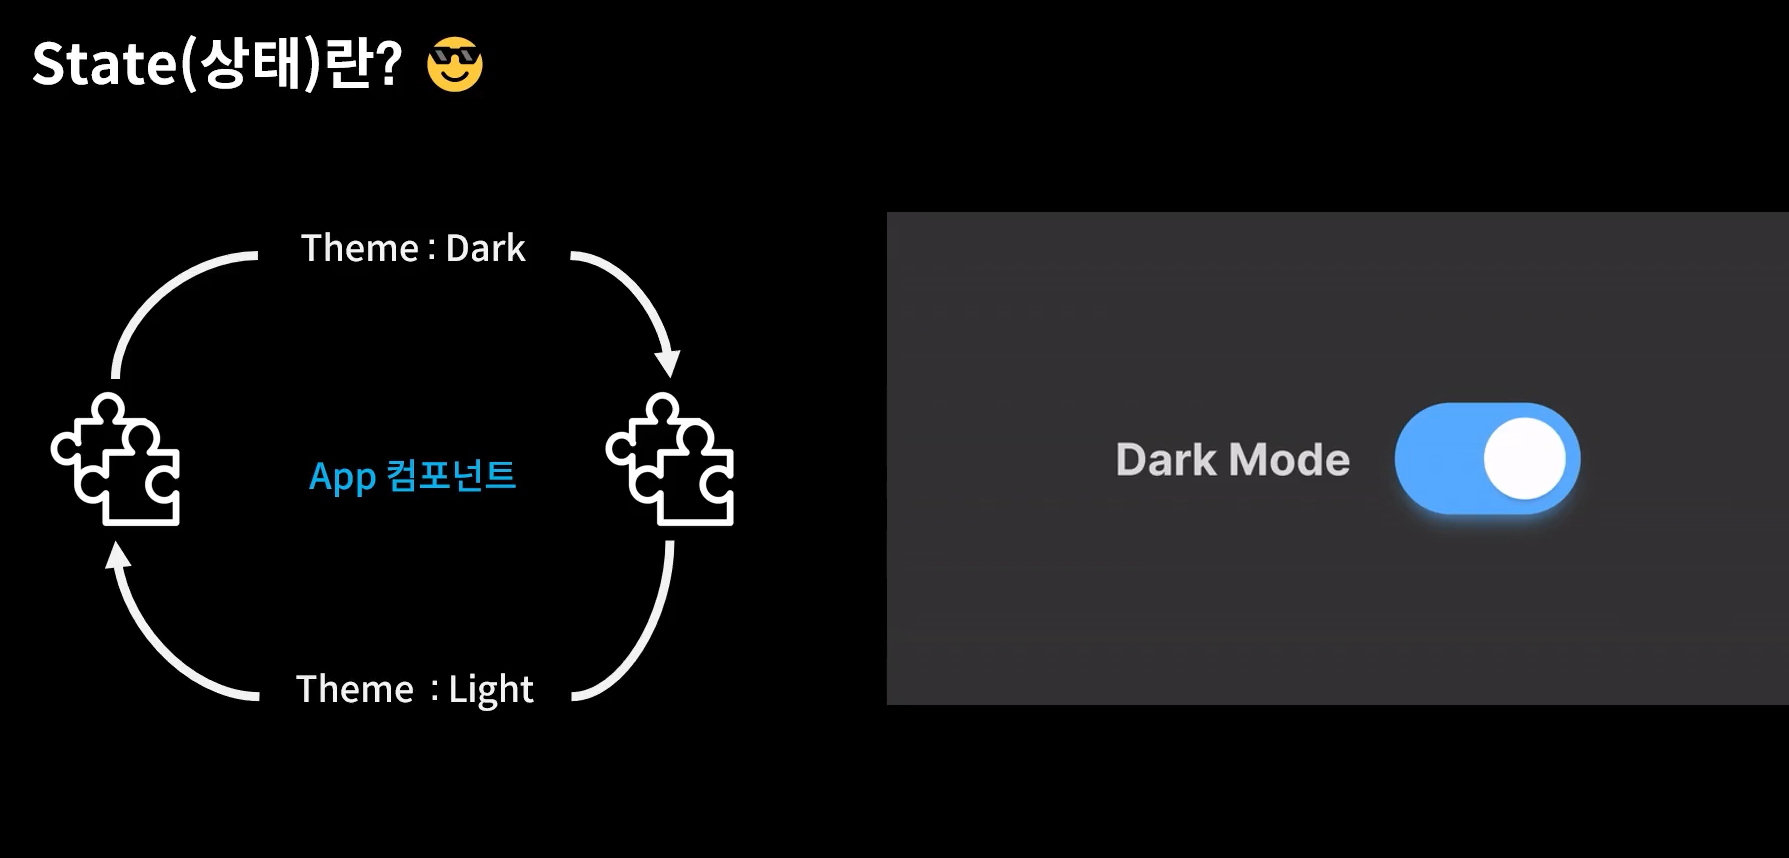
상태를 의미하는 state는 이벤트에 의해 변경되는 동적인 값으로
컴포넌트 내에서 지속적으로 변경이 일어나는 값을 관리하기 위해 사용한다.
1-1. state 사용하기
예시로 버튼을 클릭할 때마다 1씩 증가 혹은 감소하는 계산기를 만들어보자.
import React, { useState } from 'react';

const Counter = () => {

    const [count, setCount] = useState(0);
    const onIncrease = () => { setCount(count + 1); }
    const onDecrease = () => { setCount(count - 1); }

    return (
        <div>
            <h2>{count}</h2>
            <button onClick={onIncrease}>+</button>
            <button onClick={onDecrease}>-</button>
        </div>
    )
}

export default Counter;
1) useState 불러오기
React 패키지에서 useState 함수를 사용해야하므로 React를 불러온다.
import React, { useState } from 'react';useState는 리액트의 기본 Hook 중 하나로, 컴포넌트에서 state를 추가할 때 사용한다.
React Hook 이란?
리액트 v16.8에 도입된 기능으로, 함수형 컴포넌트에서 다양한 기능을 사용할 수 있게 만들어주는 라이브러리.
- useState : 함수형 컴포넌트에서도 상태관리를 가능하도록 함.
- useEffect : 렌더링 직후 작업 설정.
- useReducer : useState 보다 컴포넌트에서 더 다양한 상황에 따라 다양한 상태를 다른 값으로 업데이트.
- useMemo : 함수형 컴포넌트 내부에서 발생하는 연산을 최적화.
등등...
2) 호출하기
const [count, setCount] = useState(0);useState를 사용할 때는 상태의 초기 값 (0) 을 파라미터로 넣어서 호출한다. (생략가능)
호출할 경우 배열이 반환되는데,
첫 번째 요소 (count) 는 현재 상태 값을 나타내는 변수,
두 번째 요소 (setCount) 는 state를 변화시키는 상태변경 Setter 함수이다.
원래는 아래와 같이 해야하지만, 배열 비구조화 할당을 통해 각 요소를 추출한 것이다.
const countState = useState(0);
const count = countState[0];
const setCount = countState[1];
Setter 함수는 파라미터로 전달받은 새로운 상태로 설정해준다.
변경되어야 하는 숫자에 변수를 넣는다
<h2>{count}</h2>const onIncrease = () => { setCount(count + 1); }
const onDecrease = () => { setCount(count - 1); }3) 버튼과 연결
버튼을 클릭하면 숫자가 증가/감소해야하기 때문에 버튼에 이벤트를 준다.
<button onClick={onIncrease}>+</button>
<button onClick={onDecrease}>-</button>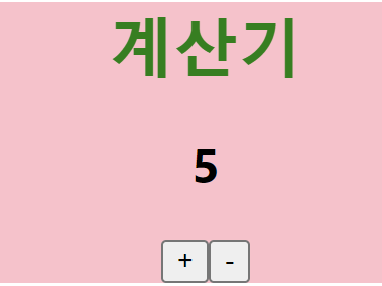
컴포넌트는 자신이 가진 state가 변화하면 함수가 다시 호출되어 화면을 다시 그려 리렌더를 한다.
이렇듯 state는 화면에 나타나는 데이터를 쉽게 교체하고 업데이트 할 수 있도록 도와준다. 사용자의 버튼 클릭과 같은 이벤트에 반응해서 요소들이 바뀌는 작업을 쉽게 만들 수 있다.
2. props
props는 properties의 줄임말로 상위 컴포넌트에서 하위 컴포넌트로 어떤 값을 전달해줘야할 때 사용한다.
App 컴포넌트 (부모 컴포넌트) 에서 전달하는 값을 Counter 컴포넌트 (자식 컴포넌트)의 초기 값으로 써야하는 상황으로 가정해보자.
2-1. 기본 사용법
// App.js (부모)
import Counter from './components/Counter';
function App() {
return (
<div className="App">
<h1 id="title">계산기</h1>
<Counter initialVelue={5} /> // 값 전달
</div>
);
}
export default App;자식 컴포넌트에게 전달되는 값은 파라미터를 통해 조회할 수 있다.
props는 객체 형태로 전달되고 값을 조회하고 싶다면 props.initialVelue 를 하면 된다.
// Counter.js (자식)
const Counter = (props) => { // 값 전달 받음
const [count, setCount] = useState(0);
const onIncrease = () => { setCount(count + 1); }
const onDecrease = () => { setCount(count - 1); }
return (
<div>
<h2>{count}</h2>
<button onClick={onIncrease}>+</button>
<button onClick={onDecrease}>-</button>
</div>
)
}2-2. 여러 값 전달하기
다수의 값을 전달할 수도 있다. 다수의 값을 전달할 때는 길어지게 되니 따로 분리하여 전달한다.
여러 값을 담은 객체를 전달할 때는 스프레드 연산자 (...) 를 사용한다.
// App.js
function App() {
const counterProps = {
a: 1,
b: 2,
c: 3,
d: 4,
initialVelue: 5
}
return (
<div className="App">
<h1 id="title">계산기</h1>
<Counter {...counterProps} />
</div>
);
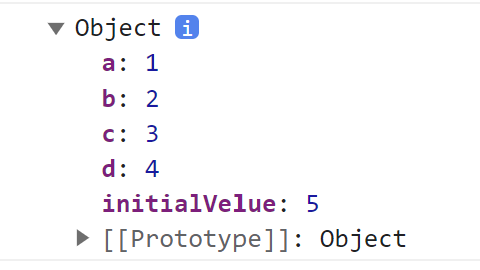
}자식 컴포넌트에서 값을 받을 때 원래 방식대로 props. 을 사용해 받을 수도 있지만 비구조화 할당 문법을 사용하여 props 객체에서 원하는 요소만 가져와 코드를 간결하게 할 수도 있다.
props 객체에서 initialVaule 만 꺼내서 쓴 것.
// Counter.js

const Counter = ({ initialValue }) => {
    const [count, setCount] = useState(initialValue);
    const onIncrease = () => { setCount(count + 1); }
    const onDecrease = () => { setCount(count - 1); }

    return (
        <div>
            <h2>{count}</h2>
            <button onClick={onIncrease}>+</button>
            <button onClick={onDecrease}>-</button>
        </div>
    )
}
2-3. 기본 값 설정하기
컴포넌트에 props를 지정하지 않았을 때 기본적으로 사용 할 값을 설정하고 싶다면 컴포넌트에 defaultProps 라는 값을 설정하면 된다.
// Counter.js (자식)

const Counter =  ({ initialValue }) => {	// 값 전달 받음
    const [count, setCount] = useState(0);
    const onIncrease = () => { setCount(count + 1); }
    const onDecrease = () => { setCount(count - 1); }

    return (
        <div>
            <h2>{count}</h2>
            <button onClick={onIncrease}>+</button>
            <button onClick={onDecrease}>-</button>
        </div>
    );
};

Counter.defaultProps = {
	initialValu = 0;
}
상위 컴포넌트에 initialValue가 없어도 초기값이 0이 된다.
