우선 iOS의 화면 캡처 기능은 os에서 실행하는 영역이기 때문에 외부 라이브러리나 솔루션을 가져와서 사용하기도 하지만 코드만으로 강제로 막을 방법은 없다고 한다.
이를 적용해보자.
NotificationCenter
NotificationCenter는 특정 event를 등록하고 observer를 추가해 event 발생 시 알려주는 역할을 하는 클래스이다.
func startPreventingScreenshot() {
        NotificationCenter
            .default.addObserver(self, selector: #selector(didDetectScreenshot), name: UIApplication.userDidTakeScreenshotNotification, object: nil)
    }

func startPreventingRecording() {
     	NotificationCenter.default.addObserver(self, selector: #selector(didDetectRecording), name: UIScreen.capturedDidChangeNotification, object: nil)
    }
화면 캡처는 앱이 실행될때부터 종료될 때까지 모든 곳에서 감지되어야하기 때문에 위의 함수를 AppDelegate의 application: didFinishLaunchingWithOptions 함수 내에서 실행해준다.
event가 발생하는지 지켜보는 observer를 추가해주고 event 발생 시 수행할 업무를 #selector에 넣어준다.
Notification으로부터 알림을 받으면 selector 함수를 실행한다.
selector-1
alert
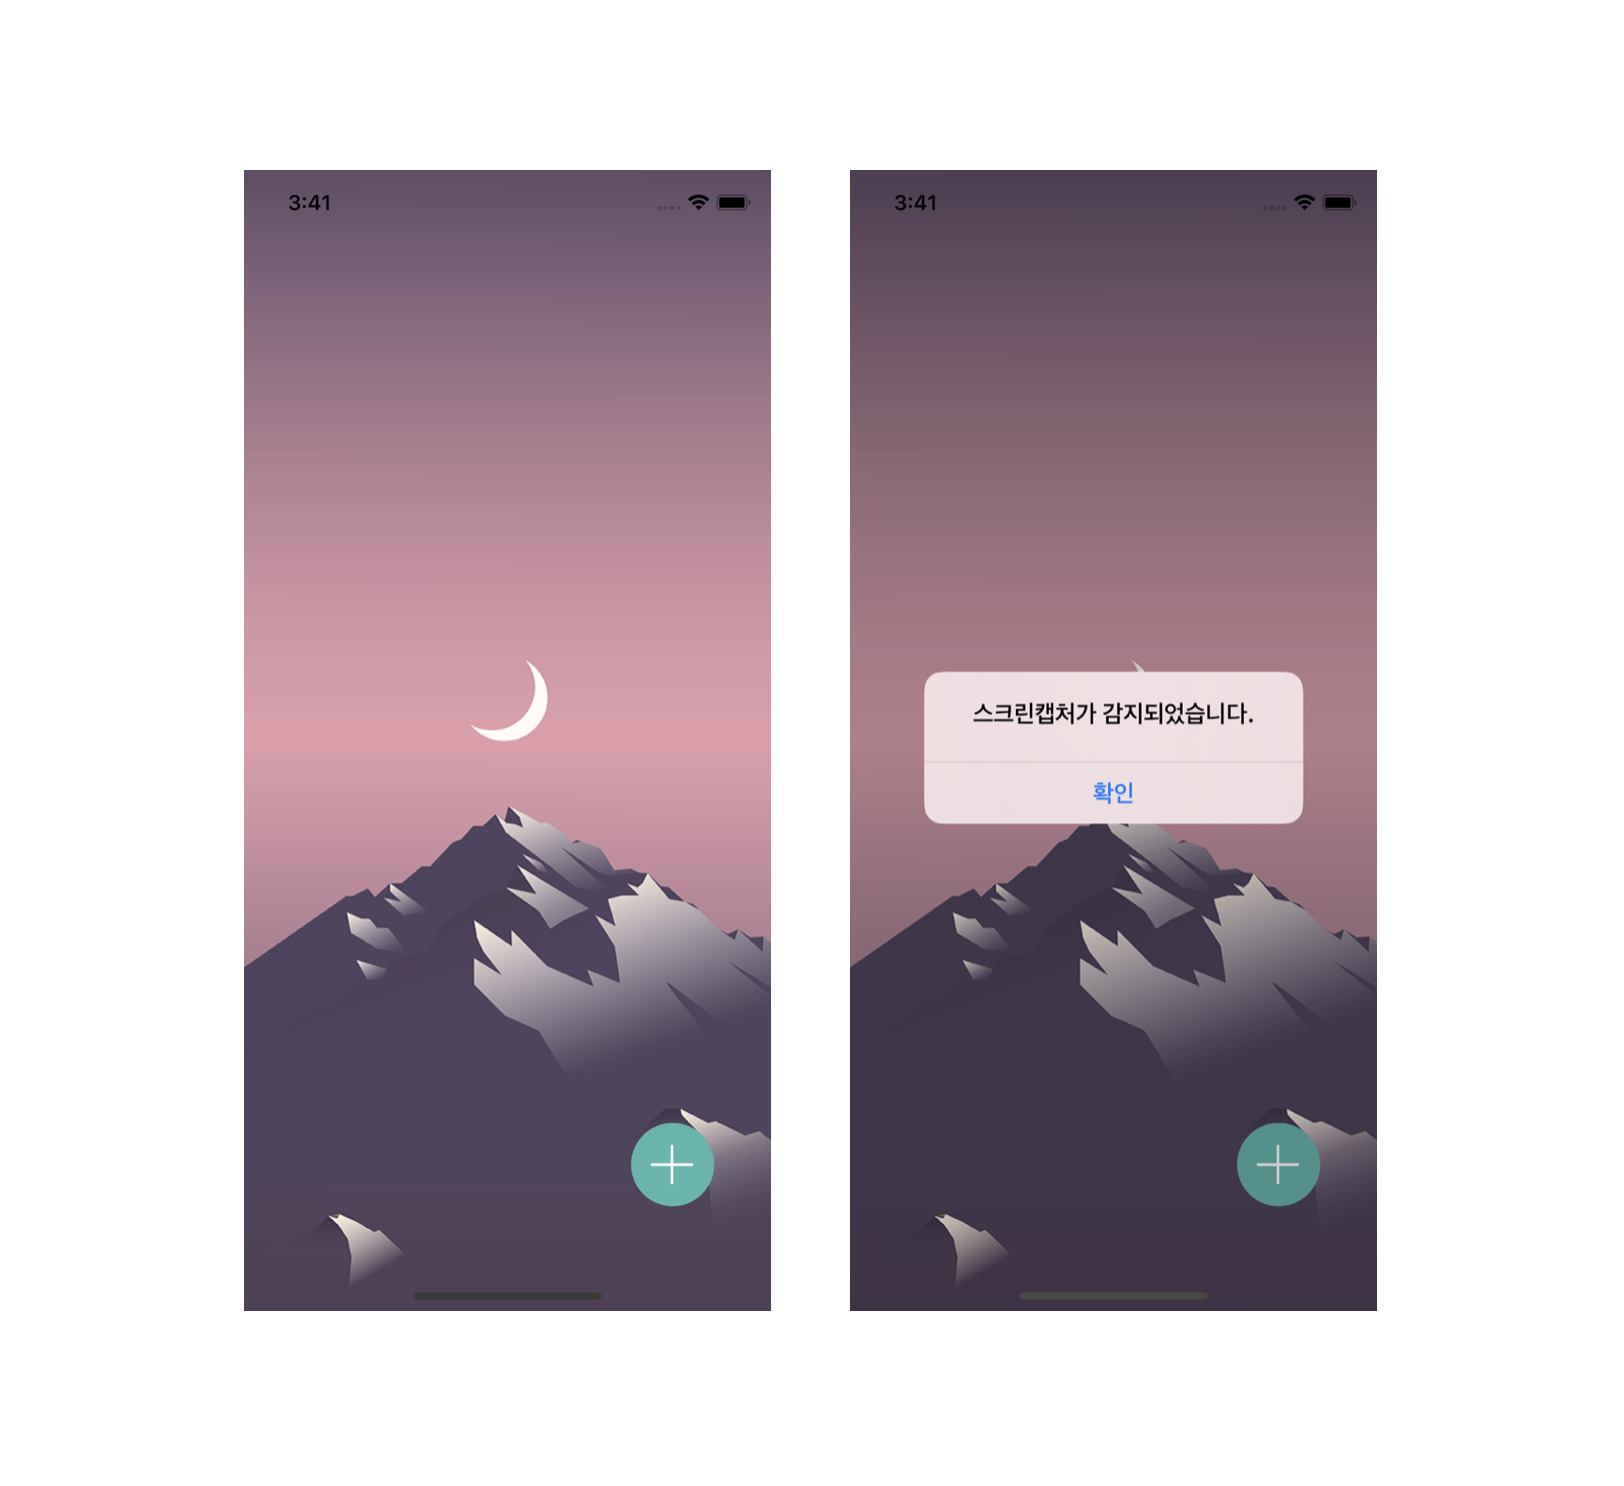
    @objc private func didDetectScreenshot() {
        let alert = UIAlertController(title: "스크린캡처가 감지되었습니다.", message: "", preferredStyle: .alert)

        let cancelAction = UIAlertAction(title: "확인", style: .cancel, handler: nil)

        alert.addAction(cancelAction)

        DispatchQueue.main.async {
            self.hideScreen()

            if var topController = self.window?.rootViewController {
                while let presentedViewController = topController.presentedViewController {
                    topController = presentedViewController
                }
                topController.present(alert, animated: false, completion: nil)
            }

        }
    }
selector 함수에서는 스크린 캡처 감지에 대한 alert를 노출한다.
rootViewController 찾기
현재의 rootViewController를 찾는 방법은 아래와 같고 root 에서 presentedViewController를 찾아 alert를 띄운다.
private var window: UIWindow? {
        return (UIApplication.shared.connectedScenes.first?.delegate as? SceneDelegate)?.window
    }
self.window?.rootViewController

// ios13+
UIApplication.shared.keyWindow?.rootViewController
selector-2
화면 녹화의 경우는 감지 후 화면을 안보이게하는 방법으로 제어가 가능하다.
    private func hideScreen() {
        if UIScreen.main.isCaptured {
            window?.isHidden = true
        } else {
            window?.isHidden = false
        }
    }
재밌게 잘하자