정말 진행된 것이 거의 없지만 원하는대로 구현하는게 너무 오래걸렸다. 앞의 글에서 말한 HomeViewController의 UI 세팅까지만 진행된 상태이다.
진행된 상태

HomeViewController의 UI를 세팅하면서 스크롤뷰의 AutoLayout을 설정하는 것과 ContainerView로 넣은 SampleViewController의 ImageView의 이미지를 세팅하는 것에서 막혀 오래걸렸다.
HomeViewController
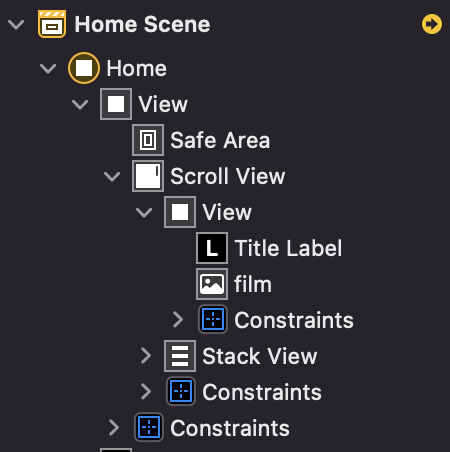
위 사진처럼 스크롤뷰를 구성하였다. 전체를 뷰 전체를 스크롤뷰로 감싸주었으며 그 안에 UIView와 StackView를 넣어 컨텐츠를 구성해주었다.
스크롤뷰의 AutoLayout을 설정할 때에는 스크롤뷰의 레이아웃만 설정하면 되는 것이 아니라 안의 컨텐츠들의 레이아웃까지 설정해주어야한다.
처음에 스크롤뷰의 레이아웃을 상위 뷰와의 space를 0으로만 설정했었는데 constraint를 더 설정해주어야한다고 떴었다.
-> 스크롤뷰와 사이즈가 같은 상위 뷰에 Equal height와 Equal width를 설정해주니 해결됐다.
코드
아직까진 정말 진행된 것이 없고 Label만 layout에 따라 잘리지않도록 fontsize만 설정해주었다.
import UIKit

class HomeViewController: UIViewController {

    @IBOutlet weak var titleLabel: UILabel!

    override func viewDidLoad() {
        super.viewDidLoad()

        if titleLabel.adjustsFontSizeToFitWidth == false {
            titleLabel.adjustsFontSizeToFitWidth = true
        }
    }
}
SampleViewController
SampleView를 통해 두 가지 장르의 영화들을 미리보기로 보여줄 예정이다.
ContainerView에 CollectionView를 넣어주고 Horizontal하게 scroll하도록 설정하였다.
잘 설정이 되었는지 thumbnailImage의 Image를 systemImage인 "pencil"로 설정해보려고 아래처럼 코드를 작성했다.
extension SampleViewController: UICollectionViewDataSource {

    func collectionView(_ collectionView: UICollectionView, numberOfItemsInSection section: Int) -> Int {
        return 10
    }

    func collectionView(_ collectionView: UICollectionView, cellForItemAt indexPath: IndexPath) -> UICollectionViewCell {
        guard let cell = collectionView.dequeueReusableCell(withReuseIdentifier: "cell", for: indexPath) as? SampleViewCell else { return UICollectionViewCell() }

        cell.thumbnailImage.image = UIImage(systemName: "pencil")

        return cell
    }


}

extension SampleViewController: UICollectionViewDelegateFlowLayout{

    func collectionView(_ collectionView: UICollectionView, layout collectionViewLayout: UICollectionViewLayout, sizeForItemAt indexPath: IndexPath) -> CGSize {

        return CGSize(width: 128, height: 144)
    }
}

class SampleViewCell: UICollectionViewCell {
    @IBOutlet weak var thumbnailImage: UIImageView!

}
진짜 기본적인 것때문에 원하는 결과를 얻지 못하였었다. 분명 코드에는 이상이 없었는데 왜 기본적인 delegate와 datasource를 연결해주는 것을 까먹었는지 모르겠다..
실행 결과

녹화하면서 살짝 끊기긴하지만 스크롤이 제대로 작동하는 것을 볼 수 있다. 다음으로는 SearchViewController를 세팅할 것이다.
추가
추가적으로 SearchView의 기본적인 인터페이스들을 설정했지만 새로 글을 적기에는 적은 양이라 이전 글에 추가하였다.
SearchViewController
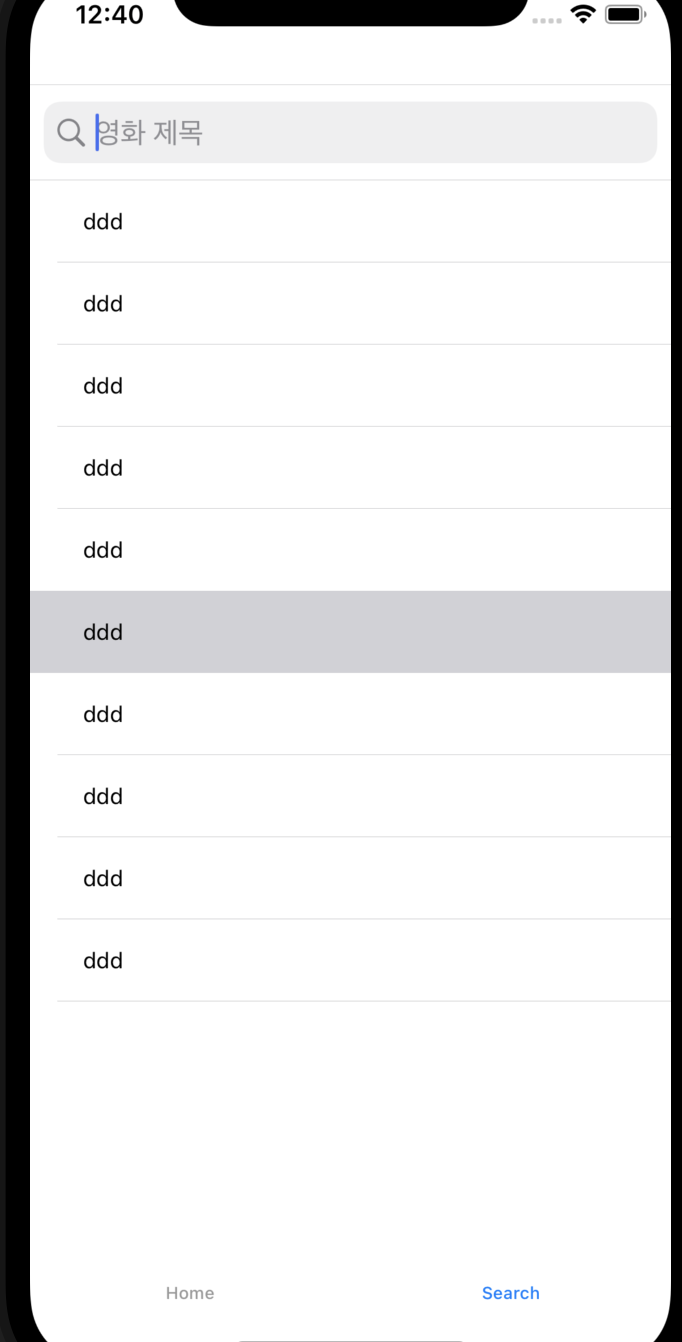
스크롤뷰의 인터페이스를 설정할 때보다 훨씬 간단해서 금방할 수 있었다. 계획과 똑같이 가장 상단에 SearchBar를 놓아 검색을 할 수 있도록하였다(아직 기능은 구현 전).
그리고 아래에 검색결과를 띄울 수 있게 테이블뷰를 놓았다.
계획대로라면 검색어를 입력했을 때 검색 결과를 보여주는 View로 넘어가서 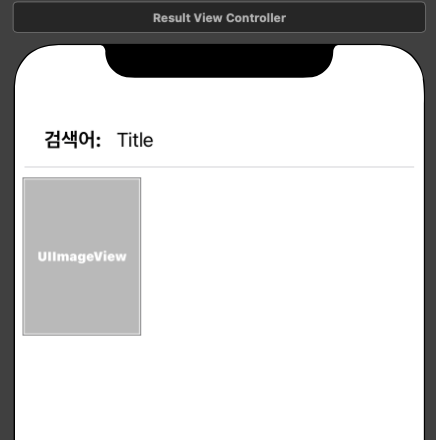
이런 식으로 보여줄 것이다. Title에는 검색어를 띄울 수 있게 할 것이고 아래에는 CollectionView를 이용하여 검색결과의 썸네일을 보여주도록 하였다.
코드
extension SearchViewController: UITableViewDataSource {

    func tableView(_ tableView: UITableView, numberOfRowsInSection section: Int) -> Int {
        return 10
    }

    func tableView(_ tableView: UITableView, cellForRowAt indexPath: IndexPath) -> UITableViewCell {
        guard let cell = tableView.dequeueReusableCell(withIdentifier: "cell", for: indexPath) as? HistoryCell else { return UITableViewCell() }

        cell.resultLabel.text = "ddd"

        return cell
    }

}

extension SearchViewController: UITableViewDelegate {

}

extension SearchViewController: UISearchBarDelegate {

}

class HistoryCell: UITableViewCell {
    @IBOutlet weak var resultLabel: UILabel!

}
실행 결과
이어서 사이트를 통해 검색을 할 수 있게 API를 만들어 볼 것이다.