이번 프로젝트에서 중복검사, 로그인, 로그아웃, 회원가입, 마이페이지, 글 수정 등 여러 부분에서 alert 창이 필요했다.
그래서 alert 창을 따로 만드려고 했지만 찾아보다가 더 간단하고 예쁜 모달창을 발견해 사용하기로 했다.(사실 시간이 모자랐다.)
설치하기
npm install sweetalert2사용 방법
import Swal from "sweetalert2";
를 상단에 적어서 import 해온다.
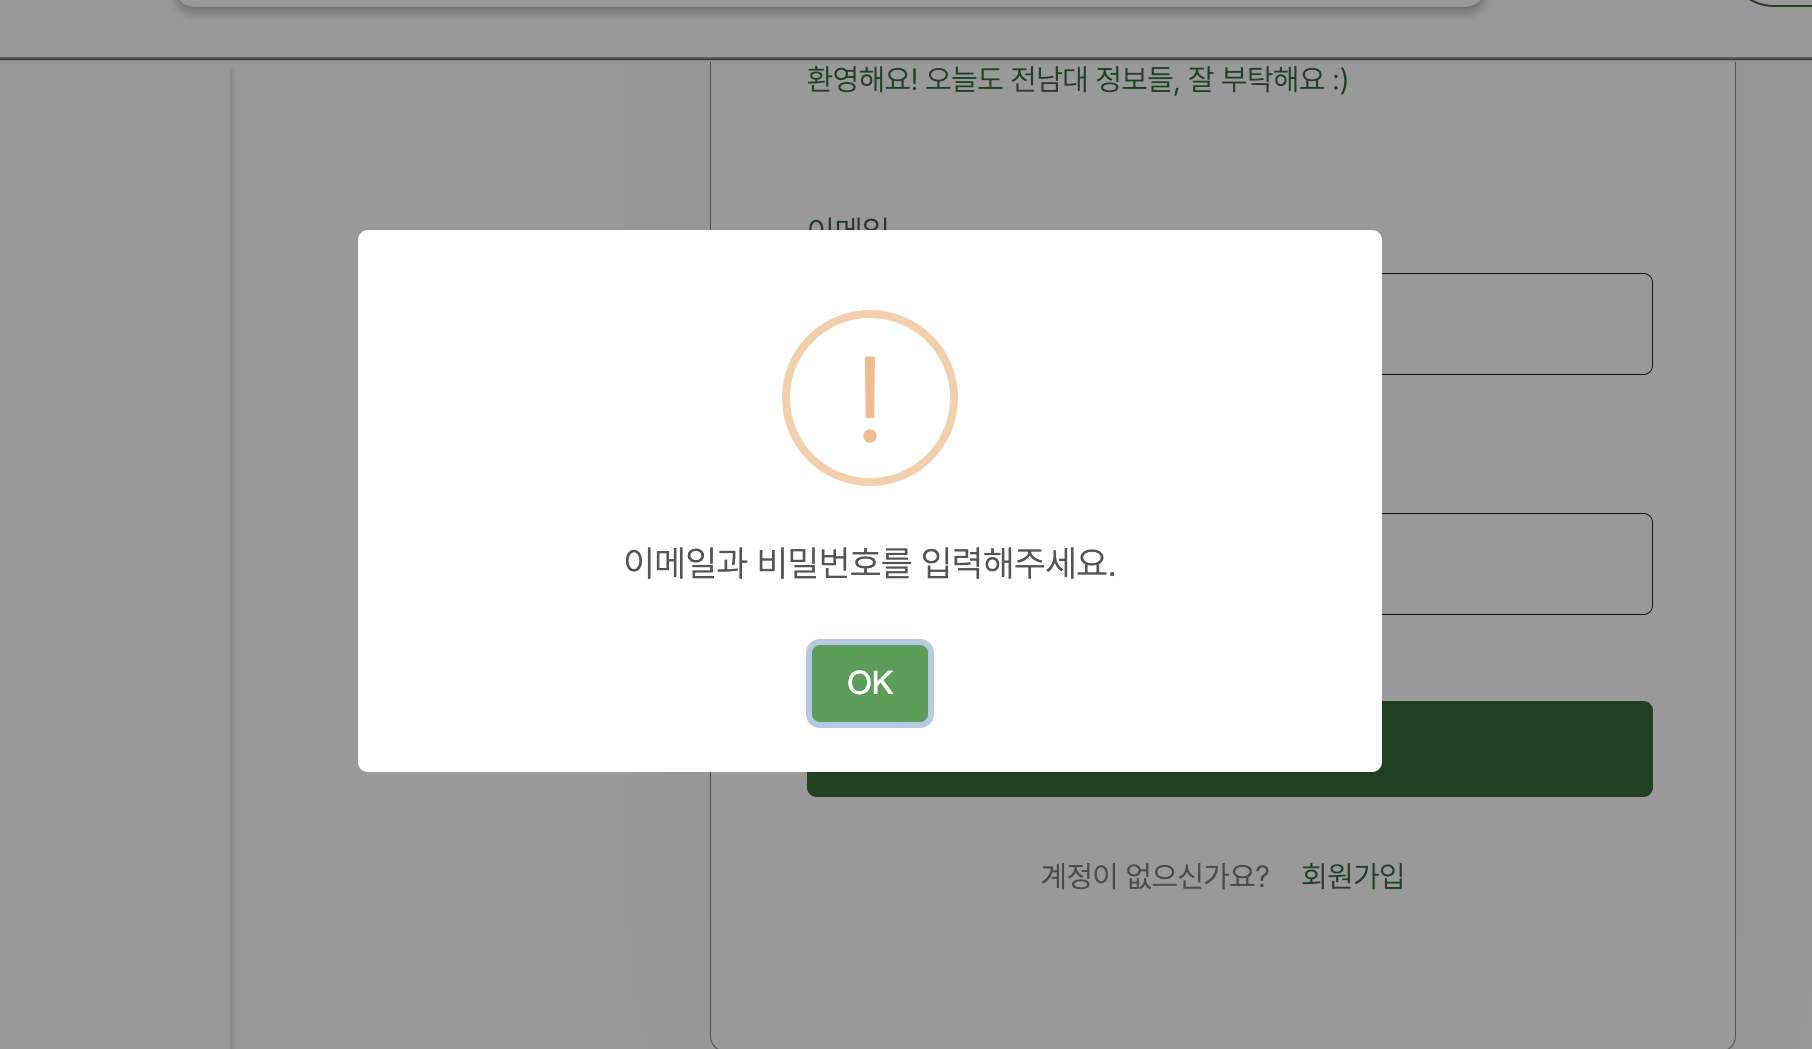
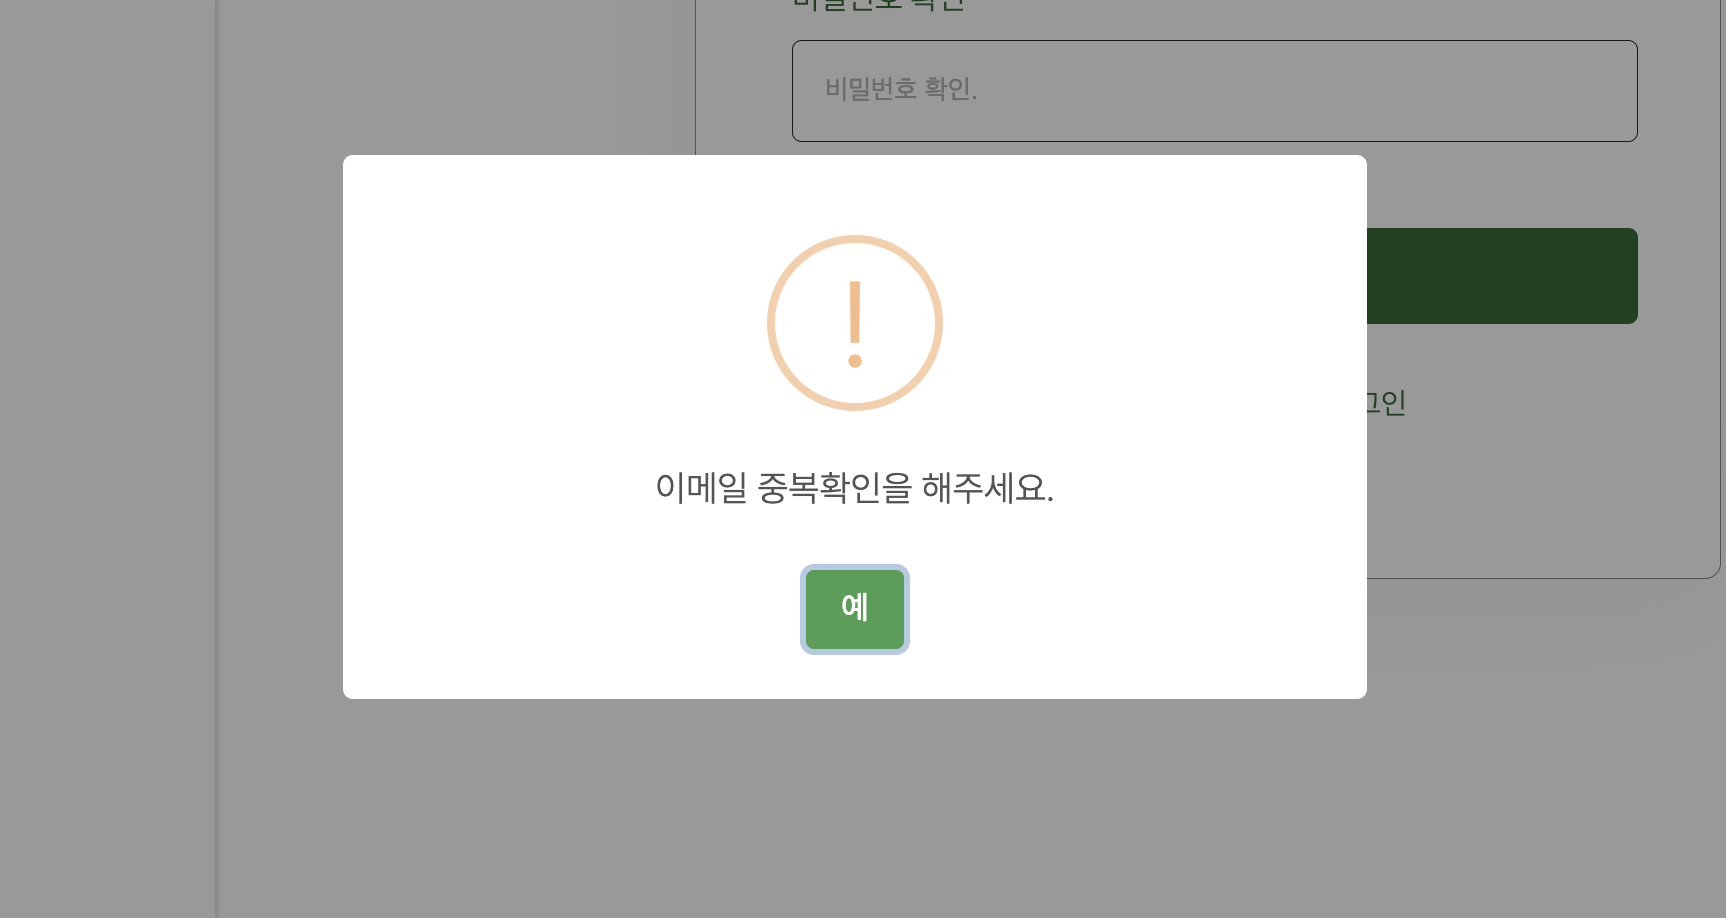
- 기본 구조
Swal.fire({
             icon: 'info',
             title: '로그인 후 이용 가능합니다.',
             text: '로그인 하시겠습니까?',
             })
: 기본 팝업창. 이 안에 추가 내용을 넣을 수 있다.
-> icon에는 기본 이모지들을 넣을 수 있다
icon : success, error ,warning, info, question 이 있다.
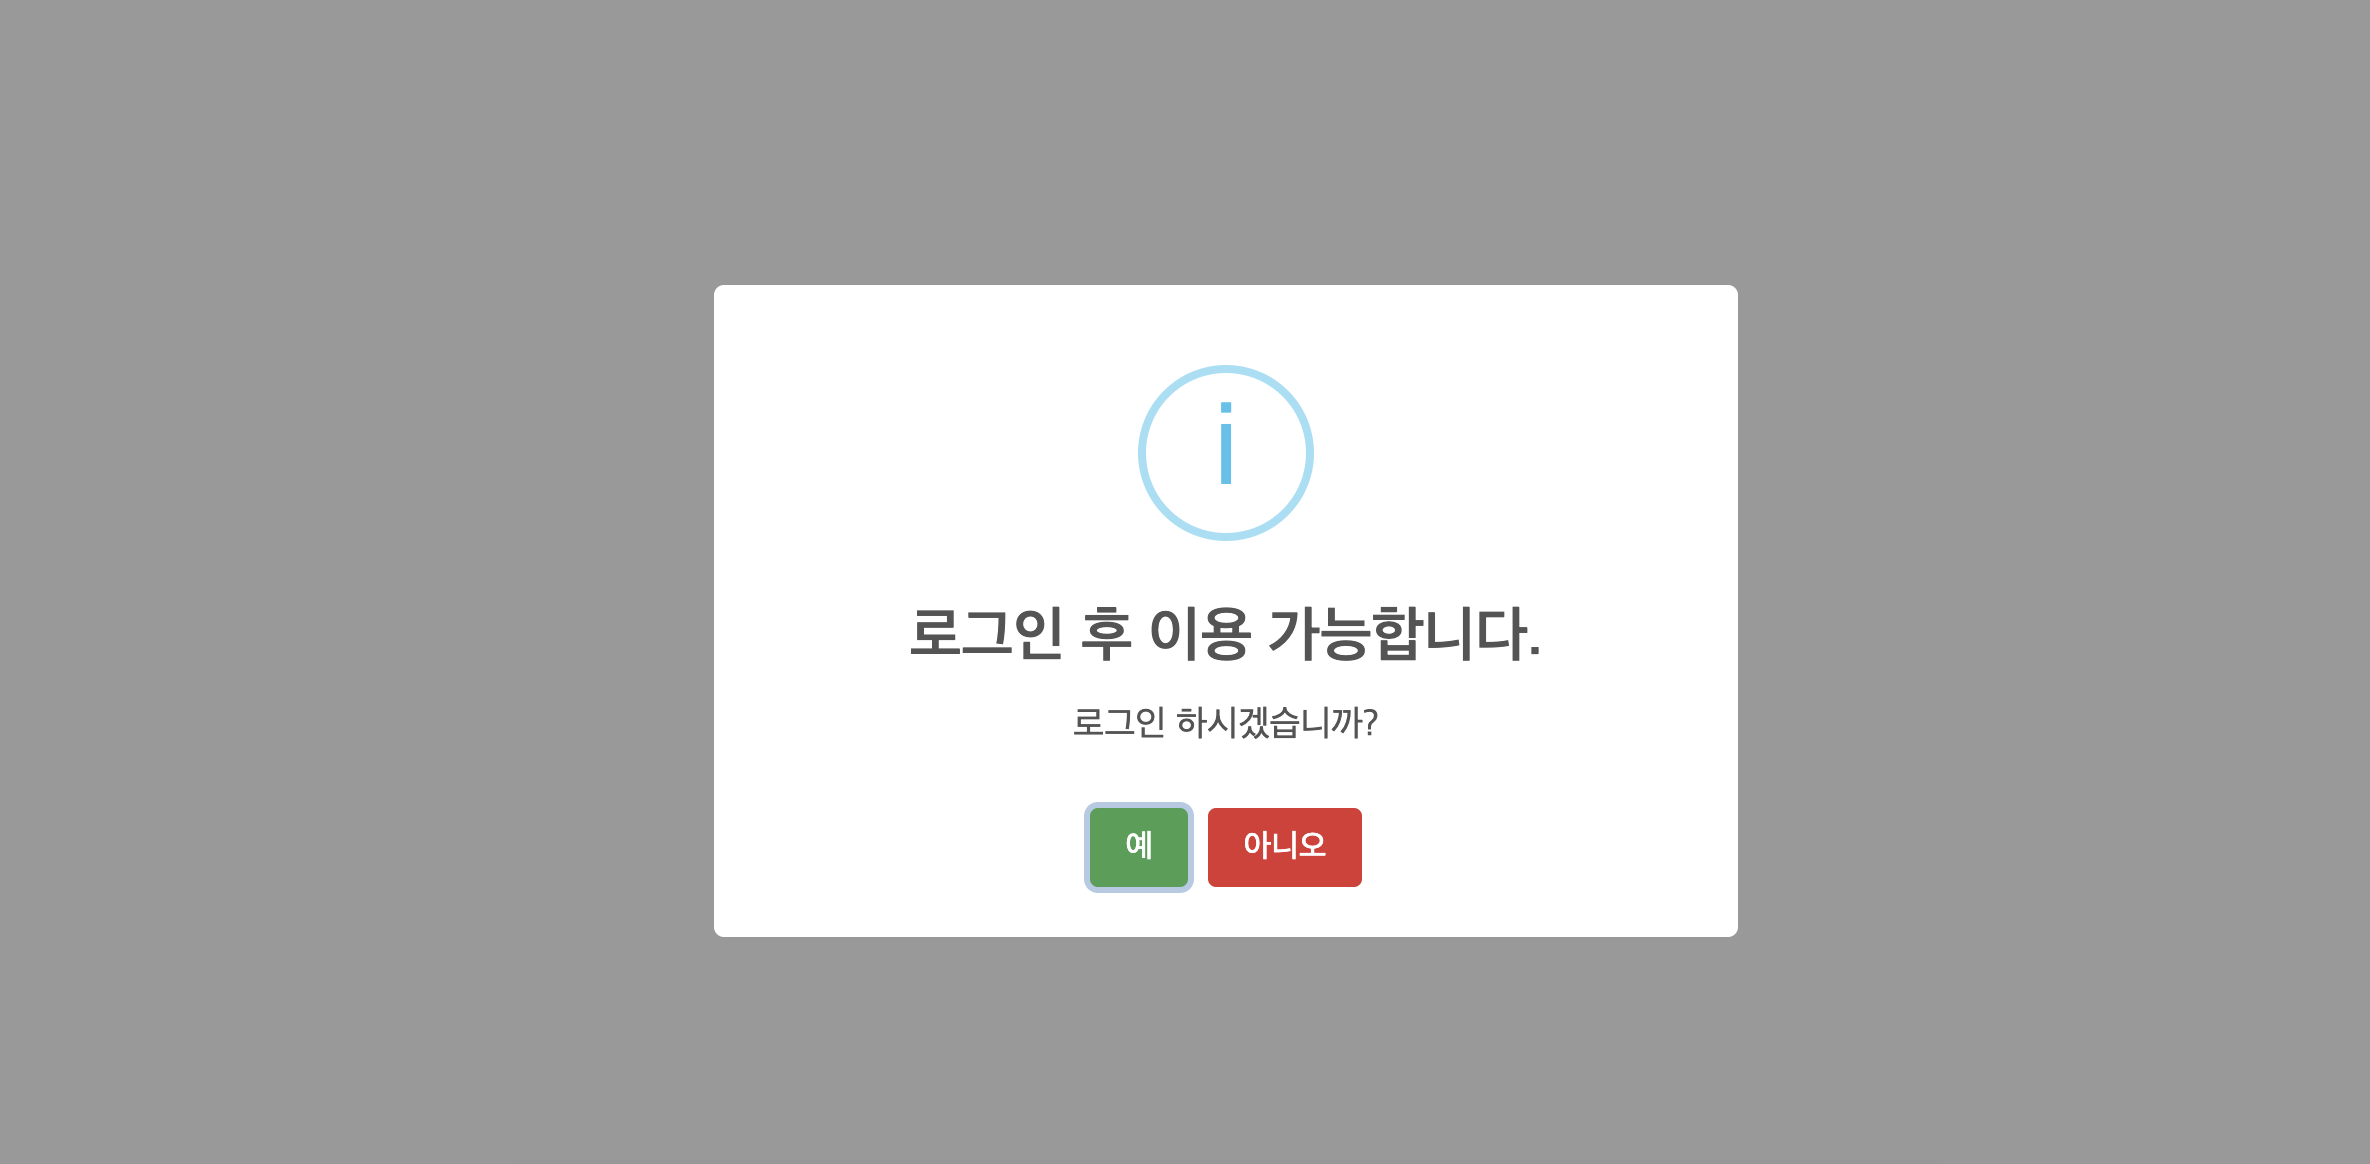
- 예, 아니오 버튼
Swal.fire({
                    icon: 'info',
                    title: '로그인 후 이용 가능합니다.',
                    text: '로그인 하시겠습니까?',
                    showCancelButton: true,
                    confirmButtonText: '예',
                    cancelButtonText: '아니오',
                    confirmButtonColor: '#429f50',
                    cancelButtonColor: '#d33',

                })
showCancelButton : true
-> 취소 버튼을 추가할 수 있다.(기본은 확인버튼만 있음.)
confirmButtonText: '예'
-> 확인버튼 문구 수정가능
cancelButtonText: '아니오'
-> 취소버튼 문구 수정가능
confirmButtonColor: '#429f50'
-> 확인버튼 색 지정
cancelButtonColor: '#d33'
-> 취소버튼 색 지정
- 버튼 눌렀을 때의 상태 처리
.then(result => {
                    if (result.isConfirmed) {
                        location.href = routes.login
                    } else if (result.isDismissed) {
                        location.href = routes.home
                    }

                })
swal({}).then
으로 확인버튼 눌렀을때와 취소버튼 눌렀을때 이동, 확인 완료창 띄우기 등을 시행할 수 있다.
그런데 navigate가 작동하지 않아서 이 부분은 추후에 공부해봐야겠다.
참고 레퍼런스
https://sweetalert2.github.io/
-> sweetalert 공식 홈페이지
https://inpa.tistory.com/entry/SweetAlert2-%F0%9F%93%9A-%EC%84%A4%EC%B9%98-%EC%82%AC%EC%9A%A9


잘봤습니다.