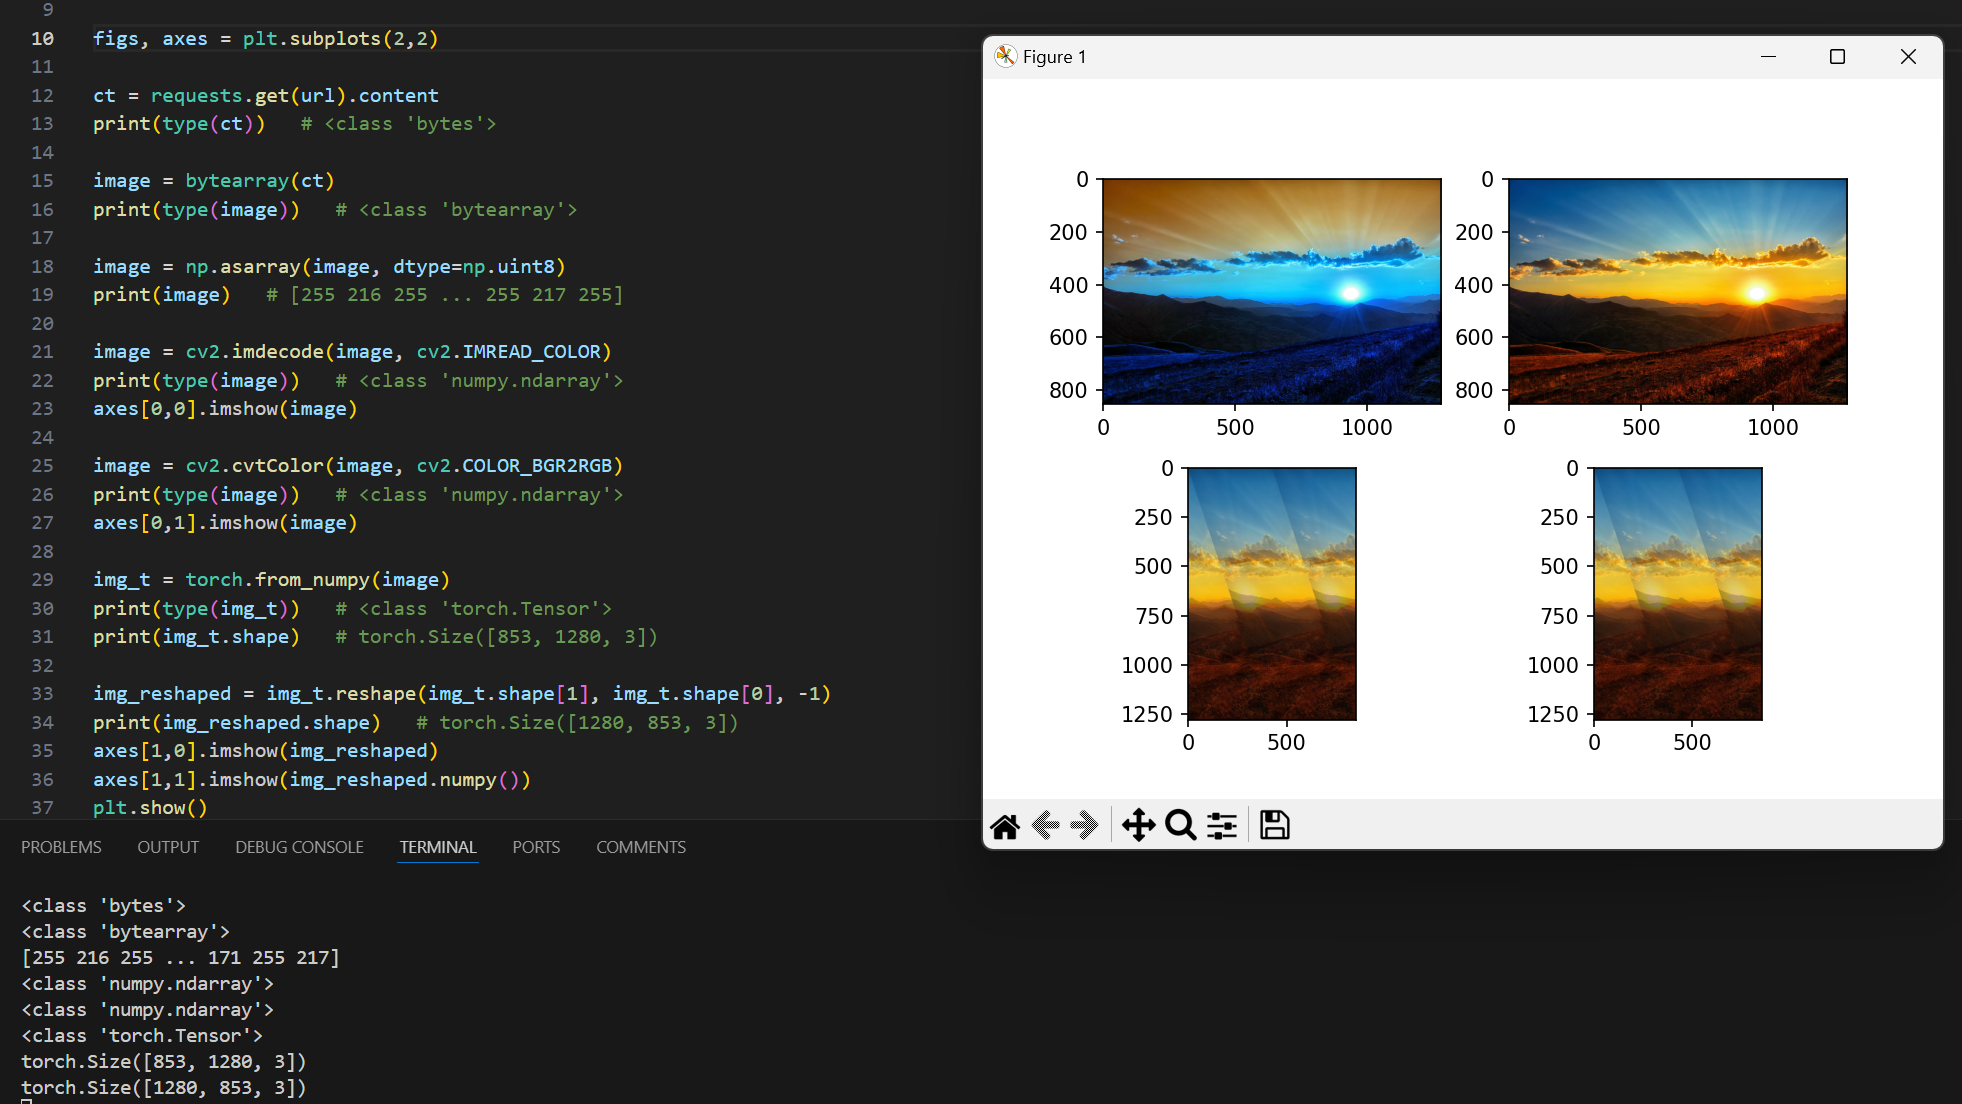
이미지 보여주기
import matplotlib.pyplot as plt
img = plt.imread(img_path)
img.imshow()
를 이용해서 직접 보여줄 수도 있다.
이미지 불러오기
-
Python Image Library
from PIL import Image
Image.open(img_path).convert("RGB")
이미지 객체로 읽는데 특징이 plt 없이 바로 출력이 된다.
torchvision의 기본 객체가 PIL의 Image array. (ToTensor를 같이 사용해야함.)
PIL의 size 메소드는 (W,H) 즉 가로,세로 순으로 보여준다. (행렬 자체는 H,W 순)
하지만, 행렬자체는 (H,W)이므로 numpy로 바꾸고 size를 출력하면 (H,W,C) 출력. -
OpenCV
import cv2
img = cv2.imread(img_path) # cv2는 BGR로 불러온다.
img = cv2.cvtColor(img, cv2.COLOR_BGR2RGB) # RGB로 변환
cv2.waitKey(0) # 이미지를 계속 띄워라
(Image.open(img_path).convert("RGB") 방법보다 속도가 빠르다.)
더 많은 기능을 사용하고, numpy와 호환이 매우 좋지만
torchvision과는 호환이 좋지 않다. -
scikit-image
import skimage
skimage.io.imread 로 읽을 수 있다.
3가지 변환에 대해 다룬다.
skimage.transform.resize(image, (100,100))
보간(interpolation)을 이용한다.
nearest neighbor, bilinear, bicubic 등이 있다.
skimage.transform.rescale(image, 0.5)
비율을 유지하며 보간
skimage.transform.downscale_local_mean(image, (2,2)) # 행, 열 비율
평균값을 이용하여 대체
anti_aliasing=True
no aliasing으로 계단 현상을 최소화하는 것.
입력 이미지의 픽셀값을 가중 평균(가까울 수록 가중치가 크다.)을 통해
출력 픽셀을 출력한다.
downscale은 평균을 내는 원리이므로 자체적으로도 부드러운 이미지가 나와서
해당 속성이 없다.
이미지 변환하기
import torchvision.transforms as T
torchvision.transforms의 ToTensor는 H,W,C, 0~255의 array를 받으면, C,H,W, 0~1의 torchTensor로 순서와 픽셀값을 변환한다.
ToPILImage는 정확히 반대로 바꿔준다.
(torch.from_numpy, np.array 는 그냥 객체만 변환하는 것이므로 헷갈리면 안됨.)
for augmentation
from torchvision.transforms import v2 # 속도 향상버전
import albumentations # 다양한 기능이 있음(특히 세트 처리)
torchIO : 3D medical image loading, preprocessing, augmentation, patch-based sampling 을 위한 오픈소스 라이브러리
pip install torchio
import torchio as tio
변환 예시