git 설치및 초기 세팅
https://git-scm.com/ 에 들어가서 자신의 운영체제에 맞는 git을 설치한다.
- git bash를 실행한다.
- git config --global init.defaultBranch main
- git config --global user.name "github 닉네임"
- git config --global user.eamil "github 이메일"
위의 과정을 순차적으로 진행하면 된다. github 계정을 변동하지 않는이상 단, 1번만 하면된다.
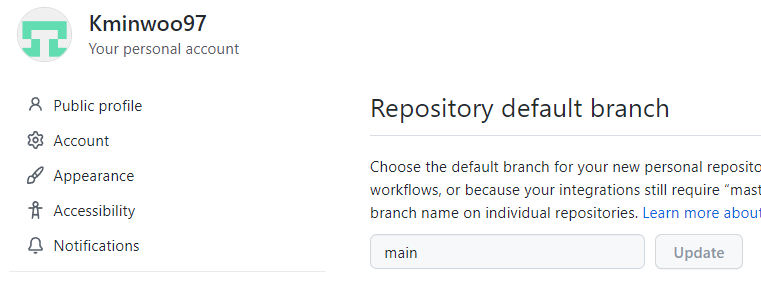
git의 기본 브랜치를 main으로 했기 때문에 github의 기본 브랜치도 main으로 바꿔준다.
Intellij 설치및 프로젝트 생성
https://www.jetbrains.com/ko-kr/idea/download/#section=windows 에서 설치를 진행하면된다.
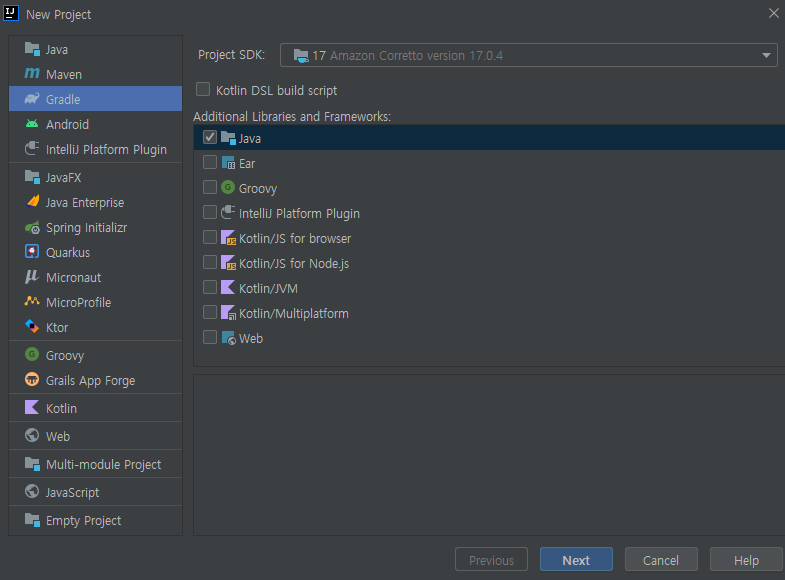
- Java 17
- Gradle
intellij 프로젝트 설정
- setting → Build, Execution, Deployment => Build Tools => Gradle 에서 아래의 2개를 바꿔준다.
- Build and run using : IntelliJ IDEA
- Run tests using : IntelliJ IDEA
- Build, Execution, Deployment => Compiler 에서 Build project automatically : 체크(스프링 부트 공부할 때 체크)
.gitignore 파일 생성
- .gitignore 파일은 https://www.toptal.com/developers/gitignore/ 여기서 자신의 프로젝트에 맞게 생성한다.
- 프로젝트 최상단에 .gitignore 파일을 만들고 위에서 생성한 것을 복사 & 붙여넣기를 진행한다.
Intellij 프로젝트와 github 올리기
- 프로젝트 최상단에 위치에서 git init 명령어를 입력한다. 그러면 .git 파일이 생긴다.
- github repository 생성
- git remote orgin repository주소
- git add . -> git status -> git commit -> git push origin main


정리 깔끔하게 하셨네요. 많이 배우고 가요