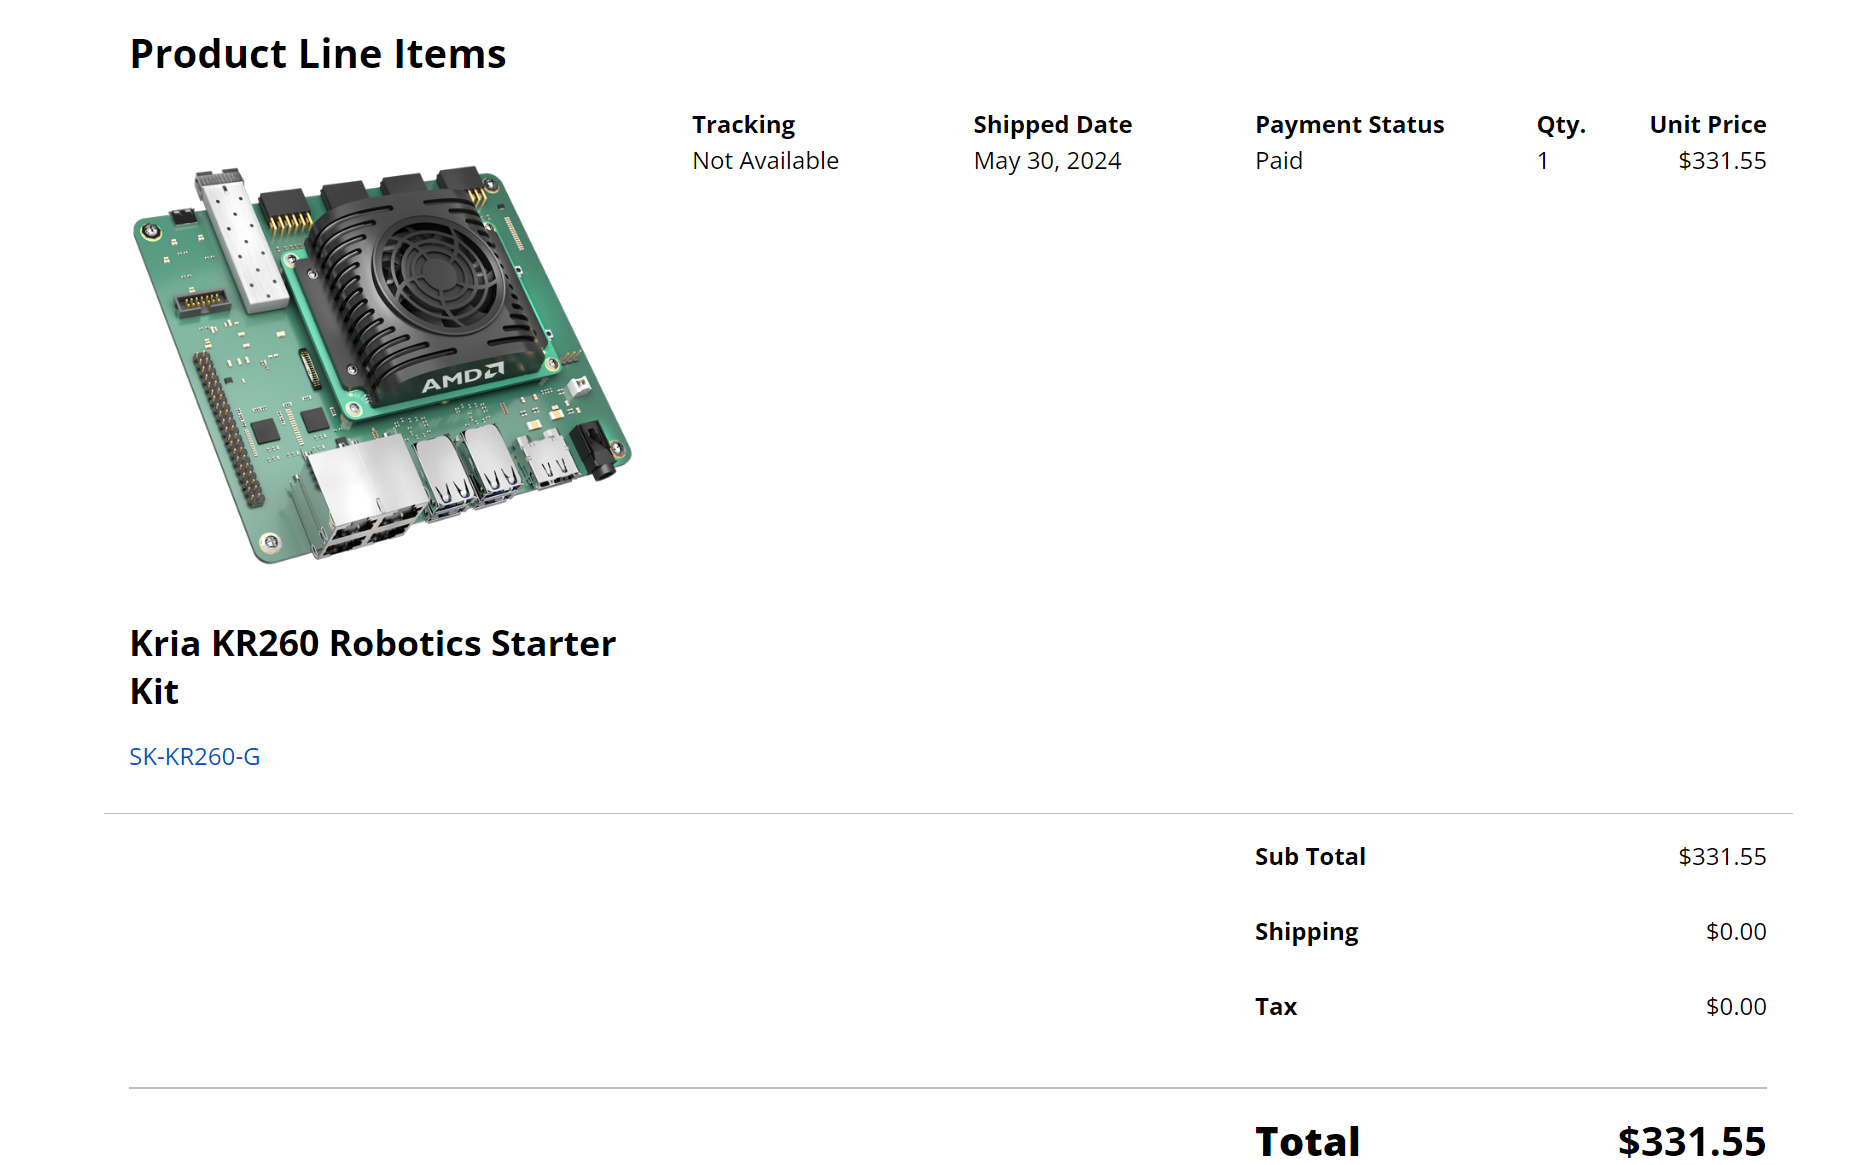
구매후 수령까지 2주 반정도 걸렸다
우선 balenaEtcher 다운로드 사이트에 들어가서 balenaEtcher를 설치한 후
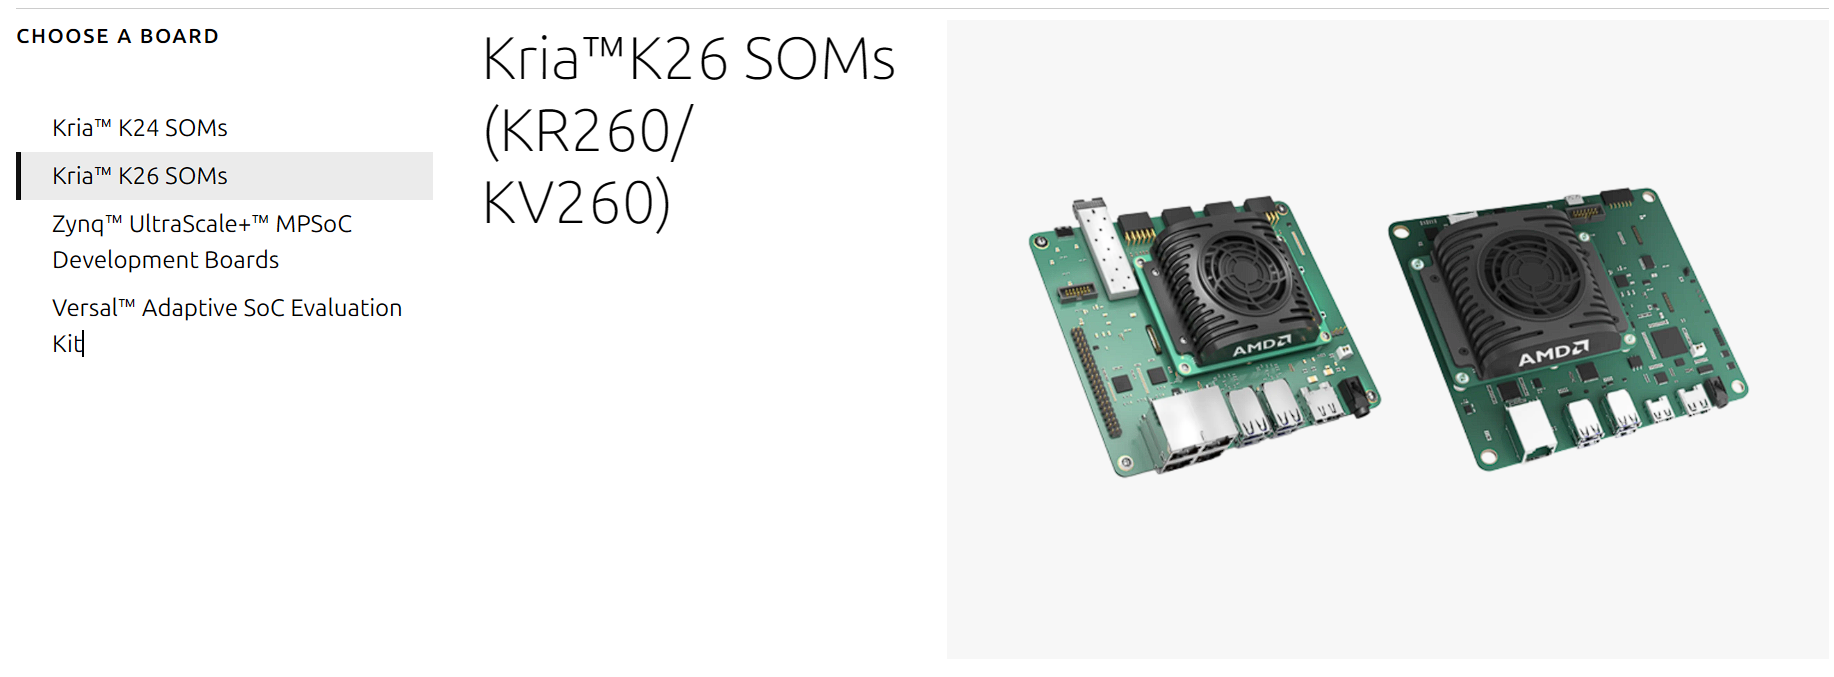
AMD Adaptive SoCs 우분투 이미지 다운로드 사이트에 들어간 후 Kria™ K26 SOMs를 고른다.
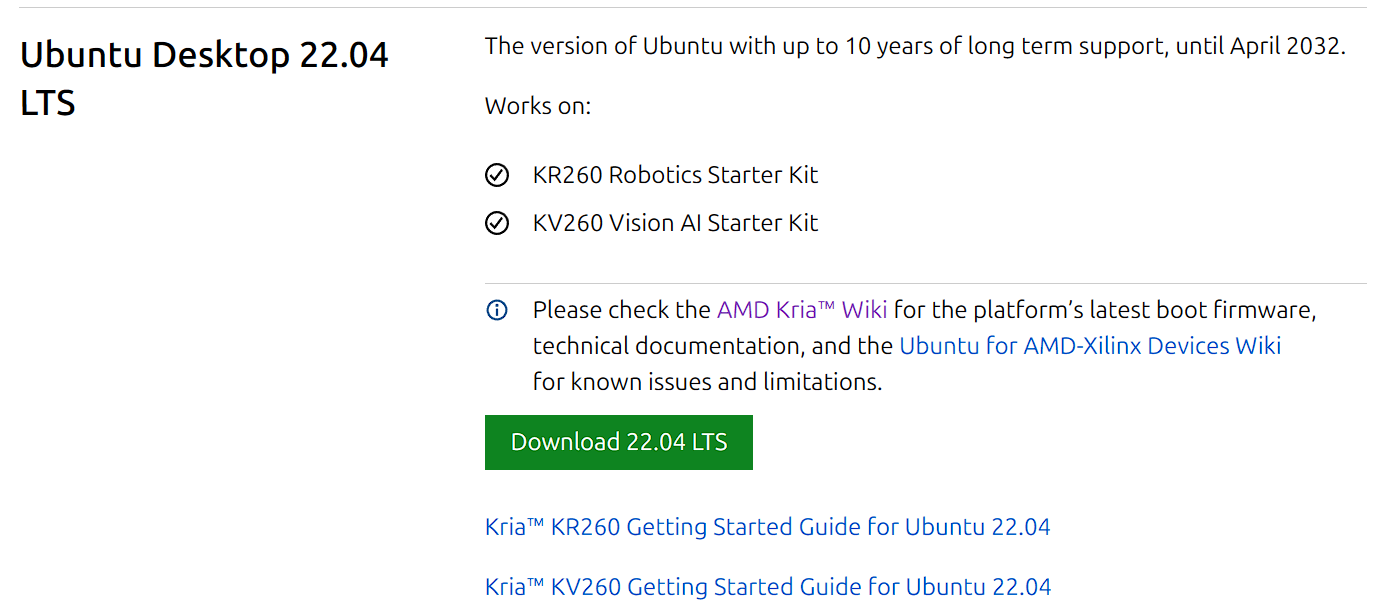
Ubuntu Desktop 22.04 LTS 에서 초록색 Download 22.04 LTS 버튼을 눌러서 다운로드 한다
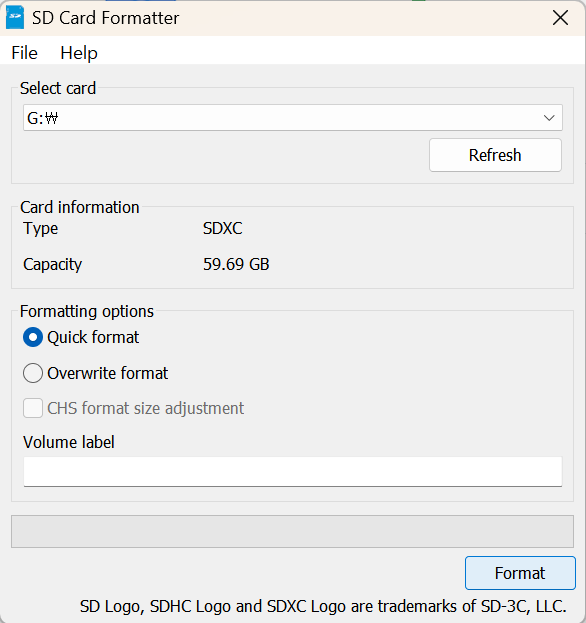
메모리카드에 우분투 이미지를 쓰기 전에 sd card formatter로 한번 싹 밀어버린다.

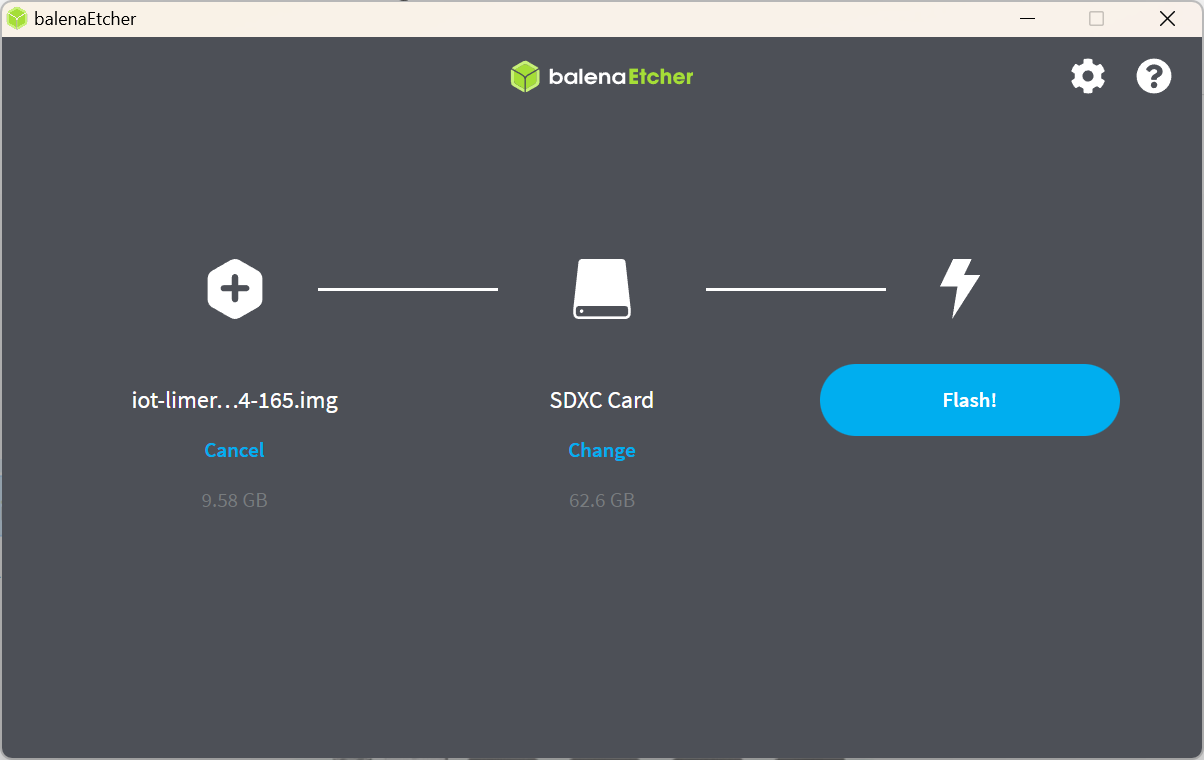
위와 같이 다운로드 완료된 파일을 balenaEtcher로 불러온 후 KRIA KR260에 넣을 메모리 카드를 고른다
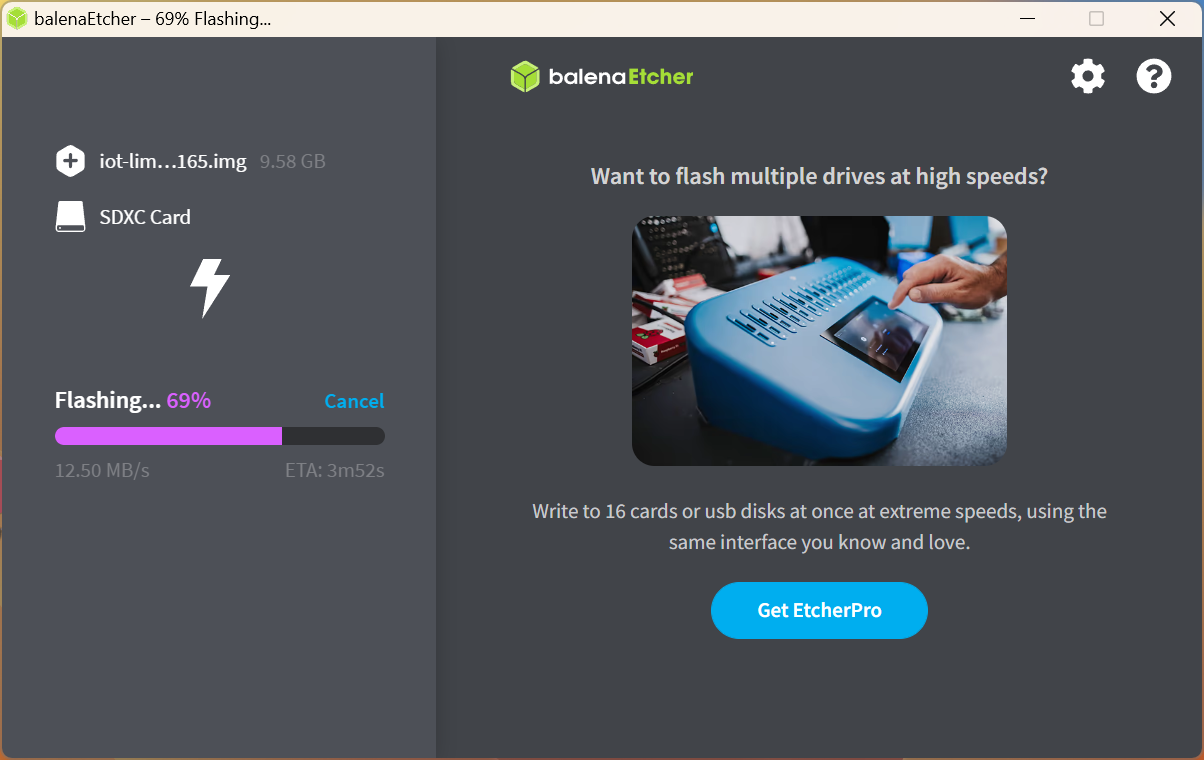
이와 같이 메모리에 우분투 이미지가 쓰여진다.
다음과 같은 순서대로 (참고: Connecting Everything) 메모리 카드, micro-usb, 마우스 키보드 usb, Display port, 이더넷을 연결하고 전원을 연결한다.

이와 같은 순서대로 연결한다.
필수 프로그램 설치
모니터랑 마우스 키보드가 있으면 우분투 gui 바탕화면에서 우클릭한 후에 터미널을 열거나 보드와 usb로 연결해서 시리얼 터미널로 접속하면 된다.
Ubuntu 22.04.4 LTS kria ttyPS1

kria login: ubuntu
Password: ubuntu
default로 설정되어 있는 계정이름와 패스워드를 입력한다.
패스워드 설정
sudo passwdubuntu@kria:~$ sudo passwd
[sudo] password for ubuntu: ubuntu
sudo: Account or password is expired, reset your password and try again
Changing password for ubuntu.
Current password: ubuntu
New password: {원하는 사용자 패스워드}
Retype new password: {원하는 사용자 패스워드}
New password: {원하는 관리자 패스워드}
Retype new password: {원하는 관리자 패스워드}
passwd: password updated successfully이와 같이 입력하려 사용자 패스워드 관리자 패스워드 전부 설정한다.
환경 세팅 설치 파일을 다운로드한다.
cd /home/ubuntu

sudo apt update # 관리자 패스워드 입력 필요
git clone https://github.com/amd/Kria-RoboticsAI.git
mv Kria-RoboticsAI KR260-Robotics-AI-Challenge
sudo apt install dos2unix -y
cd /home/ubuntu/KR260-Robotics-AI-Challenge/files/scripts

for file in $(find . -name "*.sh"); do
    echo ${file}
    dos2unix ${file}
done
su #관리자 패스워드 입력 필요슈퍼 유저로 들어간 후
cd /home/ubuntu/KR260-Robotics-AI-Challenge
cp files/scripts/install_update_kr260_to_vitisai35.sh /home/ubuntu
cd /home/ubuntu

vi ./install_update_kr260_to_vitisai35.sh
아래 코드블럭대로 설치 스크립트의 내용을 수정한다.
 35 git clone https://github.com/Xilinx/Kria-PYNQ.git
 36 cd Kria-PYNQ/
 37 # from PYNQ SW stack point of view KV260 and KR260 are the same, so select oo
    ne of the following two lines
 38 # bash install.sh -b KR260 # this will install less jupyter notebook applicaa
    tions
 39 bash install.sh -b KV260  # this will install more jupyter notebook applicatt
    ions
 40
 41
35 git clone https://github.com/Xilinx/Kria-PYNQ.git
36 cd Kria-PYNQ/
37 # from PYNQ SW stack point of view KV260 and KR260 are the same, so select oo
ne of the following two lines
38 bash install.sh -b KR260 # this will install less jupyter notebook applicaa
tions
39 # bash install.sh -b KV260 # this will install more jupyter notebook applicatt
ions
40
4138번줄을 주석 해제하고, 39번줄을 주석 처리한다.
설치 스크립트를 실행한다.
source install_update_kr260_to_vitisai35.sh실행하면 초중반에
Overwrite ~/.jupyter/jupyter_notebook_config.py with default config? [y/N] y이와 같은 프롬프트가 뜬다 y를 입력하고 잠시 30분동안 어디서 쉬고 오면 된다.
쉬고 와서 터미널창 스크롤 올려보니 STEP6가 보이기 전에 오류가 발생하여 종료된것을 확인하면
처음 sd카드에 이미지 굽는 단계부터 다시 시작하는 것을 추천한다.
sudo reboot성공시 재부팅 후 다음 단계 진행
업데이트
sudo apt upgrade -y ┌───────────────────────┤ Configuring flash-kernel ├───────────────────────┐
│ flash-kernel.oem-limerick-kria-meta: A new version │
│ (/tmp/flash-kernel.D8SKdzkHNs) of configuration file │
│ /etc/default/flash-kernel.oem-limerick-kria-meta is available, but the │
│ version installed currently has been locally modified. │
│ │
│ What do you want to do about modified configuration file │
│ flash-kernel.oem-limerick-kria-meta? │
│ │
│ install the package maintainer's version │
│ keep the local version currently installed │
│ show the differences between the versions │
│ show a side-by-side difference between the versions │
│ start a new shell to examine the situation │
│ │
│ │
│ <Ok> │
│ │
└──────────────────────────────────────────────────────────────────────────┘
install the package maintainer's version 선택
 ┌────────────────────────┤ Pending kernel upgrade ├─────────────────────────┐
 │                                                                           │
 │ Newer kernel available                                                    │
 │                                                                           │
 │ The currently running kernel version is 5.15.0-1027-xilinx-zynqmp which   │
 │ is not the expected kernel version 5.15.0-1031-xilinx-zynqmp.             │
 │                                                                           │
 │ Restarting the system to load the new kernel will not be handled          │
 │ automatically, so you should consider rebooting.                          │
 │                                                                           │
 │                                  <Ok>                                     │
 │                                                                           │
 └───────────────────────────────────────────────────────────────────────────┘
엔터 입력
sudo reboot재시작한다.
개발 편의를 위한 툴 설치 (필수 아님)
지금부턴 ssh로 접속해서 설치하는 것을 권장한다.
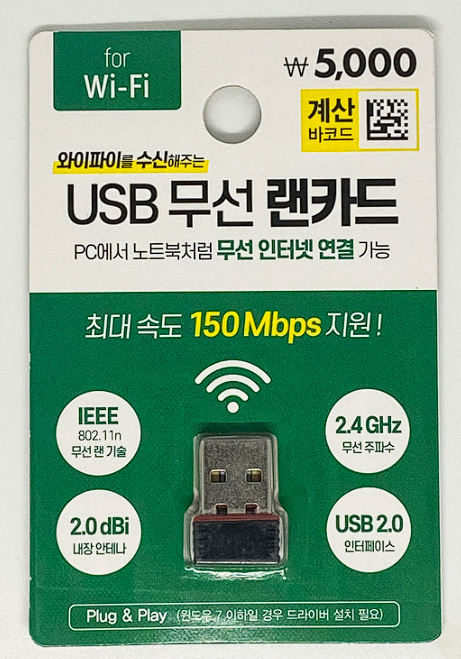
만약 다이소에 가서 다음과 같은 USB 무선 랜카드가 존재하는것을 확인하였을 경우
대부분 rtl8188eus가 내장되있을 것이니 바로 덥석 집어온다. (반드시 rtl8188eus가 들어가 있을 거라고 책임은 못짐)
rtl8188eus은 깃헙에 드라이버 설치파일이 올라와 있다.
# lunarvim 설치시 필요한것들
sudo apt install npm fonts-nanum zsh make ninja-build gettext cmake unzip curl -y
sudo npm install -g n
sudo n lts
hash -r

# 폴더 만들기
mkdir ~/works ~/tools

# neovim 설치
cd ~/tools
git clone https://github.com/neovim/neovim
cd neovim && make CMAKE_BUILD_TYPE=RelWithDebInfo
sudo make install

# KV260/KR260을 위한 Fan-enabled PL bitstream 다운로드
cd ~/tools
git clone https://github.com/ikwzm/K26-Fan-Enable.git
cd K26-Fan-Enable
gzip -d k26-fan-enable.bin.gz
mv k26-fan-enable.bin ../
cd ../
rm K26-Fan-Enable -rf

## 위에서 언급한 무선랜카드가 존재하는 경우 아래 코드도 실행
cd ~/tools
git clone https://github.com/aircrack-ng/rtl8188eus.git
cd rtl8188eus
make && sudo make install
echo 'blacklist r8188eu' | sudo tee -a '/etc/modprobe.d/realtek.conf'
echo 'blacklist rtl8xxxu' | sudo tee -a '/etc/modprobe.d/realtek.conf'
위의 코드를 실행하고 1시간 정도 쉬고 온다. (neovim을 소스코드로 부터 빌드해서 설치하는 과정이 매우 오래 걸린다, rtl8188eus도 동일하게 오래걸림)
# oh my zsh 설치
sh -c "$(curl -fsSL https://raw.githubusercontent.com/ohmyzsh/ohmyzsh/master/tools/install.sh)"
Time to change your default shell to zsh:
Do you want to change your default shell to zsh? [Y/n]
YY 입력후 패스워드 입력
vi ~/.zshrc 9 # to know which specific one was loaded, run: echo $RANDOM_THEME
10 # See https://github.com/ohmyzsh/ohmyzsh/wiki/Themes
11 ZSH_THEME="robbyrussell"
1211줄의 robbyrussell을
  9 # to know which specific one was loaded, run: echo $RANDOM_THEME
 10 # See https://github.com/ohmyzsh/ohmyzsh/wiki/Themes
 11 ZSH_THEME="agnoster"
 12
agnoster로 수정
그 이후 agnoster을 멀티라인으로 만들기 위해
vi ~/.oh-my-zsh/themes/agnoster.zsh-theme열어서 맨 아래에 아래의 코드 추가
build_prompt() {
  RETVAL=$?
  prompt_status
  prompt_virtualenv
  prompt_context
  prompt_dir
  prompt_git
  prompt_bzr
  prompt_hg
  prompt_newline
  prompt_end
}

prompt_newline() {
  if [[ -n $CURRENT_BG ]]; then
    echo -n "%{%k%F{$CURRENT_BG}%}$SEGMENT_SEPARATOR
%(?.%F{$CURRENT_BG}.%F{red})❯%f"

  else
    echo -n "%{%k%}"
  fi

  echo -n "%{%f%}"
  CURRENT_BG=''
}
zsh-syntax-highlighting 설치,
lunarvim 설치시 nodejs의 dependency를 갖고있는 플러그인 설치시의 오류 해결,
cargo설치
cd ~/tools
git clone https://github.com/zsh-users/zsh-syntax-highlighting.git
echo "source ${(q-)PWD}/zsh-syntax-highlighting/zsh-syntax-highlighting.zsh" >> ${ZDOTDIR:-$HOME}/.zshrc
source ./zsh-syntax-highlighting/zsh-syntax-highlighting.zsh

source ~/.zshrc

#lunarvim 설치시 nodejs의 dependency를 갖고있는 플러그인 설치시의 오류 해결을 위해
mkdir ~/.npm-global
npm config set prefix '~/.npm-global'
export PATH=~/.npm-global/bin:$PATH
source ~/.profile

# lunarvim 설치를 위해 필요한 cargo설치
curl https://sh.rustup.rs -sSf | sh -s
1) Proceed with standard installation (default - just press enter)
2) Customize installation
3) Cancel installation1 입력후 엔터
lunarvim 설치
# cargo 설치한걸 현재 쉘에 반영하기 위해
zsh

# lunarvim 설치
bash <(curl -s https://raw.githubusercontent.com/lunarvim/lunarvim/master/utils/installer/install.sh)
Would you like to install LunarVim's NodeJS/BunJS dependencies: neovim, tree-sitter-cli?
[y]es or [n]o (default: no) : y
Would you like to install LunarVim's Rust dependencies: fd::fd-find, rg::ripgrep ?
[y]es or [n]o (default: no) : y
# 이 시점에 매우 오래 걸리니 30분 쉬고 오기dependency 설치하라는 프롬프트에 전부 y를 입력하고 엔터를 입력한다.
(Rust dependencies 설치할 때 매우 매우 오래 걸린다. )
설치가 끝나면
vi ~/.zshrczsh 설정 파일 열고 아래 코드를 맨 아래에 추가한다.
alias v='/home/ubuntu/.local/bin/lvim'
alias fan-on='sudo fpgautil -b /home/ubuntu/tools/k26-fan-enable.bin'
source해서 이를 반영
source ~/.zshrc그리고
su # 패스워드 입력 필요vi ~/.bashrc아래의 코드를 추가한 후
alias v='/home/ubuntu/.local/bin/lvim'
alias fan-on='sudo fpgautil -b /home/ubuntu/tools/k26-fan-enable.bin'
alias pynq-venv='source /etc/profile.d/pynq_venv.sh'
나간다.
exit슈퍼유저로도 fan-on명령어를 쓸 수 있도록 만든다
이제 'v' 명령어로 lunarvim을 실행할 수 있다.
그리고 'fan-on' 명령어로 pynq 오버레이를 불러왔을때의 그 시끄러운 팬소리를 잠재울 수 있다.
그리고 슈퍼유저 한정 pynq-venv으로 pynq 가상환경을 불러올 수 있다.
vv로 lunarvim 실행후
⢀⣀ ⣰⣶ ⢀⣤⣄
⢸⣿ ⣀⡀ ⣰⣿⠏ ⠘⠿⠟
⣿⡟ ⣤⡄ ⣠⣤ ⢠⣤⣀⣤⣤⣤⡀ ⢀⣤⣤⣤⣤⡀ ⢠⣤⢀⣤⣤⣄ ⣿⣿ ⢰⣿⠏ ⣶⣶⣶⣶⡦ ⢠⣶⣦⣴⣦⣠⣴⣦⡀
⢠⣿⡇ ⢠⣿⠇ ⣿⡇ ⣿⡿⠉ ⠈⣿⣧ ⠰⠿⠋ ⢹⣿ ⣿⡿⠋ ⠹⠿ ⢻⣿⡇⢠⣿⡟ ⠈⠉⢹⣿⡇ ⢸⣿⡏⢹⣿⡏⢹⣿⡇
⢸⣿ ⢸⣿ ⢰⣿⠃ ⢠⣿⡇ ⣿⡇ ⣠⣴⡶⠶⠶⣿⣿ ⢠⣿⡇ ⢸⣿⣇⣿⡿ ⣿⣿⠁ ⣿⣿ ⣾⣿ ⣾⣿⠁
⣿⣟ ⢻⣿⡀ ⢀⣼⣿ ⢸⣿ ⢰⣿⠇ ⢰⣿⣇ ⣠⣿⡏ ⢸⣿ ⢸⣿⣿⣿⠁ ⣀⣀⣠⣿⣿⣀⡀ ⢠⣿⡟⢠⣿⡟⢀⣿⡿
⠛⠛⠛⠛⠛⠛⠁ ⠈⠛⠿⠟⠋⠛⠃ ⠛⠛ ⠘⠛ ⠙⠿⠿⠛⠙⠛⠃ ⠚⠛ ⠘⠿⠿⠃ ⠿⠿⠿⠿⠿⠿⠿ ⠸⠿⠇⠸⠿⠇⠸⠿⠇
Find File f
New File n
Projects p
Recent files r
Find Text t
Configuration c
configuration으로 들어간후 아래의 코드를 추가한다.
-- 투명화
lvim.transparent_window = true

-- 들여쓰기 세팅
vim.opt.shiftwidth = 4
vim.opt.tabstop = 4

-- 상대 넘버 표시
vim.opt.relativenumber = true
sudo reboot재시작한다.
위에서 언급한 무선랜카드 설치 마무리를 위해 (무선랜카드 없으면 안해도 됨)
sudo rmmod r8188eu rtl8xxxu 8188eu
sudo modprobe 8188eu
다이소 무선랜카드 usb를 꼽은 후에 아래의 명령어를 입력하면
ifconfigwlx000f0076a05d: flags=4099<UP,BROADCAST,MULTICAST> mtu 2312
ether 00:0f:00:76:a0:5d txqueuelen 1000 (Ethernet)
RX packets 0 bytes 0 (0.0 B)
RX errors 0 dropped 0 overruns 0 frame 0
TX packets 0 bytes 0 (0.0 B)
TX errors 0 dropped 0 overruns 0 carrier 0 collisions 0이와 같은게 프롬프트 맨 하단에 보여야 함
만약 안보인다면
cd ~/tools/rtl8188eus
sudo make install
echo 'blacklist r8188eu' | sudo tee -a '/etc/modprobe.d/realtek.conf'
echo 'blacklist rtl8xxxu' | sudo tee -a '/etc/modprobe.d/realtek.conf'
sudo reboot
위의 코드를 실행하고 재시작한 후에 다시
sudo rmmod r8188eu rtl8xxxu 8188eu
sudo modprobe 8188eu
ifconfig
이를 실행하고 나서 뜨는지 확인
WiFi설정을 위해
sudo vi /etc/netplan/50-cloud-init.yaml# This file is generated from information provided by the datasource. Changes
# to it will not persist across an instance reboot. To disable cloud-init's
# network configuration capabilities, write a file
# /etc/cloud/cloud.cfg.d/99-disable-network-config.cfg with the following:
# network: {config: disabled}
network:
version: 2
renderer: NetworkManager
ethernets:
eth0:
dhcp4: true
eth1:
dhcp4: true
wifis:
wlx000f0076a05d:
dhcp4: true
optional: true
access-points:
"{1번 와이파이 SSID}":
password: "{1번 와이파이 비번}"
"{2번 와이파이 SSID}":
password: "{2번 와이파이 비번}"위 코드에서 해당 중괄호에 연결하고자 하는 WiFi의 SSID, 패스워드 입력 (한개 또는 여러개의 와이파이 입력 가능)
설정 적용 후 확인
sudo netplan apply
ifconfig
아래와 같이 ip(inet부분)이 잘 잡힌 것을 볼 수 있다.
wlx000f0076a05d: flags=4163<UP,BROADCAST,RUNNING,MULTICAST>  mtu 2312
        inet 192.168.53.5  netmask 255.255.255.0  broadcast 192.168.53.255
        inet6 fe80::20f:ff:fe76:a05d  prefixlen 64  scopeid 0x20<link>
        ether 00:0f:00:76:a0:5d  txqueuelen 1000  (Ethernet)
        RX packets 26  bytes 15533 (15.5 KB)
        RX errors 0  dropped 0  overruns 0  frame 0
        TX packets 42  bytes 11217 (11.2 KB)
        TX errors 0  dropped 0 overruns 0  carrier 0  collisions 0
나중에 와이파이 설정 방법을 잊지 않도록
vi ~/.zshrc아래 내용을 추가한다.
alias wifi-conf='sudo vi /etc/netplan/50-cloud-init.yaml'
alias wifi-apply='sudo netplan apply'
환경세팅이 완료된 후에 sd카드를 뽑고
그 이후에 아래 블로그에 기술된대로 백업절차를 진행한다.
https://withcoding.com/99
(구글 드라이브나 네이버 MY BOX는 끄고 진행해야한다.
https://blog.naver.com/hjh2578/222929182152)