Next.js에서 다크모드 적용
다크모드는 현대 웹사이트에서 찾아볼 수 없는 곳이 없을정도로 필수라고 해도 될 정도로 흔히 볼 수 있는 기능이다. 그래서 포트폴리오 사이트에 한번 적용을 해보면서 다크모드 구현을 직접 해보면 어떨까 하는 마음에 포트폴리오 사이트의 구현사항중 하나로 추가하게 되었다.
tailwind css를 이용한 다크모드 적용
우선 tailwind css를 이용하게 된 이유는 Next.js로 만들어진 프로젝트이기 때문이다.
기존에 자주 사용해오던 styled-component의 경우 css-in-js 방식으로 SSR과 SSG 환경에서는 추가적인 작업을 거쳐야 사용을 할 수 있다는 단점이 있었다. 특히 포트폴리오 프로젝트에 사용중인 Next.js는 SSR을 지원하고있기 때문에 추가적인 작업이 필요했고 그에 맞는 css 방법이 필요하다고 생각했다. 그래서 Next.js와 호환성이 좋은 tailwind css를 사용하기로 결정했다.
진행순서
- 라이트모드/다크모드 디자인
- 라이트모드/다크모드 설정 추가
- 라이트모드/다크모드 유지 기능 추가
1. 라이트모드/다크모드 디자인
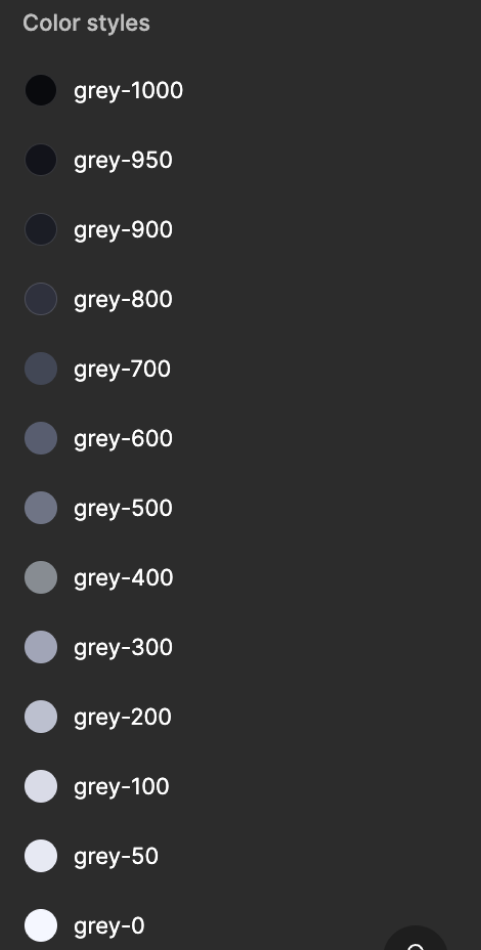
우선 기본적으로 사용할 색상들을 선정했다.
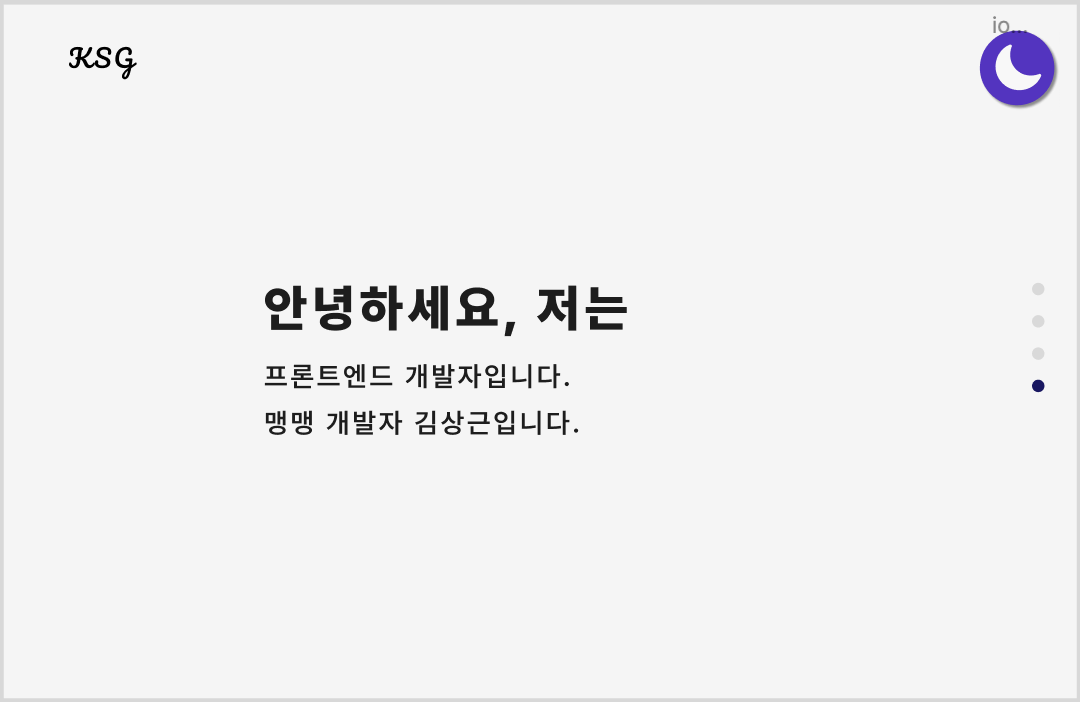
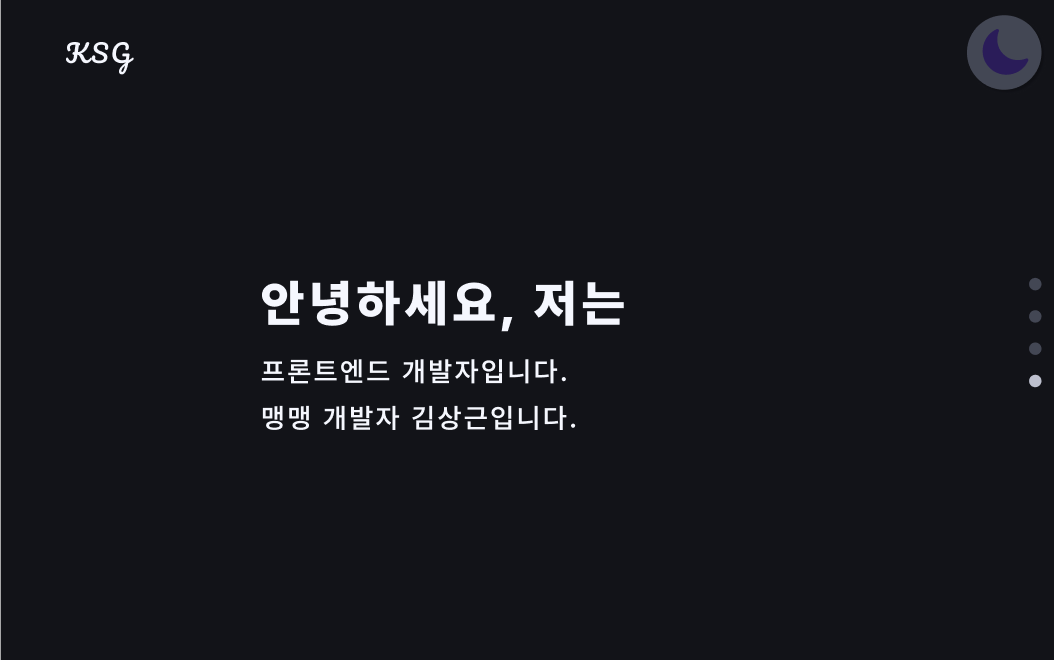
이후 기존 라이트모드에서 다크모드로 변경 된 화면들을 만들어두었다.
2. 라이트모드/다크모드 설정 추가
tailwind 다크모드 활성화
우선 tailwind에서 다크모드 관련 설정을 하기위해서 tailwind.config.ts에 설정을 해주었다.
darkMode에는 2가지 속성이 있다.
- class : 수동으로 변경 할 수 있도록 html 태그의 className 속성에 dark가 추가되었을때, 다크 모드 스타일이 적용 됨
- media : 운영체제 설정에 따라 다크 모드 스타일이 적용 됨
본 프로젝트에서는 수동으로 모드를 변경할 수 있게 하기 위해class를 사용했다.
import type { Config } from 'tailwindcss';

const config: Config = {
  darkMode: 'class',
  ...
};

export default config;
이제 아래 코드와 같이 html 태그의 className에 dark 속성이 추가되면, 다크 모드 스타일이 적용된다.
<!-- 다크 모드 적용 안됨 -->
<html>
<head>...</head>
<body>...</body>
</html>

<!-- 다크 모드 적용 됨 -->
<html class="dark">
<head>...</head>
<body>...</body>
</html>
라이트모드/다크모드 토글 버튼 구현
라이트모드/다크모드를 변경할 수 있는 토글 버튼을 구현했다.
우선 전역에서 모드를 관리하기 위해 recoil을 사용해 theme mode를 관리했다.
import { atom } from 'recoil';
import { ThemeType } from '../_types/common.types';

export const themeState = atom<ThemeType>({
  key: 'theme',
  default: 'LIGHT_MODE',
});
이후 모드를 변경할 수 있는 themeButton 컴포넌트를 만들었다.
'use client';

import { themeState } from '@/app/_atom/indexAtom';
import images from '@/app/_constants/images';
import Image from 'next/image';

// eslint-disable-next-line import/no-extraneous-dependencies
import { useRecoilState } from 'recoil';

const ThemeButton = () => {
  const [themeMode, setThemeMode] = useRecoilState(themeState);

  const handleTheme = () => {
    // html 태그를 가지고 옴
    const htmlElement = document.querySelector('html');
    if (!htmlElement) return;

    if (themeMode === 'DARK_MODE') {
      // 다크모드인 경우
      // className에서 dark를 제거
      htmlElement.classList.remove('dark');
      setThemeMode('LIGHT_MODE');
      return;
    }
    if (themeMode === 'LIGHT_MODE') {
      // 라이트모드인 경우, className에서 dark를 추가
      htmlElement.classList.add('dark');
      setThemeMode('DARK_MODE');
    }
  };

  return (
    <button
      className="absolute top-[24px] right-[24px] flex items-center justify-center"
      onClick={handleTheme}
      type="button"
    >
      <Image
        className=""
        src={
          themeMode === 'DARK_MODE'
            ? images.common.darkMode
            : images.common.lightMode
        }
        alt="theme"
        width={48}
        height={48}
      />
    </button>
  );
};

export default ThemeButton;
정상적으로 작동하는 모습을 볼 수 있다.
다크모드 스타일링
className에 dark: 옵션을 통해 다크모드 스타일링을 할 수 있다.
<body className= bg-white text-black dark:bg-grey-900 dark:text-grey-50`}>
</body>
이 경우 다크모드인 경우는 grey-900로 배경색을 설정하고 텍스트는 grey-50으로 색상이 적용된다.
<적용된 모습>
3. 라이트모드/다크모드 유지 기능 추가
이제 새로고침 및 사이트 재접속 시에도 다크모드가 유지되도록 구현해야한다.
import { atom } from 'recoil';
// eslint-disable-next-line import/no-extraneous-dependencies
import { recoilPersist } from 'recoil-persist';
import { ThemeType } from '../_types/common.types';

const { persistAtom } = recoilPersist();

export const pageState = atom<number>({
  key: 'page',
  default: 1,
});

export const themeState = atom<ThemeType>({
  key: 'theme',
  default: 'LIGHT_MODE',
  effects_UNSTABLE: [persistAtom],
});
recoil을 이용하여 전역에서 다크모드 상태를 관리하도록 했다.
하지만 이렇게만 설정해둔 경우 다크모드로 설정 후 새로고침 시 라이트모드 상태에서 약간의 딜레이가 생긴 후 다크모드로 다시 렌더링되는 상황이 발생했다.
이슈 해결
문제 발생 이유는 새로고침 시 렌더링 이후 localStorage에 있는 값에 접근해 darkMode를 감지하고 다시 렌더링되기 때문이었다.
이 문제를 해결하기 위해서는 렌더링이 끝나기 전에 themeMode값을 읽어 올 수 있어야 했다.
그래서 렌더링 되는 도중 script 태그를 만나면 HTML 파싱이 중단되는 현상(HTML Blocking)을 이용하여 문제를 해결하려고 시도했다.
// 렌더링 전에 theme 모드를 설정하는 스크립트
const ThemeSettingScript = () => {
  return (
    <script
      dangerouslySetInnerHTML={{
        __html: `
        const htmlElement = document.querySelector('html');
        const themeMode = window.localStorage.getItem('ksg_theme');

        console.log('inline script', themeMode);

        if (themeMode === 'DARK_MODE') {
          htmlElement.classList.add('dark');
        }

        if (themeMode === 'LIGHT_MODE') {
          htmlElement.classList.remove('dark');
        }
        `,
      }}
    />
  );
};

export default ThemeSettingScript;
<body className={`${notoSans.className} w-[100dvw] h-[100dvh] flex justify-center dark:bg-grey-900 dark:text-grey-50`} >
	<ThemeSettingScript />
	<main className="flex min-h-screen font-bold text-lg w-full">
		<Logo />
        <ThemeButton />
       	{children}
    </main>
</body>
body태그 안에 script를 이용해 문제를 해결 할 수 있었다.
참조
https://velog.io/@shinhw371/CSS-why-Nextjs-recommand-Tailwind
https://bluemiv.tistory.com/8
https://velog.io/@seungchan__y/SSR-%ED%99%98%EA%B2%BD%EC%9D%98-%EB%8B%A4%ED%81%AC%EB%AA%A8%EB%93%9C-%EA%B9%9C%EB%B9%A1%EC%9E%84-%ED%98%84%EC%83%81-%ED%95%B4%EA%B2%B0%ED%95%98%EA%B8%B0