레파지토리 생성
-
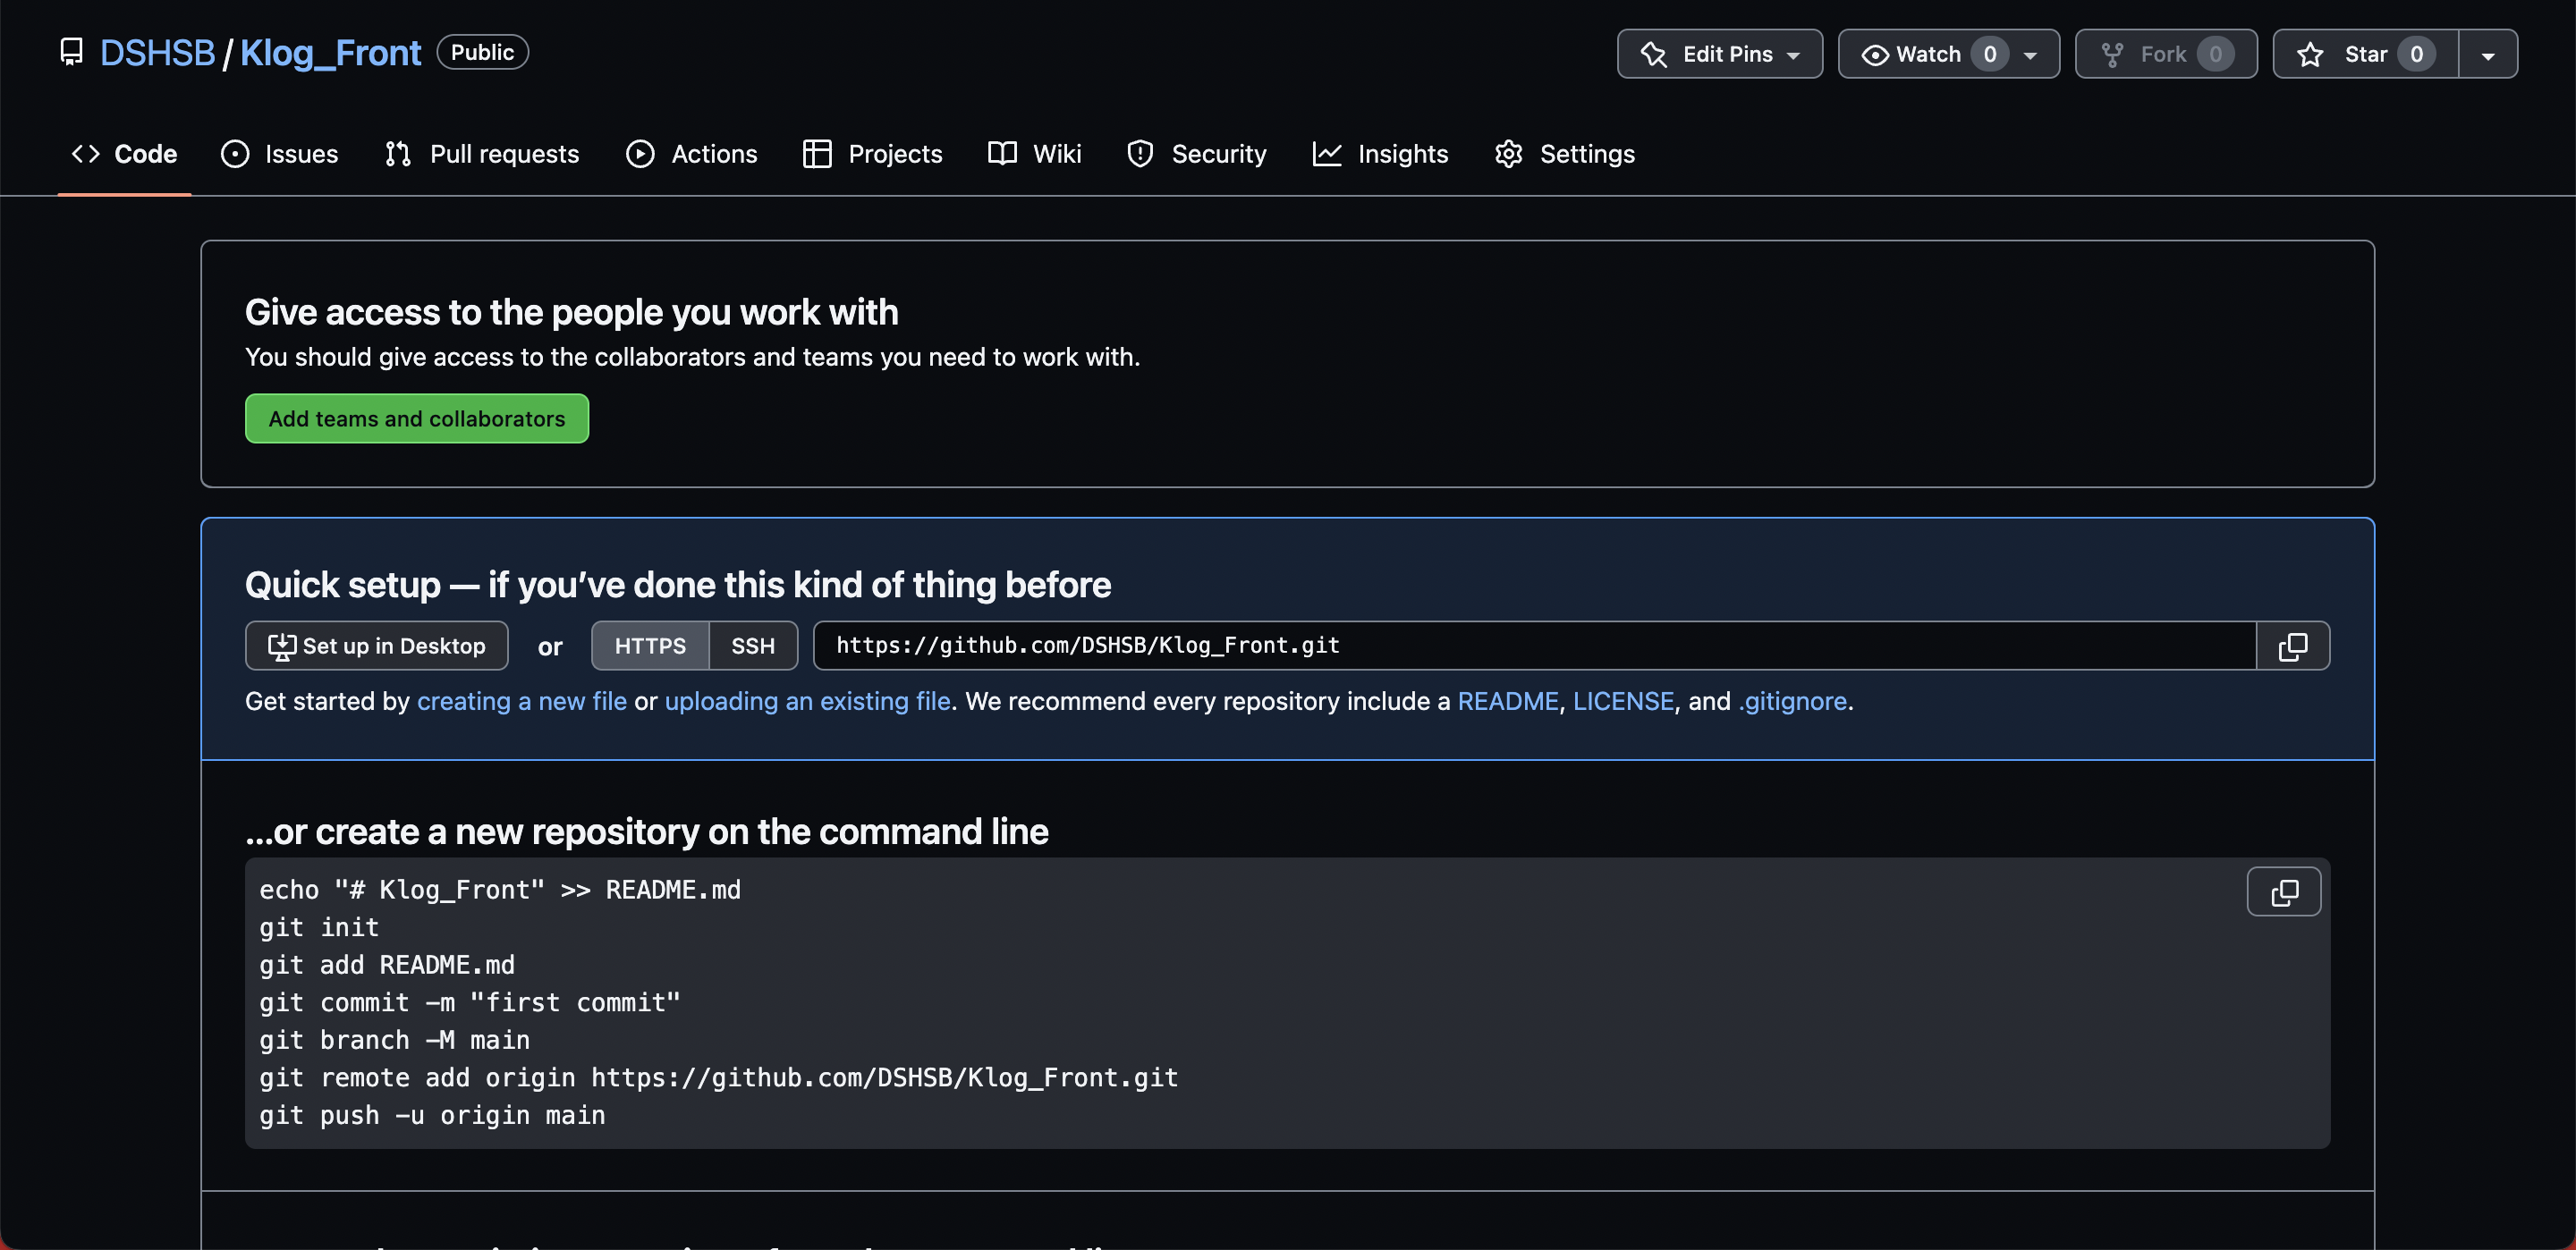
먼저 klog_front라는 이름으로 레파지토리를 생성한다.
-
레파지토리와 vsc를 연결할 것이다.
git init
git remote add origin [url]
폴더 구조
일단 먼저 klog 프로젝트는 모놀리식 아키텍처에서 벗어나 micro-frontend 아키텍처를 사용하는 프로젝트이다. 그렇기에 host라는 폴더로 다른 노출 페이지를 가지고 올 것이다.
host 프로젝트 만들기
npx create-react-app host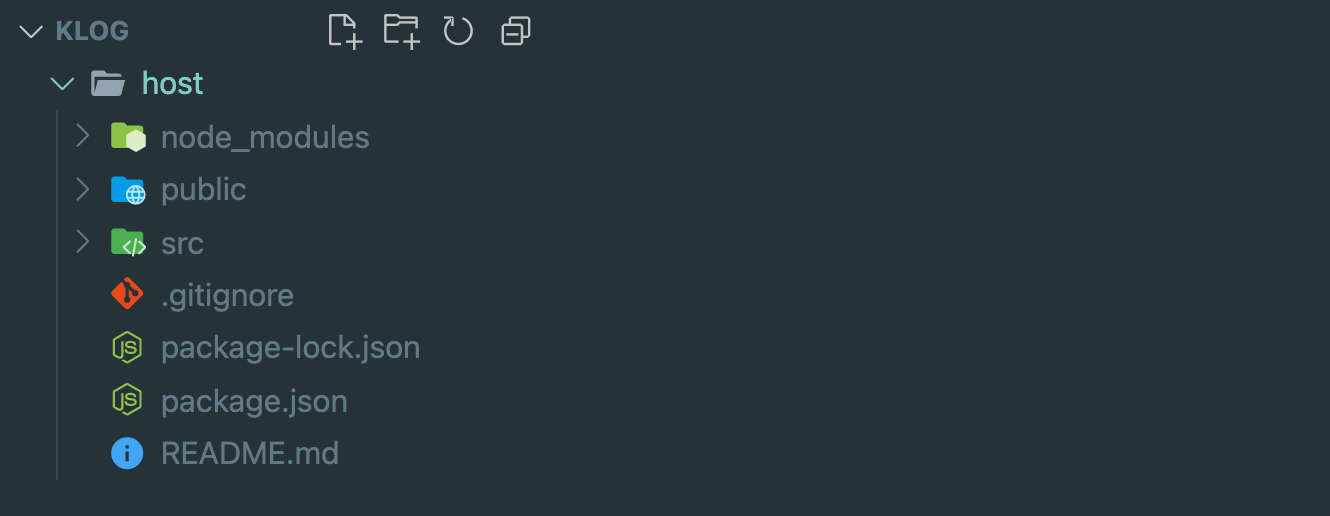
마이크로 프론트엔드
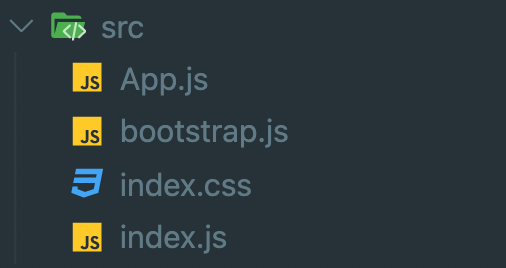
- src폴더를 필요한 최소한으로 줄인다. 참고로 bootstrap.js는 새로만든 파일로 생성하기 바란다.
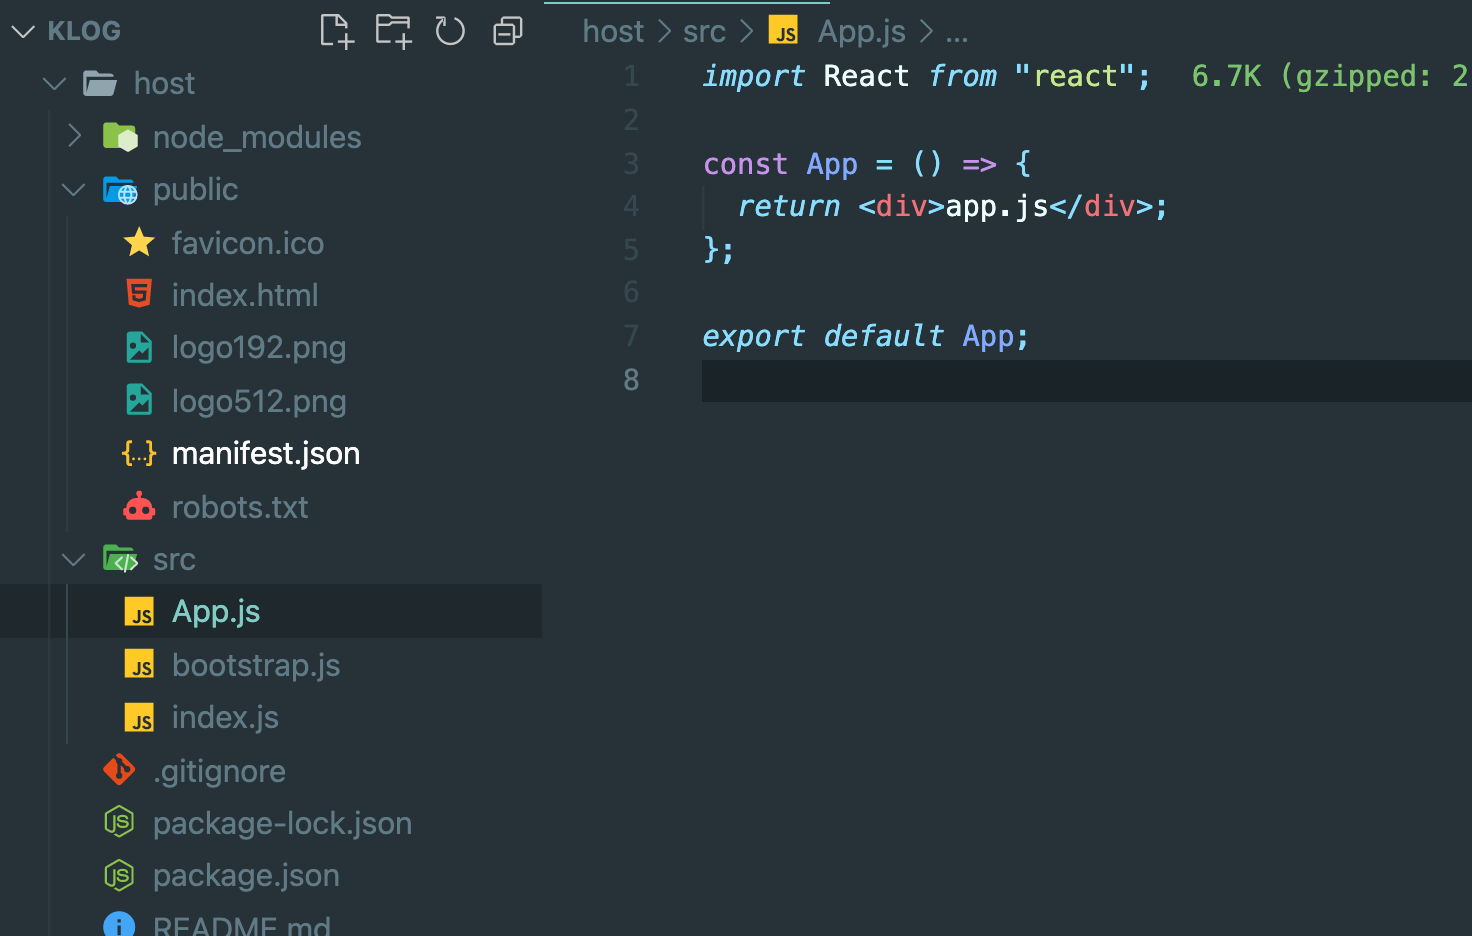
App.js
app.js에 내용은 간단하게 적어놓는다.
import React from "react";

const App = () => {
  return <div>app.js</div>;
};

export default App;
bootstrap.js
index.js에 있던 내용을 그대로 bootstrap.js에 붙여넣으면 된다.
import React from "react";
import ReactDOM from "react-dom/client";
import App from "./App";

const root = ReactDOM.createRoot(document.getElementById("root"));
root.render(
  <React.StrictMode>
    <App />
  </React.StrictMode>
);
index.css
사진에서 index.css가 있는데 저것 또한 일단 삭제하겠다.
index.js
좀 전에 적용한 bootstrap.js를 동적 임포트 하면 된다.
import("./bootstrap");이러면 일단 첫번째 단계가 끝이 난 것이다.
그다음 terminal 경로를 host로 이동하여 필요한 패키지를 설치할 것이다.
패키지 설치
cd host필요한 파일을 하나 씩 설치해볼 것이다.
참고로 지금 설치하는 것은 devDependencies로 설치할 것이므로 -D가 붙는다
npm i -D @babel/core @babel/preset-react babel-loader external-remotes-plugin html-webpack-plugin webpack webpack-cli webpack-dev-server webpack-livereload-plugin상당히 많은 것을 설치했다. 바벨과 관련된 패키지, webpack.config.js와 webpack 명령어를 사용할 것이리게 webpack에 관련된 패키지 또한 설치한 것이다.
webpack.config.js
먼저 코드를 보여주겠다.
const { ModuleFederationPlugin } = require("webpack").container;
const HtmlWebpackPlugin = require("html-webpack-plugin");
const ExternalTemplateRemotesPlugin = require("external-remotes-plugin");
const path = require("path");
const ReactRefreshWebpackPlugin = require("@pmmmwh/react-refresh-webpack-plugin");

module.exports = {
  entry: "./src/index",
  mode: "development",
  devtool: "source-map", // 디버깅 과정 향상 빌드 및 리빌드 속도에 큰 영향을 미침, 가장 느린 거
  optimization: {
    minimize: false,
  },
  devServer: {
    hot: true,
    static: path.join(__dirname, "dist"),
    port: 3000,
    liveReload: false,
  },
  output: {
    publicPath: "auto",
    clean: true,
  },
  module: {
    rules: [
      {
        test: /\.jsx?$/,
        loader: "babel-loader",
        exclude: /node_modules/,
        options: {
          presets: ["@babel/preset-react"],
          plugins: [require.resolve("react-refresh/babel")],
        },
      },
    ],
  },
  plugins: [
    new ModuleFederationPlugin({
      name: "host",
      remotes: {},
    }),
    new ExternalTemplateRemotesPlugin(),
    new HtmlWebpackPlugin({
      template: "./public/index.html",
      chunks: ["main"],
    }),
    new ReactRefreshWebpackPlugin({
      exclude: [/node_modules/, /bootstrap\.js$/],
    }),
  ],
};
webpack.config.js에 상당히 많은 내용이 작성되어있다. 그렇지만 이것이 각각의 어떤 역할인지 서술하기엔 너무 많으므로 핵심기술인 plugin에 있는 ModuleFederationPlugin에 대해서만 서술하겠다.
ModuleFederationPlugin
이것은 노출된 파일을 불러오거나 혹은 파일을 노출시키기 위한 webpack 5에서 등장한 기술이다.
현재 name과 remotes가 작성되어있는데 그 외에도 exposes, filename등 이있다.
- name: name이란 뜻 그대로 이름이다. 이는 식별자와 같은 개념으로 중복되어서는 안된다. 고유한 이름 여기서는 프로젝트이름과 똑같이 host라는 name을 적용했다.
- filename: filename은 노출시킬 파일들을 압축한 파일이라 생각하면 된다. 그렇기에 나중에 불러올 때 [name]@url/[filename] 이렇게 불러온다. 이에대해서는 페이지를 만들 때 서술하겠다. 그저 압축 파일이라고 생각하면 좋을거 같다.
- exposes: 노출시키는 부분이다. 이곳에 노출시키고 싶은 것을 입력하면 노출된다.
- remotes: exposes에서 노출시킨 파일을 가지고 오는 곳이다. 지금 현재 가지고 오는 파일이 없기에 비워놓았다.
package.json
패키지 제이슨에 있는 스크립트를 수정할 것이다.
"script": {
  "build": "webpack --mode production",
  "start": "webpack serve"
},
root 폴더
host 프로젝트에서 밖으로 나올것이다.
cd ../package.json 생성
npm init -y다음과 같이 패키지를 생성해준다.
그리고 다음과 같이 수정한다.
{
  "name": "klog",
  "version": "1.0.0",
  "description": "",
  "main": "index.js",
  "private": true,
  "workspaces": {
    "packages": [
      "host"
    ]
  },
  "scripts": {
    "test": "echo \"Error: no test specified\" && exit 1"
  },
  "repository": {
    "type": "git",
    "url": "git+https://github.com/DSHSB/Klog_Front.git"
  },
  "keywords": [],
  "author": "",
  "license": "ISC",
  "bugs": {
    "url": "https://github.com/DSHSB/Klog_Front/issues"
  },
  "homepage": "https://github.com/DSHSB/Klog_Front#readme"
}
private와 workspaces가 추가된 것이다.
패키지 설치
concurrently라는 패키지를 설치할 것이다. 이는 서버와 클라이언트를 동시에 실행시키는 명령어를 지원하는 패키지이다.
npm i concurrently이제 스크립트를 바꾸면 기본적인 micro-frontend를 사용하는 프로젝트 세팅이 끝이 난 것이다.
script
"scripts": {
  "start": "concurrently \"cd host; npm run start\""
},
실행
이제 이 프로젝트를 한번 실행해보겠다.
root 폴더에서 명령어를 입력한다.
npm run start그러면 로컬호스트 3000에서 열릴것이다. 참고로 webpack에 devServer에서 port를 3000으로 주었기 때문에 3000에서 열리는 것이다.
그 외
이 다음에 세팅해야할 redux, styled-components 등은 다음 글에서 서술 하겠다.
css error
참고로 지금 세팅에서 css 파일이 적용되지 않을 것이다. 그 이유는 webpack css 를 세팅하지 않았기 때문이다. 만약 css 파일을 쓸 것이라면 css 적용하는 글이 있으니 다음글을 읽어보기 바란다.