Spring 연습문제
연습문제 1
- Thymeleaf의 조건문을 활용하여 다음과 같이 파라미터의 값에 따라 다른 결과
를 출력하도록 작성해 봅시다.
- ThymeleafController에서 GetMapping을 활용하여 admin주소로 매핑 , 파라미터는
userId를 고정으로 받도록 설정 - admin.html을 생성하고, Thymeleaf에서 조건문(if , switch, 삼항연산자)을 활용하여
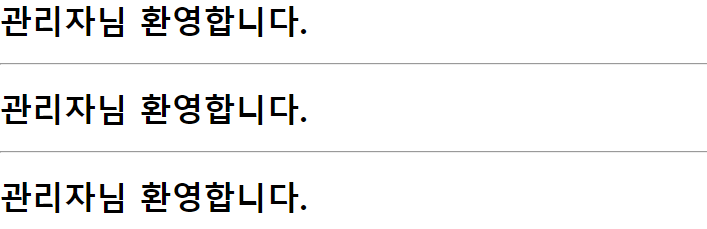
userId값이 admin일 경우 ‘관리자님 환영합니다.’ 문자열 출력 ,
그렇지 않다면, ‘잘못된 접근입니다. 홈 화면으로 돌아가세요.’ 문자열 출력
- 문자열 출력은 h1태그를 사용하도록 한다.
package com.example.basic.controller;

import java.util.*;

import org.springframework.stereotype.Controller;
import org.springframework.ui.Model;
import org.springframework.web.bind.annotation.GetMapping;
import org.springframework.web.bind.annotation.RequestParam;

import com.example.basic.model.Board;
import com.example.basic.model.Member;

@Controller
public class ThymleafController {
	// 1021 연습문제-1
    @GetMapping("admin") // http://localhost:8080/admin?userId=
    public String admin(Model model, @RequestParam("userId") String userId) {
        model.addAttribute("userId", userId);
        return "admin";
    }

}- admin.html
<html xmlns:th="http://www.thymeleaf.org">
<head>
</head>
<body>
<!-- th:if문 사용 -->
<!-- th:block - 타임리프 문법을 사용하기 위한 전용 블록. 화면에 출력되지 않는다.-->
<th:block th:if="${userId} == 'admin'">
<h1>관리자님 환영합니다.</h1>
</th:block>
<th:block th:unless="${userId} == 'admin'">
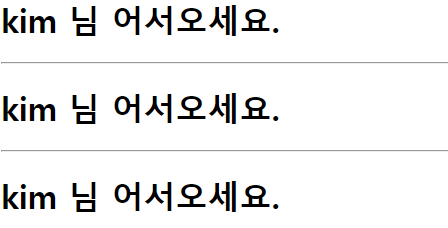
<h1>[[${userId}]] 님 어서오세요.</h1>
</th:block>
<hr/>
<!-- 삼항연산자 -->
<h1 th:text="${userId} == 'admin' ? '관리자님 환영합니다.' : ${userId}+' 님 어서오세요.' "></h1>
<hr/>
<!-- th:switch-->
<th:block th:switch="${userId}">
<h1 th:case="admin">관리자님 환영합니다.</h1>
<h1 th:case="*">[[${userId}]] 님 어서오세요.</h1> <!-- * 대신 ${userId}를 사용해도 된다.-->
</th:block>
</body>
</html>- 출력 결과물
- localhost:8080/admin?userId=admin
- localhost:8080/admin?userId=kim
연습문제 2
- 연습문제 1의 내용을 html에서는 단순 전달받기만 하고, 내용을 java에 작성하기.
package com.example.basic.controller;

import java.util.*;

import org.springframework.stereotype.Controller;
import org.springframework.ui.Model;
import org.springframework.web.bind.annotation.GetMapping;
import org.springframework.web.bind.annotation.RequestParam;

import com.example.basic.model.Board;
import com.example.basic.model.Member;

@Controller
public class ThymleafController {
	 // 1021 연습문제-2
    @GetMapping("admin2") // http://localhost:8080/admin?userId=
    public String admin2(Model model, @RequestParam("userId") String userId) {
        // userId가 admin일 때는 '관리자님 어서오세요.' 문장을 html에 전송
        // 그렇지 않은 경우에는 userID에 입력된 값 + ' 님 환영합니다.'를 전송
        // 이 때 전송되는 데이터의 변수명은 result로 전달.
        String result = "";
        if(userId.equals("admin")){
            result = "관리자님 어서오세요.";
        } else {
            result = userId+" 님 환영합니다.";
        }
        model.addAttribute("result", result);
        return "admin2";
    }

}
- admin2.html
<html xmlns:th="http://www.thymeleaf.org">

<head>
</head>

<body>
    <h1>[[${result}]]</h1>
</body>

</html>- localhost:8080/admin2?userId=admin

연습문제 3
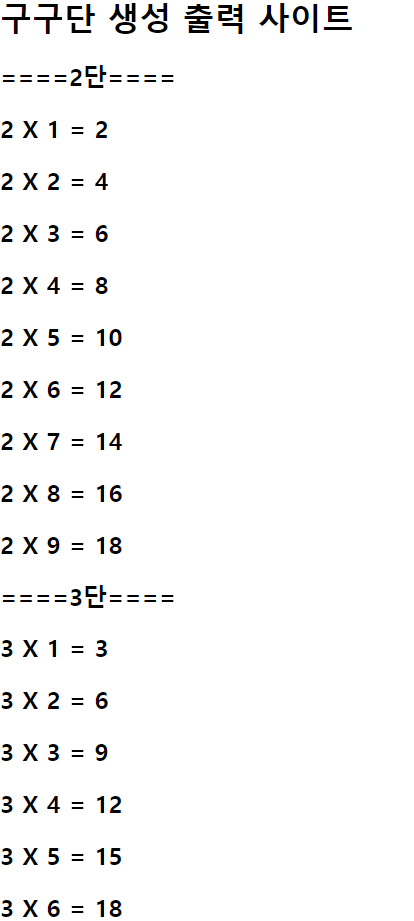
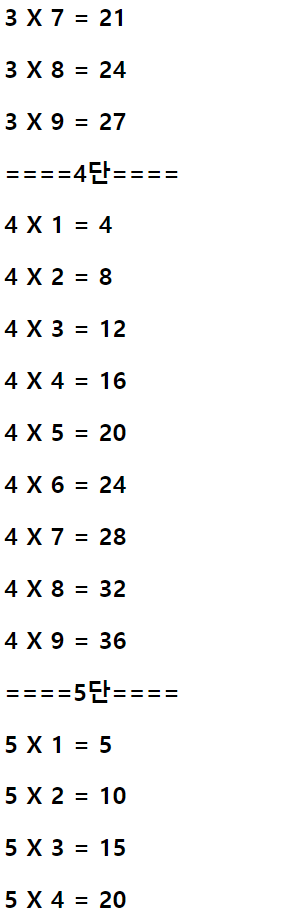
- 구구단 자동생성 사이트 구현
- localhost:8080/gugudan?dan=5 -> 2단부터 5단까지 출력하는 사이트를 구현해 봅시다.
package com.example.basic.controller;

import java.util.*;

import org.springframework.stereotype.Controller;
import org.springframework.ui.Model;
import org.springframework.web.bind.annotation.GetMapping;
import org.springframework.web.bind.annotation.RequestParam;

import com.example.basic.model.Board;
import com.example.basic.model.Member;

@Controller
public class ThymleafController {
	@GetMapping("gugudan")
    public String gugudan(Model model, @RequestParam("dan") Integer dan) {
        ArrayList<String> gugudanList = new ArrayList<>();
        for (int i = 2; i <= dan; i++) {
            gugudanList.add("====" + i + "단====");
            for (int j = 1; j < 10; j++) {
                gugudanList.add(i + " X " + j + " = " + i * j);
            }
        }
        model.addAttribute("gugudanList", gugudanList);

        return "gugudan";
    }

}- gugudan.html
<html xmlns:th="http://www.thymeleaf.org">

<head>
</head>

<body>
    <h1>구구단 생성 출력 사이트</h1>
    <th:block th:each="gugudan : ${gugudanList}">
        <h2>[[${gugudan}]]</h2>
    </th:block>
</body>

</html>- localhost:8080/gugudan?dan=5
연습문제 4
- 로그인 기능 구현
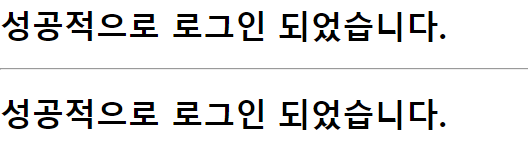
- localhost:8080/login?id=admin&pw=1234 -> 성공적으로 로그인 되었습니다.
- 아이디가 틀렸을 경우(둘 다 일치하지 않았을 경우) -> 아이디를 확인해주세요.
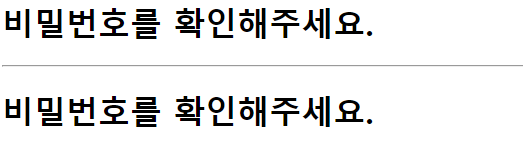
- 아이디는 정상입력, 비밀번호를 틀렸을 경우 -> 비밀번호를 확인해주세요.
- result는 if문으로, result2는 switch를 이용하여 작성.
package com.example.basic.controller;

import java.util.*;

import org.springframework.stereotype.Controller;
import org.springframework.ui.Model;
import org.springframework.web.bind.annotation.GetMapping;
import org.springframework.web.bind.annotation.RequestParam;

import com.example.basic.model.Board;
import com.example.basic.model.Member;

@Controller
public class ThymleafController {
	@GetMapping("login")
    public String login(Model model, @RequestParam("id") String id, @RequestParam("pw") String pw){
        String result = "";
        String result2 = "";
        String adminId = "admin";
        String adminPw = "1234";
        if (id.equals(adminId)) {
            if (pw.equals(adminPw)){
                result = "성공적으로 로그인 되었습니다.";
                result2 = "success";
            } else {
                result = "비밀번호를 확인해주세요.";
                result2 = "pwCheck";
            }
        } else {
            result = "아이디를 확인해주세요.";
            result2 = "idCheck";
        }

        model.addAttribute("result", result);
        model.addAttribute("result2", result2);
        return "login";
    }

}- login.html
<html xmlns:th="http://www.thymeleaf.org">

<head>
</head>

<body>
    <h1>[[${result}]]</h1>
    <hr/>
    <rh:block th:switch="${result2}">
        <h1 th:case="success">성공적으로 로그인 되었습니다.</h1>
        <h1 th:case="pwCheck">비밀번호를 확인해주세요.</h1>
        <h1 th:case="idCheck">아이디를 확인해주세요.</h1>
    </rh:block>
</body>

</html>-
localhost:8080/login?id=admin&pw=1234
-
localhost:8080/login?id=admini&pw=1234

-
localhost:8080/login?id=admin&pw=12345
연습문제 5
- 로그인 기능 구현 고도화
- localhost:8080/login2 -> home.html로 이동
- localhost:8080/login2?id=admin&pw=1234 -> 관리자페이지로 이동 adminPage.html
- localhost:8080/login2?id=user&pw=5678 -> 유저페이지로 이동 userPage.html
- 로그인 실패했을 경우 -> loginFail.html로 이동
- 로그인 기능의 아이디, 비밀번호 체크는 포함되어야 한다.
- 내가 한 풀이
package com.example.basic.controller;

import java.util.*;
import org.springframework.stereotype.Controller;
import org.springframework.ui.Model;
import org.springframework.web.bind.annotation.GetMapping;
import org.springframework.web.bind.annotation.RequestParam;

import com.example.basic.model.Board;
import com.example.basic.model.Member;

@Controller
public class ThymeleafController {
	@GetMapping("login2")
    public String login2(Model model, @RequestParam(required=false, defaultValue= "0") String id, @RequestParam(required=false, defaultValue= "0") String pw) {
        String home = "home";

        if(id != null) {
            if (id.equals("admin")) {
                if (pw.equals("1234")) {
                    home = "adminPage";
                } else {
                    home = "loginFail";
                }
            } else if (id.equals("user")) {
                if (pw.equals("5678")) {
                    home = "userPage";
                } else {
                    home = "loginFail";
                }
            }
        } else if (pw != null) {
            home = "loginFail";
        } else {
            home = "home";
        }

        model.addAttribute("home", home);
        return "login2";
    }


}- login2.html
<html xmlns:th="http://www.thymeleaf.org">

<head>
</head>

<body>
    <h1>[[${home}]]</h1>
</body>

</html>
추가 풀이는 월요일에.

초보 개발자의 학습 저장용 블로그