
노마드 코더님의 Next.js 시작하기 를 들으면서 배운 내용들을 정리해보겠습니다.
1. project setup
package.json
- 원하는 디렉토리에서
npm init -y명령어를 입력한다. - 위 명령어는
package.json파일을 생성하며 모든 설정을 "YES"로 응답한다는 뜻이다. - 이 파일의 내용은 다음과 같다.
{
  "name": "learn-nextjs14",
  "version": "1.0.0",
  "main": "index.js",
  "scripts": {
    "test": "echo \"Error: no test specified\" && exit 1"
  },
  "keywords": [],
  "author": "",
  "license": "ISC",
  "description": ""
}- 이 파일의 내용을 다음과 같이 수정해준다.
{
  "name": "learn-nextjs14",
  "version": "1.0.0",
  "main": "index.js",
  "scripts": {
    "dev": "next dev"
  },
  "keywords": [],
  "author": "",
  "license": "MIT",
  "description": "",
  "dependencies": ""
}- learn-nextjs14라는 프로젝트의 1.0.0 버전이라고 작성되어 있다.
- 스크립트를 보면 npm run dev라는 명령어를 통해 개발모드로 실행시킬 수 있음을 알 수 있다.
- 그 후에 같은 디렉토리에 다음과 같은 명령어를 입력한다.
npm install react@latest next@latest react-dom@latestpackage-lock.json이라는 파일이 생성되고,package.json파일의 dependencies를 봐도
    "next": "^14.2.13",
    "react": "^18.3.1",
    "react-dom": "^18.3.1"
3가지 패키지의 최신 버전이 설치됨을 알 수 있다.
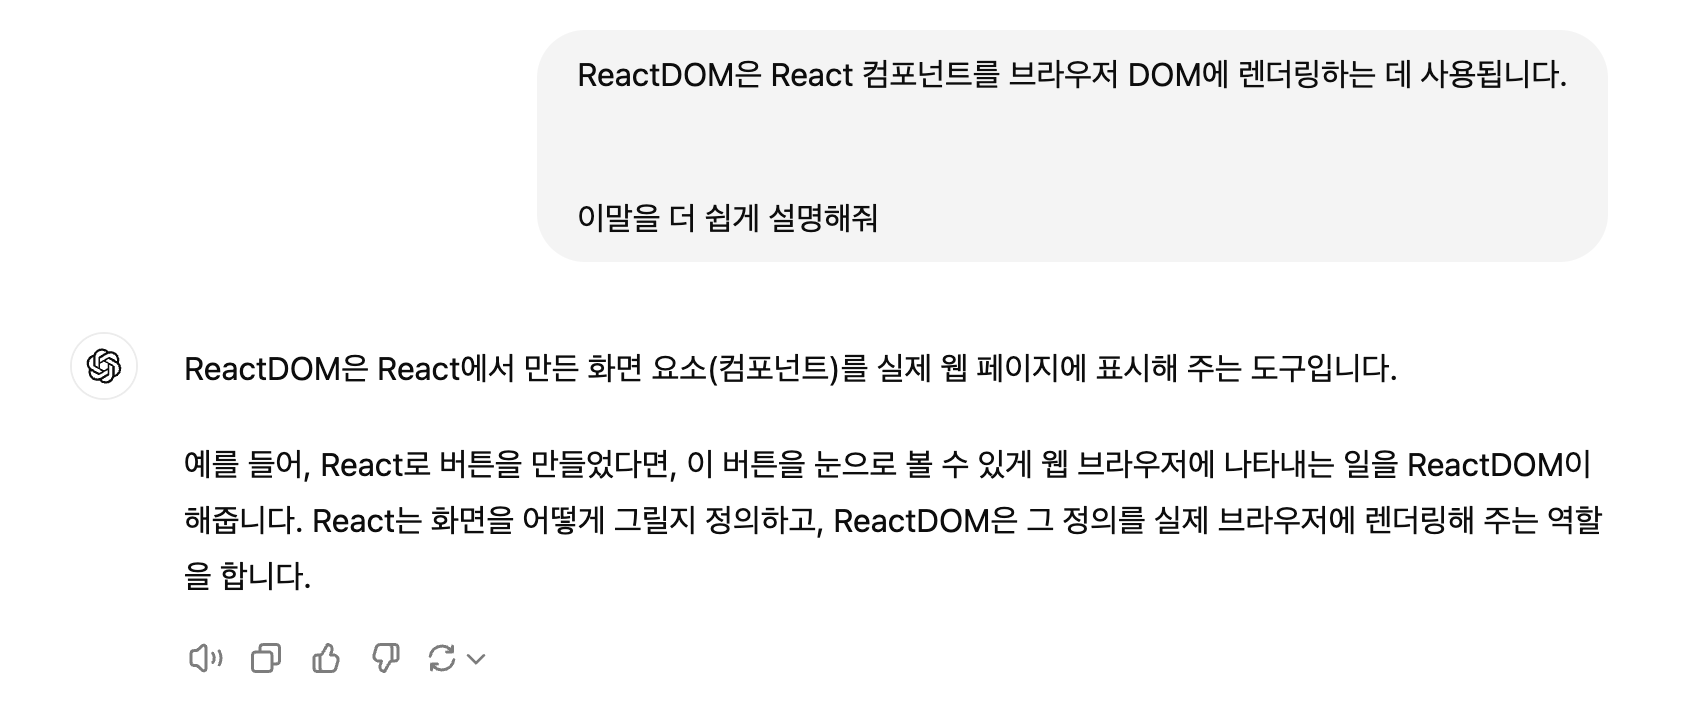
- React와 ReactDOM은 위와 같은 차이가 있다.
app/page.tsx

- 위와 같이 파일을 생성해주고 안에
export default function helloWorld() {
  return <h1>helloWorld</h1>;
}
이렇게 함수를 정의해주었다.
-
npm run dev라는 명령어로 개발모드를 실행시켜봤을때
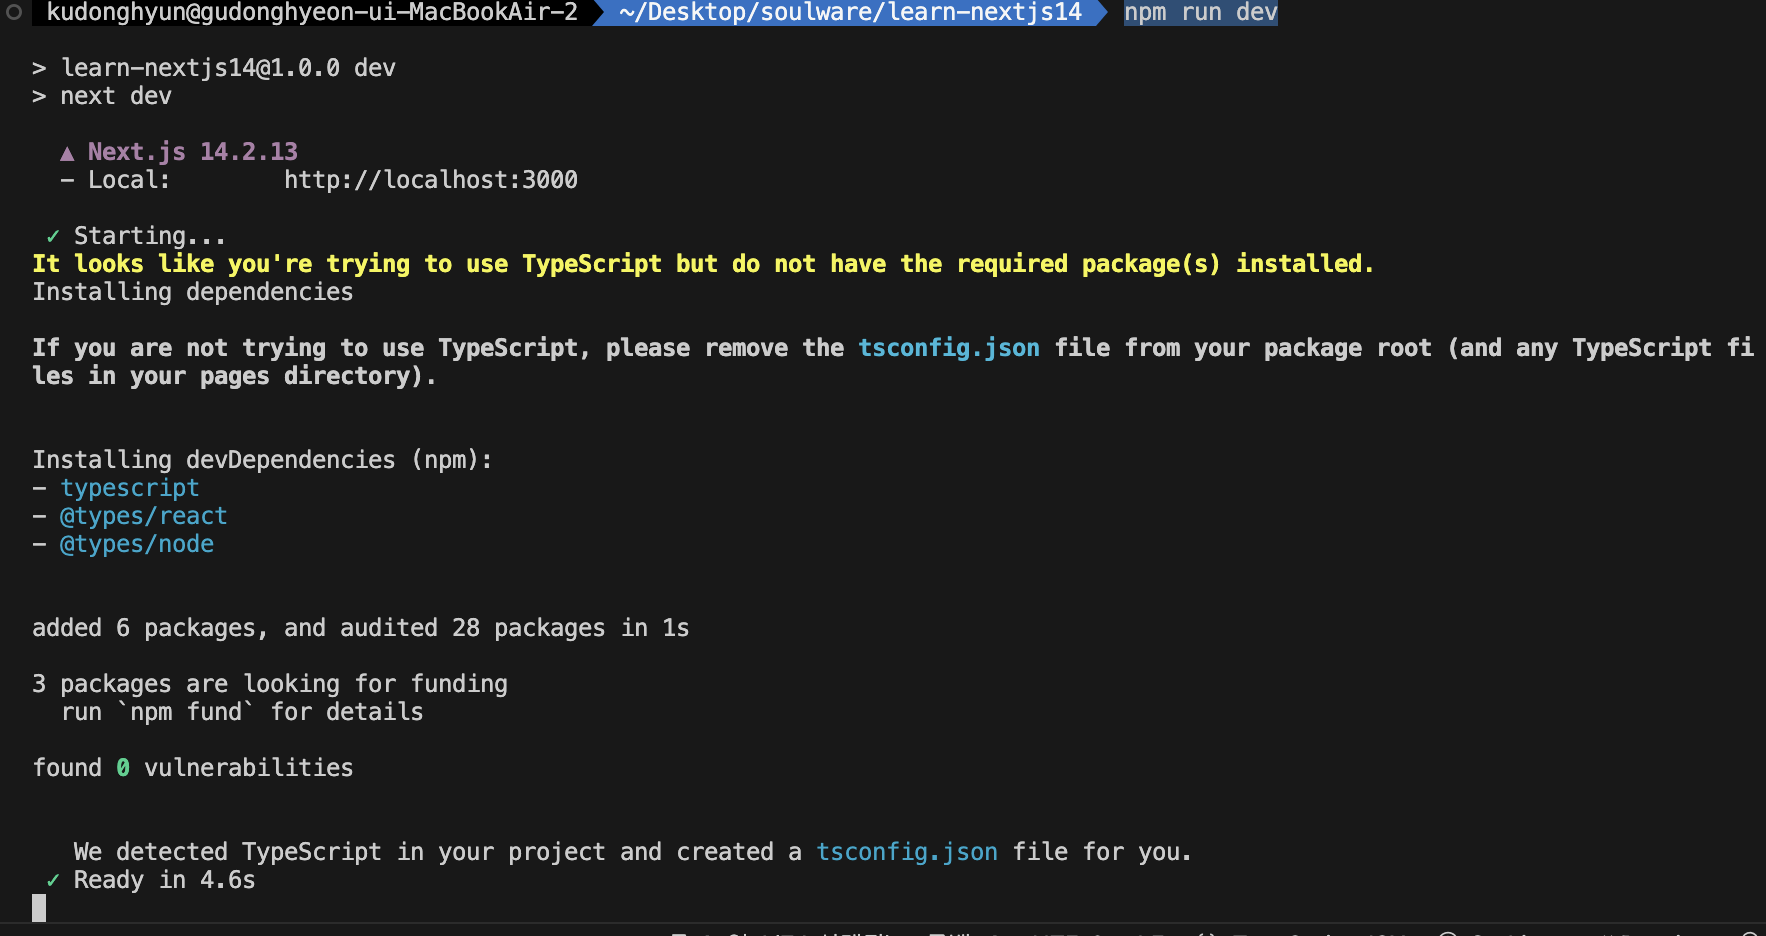
우리는 타입스크립트의 의존성을 추가해준 적이 없기때문에, 자동으로 의존성이 설치되는 것을 볼 수 있다.
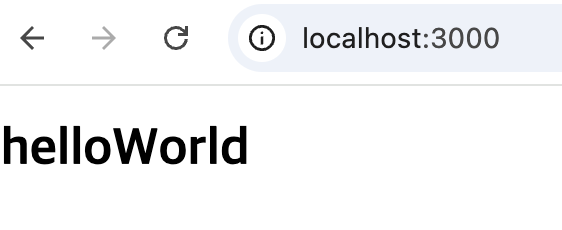
localhost:3000번을 들어가더라도 제대로 react page가 나오는 것을 볼 수 있다.
터미널에는

이렇게 우리가 layout.tsx를 생성해 놓지 않아서, 대신 생성해준 것도 볼 수 있다. -
마지막으로 다음과 같은 git ignore 파일도 생성해주었다.
# See https://help.github.com/articles/ignoring-files/ for more about ignoring files.

# dependencies
/node_modules
/.pnp
.pnp.js
.yarn/install-state.gz

# testing
/coverage

# next.js
/.next/
/out/

# production
/build

# misc
.DS_Store
*.pem

# debug
npm-debug.log*
yarn-debug.log*
yarn-error.log*

# local env files
.env*.local

# vercel
.vercel

# typescript
*.tsbuildinfo
next-env.d.ts
2. Routing
Routing system
-
Next.js는 폴더를 사용하여 경로를 정의하는 파일 시스템 기반 라우터를 사용합니다.
-
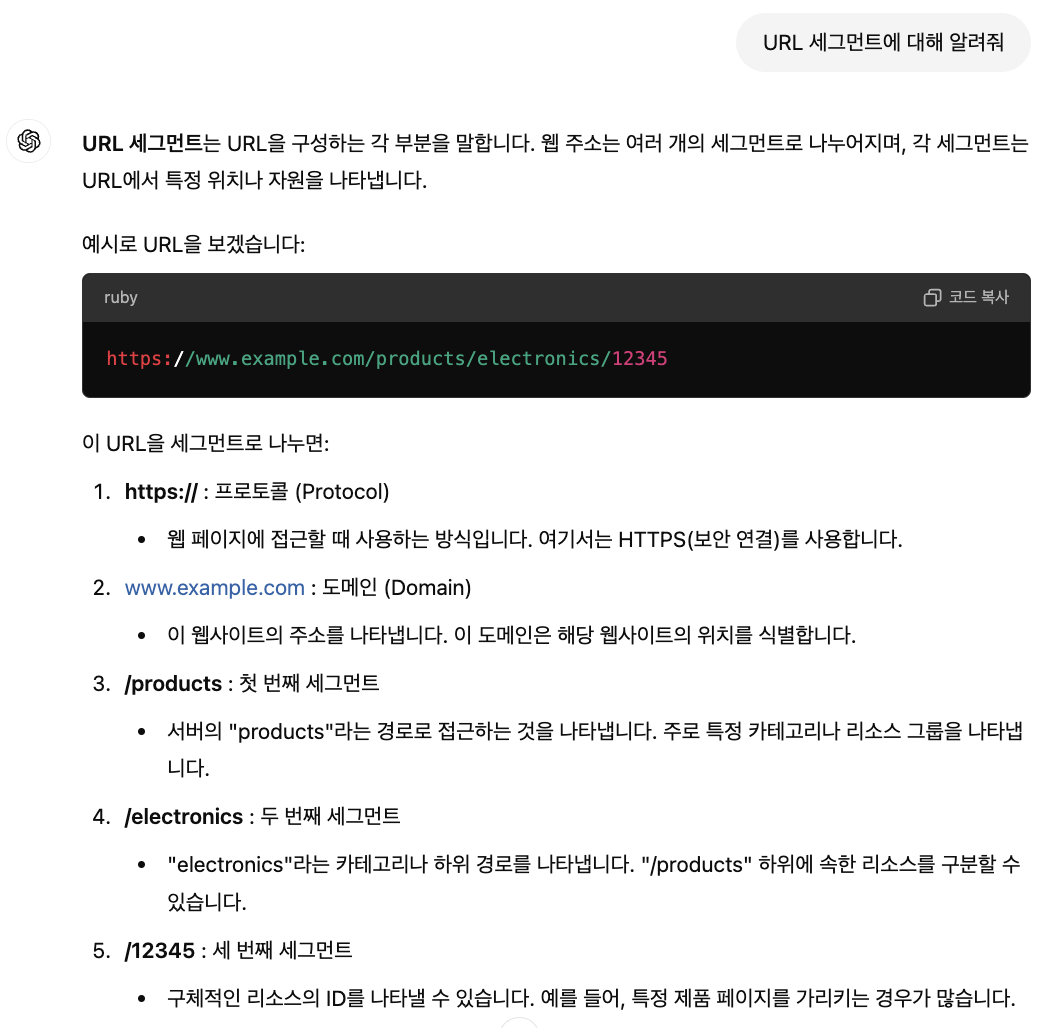
각 폴더는 URL 세그먼트에 매핑되는 경로 세그먼트를 나타냅니다.
-
중첩된 경로를 만들려면
app/posts/page.tsx이렇게 폴더를 서로 중첩하면 됩니다. -
위와 같은 경로를 접근할 때는
localhost:3000/posts이렇게 접근하게 됩니다.
layout, page, not-fount, component
- 지금까지 배운것을 정리해보자면, page.tsx같은 파일명의 파일의 경우, 디렉토리의 경로를 통해 페이지를 라우팅해준다.
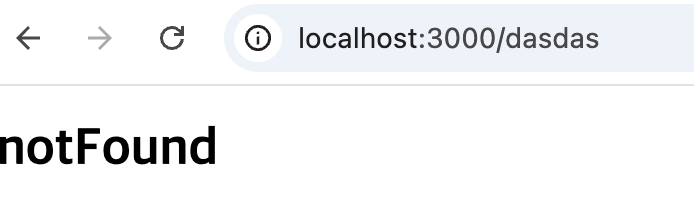
- not-found는 404에러가 발생했을 경우, 반환되는 페이지입니다.
app/not-found.tsx
export default function notFound() {
  return <h1>notFound</h1>;
}
- 파일명을 layout과 page, not-found를 제외한 다른 이름을 사용해서 component로 사용해 줄 수도 있다.
app/components/navbar.tsx
'use client';

import Link from 'next/link';
import { usePathname } from 'next/navigation';

export default function Navigation() {
  const path = usePathname();
  return (
    <nav>
      <ul>
        <li>
          <Link href="/">Home</Link> {path === '/' ? '🔥' : ''}
        </li>
        <li>
          <Link href="/posts">posting</Link>
          {path === '/posts' ? '🔥' : ''}
        </li>
      </ul>
    </nav>
  );
}- 위에 코드에서 react hook이 사용되었다.

- hook에 대해서는 밑에 조금 더 자세히 다루겠다.
- layout.tsx의 이름을 가진 파일의 경우는, 앱의 모든 페이지에 해당 설정을 적용하는 것에 도움을 준다.
- 위에서 생성한 네비게이션 바를 layout에 적용해 보겠습니다.
import Navigation from './components/navbar';

export const metadata = {
  title: 'Next.js',
  description: 'Generated by Next.js',
};

export default function RootLayout({
  children,
}: {
  children: React.ReactNode;
}) {
  return (
    <html lang="en">
      <Navigation />
      <body>{children}</body>
    </html>
  );
}

개발합시다