Week4: Kubernetes에 Airflow 구성하기
최근 Kubernetes를 공부하고 있었기에, Airflow를 Kubernetes에 구성해보고 싶었다.
Minikube를 활용해 로컬 환경에서 구성을 해보았다.
1. Helm Chart를 활용해 Kubernetes에 Airflow 구성하기
Airflow는 크게 두 종류로 공식문서에서 제공하는 것과, User-community에서 제공하는 Helm Chart가 있다. 이중 공식 문서에서 제공하는 것을 사용하였다.
helm repo add apache-airflow https://airflow.apache.org
helm repo update
helm search repo airflow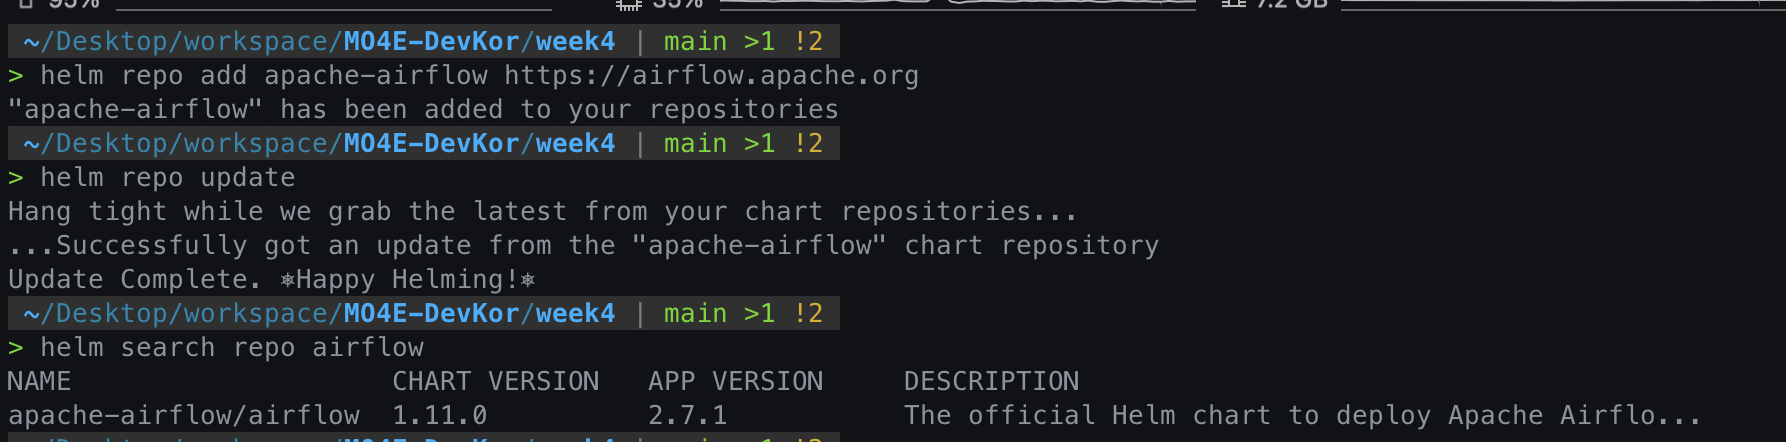
airflow namespace를 만들고, 해당 namespace에 helm chart를 이용해 airflow를 구성한다.
kubectl create namespace airflow
helm install airflow apache-airflow/airflow --namespace airflow --debug
완료되면, 다음과 같이 pod가 생성된 것을 확인할 수 있다.
kubectl get pods -n airflow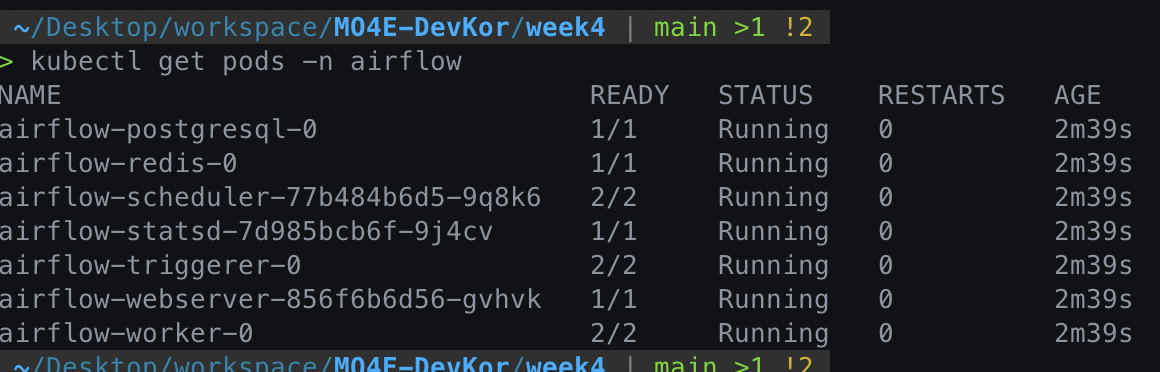
Web UI에 접근하기 위해서는 host와 webserver의 port를 포워딩해야한다.
기본 계정 ID/PW: admin/admin
kubectl port-forward svc/airflow-webserver 8080:8080 -n airflow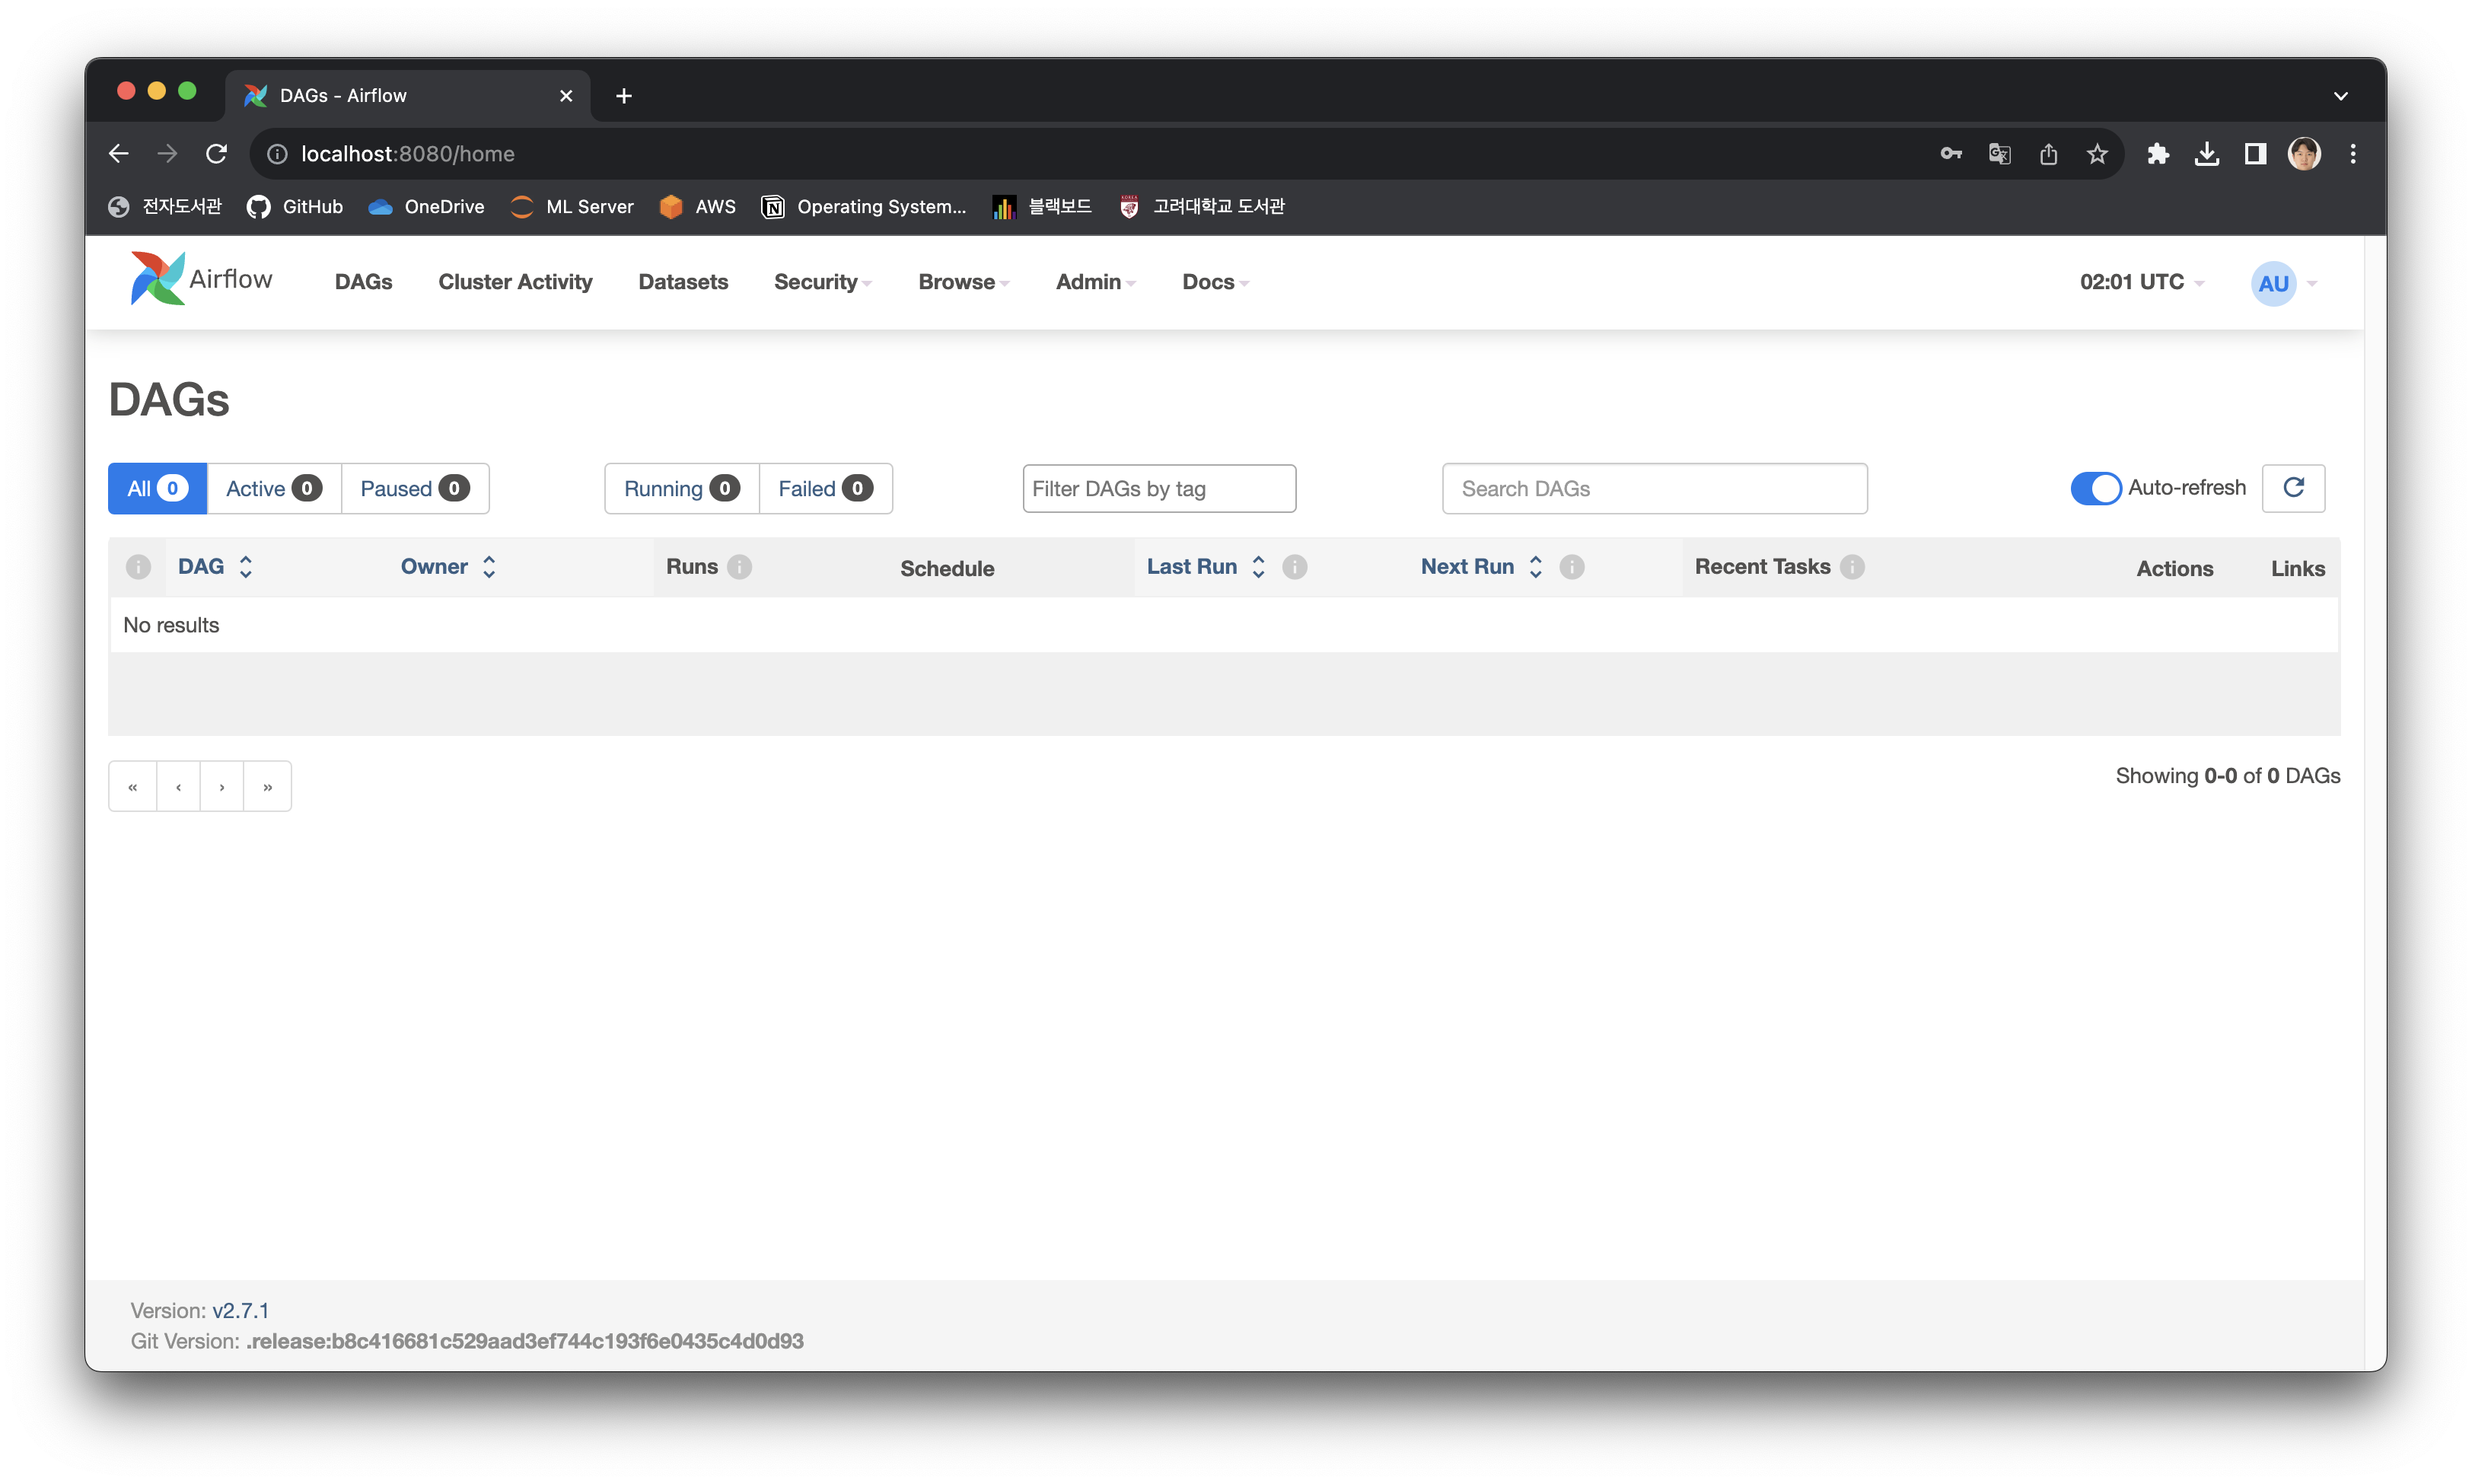
2. Dependency 설치하기
Week 2 에서 Dependency를 설치하기 위해, Dockerfile을 작성해 Custom Docker Image를 만들어 해당 이미지로 Airflow를 Build하였다.
Kubernetes에서 Airflow를 구성할 때도 같은 방법으로 다음 절차를 통해 진행하였다.
- Docker Image를 Minikube Cluster에 Load하기
- 해당 Image를 이용하도록 Helm Chart 설정을 수정하기
1번 과정에서, 로컬 Docker Daemon과 Minikube 가상환경의 Docker Daemon은 서로 다르기 때문에, Image를 Minikube Cluster로 Load 해야 해당 Image를 사용해 Pod를 구성할 수 있다.
eval $(minikube docker-env)
docker build . -t airflow-custom:1.0.0
배포된 Airflow Application의 기본 설정을 변경하기 위해서는 정의를 내려받은 뒤 변경하여 재배포를 수행한다.
helm show values apache-airflow/airflow > values.yamlvalues.yaml파일에서 다음 부분을 수정하여 Custom Docker Image를 사용하도록 한다.
# values.yaml
# Default airflow repository -- overridden by all the specific images below
defaultAirflowRepository: airflow-custom

# Default airflow tag to deploy
defaultAirflowTag: "1.0.0"
다음 명령을 통해 새로운 설정을 적용해 Update를 수행한다.
helm upgrade --install airflow apache-airflow/airflow --namespace airflow --values values.yaml --debug3. DAG를 Git Sync를 통해 불러오기
Git Sync를 사용하면, 별도의 DAG 디렉토리를 관리할 필요 없이 Git Repository에서 DAG를 불러올 수 있으며, 형상 관리 및 협업 등에서 이점이 있다.
다음 절차를 통해 설정 가능하다.
- ssh key pair 생성
- Github Repository에 ssh public key를 Deploy key로 등록
- SSH private key를 Kubernetes Secret으로 등록
- Airflow 설정 파일에 SSH private key와 Repo를 등록하고 Git Sync 활성화
# ssh key pair 생성
ssh-keygen -t rsa -b 4096 -C "your_email@example.com"

# clipboard에 public key 복사
pbcopy < ~/.ssh/airflow-secret-key.pub
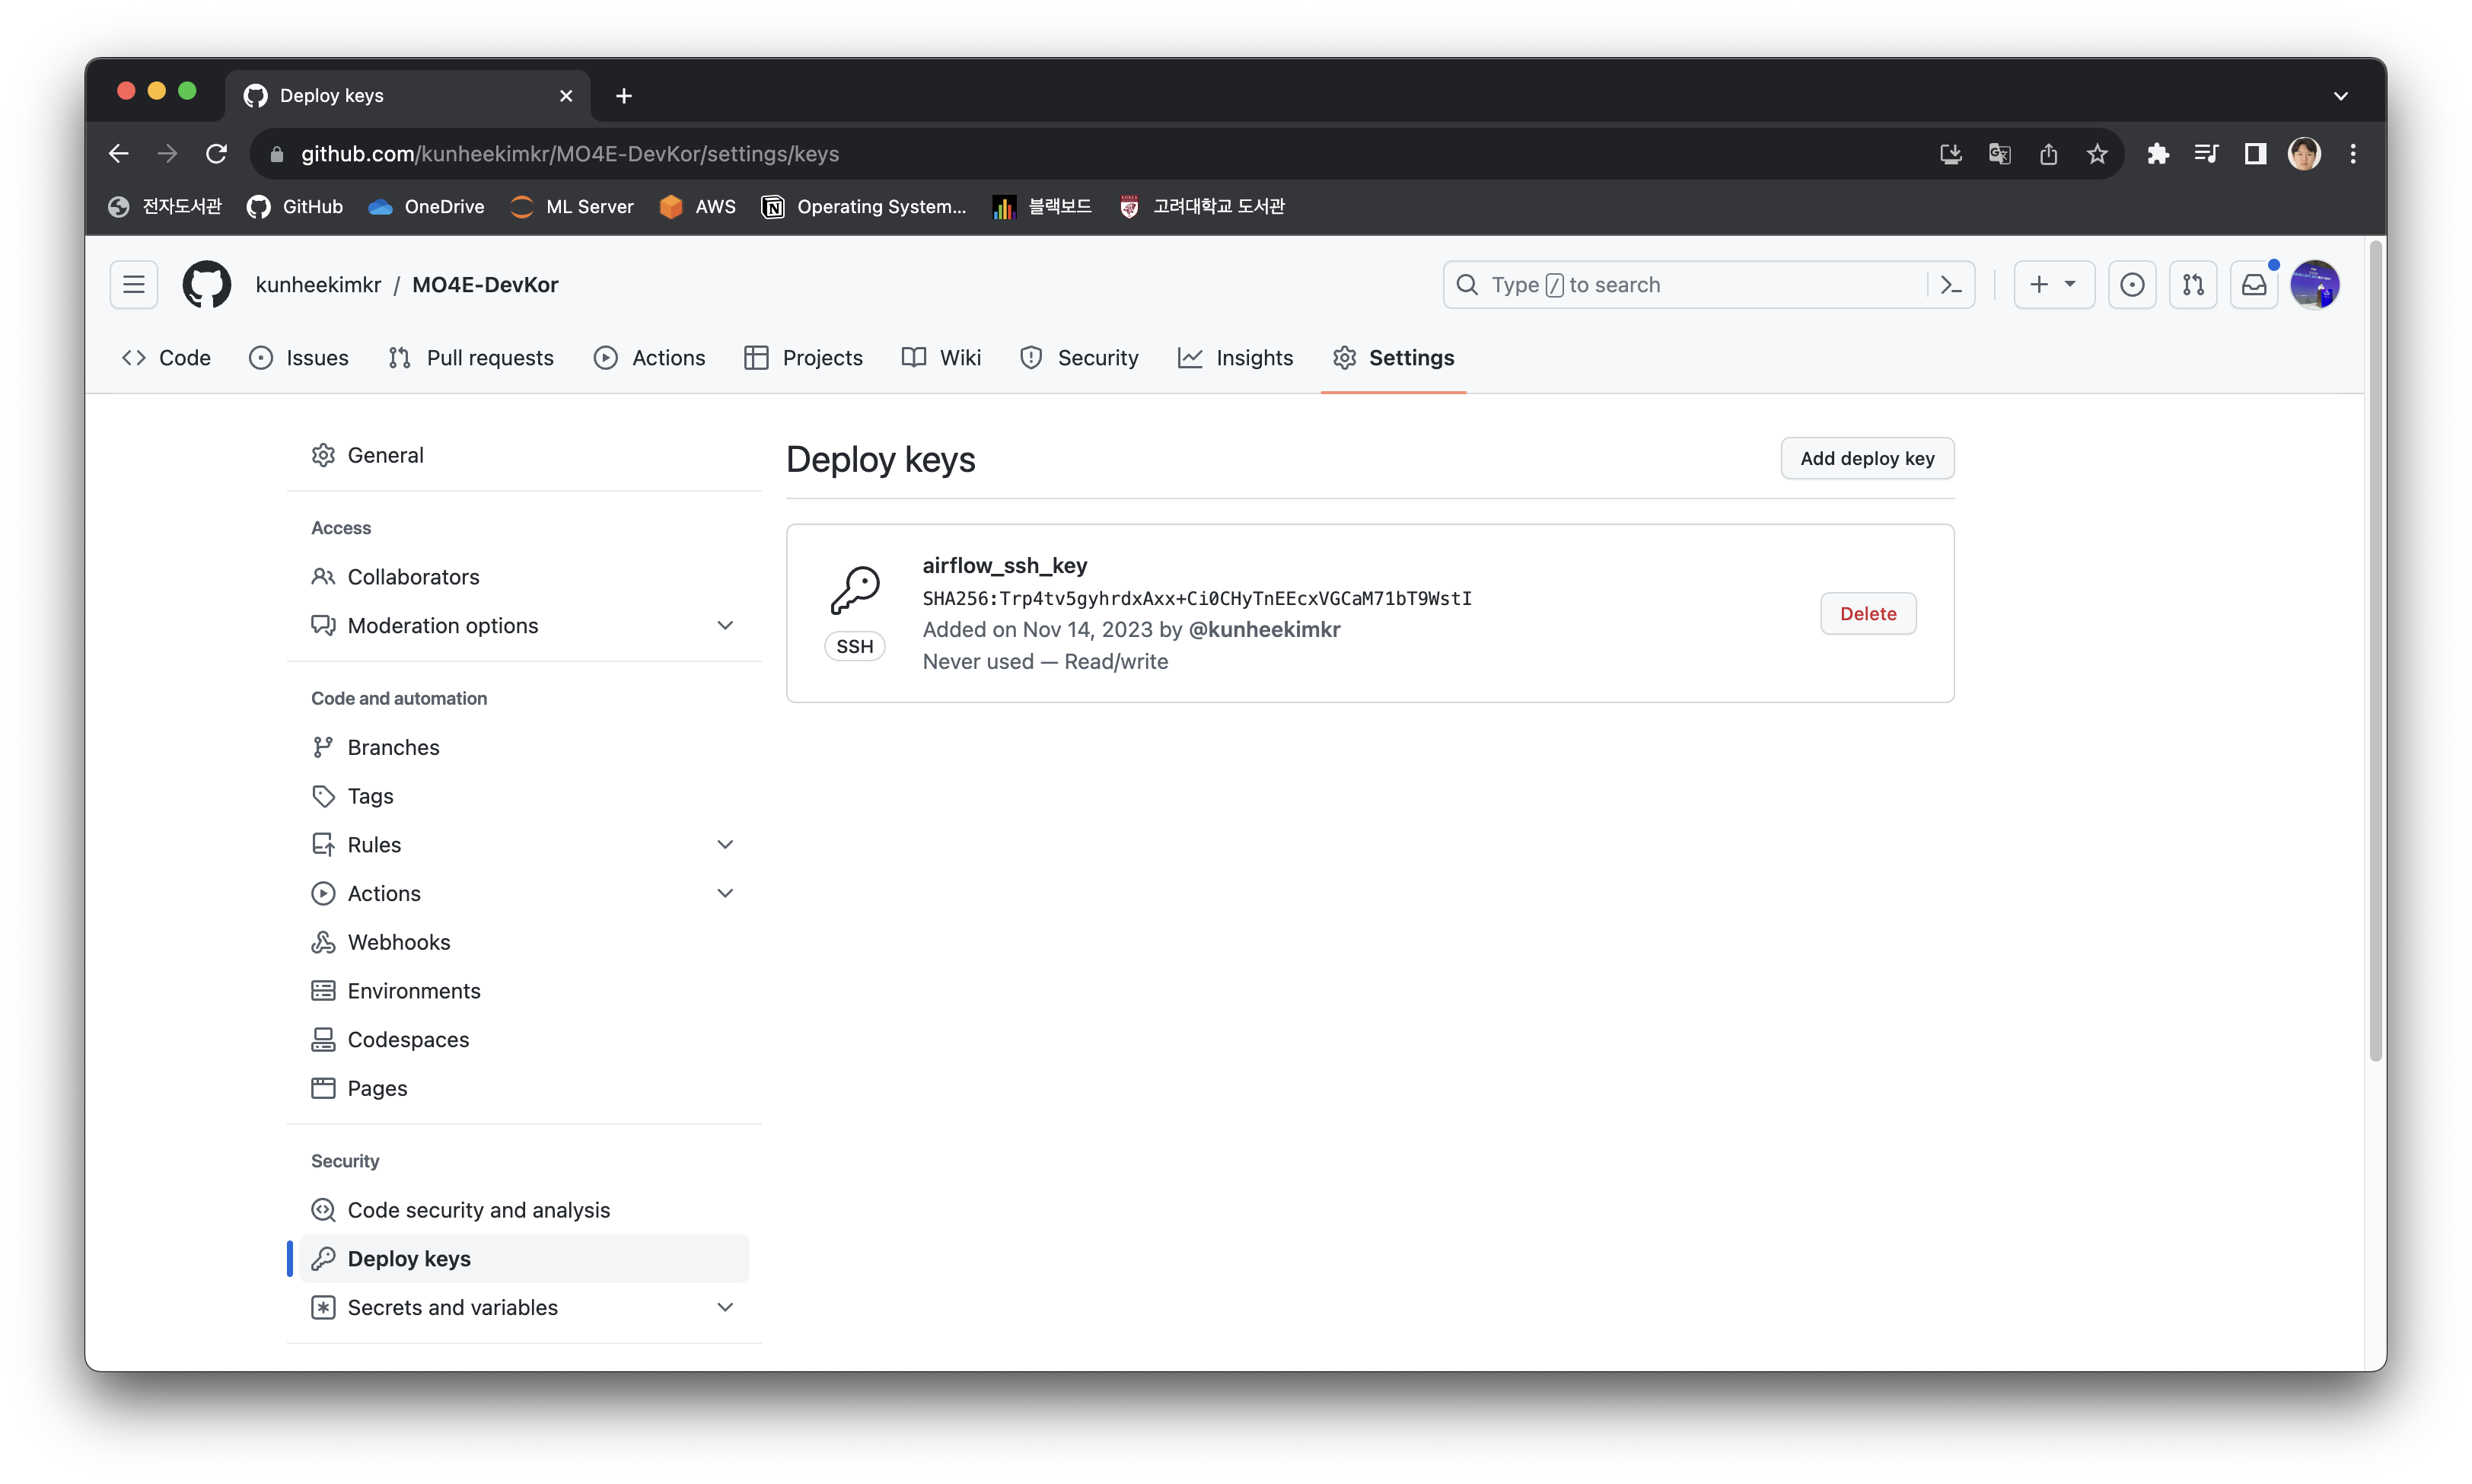
Github Repository의 Settings > Deploy keys > Add deploy key 에서 public key를 등록한다.
이제 Kubernetes Secret을 생성한다.
kubectl create secret generic airflow-ssh-git-secret --from-file=gitSshKey=/Users/{유저명}/.ssh/airflow-secret-key -n airflow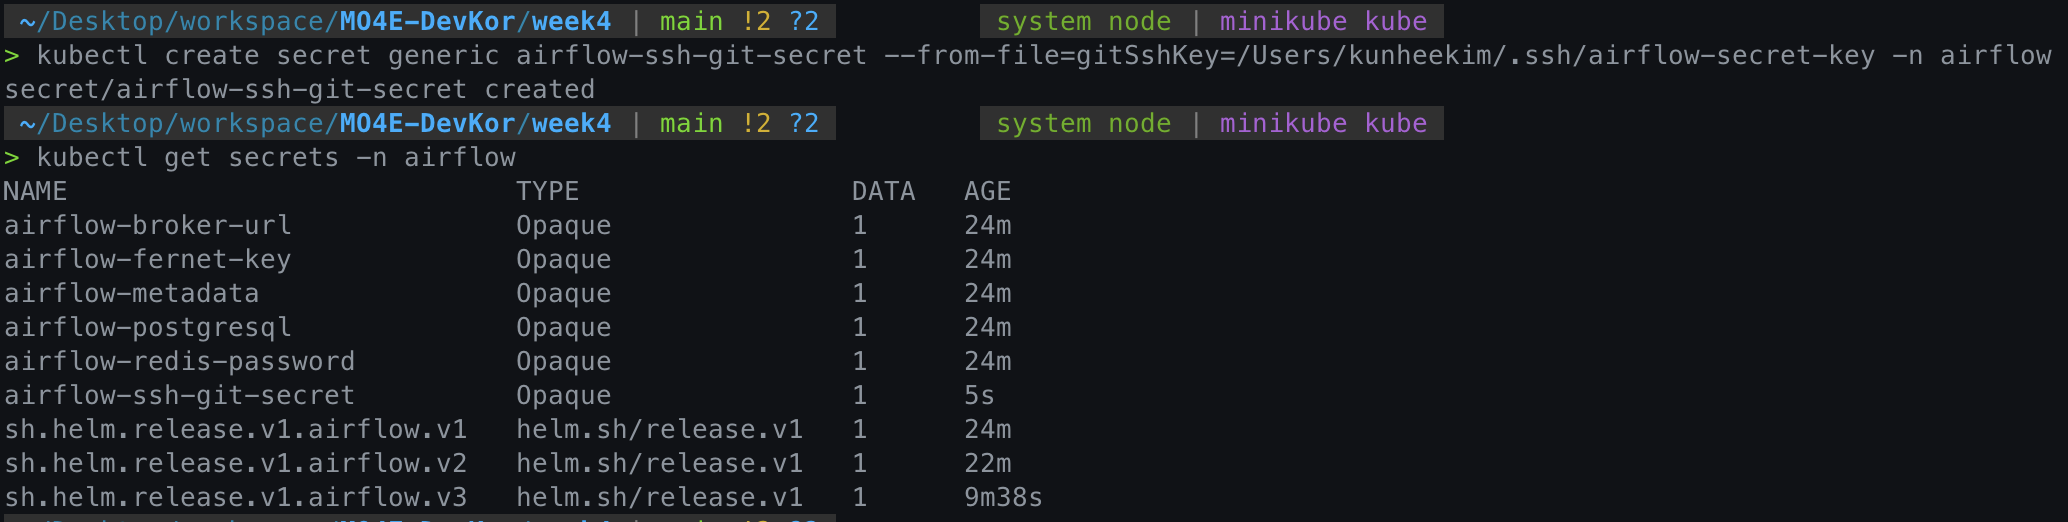
마지막으로, values.yaml파일에서 다음 부분을 수정한 후 helm upgrade를 수행한다.
gitSync:
enabled: true
# git repo clone url
# ssh example: git@github.com:apache/airflow.git
# https example: https://github.com/apache/airflow.git
repo: git@github.com:kunheekimkr/MO4E-DevKor.git # Repo 주소!
branch: main
rev: HEAD
depth: 1
# the number of consecutive failures allowed before aborting
maxFailures: 0
# subpath within the repo where dags are located
# should be "" if dags are at repo root
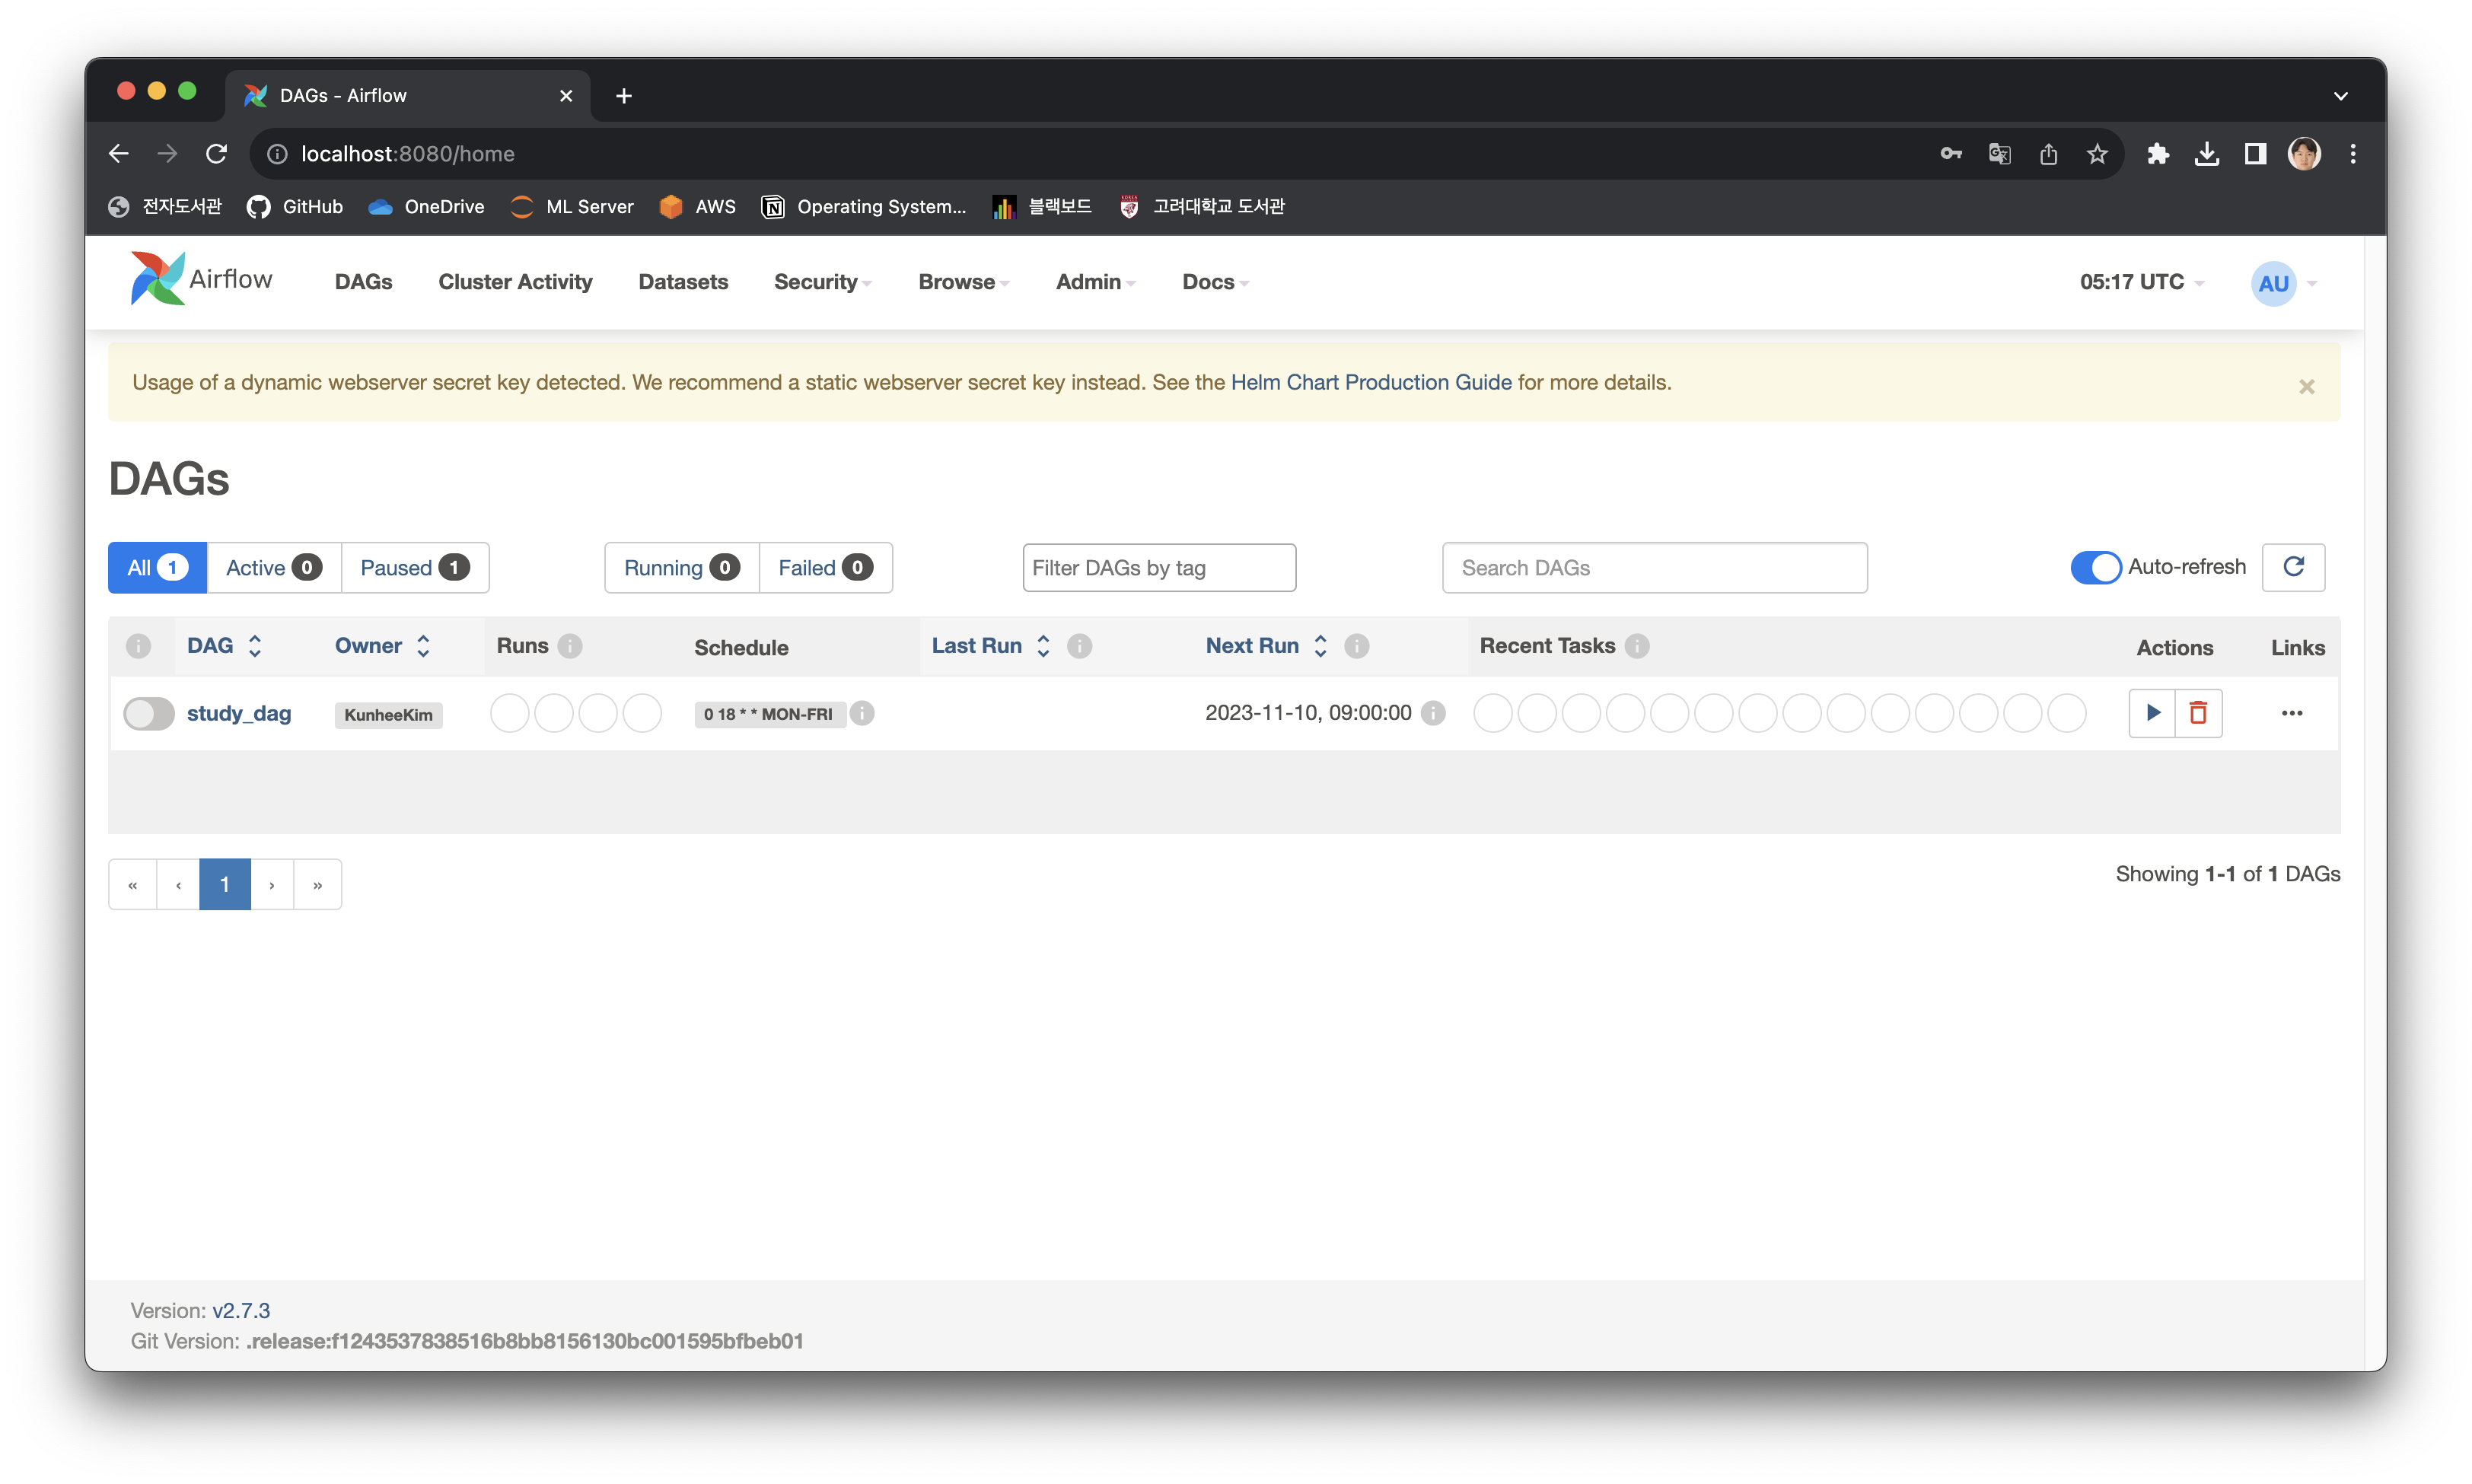
subPath: "week4/dags" # 알아서 수정!
sshKeySecret: airflow-ssh-git-secretDag가 문제 없이 불러와진 것을 확인할 수 있다.
4. Volume Mount로 데이터 접근 및 저장하기
로컬 데이터에 Worker가 작업 수행을 위해 Read/Write 하기 위해, 해당 데이터가 Worker Pod에 Mount 되어야 한다. 이떄 2. 에서와 마찬가지로, container들은 Minikube 가상환경에서 파일 Mount를 수행하기 때문에, 우선 로컬 디렉토리를 Minikube 가상환경에 Mount 한 후, 해당 디렉토리를 airflow container에 Mount 해야한다.
- 로컬 디렉토리를 Minikube 가상환경에 Mount
- 해당 디렉토리를 Container에 Volume Mount하도록 values.yaml 수정
minikube mount "./data:/data" # data 폴더를 Minikube 가상환경에 /data 디렉토리로 마운트다음과 같이 Volume Mount를 설정한다. Values.yaml 파일에 Volume Mount가 Container마다 가능한데, Worker에서만 파일 접근이 필요하므로 Worker에 대해 Mount를 설정해 준다.
# Mount additional volumes into worker. It can be templated like in the following example:
#   extraVolumes:
#     - name: my-templated-extra-volume
#       secret:
#          secretName: '{{ include "my_secret_template" . }}'
#          defaultMode: 0640
#          optional: true
#
#   extraVolumeMounts:
#     - name: my-templated-extra-volume
#       mountPath: "{{ .Values.my_custom_path }}"
#       readOnly: true
extraVolumes:
  - name: data
    hostPath:
      path: /data
extraVolumeMounts:
  - name: data
    mountPath: /opt/airflow/data
    readOnly: false
Upgrade를 수행해 주면 모든 설정이 완료된다. 다음과 같이 Workflow가 문제 없이 수행된다!