네비게이션 생성하기
Nav 컴포넌트 생성 후 Import
<App.js>
import './App.css';
import Nav from './components/Nav';

function App() {
  return (
    <div className="App">
      <Nav />
    </div>
  );
}

export default App;
UI 완성하기
<Nav.js>
import React from 'react'
import "./Nav.css"
export default function Nav() {
    return (
        <nav className='nav'>
            <img
                alt='Netflix logo'
                src="https://upload.wikimedia.org/wikipedia/commons/thumb/0/08/Netflix_2015_logo.svg/400px-Netflix_2015_logo.svg.png"
                className='nav__logo'
                onClick={() => window.location.reload()}
            />
            <img
                alt="User logged"
                src="https://upload.wikimedia.org/wikipedia/commons/0/0b/Netflix-avatar.png?20201013161117"
                className='nav__avatar'
            />
        </nav>
    )
}
CSS
<Nav.css>
.nav {
    position: fixed;
    top: 0;
    width: 100%;
    height: 30px;
    z-index: 1;
    padding: 20px;
    display: flex;
    justify-content: space-between;
    align-items: center;
    transition-timing-function: ease-in;
    transition: all 0.5s;
}

.nav__black {
    background-color: #111;
}

.nav__logo {
    position: fixed;
    left: 40px;
    width: 80px;
    object-fit: contain;
}

.nav__avatar {
    position: fixed;
    right: 40px;
    width: 30px;
    object-fit: contain;
}
스크롤 시 NavBar 색깔 변경
<Nav.js>
import React, { useEffect, useState } from 'react'
import "./Nav.css"
export default function Nav() {
    const [show, setShow] = useState(false);

    useEffect(() => {
        window.addEventListener("scroll", () => {
            console.log('window.scrollY',window.scrollY);
            if(window.scrollY > 50) {
                setShow(true);
            } else {
                setShow(false);
            }
        })

        return () => {
            window.removeEventListener("scroll", () => {});
        };
    }, []);


    return (
        <nav className='nav'>
            <img
                alt='Netflix logo'
                src="https://upload.wikimedia.org/wikipedia/commons/thumb/0/08/Netflix_2015_logo.svg/400px-Netflix_2015_logo.svg.png"
                className='nav__logo'
                onClick={() => window.location.reload()}
            />
            <img
                alt="User logged"
                src="https://upload.wikimedia.org/wikipedia/commons/0/0b/Netflix-avatar.png?20201013161117"
                className='nav__avatar'
            />
        </nav>
    )
}

스크롤을 내리면 다음과 같이 콘솔창에서 값이 변하는 것을 알 수 있다.
우리는 스크롤을 일정 높이 내리면 Navigation bar가 검정색으로 변하는 것을 만들고 싶다.
그러면 nav태그를 다음과 같이 변경하면 된다.
<nav className={`nav ${show && "nav__black"}`}>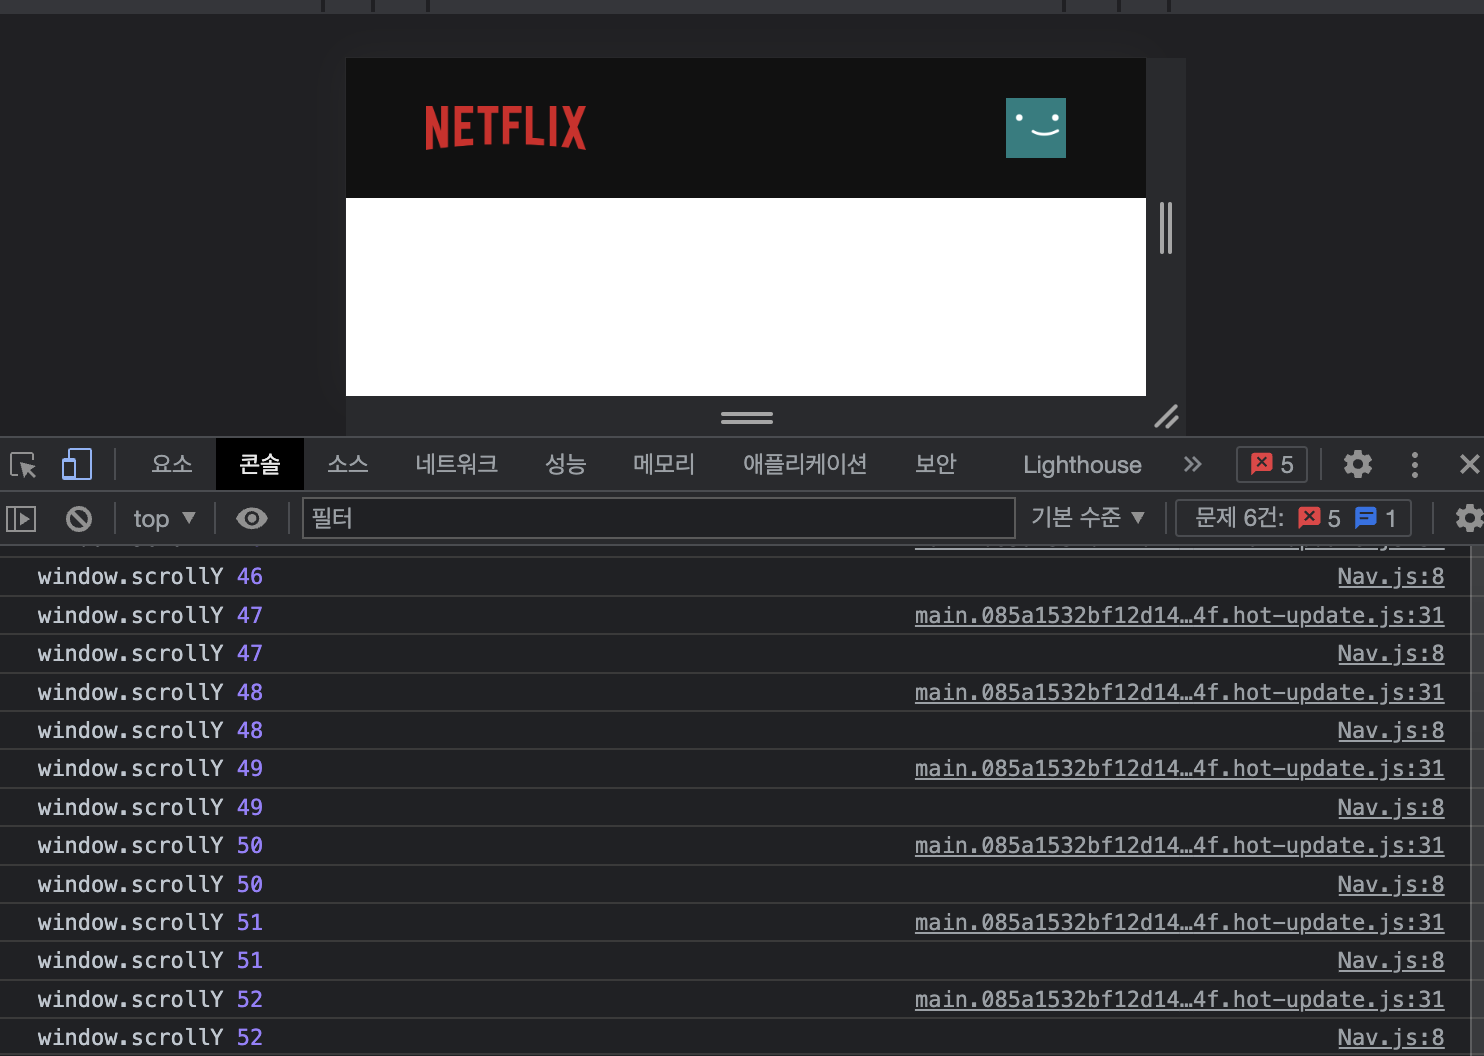
이미지 배너 생성하기
배너로 사용할 이미지 정보 가져오기
자바스크립트로 랜덤 숫자 가져오기
Math.floor(Math.random() * max);<Banner.js>
import axios from '../api/axios';
import React, { useEffect, useState } from 'react'
import requests from '../api/requests';

export default function Banner() {
    const [movie, setMovie] = useState([]);
    useEffect(() => {
        fetchData();
    }, []);

    const fetchData = async () => {
        //현재 상영중인 영화 정보를 가져오기(여러 영화)
        const request = await axios.get(requests.fetchNowPlaying);

        //여러 영화 중 영화 하나의 ID를 가져오기
        const movieId = request.data.results[
            Math.floor(Math.random() * request.data.results.length)
        ].id;

        //특정 영화의 더 상세한 정보를 가져오기(비디오 정보도 포함)
        const {data: movieDetail} = await axios.get(`movie/${movieId}`, {
            params: { append_to_response: "videos" },
        });
        setMovie(movieDetail);
    };


    return (
        <div></div>
    )
}
UI 생성하기
일단 App.js의 코드는 다음과 같다. Banner.js를 import를 하고 이를 사용해줘야 한다.
import './App.css';
import Nav from './components/Nav';
import Banner from './components/Banner';

function App() {
  return (
    <div className="App">
      <Nav />
      <Banner />
    </div>
  );
}

export default App;
그리고 Banner.js를 다음과 같이 작성해준다.
<Banner.js>
import axios from '../api/axios';
import React, { useEffect, useState } from 'react'
import requests from '../api/requests';
import "./Banner.css"

export default function Banner() {
    const [movie, setMovie] = useState([]);
    useEffect(() => {
        fetchData();
    }, []);

    const fetchData = async () => {
        //현재 상영중인 영화 정보를 가져오기(여러 영화)
        const request = await axios.get(requests.fetchNowPlaying);

        //여러 영화 중 영화 하나의 ID를 가져오기
        const movieId = request.data.results[
            Math.floor(Math.random() * request.data.results.length)
        ].id;

        //특정 영화의 더 상세한 정보를 가져오기(비디오 정보도 포함)
        const {data: movieDetail} = await axios.get(`movie/${movieId}`, {
            params: { append_to_response: "videos" },
        });
        setMovie(movieDetail);
    };


    return (
        <header
            className="banner"
            style = {{
                backgroundImage : `url("https://image.tmdb.org/t/p/original/${movie.backdrop_path}")`,
                backgroundPosition: "top center",
                backgroundSize: "cover",
            }}
        >

            <div className='banner__contents'>
                <h1 className="banner__title">
                    {movie.title || movie.name || movie.orginal_name}
                </h1>

                <div className='banner__buttons'>
                    <button className='banner__button play'>Play</button>
                    <button className='banner__button info'>More Imfomation</button>
                </div>

                <h1 className='banner__description'>{movie.overview}</h1>
            </div>
            <div className="banner--fadeBottom" />
        </header>
    )
}
css를 작성하지 않은 상태에서의 결과이다.
CSS 붙여넣기
<Banner.css>
.banner {
    color: white;
    object-fit: contain;
    height: 448px;
}

@media (min-width: 1500px) {
    .banner {
        position: relative;
        height: 600px;
    }

    .banner--fadeBottom {
        position: absolute;
        bottom: 0;
        width: 100%;
        height: 40rem;
    }
}

@media (max-width: 768px) {
    .banner__contents {
        width: min-content !important;
        padding-left: 2.3rem;
        margin-left: 0px !important;
    }

    .banner__description {
        font-size: 0.8rem !important;
        width: auto !important;
    }

    .info {
        text-align: start;
        padding-right: 1.2rem;
    }

    .space {
        margin-left: 6px;
    }

    .banner__button {
        font-size: 0.8rem !important;
        border-radius: 4px !important;
    }
}

.banner__contents {
    margin-left: 40px;
    padding-top: 140px;
    height: 190px;
}

.banner__title {
    font-size: 3rem;
    font-weight: 800;
    padding-bottom: 0.5rem;
}

.banner__description {
    width: 45rem;
    line-height: 1.3;
    padding-top: 1rem;
    font-weight: 500;
    font-size: 1rem;
    max-width: 400px;
    height: 80px;
}

.banner--fadeBottom {
    height: 7.4rem;
    background-image: linear-gradient(180deg,
            transparent,
            rgba(37, 37, 37, 0.61),
            #111);
}

.banner__buttons {
    display: flex;
    flex-direction: row;
}

.banner__button {
    display: flex;
    flex-direction: row;
    justify-content: start;
    align-items: center;
    cursor: pointer;
    outline: none;
    border: none;
    font-size: 1rem;
    font-weight: 700;
    border-radius: 0.2vw;
    padding: 0.4rem 1.8rem 0.4rem 1rem;
    margin-right: 1rem;
}

.banner__button:hover {
    color: #000;
    background-color: rgba(170, 170, 170, 0.9);
    transition: all 0.2s;
}

.play {
    background-color: white;
    color: black;
}

.info {
    background-color: rgba(109, 109, 110, 0.7);
    color: white;
}

.info:hover {
    background-color: rgb(74, 74, 74);
    color: white;
}

.space {
    margin-left: 4px;
}
그리고 기존 App.css의 내용을 모두 지워준다.
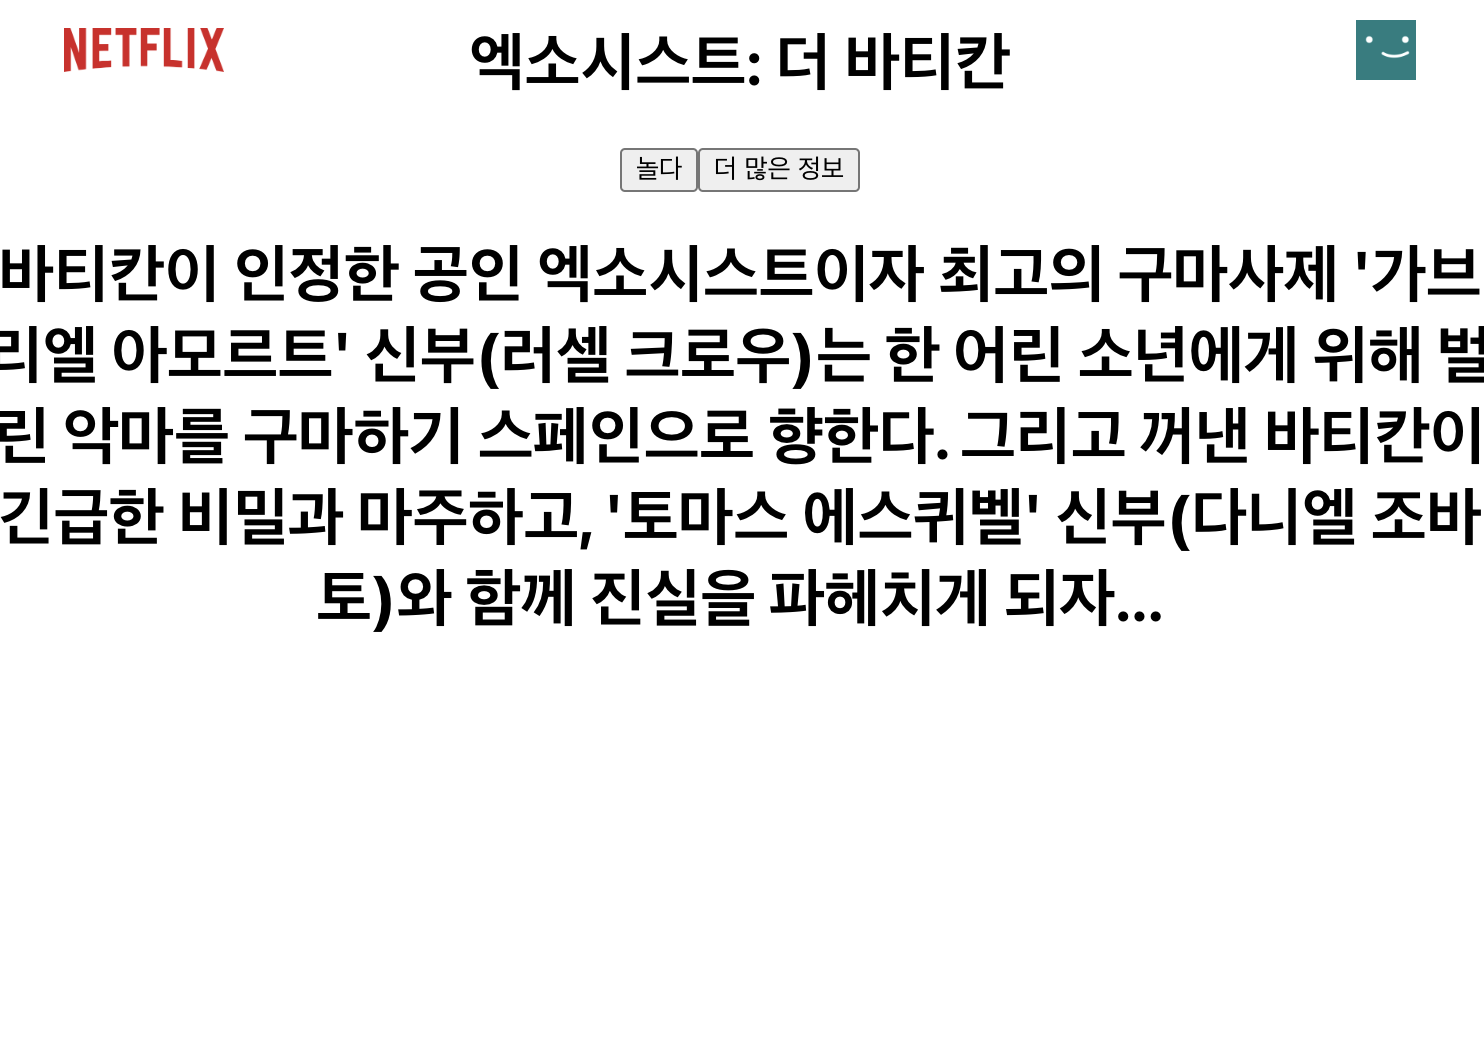
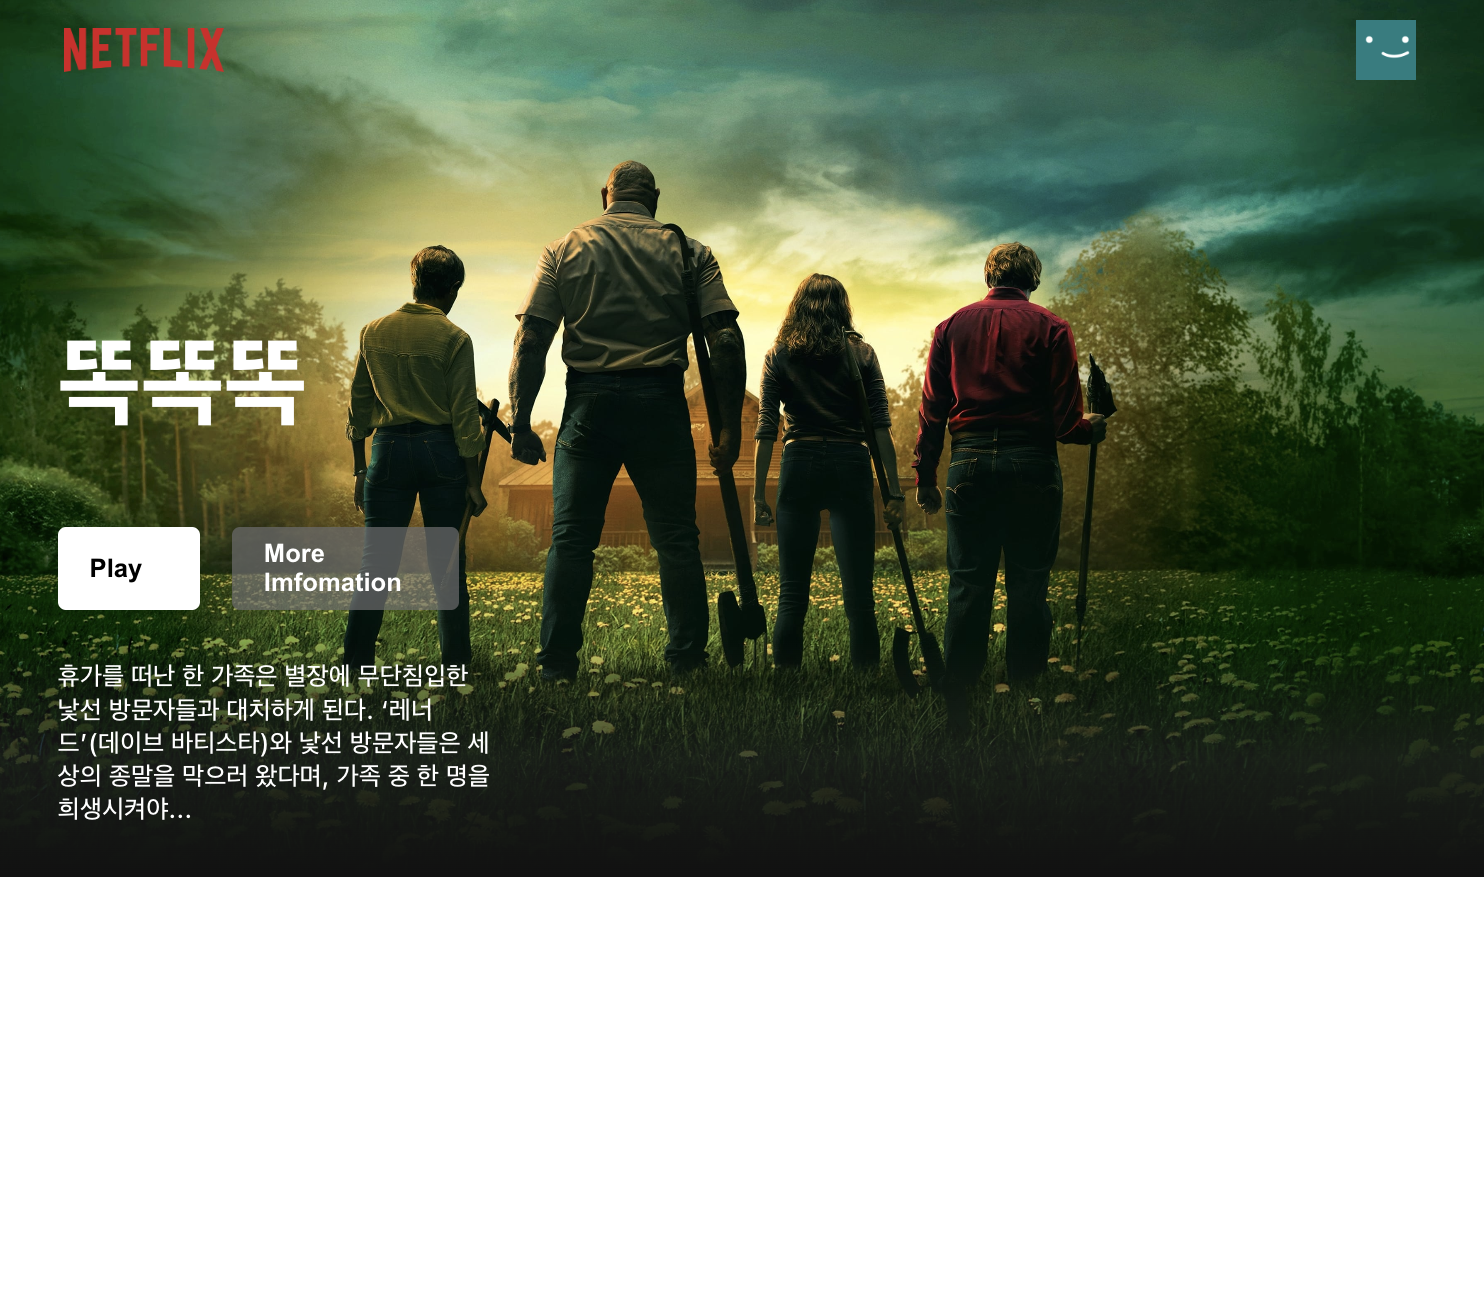
css를 적용한 결과는 다음과 같다.

설명글 100자 이상이면 자른 후 '...' 붙이기
Banner.js에서 h1태그 부분을 100글자가 넘어가면 '...'을 붙히는 truncate 함수를 불러오게끔 수정해준다.
<h1 className='banner__description'>{truncate(movie.overview, 100)}</h1>그리고 truncate함수를 작성해준다.
const truncate = (str, n) => {
	return str?.length > n ? str.substr(0, n-1) + "..." : str;
};
그러면 다음과 같이 설명글이 100자 이상이면 이후에는 '...'표시가 된다.
Styled Component 란?
Styled Component란?
Styled Component란 Css-in-JS라고 하는 Javascript 파일 안에서 CSS를 처리 할 수 있게 해주는 대
표저긴 라이브러리이다.
지금까지 css파일 만들던지, inline style로 태그 안에다가 바로 스타일을 적용시켰는데,
React에서는 여러가지 방법이 있는데, 그 중에서 Styled Component라는 라이브러리를 주로 사용한다.
자세한 설명은 아래 링크에 있다.
[https://styled-components.com/docs/basics]
설치 방법
// with npm
npm install --save styled-components

// with yarn
yarn add styled-components
Styled Component 를 이용한 비디오 배너 생성하기
Play 버튼 클릭 시 비디오로 전환
useState를 만들어 준다.
const [movie, setMovie] = useState([]);
const [isClicked, setisClicked] = useState(false); //이렇게.
그리고 Play 버튼에 onClick함수를 다음과 같이 추가해준다.
<button className='banner__button play'
onClick={() => setisClicked(true)}>Play</button>
그리고 Play 버튼을 클릭했을 때와 안했을 때의 변화를 보여주기 위해 코드를 다음과 같이 작성한다.
   if(!isClicked) {
        return (
            <header
                className="banner"
                style = {{
                    backgroundImage : `url("https://image.tmdb.org/t/p/original/${movie.backdrop_path}")`,
                    backgroundPosition: "top center",
                    backgroundSize: "cover",
                }}
            >

                <div className='banner__contents'>
                    <h1 className="banner__title">
                        {movie.title || movie.name || movie.orginal_name}
                    </h1>

                    <div className='banner__buttons'>
                        <button className='banner__button play'
                        onClick={() => setisClicked(true)}>Play</button>
                        <button className='banner__button info'>More Imfomation</button>
                    </div>

                    <h1 className='banner__description'>{truncate(movie.overview, 100)}</h1>
                </div>
                <div className="banner--fadeBottom" />
            </header>
        );
    } else { // 만약 isClicked면
        return(
            <div>
                clicked
            </div>
        )
    }
이제 Play 버튼을 클릭하면 다음과 같은 결과를 보여준다.
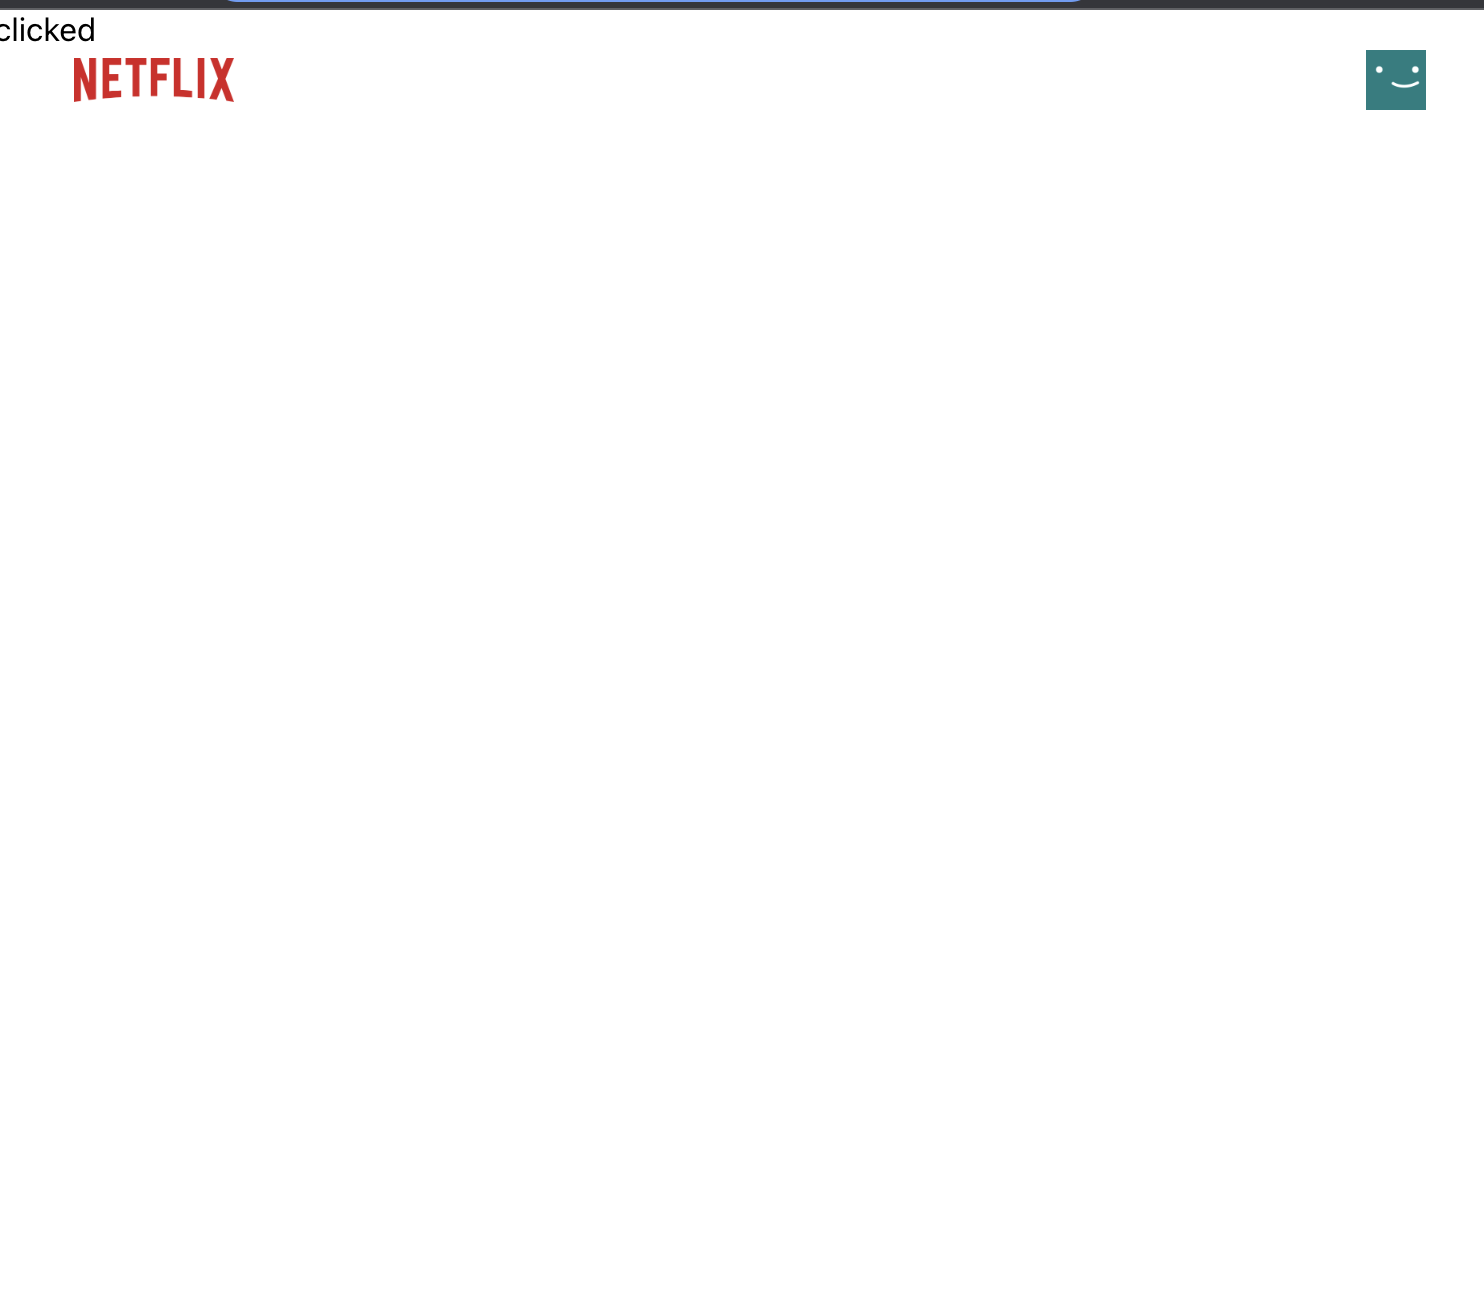
컨테이너 / Styled Component를 이용한 UI 생성
} else { // 만약 isClicked면
return(
<Container>
<HomeContainer>
clicked
</HomeContainer>
</Container>
)
}
}
const Container = styled.div`
display: flex;
justify-content: center;
align-items: center;
flex-direction: column;
width: 100%;
height: 100vh;
`
const HomeContainer = styled.div`
width: 100%;
height: 100%;
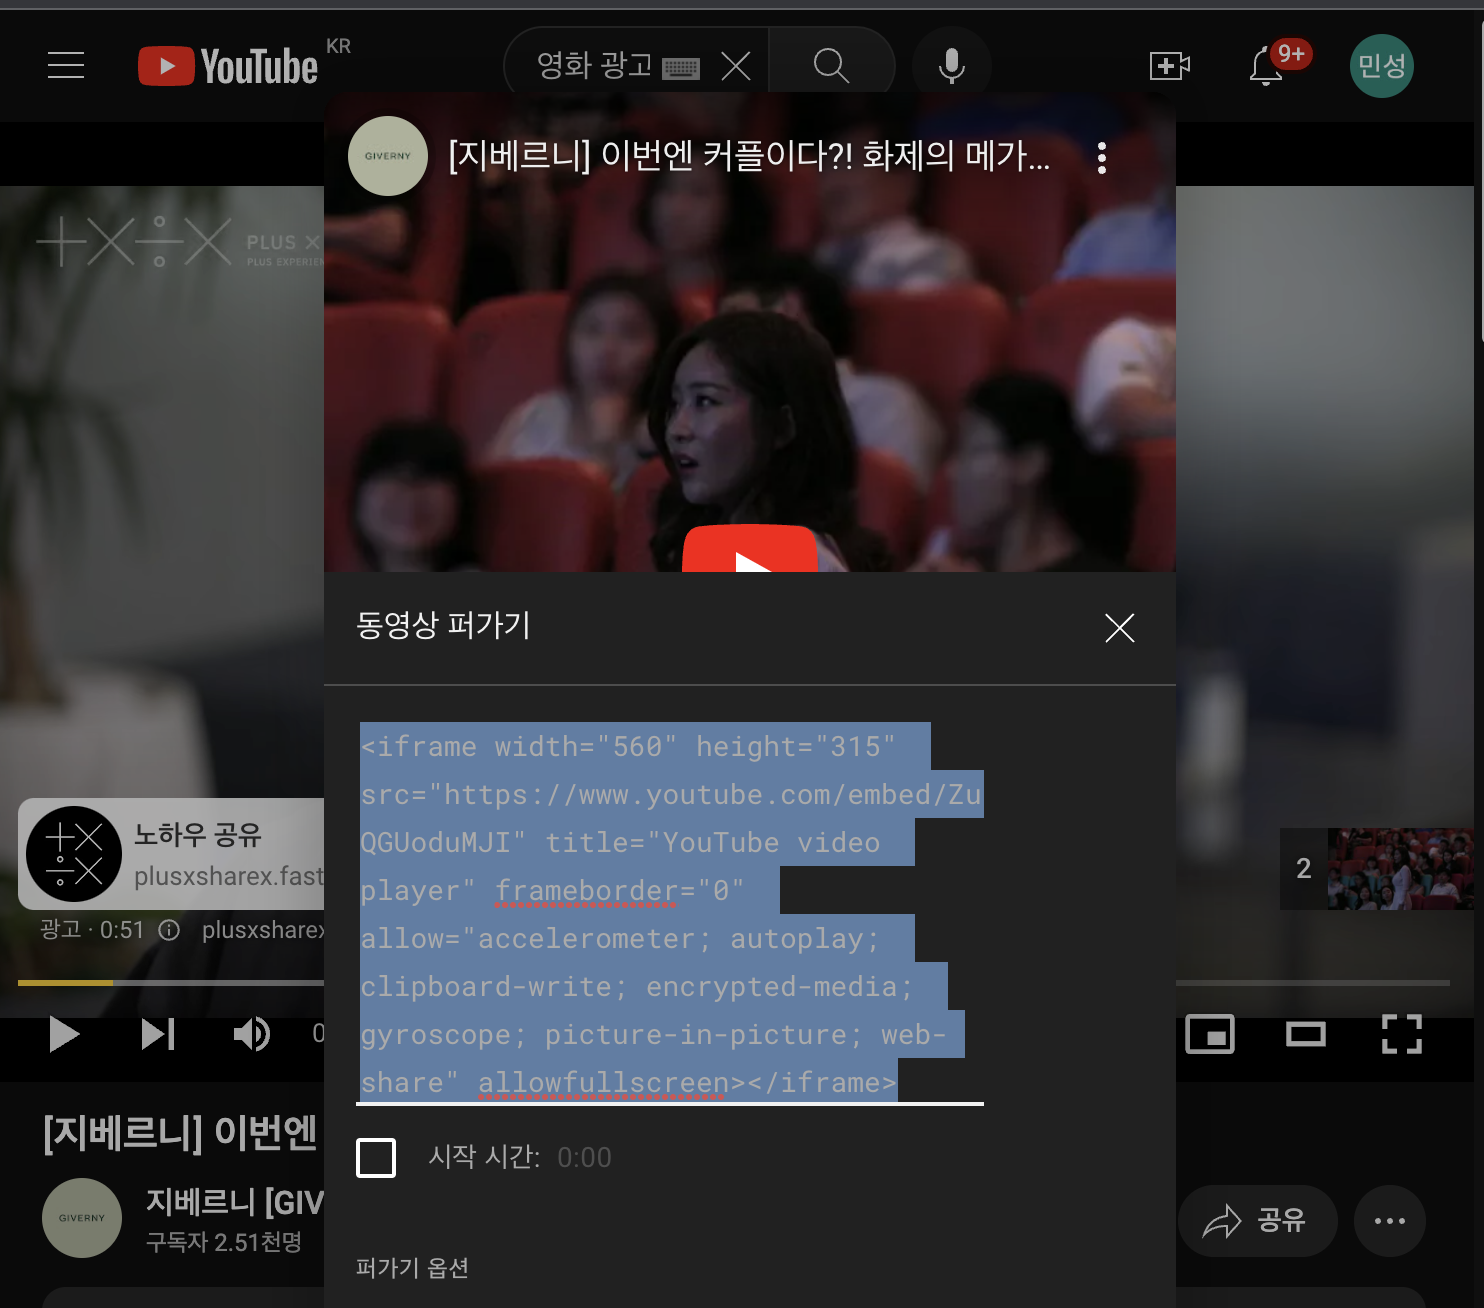
`Iframe
아이프레임은 HTML Inline Frame 요소이며 inline frame의 약자이다.
효과적으로 다른 HTML 페이지를 현재 페이지에 포함시키는 중첩된 브라우저로 iframe 요소를 이용하면 해당 웹 페이지 안에 어떠한 제한 없이 다른 페이지를 불러와서 삽입할 수 있다.
다음과 같이 iframe 요소를 가져온다.
그리고 Banner.js 코드를 다음과 같이 작성해준다.
<Banner.js>
import axios from '../api/axios';
import React, { useEffect, useState } from 'react'
import requests from '../api/requests';
import "./Banner.css"
import styled from 'styled-components';
export default function Banner() {
const [movie, setMovie] = useState([]);
const [isClicked, setisClicked] = useState(false);
useEffect(() => {
fetchData();
}, []);
const fetchData = async () => {
//현재 상영중인 영화 정보를 가져오기(여러 영화)
const request = await axios.get(requests.fetchNowPlaying);
//여러 영화 중 영화 하나의 ID를 가져오기
const movieId = request.data.results[
Math.floor(Math.random() * request.data.results.length)
].id;
//특정 영화의 더 상세한 정보를 가져오기(비디오 정보도 포함)
const {data: movieDetail} = await axios.get(`movie/${movieId}`, {
params: { append_to_response: "videos" },
});
setMovie(movieDetail);
};
const truncate = (str, n) => {
return str?.length > n ? str.substr(0, n-1) + "..." : str;
};
if(!isClicked) {
return (
<header
className="banner"
style = {{
backgroundImage : `url("https://image.tmdb.org/t/p/original/${movie.backdrop_path}")`,
backgroundPosition: "top center",
backgroundSize: "cover",
}}
>
<div className='banner__contents'>
<h1 className="banner__title">
{movie.title || movie.name || movie.orginal_name}
</h1>
<div className='banner__buttons'>
<button className='banner__button play'
onClick={() => setisClicked(true)}>Play</button>
<button className='banner__button info'>More Imfomation</button>
</div>
<h1 className='banner__description'>{truncate(movie.overview, 100)}</h1>
</div>
<div className="banner--fadeBottom" />
</header>
);
} else {
const videoKey = movie.videos?.results?.length > 0 ? movie.videos.results[0].key : null;
if (videoKey) {
return (
<Container>
<HomeContainer>
<Iframe
width="640"
height="360"
src={`https://www.youtube.com/embed/${videoKey}?controls=0&autoplay=1&loop=1&mute=1&playlist=${videoKey}`}
title="YouTube video player"
frameborder="0"
allow="autoplay; fullscreen"
allowfullscreen
></Iframe>
</HomeContainer>
</Container>
);
} else {
// 여기에 비디오가 없을 경우에 대한 처리를 작성하십시오.
}
}
}
const Iframe = styled.iframe`
width: 100%;
height: 100%;
z-index: -1;
opacity: 0.65;
border: none;
&::after {
content: "";
position: absolute;
top: 0;
left: 0;
width: 100%;
height: 100%;
}
`
const Container = styled.div`
display: flex;
justify-content: center;
align-items: center;
flex-direction: column;
width: 100%;
height: 100vh;
`
const HomeContainer = styled.div`
width: 100%;
height: 100%;
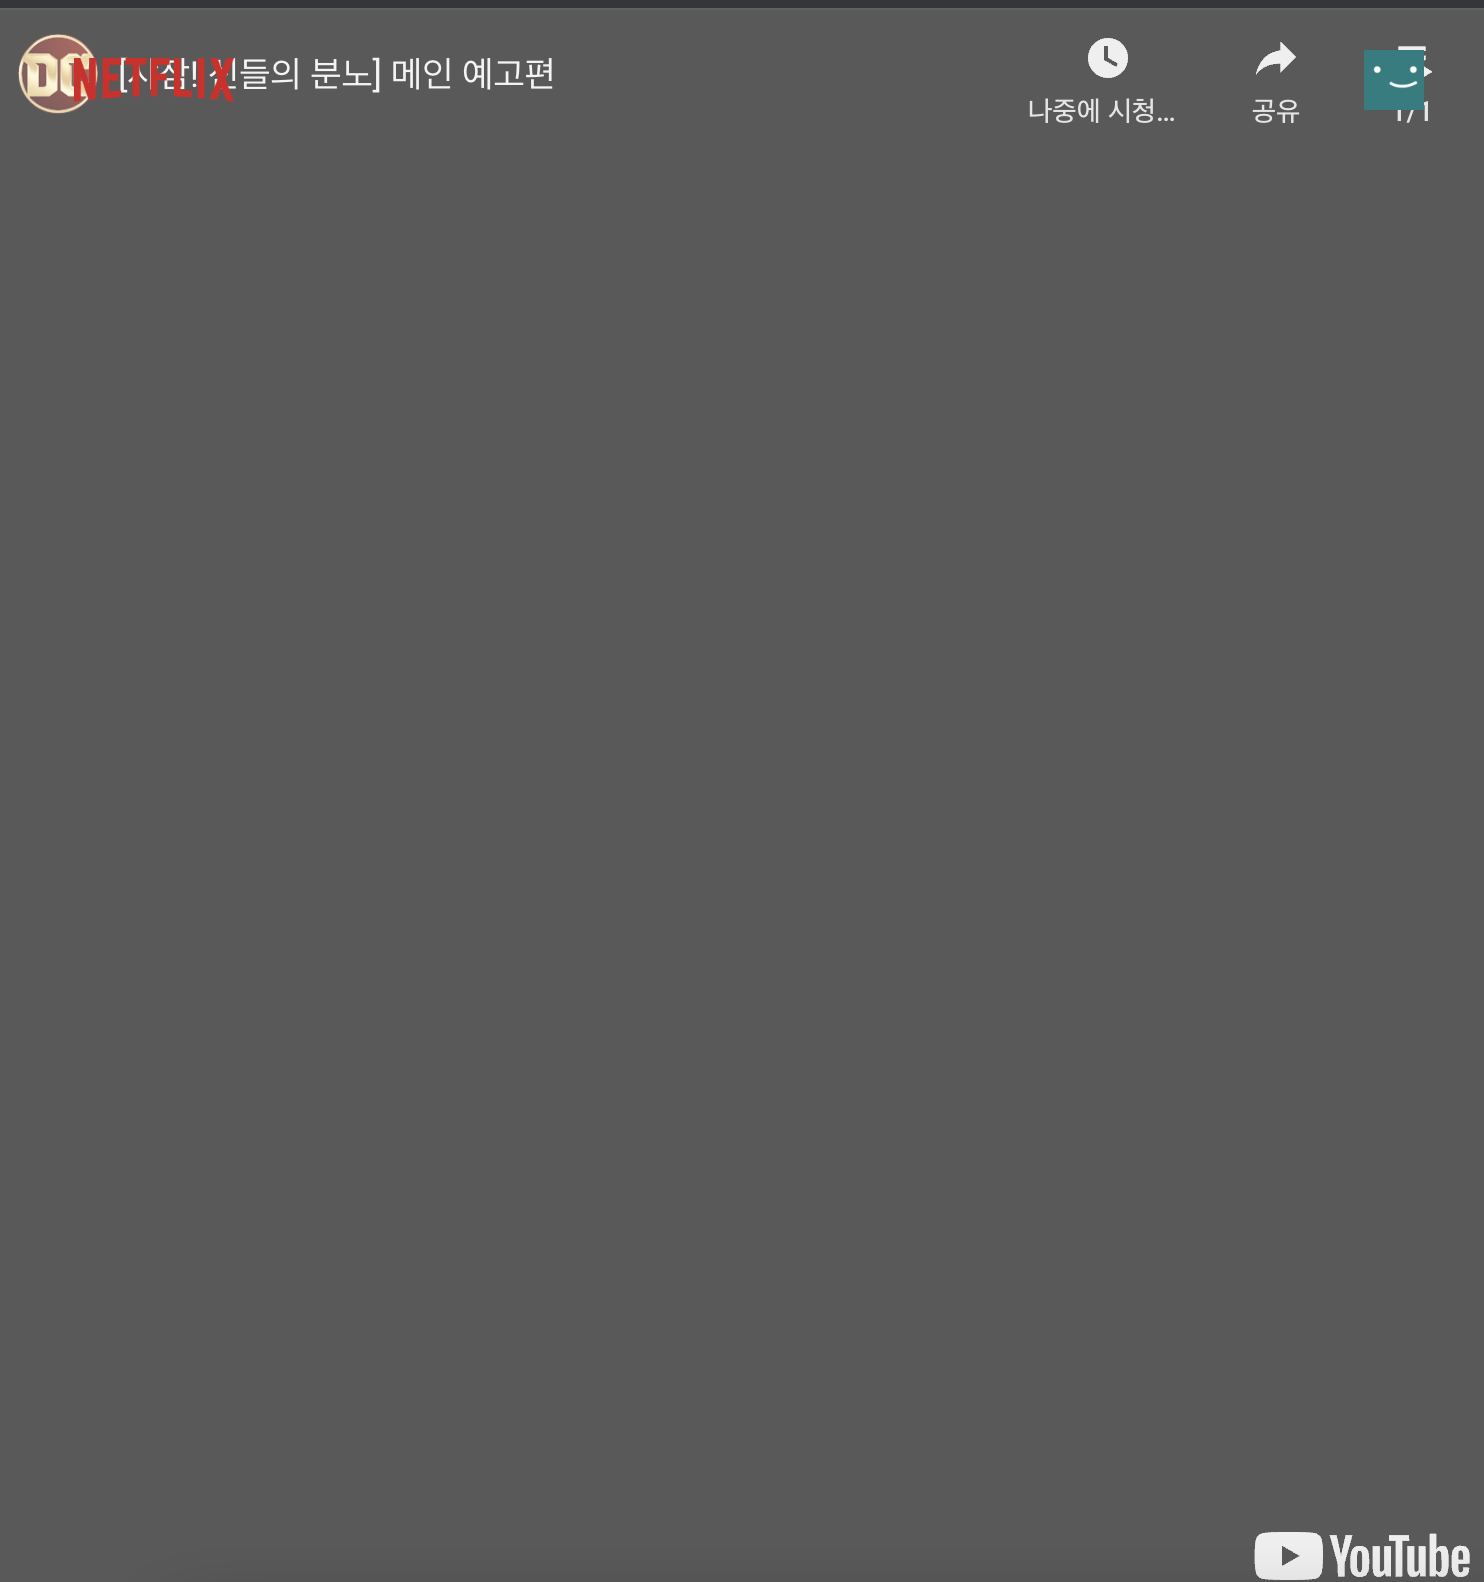
`이제 play 버튼을 누르면 다음과 같이 영화 예고편이 재생되는 것을 알 수 있다.