
useDebounce Custom Hooks 만들기
Debounce가 무엇인가요?
debounce를 사용하면 검색 입력에 입력할 때 입력 결과가 나타날 때까지 지연이 생긴다. 이 기능은 debounce(디바운스)라는 function에 의해 제어된다. debounce function은 미리 결정된 시간 동안 사용자가 타이핑을 멈출 때까지 keyup 이벤트의 처리를 지연시킨다.
이렇게 하면 UI 코드가 모든 이벤트를 처리할 필요가 없어지고, 서버로 전송되는 API 호출 횟수도 크게 줄어든다. 입력된 모든 문자를 처리하면 성능이 저하되고 백엔드에 불필요한 로드가 추가될 수 있다.
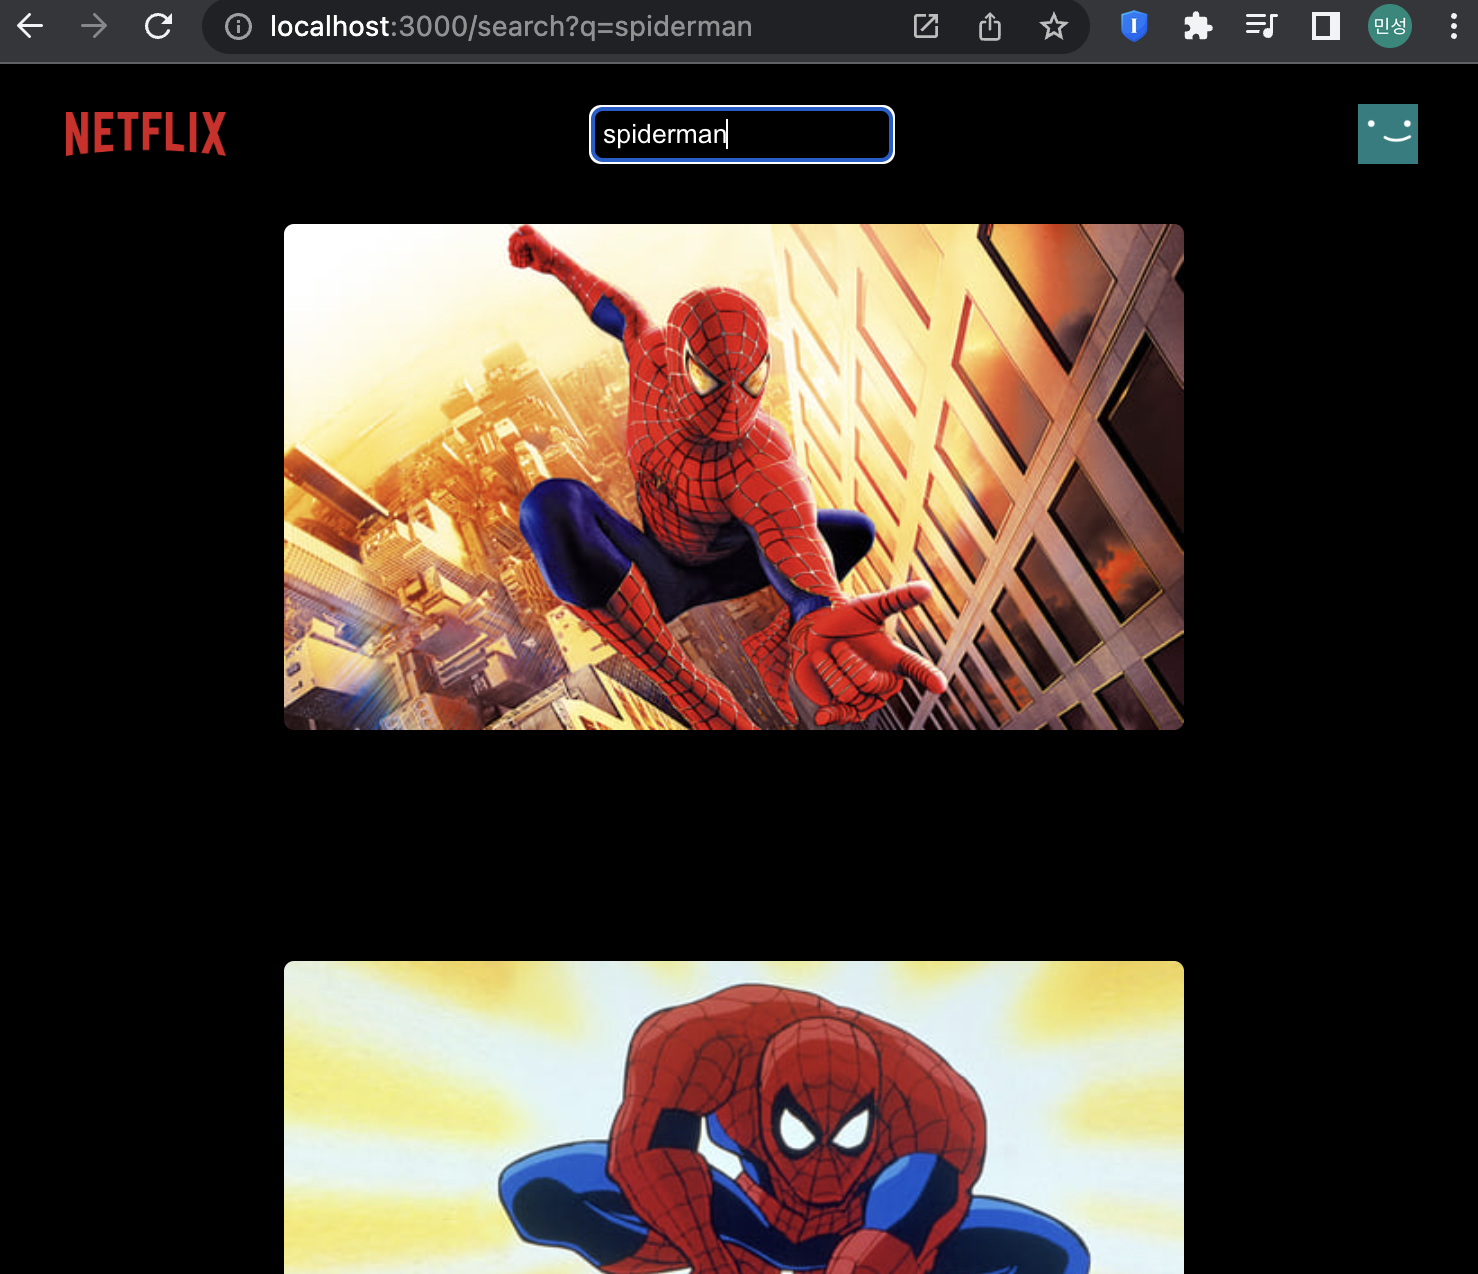
쉽게 설명하자면, 이전에 spiderman을 검색할 때, s, sp, spi, spid, spide, spider, spiderm, spiderma, spiderman 하나하나 이벤트를 처리하고, 모두 API를 호출시켰다. 만약 사용자가 spider을 입력하고 일정시간 타이핑을 멈췄다가, man을 이후에 입력한다면 'spider'와 'spiderman'에 해당하는 이벤트 처리와 API 호출만 하면 된다. 이로써 8번에서 2번으로 줄일 수 있어 성능 향상에 도움이 된다.
hooks 폴더 및 파일 생성
useDebounce Hooks 생성
<useDebounce.js>
import { useState, useEffect } from "react";

export const useDebounce = (value, delay) => {
    const [debounceValue,  setDebounceValue] = useState(value);

    useEffect(() => {

        const handler = setTimeout(() => {
            setDebounceValue(value)
        }, delay);

        return () => {
            clearTimeout(handler)
        };
    }, [value, delay]);

    return debounceValue;
}
searchTerm => debouncedSearchTerm
<SearchPage/index.js>
import axios from '../../api/axios';
import React, { useEffect, useState } from 'react'
import { useLocation } from 'react-router-dom'
import { useDebounce } from '../../hooks/useDebounce'; // useDebounce 커스텀 훅을 불러옵니다.
import "./SearchPage.css"
export default function SearchPage() {
const [searchResults, setSearchResults] = useState([]);
const useQuery =() => {
return new URLSearchParams(useLocation().search)
}
let query = useQuery();
const searchTerm = query.get("q")
const debouncedSearchTerm = useDebounce(searchTerm, 500); // 검색어를 500ms 간격으로 디바운스 합니다.
console.log('searchTerm',searchTerm);
useEffect(() => {
if(debouncedSearchTerm) { // 디바운스된 검색어가 있을 경우
fetchSearchMovie(debouncedSearchTerm); // 디바운스된 검색어를 이용해 영화를 검색합니다.
}
}, [debouncedSearchTerm]);
const fetchSearchMovie = async (searchTerm) => {
try {
const request = await axios.get(
`/search/multi?include_adult=false&query=${searchTerm}`
)
console.log(request);
setSearchResults(request.data.results);
} catch (error) {
console.log("error", error)
}
}
const renderSearchResults = () => {
return searchResults.length > 0 ? (
<section className="search-container">
{searchResults.map((movie) => {
if(movie.backdrop_path !== null && movie.media_type !== "person") {
const movieImageUrl =
"https://image.tmdb.org/t/p/w500" + movie.backdrop_path
return(
<div className='movie' key = {movie.id}>
<div
className="movie__column-poster"
>
<img
src={movieImageUrl} alt="movie"
className='movie__poster'
/>
</div>
</div>
)
}
})}
</section>
) : (
<section className='no-results'>
<div className='no-results__text'>
<p>찾고자 하는 검색어"{debouncedSearchTerm}"에 맞는 영화가 없습니다.</p>
</div>
</section>
)
}
return renderSearchResults();
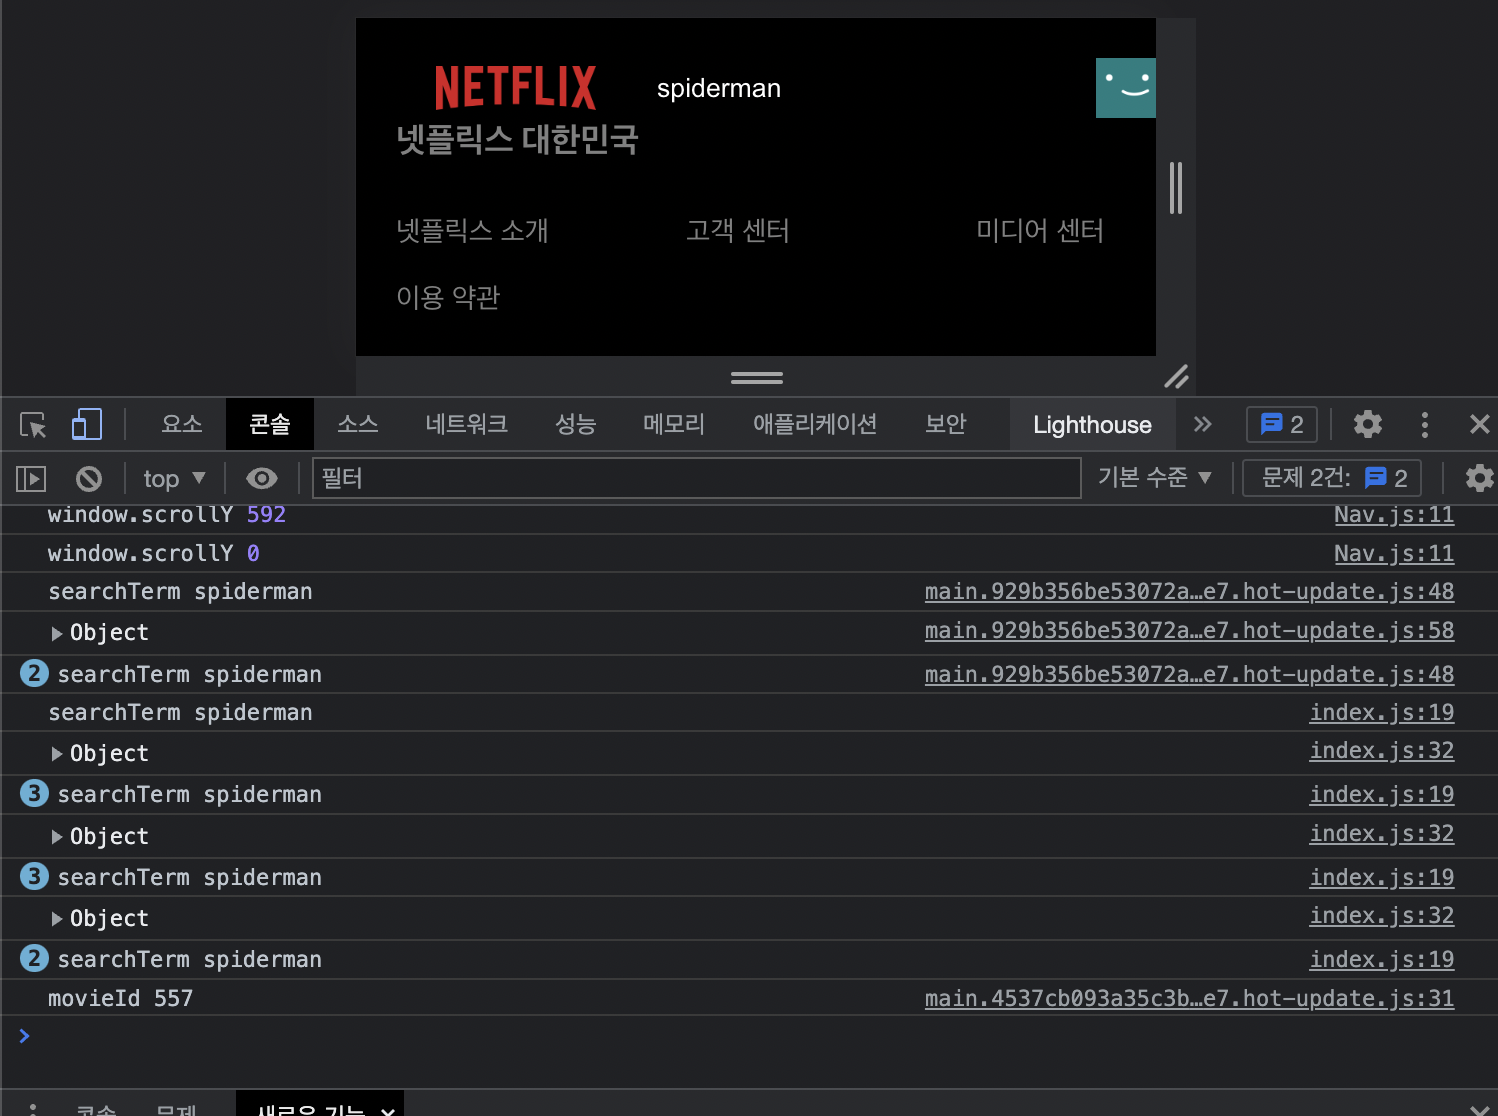
}위 코드를 모두 적용시키고 콘솔창을 확인해보면,

위와 같이 2번만 요청을 보내는 것을 확인할 수 있다.
타자가 더 빠르다면 1번만 요청을 보낼 수 있을지도 모른다.
영화 상세 페이지 구현
포스터 클릭 시 상세 페이지로
여기서 영화 하나를 클릭하면,
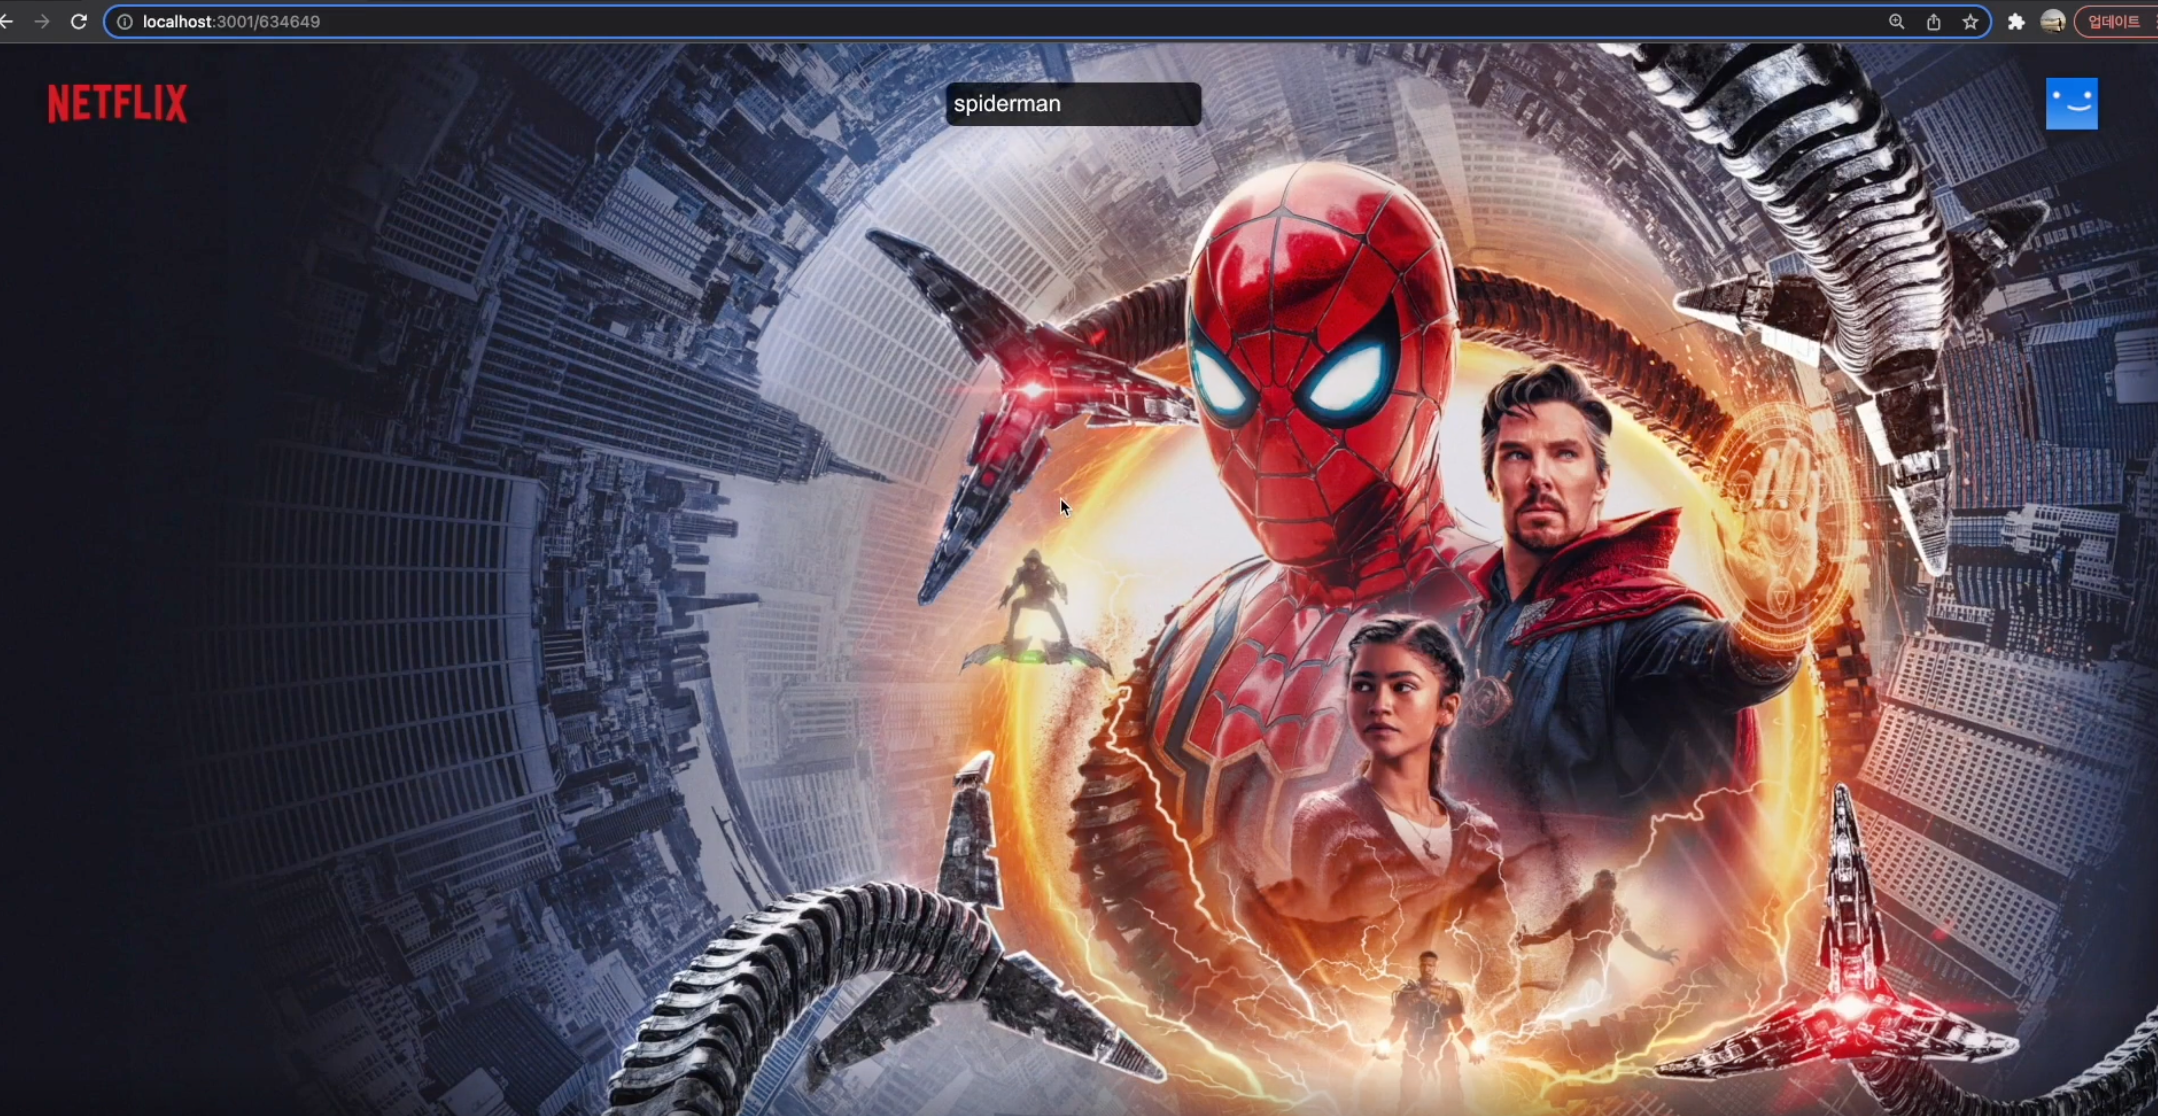
위와 같이 상세페이지로 넘어가는 것을 구현해보자.
상세 페이지에서 영화 상세 정보 가져오기
SearchPage/index.js에
const navigate = useNavigate();이 부분과
 <div className='movie' key = {movie.id}>
<div onClick={() => navigate(`/${movie.id}`)} className="movie__column-poster">
위와 같이 onClick도 추가해주면 상세정보 화면으로 넘어가는 것을 볼 수 있다.
그리고 이제 DetailPage/index.js를 작성해준다.
<DetailPage/index.js>
import React from 'react'
import { useParams } from 'react-router-dom';
export default function DetailPage() {
const { movieId } = useParams();
console.log('movieId', movieId);
return (
<div>DetailPage</div>
)
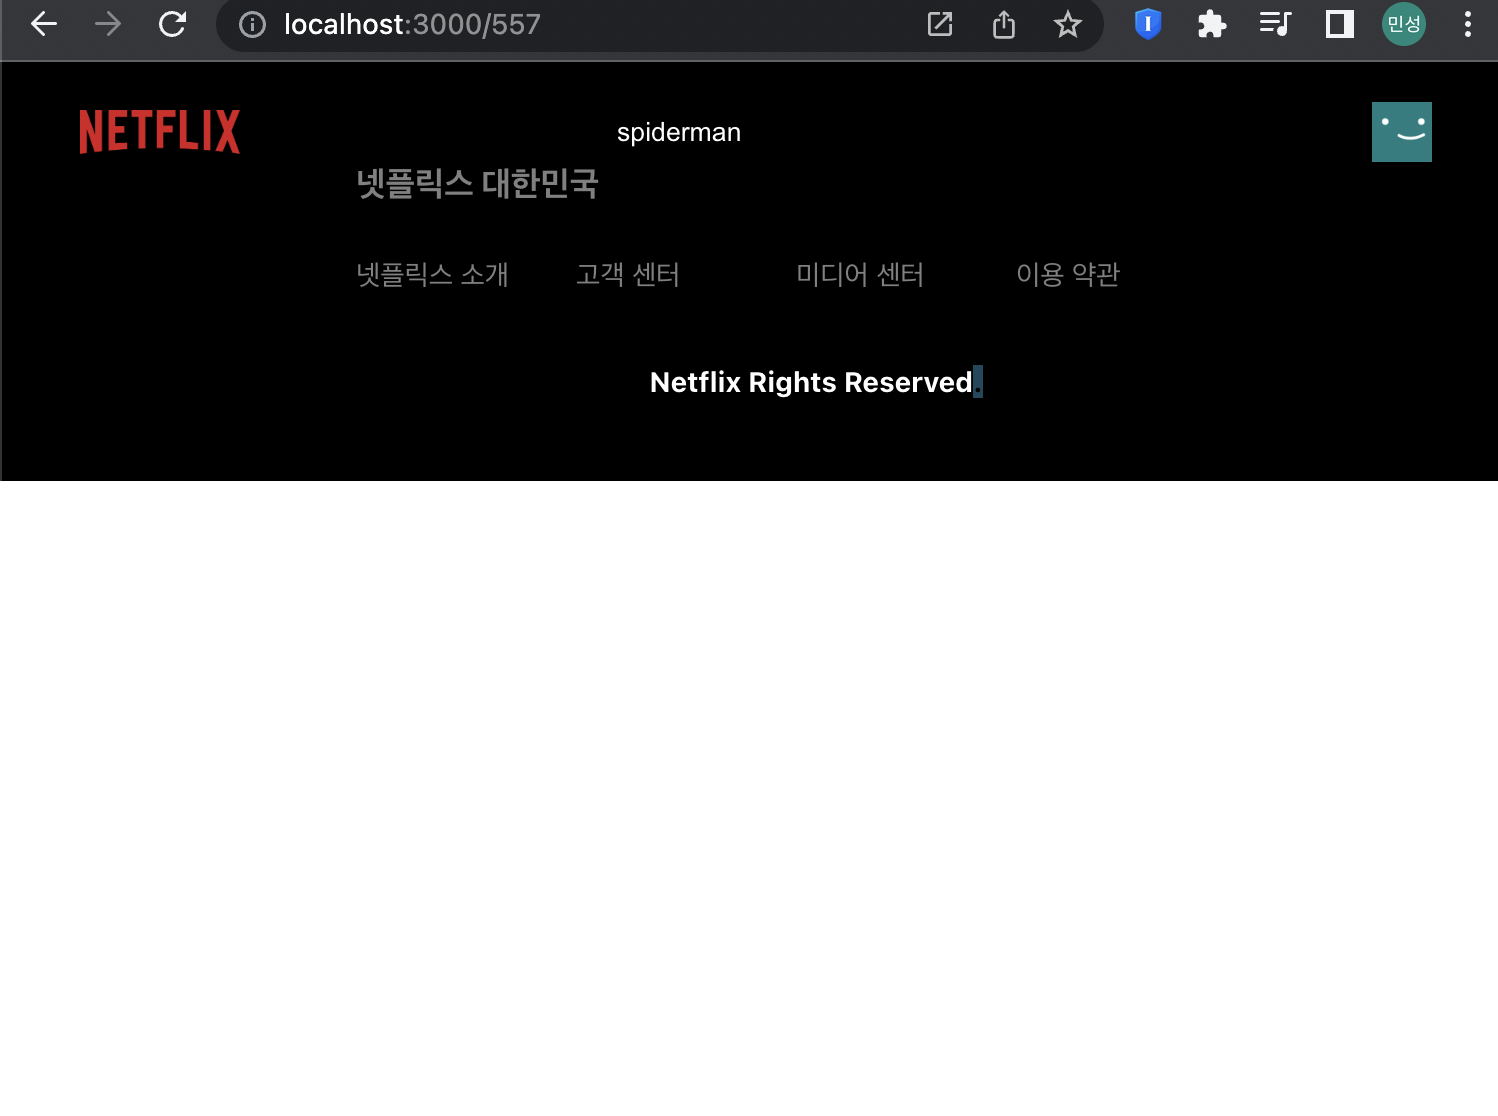
}콘솔 창에서 확인해보면,
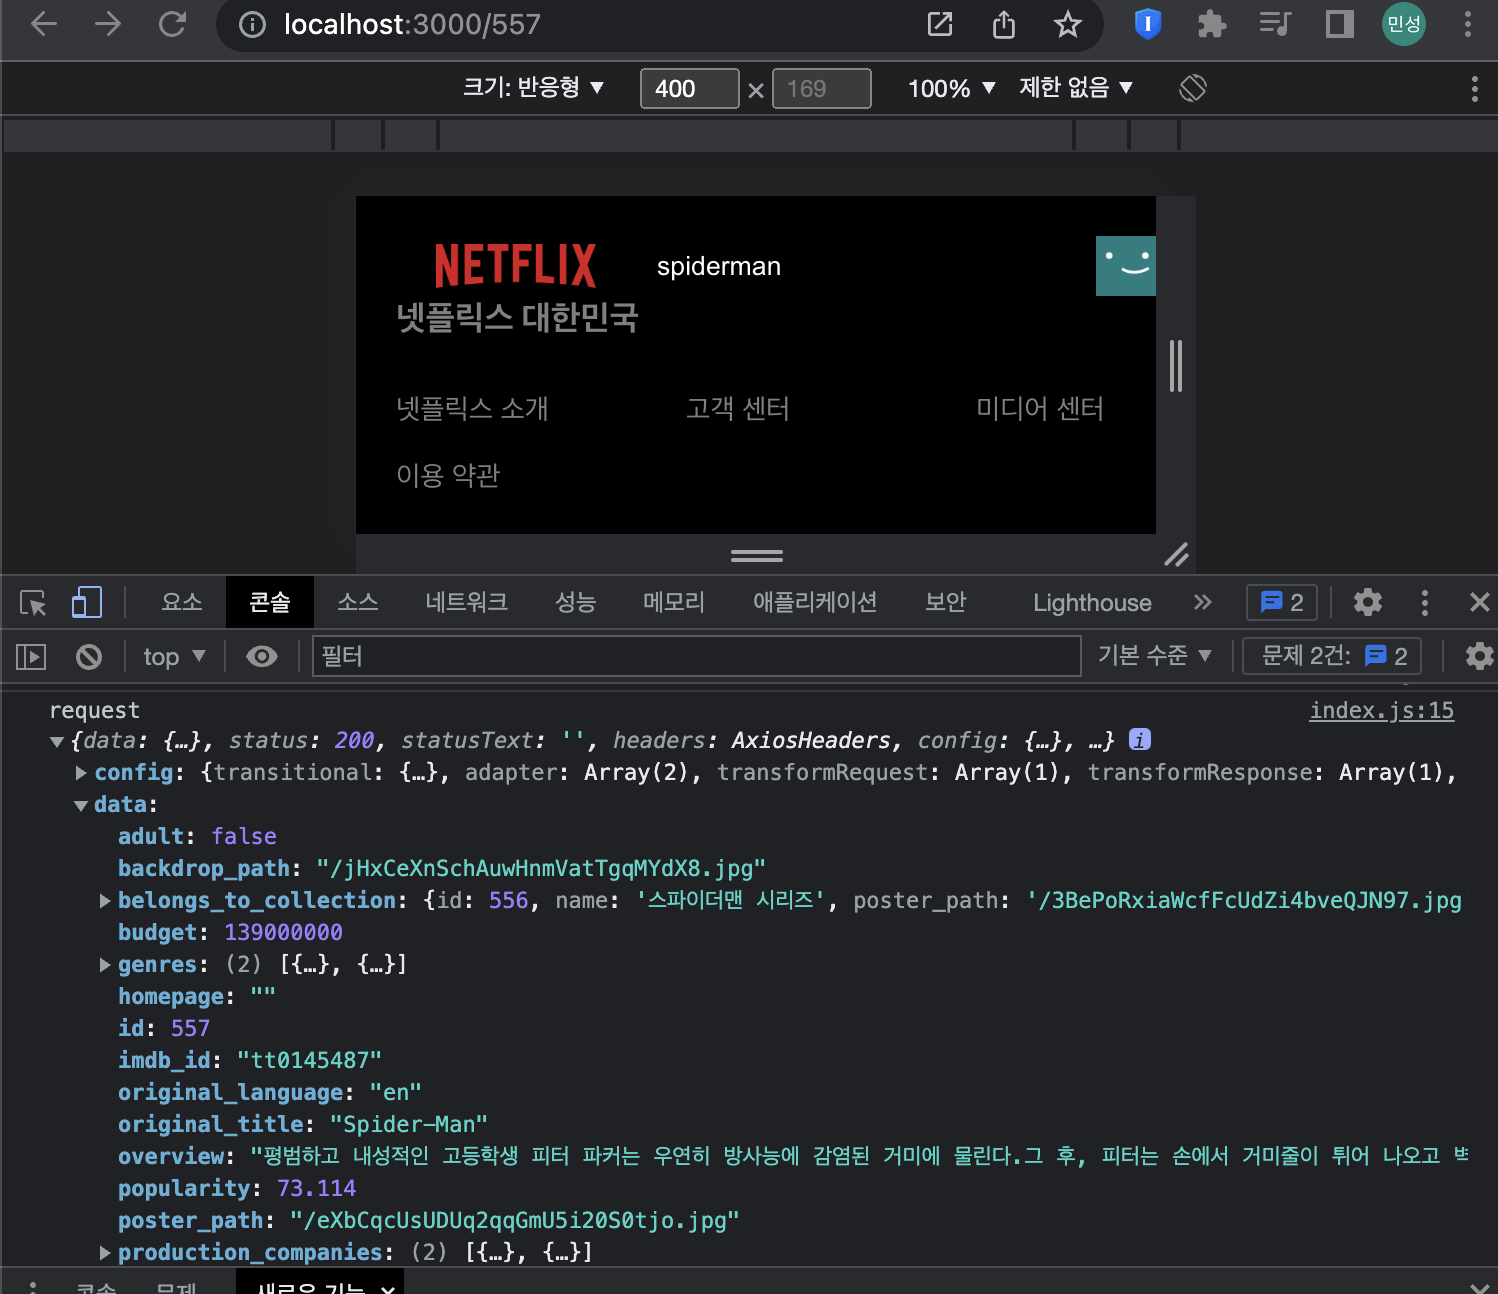
movieId 557을 확인할 수 있는데, movieId가 잘 전달된 것을 확인할 수 있다.
그리고 영화의 data를 가져오는 코드를 추가하자.
<DetailPage/index.js>
import React from 'react'
import { useEffect } from 'react';
import { useParams } from 'react-router-dom';
import axios from '../../api/axios';

export default function DetailPage() {
  const { movieId } = useParams();
  console.log('movieId', movieId);

  useEffect(() => {
    async function fetchData()  {
      const request = await axios.get (
        `/movie/${movieId}`
      )
      console.log('request', request);
    }
    fetchData();
  }, []);

  return (
    <div>DetailPage</div>
  )
}
영화의 data를 잘 가져오는 것을 확인할 수 있다.
<DetailPage/index.js>
import React from 'react'
import { useEffect, useState } from 'react';
import { useParams } from 'react-router-dom';
import axios from '../../api/axios';

export default function DetailPage() {
  const { movieId } = useParams();
  const[movie, setMovie] = useState({}); // 영화 정보 가져온 것을 state에 넣어줘야 한다.

  useEffect(() => {
    async function fetchData()  {
      const request = await axios.get (`/movie/${movieId}`);
      setMovie(request.data); // 정보들을 movie state에 넣어준다.
    }
    fetchData();
  }, [movieId]); // movieId가 바뀔 때마다 fetchData를 call해주기

  return (
    <div>DetailPage</div>
  )
}
UI 완성하기
DetailPage/index.js에 아래의 코드를 추가하면 영화를 클릭했을 때, 상세 페이지에서 상세 이미지가 잘 들어온 것을 확인할 수 있다.
  if(!movie) return <div>...loading</div>; // movie가 없을 때는 loading 텍스트 보여주기

  return <section>
  <img
  className='modal__poster-img'
  src= {`https://image.tmdb.org/t/p/original/${movie.backdrop_path}`}
  alt="poster"
  />
  </section>
}
모달 창 외부 클릭 시 모달 닫게 만드는 Custom Hooks 생성

x버튼을 클릭해서 모달 창을 닫는 것이 아닌, 모달 창의 외부를 클릭하면 모달 창이 닫히는 Custom Hooks를 만들어보자.

다음과 같은 순서로 코드를 작성해볼 것이다.

어디를 클릭하는 지 구분 (모달 창 안 or 밖)
useRef란?
특정 DOM을 선택할 때 사용하는 React Hooks이다. 이 useRef를 사용해서 모달 창 안인지, 밖인지 확인할 것이다.
보통 Javascript 에서는
getElementById, querySelector 같은 DOM Selector 함수를 사용해서 DOM을 선택한다.
React에서는
ref라는 것을 이용해서 DOM을 선택한다.
- 클래스 컴포넌트 : React.createRef
- 함수형 컴포넌트 : useRef

DOM을 직접 선택해야 할 경우들
- 엘리먼트 크기를 가져와야 할 때
- 스크롤바 위치를 가져와야 할 때
- 엘리먼트에 포커스를 설정 해줘야 할 때 등등
useRef 사용법
useRef()를 이용해서 Ref 객체를 만들고, 이 객체를 특정 DOM에 ref 값으로 설정한다. 이렇게 되면 Ref 객체의 .current 값이 특정 DOM을 가리키게 된다.
MovieModal/index.js 안에 다음 코드를 추가해주면 된다.
const ref = useRef()

  return (
    <div className='presentation'>
      <div className="wrapper-modal">
        <div className="modal"ref={ref}>
react hooks 생성
<useOnClickOutside.js>
import React, { useEffect } from 'react'

const useOnClickOutside = (ref, handler) => {// 컴포넌트가 마운트되거나 ref와 handler가 업데이트 될 때마다 실행됩니다.
    useEffect(() => {
        return () => {};
    }, []);
};

export default useOnClickOutside; // useOnClickOutside 커스텀 훅을 내보냅니다.
그리고 MovieModal/index.js에 다음 코드를 추가해준다.
  const ref = useRef()
  useOnClickOutside(ref, () => {});
모달 창 바깥을 클릭하면 Callback 함수를 호출하는 Event를 등록해주기
클릭 시 모달 창 안이면 그냥 return을 해주고, 모달 창 밖이라면 Callback 함수 안에서 모달 창을 닫아준다.
코드는 다음과 같다.
<useOnClickOutside.js>
import React, { useEffect } from 'react'

const useOnClickOutside = (ref, handler) => {// 컴포넌트가 마운트되거나 ref와 handler가 업데이트 될 때마다 실행됩니다.
    useEffect(() => {
        const listener = (event) =>{//리스너
            console.log('ref', ref.current) //ref.current에 현재 뭐가 있는지 확인.
            if(!ref.current || ref.current.contains(event.target)) { //모달 창 안을 클릭하면,
                return; //return으로 끝냄
            }
            handler(); // 모달 창 바깥이라면 handler를 호출해서, MovieModal/index.js에서
            //useOnClickOutside(ref, () => {setModalOpen(false)}); 이걸 작동시킴
        };

        document.addEventListener("mousedown", listener) //mousedown이벤트가 발생했을 때, listener을 호출해준다.
        document.addEventListener("touchstart", listener)//touchstart이벤트가 발생했을 때, listener을 호출해준다.
        return () => {
            document.addEventListener("mousedown", listener)//컴포넌트가 언마운트되면 listener를 없애줘야 한다.
            document.addEventListener("touchstart", listener)//컴포넌트가 언마운트되면 listener를 없애줘야 한다.
        };
    }, []);
};

export default useOnClickOutside; // useOnClickOutside 커스텀 훅을 내보냅니다.
MovieModal/index.js
import React, { useRef } from "react";
import useOnClickOutside from "../../hooks/useOnClickOutside";
import "./MovieModal.css";

function MovieModal({
  backdrop_path,
  title,
  overview,
  name,
  release_date,
  first_air_date,
  vote_average,
  setModalOpen,
})
{
  const ref = useRef()
  useOnClickOutside(ref, () => {setModalOpen(false)}); // 바깥을 누르면 모달 창이 닫히게

  return (
    <div className='presentation'>
      <div className="wrapper-modal">
        <div className="modal"ref={ref}>
          <span onClick={()=> setModalOpen(false)} className='modal-close'>
            X
          </span>

          <img
            className='modal__poster-img'
            src={`https://image.tmdb.org/t/p/original/${backdrop_path}`}
            alt='modal__poster-img'
          />

          <div className="modal__content">
            <p className="modal__details">
              <span className="modal__user-perc">
              100% for you
              </span>
              {release_date ? release_date : first_air_date}
            </p>

            <h2 className="modal__title">{title? title: name}</h2>
            <p className="modal__overview"> 평점: {vote_average}</p>
            <p className="modal_overview"></p>
          </div>
        </div>
      </div>
    </div>
    )
}

export default MovieModal;
위의 코드를 모두 적용시키면, 모달 창 밖을 클릭했을 때, 모달 창이 닫히는 것을 확인할 수 있다.
#swiper 모듈을 이용한 터치 슬라이드 구현하기
기존의 화살표 버튼을 클릭해 영화 리스트를 넘기는 것 말고, 스와이프 동작을 통해서 영화 리스트를 넘길 수 있도록 구현해보자. 이 때, 이용할 모듈이 swiper 모듈이다.
설치
npm install swiper --save사용법
// Swiper React 컴포넌트를 가져옵니다.
import { Swiper, SwiperSlide } from 'swiper/react';


// Swiper 스타일을 가져옵니다.
import 'swiper/css';

export default () => {
  return (
    <Swiper
      // 슬라이드 사이의 간격을 설정합니다.
      spaceBetween={50}
      // 한 번에 보여질 슬라이드 개수를 설정합니다.
      slidesPerView={3}
      // 슬라이드가 변경될 때 실행되는 함수를 설정합니다.
      onSlideChange={() => console.log('slide change')}
      // Swiper 인스턴스가 생성될 때 실행되는 함수를 설정합니다.
      onSwiper={(swiper) => console.log(swiper)}
    >
      // 각 슬라이드를 SwiperSlide 컴포넌트로 작성합니다.
      <SwiperSlide>Slide 1</SwiperSlide>
      <SwiperSlide>Slide 2</SwiperSlide>
      <SwiperSlide>Slide 3</SwiperSlide>
      <SwiperSlide>Slide 4</SwiperSlide>
      // 추가 슬라이드를 작성합니다.
      ...
    </Swiper>
  );
};
swiper을 적용시켜보자. 영화 목록에 관한 부분은 Row.js에 있다.
<Row.js>
import React, { useEffect, useState } from 'react'
import axios from '../api/axios';
import MovieModal from "./MovieModal";
import "./Row.css";

import { Navigation, Pagination, Scrollbar, A11y } from 'swiper';
import { Swiper, SwiperSlide } from 'swiper/react';

import 'swiper/css';
import 'swiper/css/navigation';
import 'swiper/css/pagination';
import 'swiper/css/scrollbar';


export default function Row({isLargeRow, title, id, fetchUrl}) {

    const [movies, setMovies] = useState([]);

    const [modalOpen, setModalOpen] = useState(false);

    const [movieSelected, setMovieSelected] = useState({});

    useEffect(() => {
        fetchMovieData();

    }, []);

    const fetchMovieData = async () => {
        const request = await axios.get(fetchUrl);
        setMovies(request.data.results)
    };

    const handleClick = (movie) => {
        setModalOpen(true)
        setMovieSelected(movie);
    };

    return (
        <section className='row'>
            <h2>{title}</h2>
            <Swiper
                modules={[Navigation, Pagination, Scrollbar, A11y]}
                spaceBetween={50}
                slidesPerView={3}
                navigation
                pagination={{ clickable: true }}
                scrollbar={{ draggable: true }}
                onSwiper={(swiper) => console.log(swiper)}
                onSlideChange={() => console.log('slide change')}
            >


            <div id={id} className="row__posters">
                {movies.map(movie => (
                    <SwiperSlide>
                        <img
                            key={movie.id}
                            className={`row__poster ${isLargeRow && "new__posterLarge"}`}
                            src={`https://image.tmdb.org/t/p/original/${
                                isLargeRow ? movie.poster_path : movie.backdrop_path
                            } `}
                            alt={movie.name}
                            onClick={() => handleClick(movie)}
                        />
                    </SwiperSlide>
                ))}
            </div>
        </Swiper>

            {
                modalOpen && (
                    <MovieModal {...movieSelected} setModalOpen={setModalOpen}/>
                )
            }

        </section>

    )
}
위의 코드에서 Navigation, Pagination, Scrollbar, A11y에 대한 설명은 다음과 같다.
- Navigation (네비게이션)
- 네비게이션 플러그인은 사용자가 이전 및 다음 슬라이드로 쉽게 이동할 수 있게 도와준다.
- 보통 화살표 버튼으로 표시되며, 사용자가 버튼을 클릭하면 슬라이드가 이동한다.
- Swiper 설정에서 navigation 옵션을 활성화하고, 이전/다음 버튼의 선택자를 지정하여 사용할 수 있다.
- Pagination (페이징)
- 페이징 플러그인은 현재 활성 슬라이드와 전체 슬라이드 개수를 보여준다.
- 일반적으로 원형 점 또는 숫자로 표시되며, 사용자가 페이징 컨트롤을 클릭하면 해당 슬라이드로 이동한다.
- Swiper 설정에서 pagination 옵션을 활성화하고, 페이지네이션 컨테이너의 선택자를 지정하여 사용할 수 있다.
- Scrollbar (스크롤바)
- 스크롤바 플러그인은 Swiper 슬라이드의 위치를 시각적으로 표시해준다.
- 사용자는 스크롤바를 드래그하여 슬라이드를 원하는 위치로 이동할 수 있다.
- Swiper 설정에서 scrollbar 옵션을 활성화하고, 스크롤바 컨테이너의 선택자를 지정하여 사용할 수 있다.
- A11y (접근성)
- A11y(액세스 빌리티) 플러그인은 시각 및 청각 장애가 있는 사용자들에게 Swiper를 이용할 수 있도록 도와준다.
- 키보드 탐색 및 스크린 리더 지원을 제공하여 모든 사용자가 동일한 경험을 얻을 수 있다.
- Swiper 설정에서 a11y 옵션을 활성화하여 사용할 수 있습니다. 이를 통해 WAI-ARIA 속성 및 역할이 자동으로 설정되며, 키보드 탐색이 가능해진다.
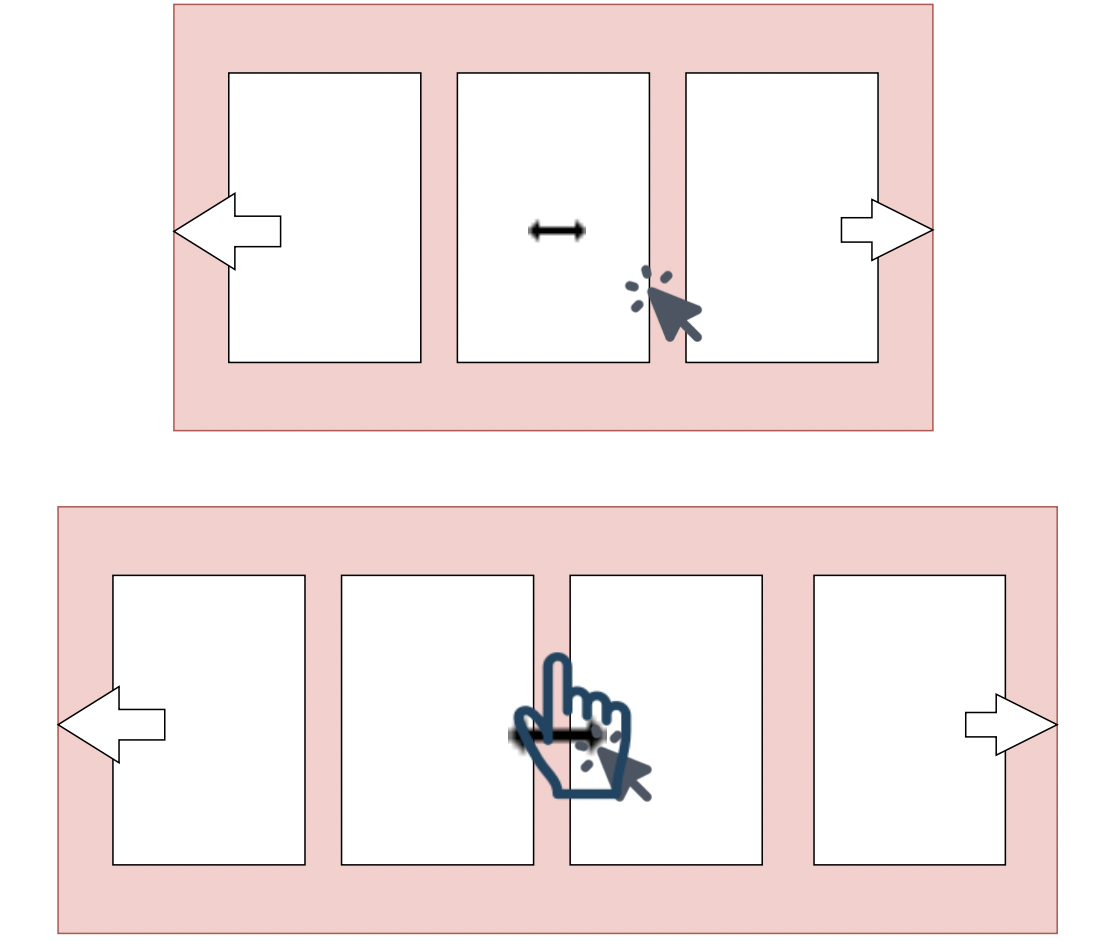
swipe가 되는 것을 확인할 수 있지만, 목록에 3개만 뜨는 것을 볼 수 있다. 이를 고쳐주도록 하자.
slidesPerView={3}이 부분에 숫자를 변경해주면 그 갯수만큼 목록에 뜬다. 하지만 우리는 창의 크기에 따라 보여주는 목록의 갯수가 다르게 구현을 할 것이다. 그래서 breakpoint를 주어 해당 breakpoint에 따라 보여주는 목록의 갯수가 달라지게끔 코드를 짤 것이다. slidesPerView를 통해 한번에 보이는 영화의 갯수를 설정해줄 것이고,
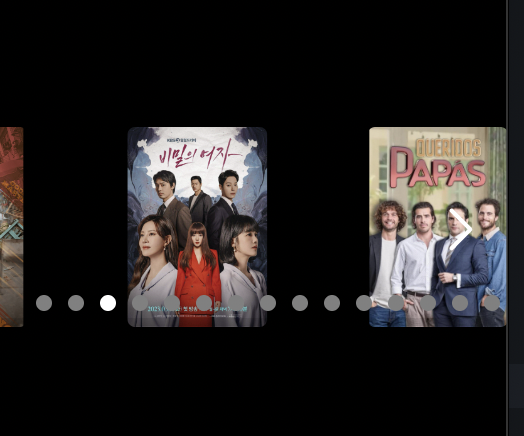
위의 사진을 보면 몇번째 영화로 슬라이드가 되어 있는지 확인할 수 있게끔 작은 점이 표시되어 있다. slidesPerGroup을 통해 화살표 버튼을 클릭했을 때 몇 개씩 슬라이드가 될지 설정해줄 것이다.
그리고 css도 함께 적용하자.
<Row.js>
import React, { useEffect, useState } from 'react'
import axios from '../api/axios';
import MovieModal from "./MovieModal";
import "./Row.css";

import { Navigation, Pagination, Scrollbar, A11y } from 'swiper';
import { Swiper, SwiperSlide } from 'swiper/react';

import 'swiper/css';
import 'swiper/css/navigation';
import 'swiper/css/pagination';
import 'swiper/css/scrollbar';


export default function Row({isLargeRow, title, id, fetchUrl}) {

    const [movies, setMovies] = useState([]);

    const [modalOpen, setModalOpen] = useState(false);

    const [movieSelected, setMovieSelected] = useState({});

    useEffect(() => {
        fetchMovieData();

    }, []);

    const fetchMovieData = async () => {
        const request = await axios.get(fetchUrl);
        setMovies(request.data.results)
    };

    const handleClick = (movie) => {
        setModalOpen(true)
        setMovieSelected(movie);
    };

    return (
        <section className='row'>
            <h2>{title}</h2>
            <Swiper
                modules={[Navigation, Pagination, Scrollbar, A11y]}
                navigation // 화살표 버튼 사용 유무
                pagination={{ clickable: true }}
                loop={true} //loop 기능을 사용할 것인지, true로 하면 영화 목록의 마지막에 도달했을 때, 화살표를 누르면 처음으로 돌아간다.
                breakpoints={{
                    1378: {
                        slidesPerView: 6,
                        slidesPerGroup: 6,
                    },
                    998: {
                        slidesPerView: 5,
                        slidesPerGroup: 5,
                    },
                    625: {
                        slidesPerView: 4,
                        slidesPerGroup: 4,
                    },
                    0: {
                        slidesPerView: 3,
                        slidesPerGroup: 3,
                    },
                }}
            >


            <div id={id} className="row__posters">
                {movies.map(movie => (
                    <SwiperSlide>
                        <img
                            key={movie.id}
                            className={`row__poster ${isLargeRow && "new__posterLarge"}`}
                            src={`https://image.tmdb.org/t/p/original/${
                                isLargeRow ? movie.poster_path : movie.backdrop_path
                            } `}
                            alt={movie.name}
                            onClick={() => handleClick(movie)}
                        />
                    </SwiperSlide>
                ))}
            </div>
        </Swiper>

            {
                modalOpen && (
                    <MovieModal {...movieSelected} setModalOpen={setModalOpen}/>
                )
            }

        </section>

    )
}
<Row.css>
... // 원래 있던 부분

.swiper-pagination {
    text-align: right !important;
}

.swiper-pagination-bullet {
    background: gray !important;
    opacity: 1 !important;
}

.swiper-pagination-bullet-active {
    background: white !important;
}

.swiper-button-prev,
.swiper-button-next {
    color: white !important;
}

.swiper-button-next {
    color: white !important;
}

.swiper-button-next:after,
.swiper-button-prev:after {
    font-size: 1.3rem !important;
    font-weight: 600 !important;
}

이렇게 화면의 크기에 따라 띄워지는 영화 목록의 갯수가 달라진다.
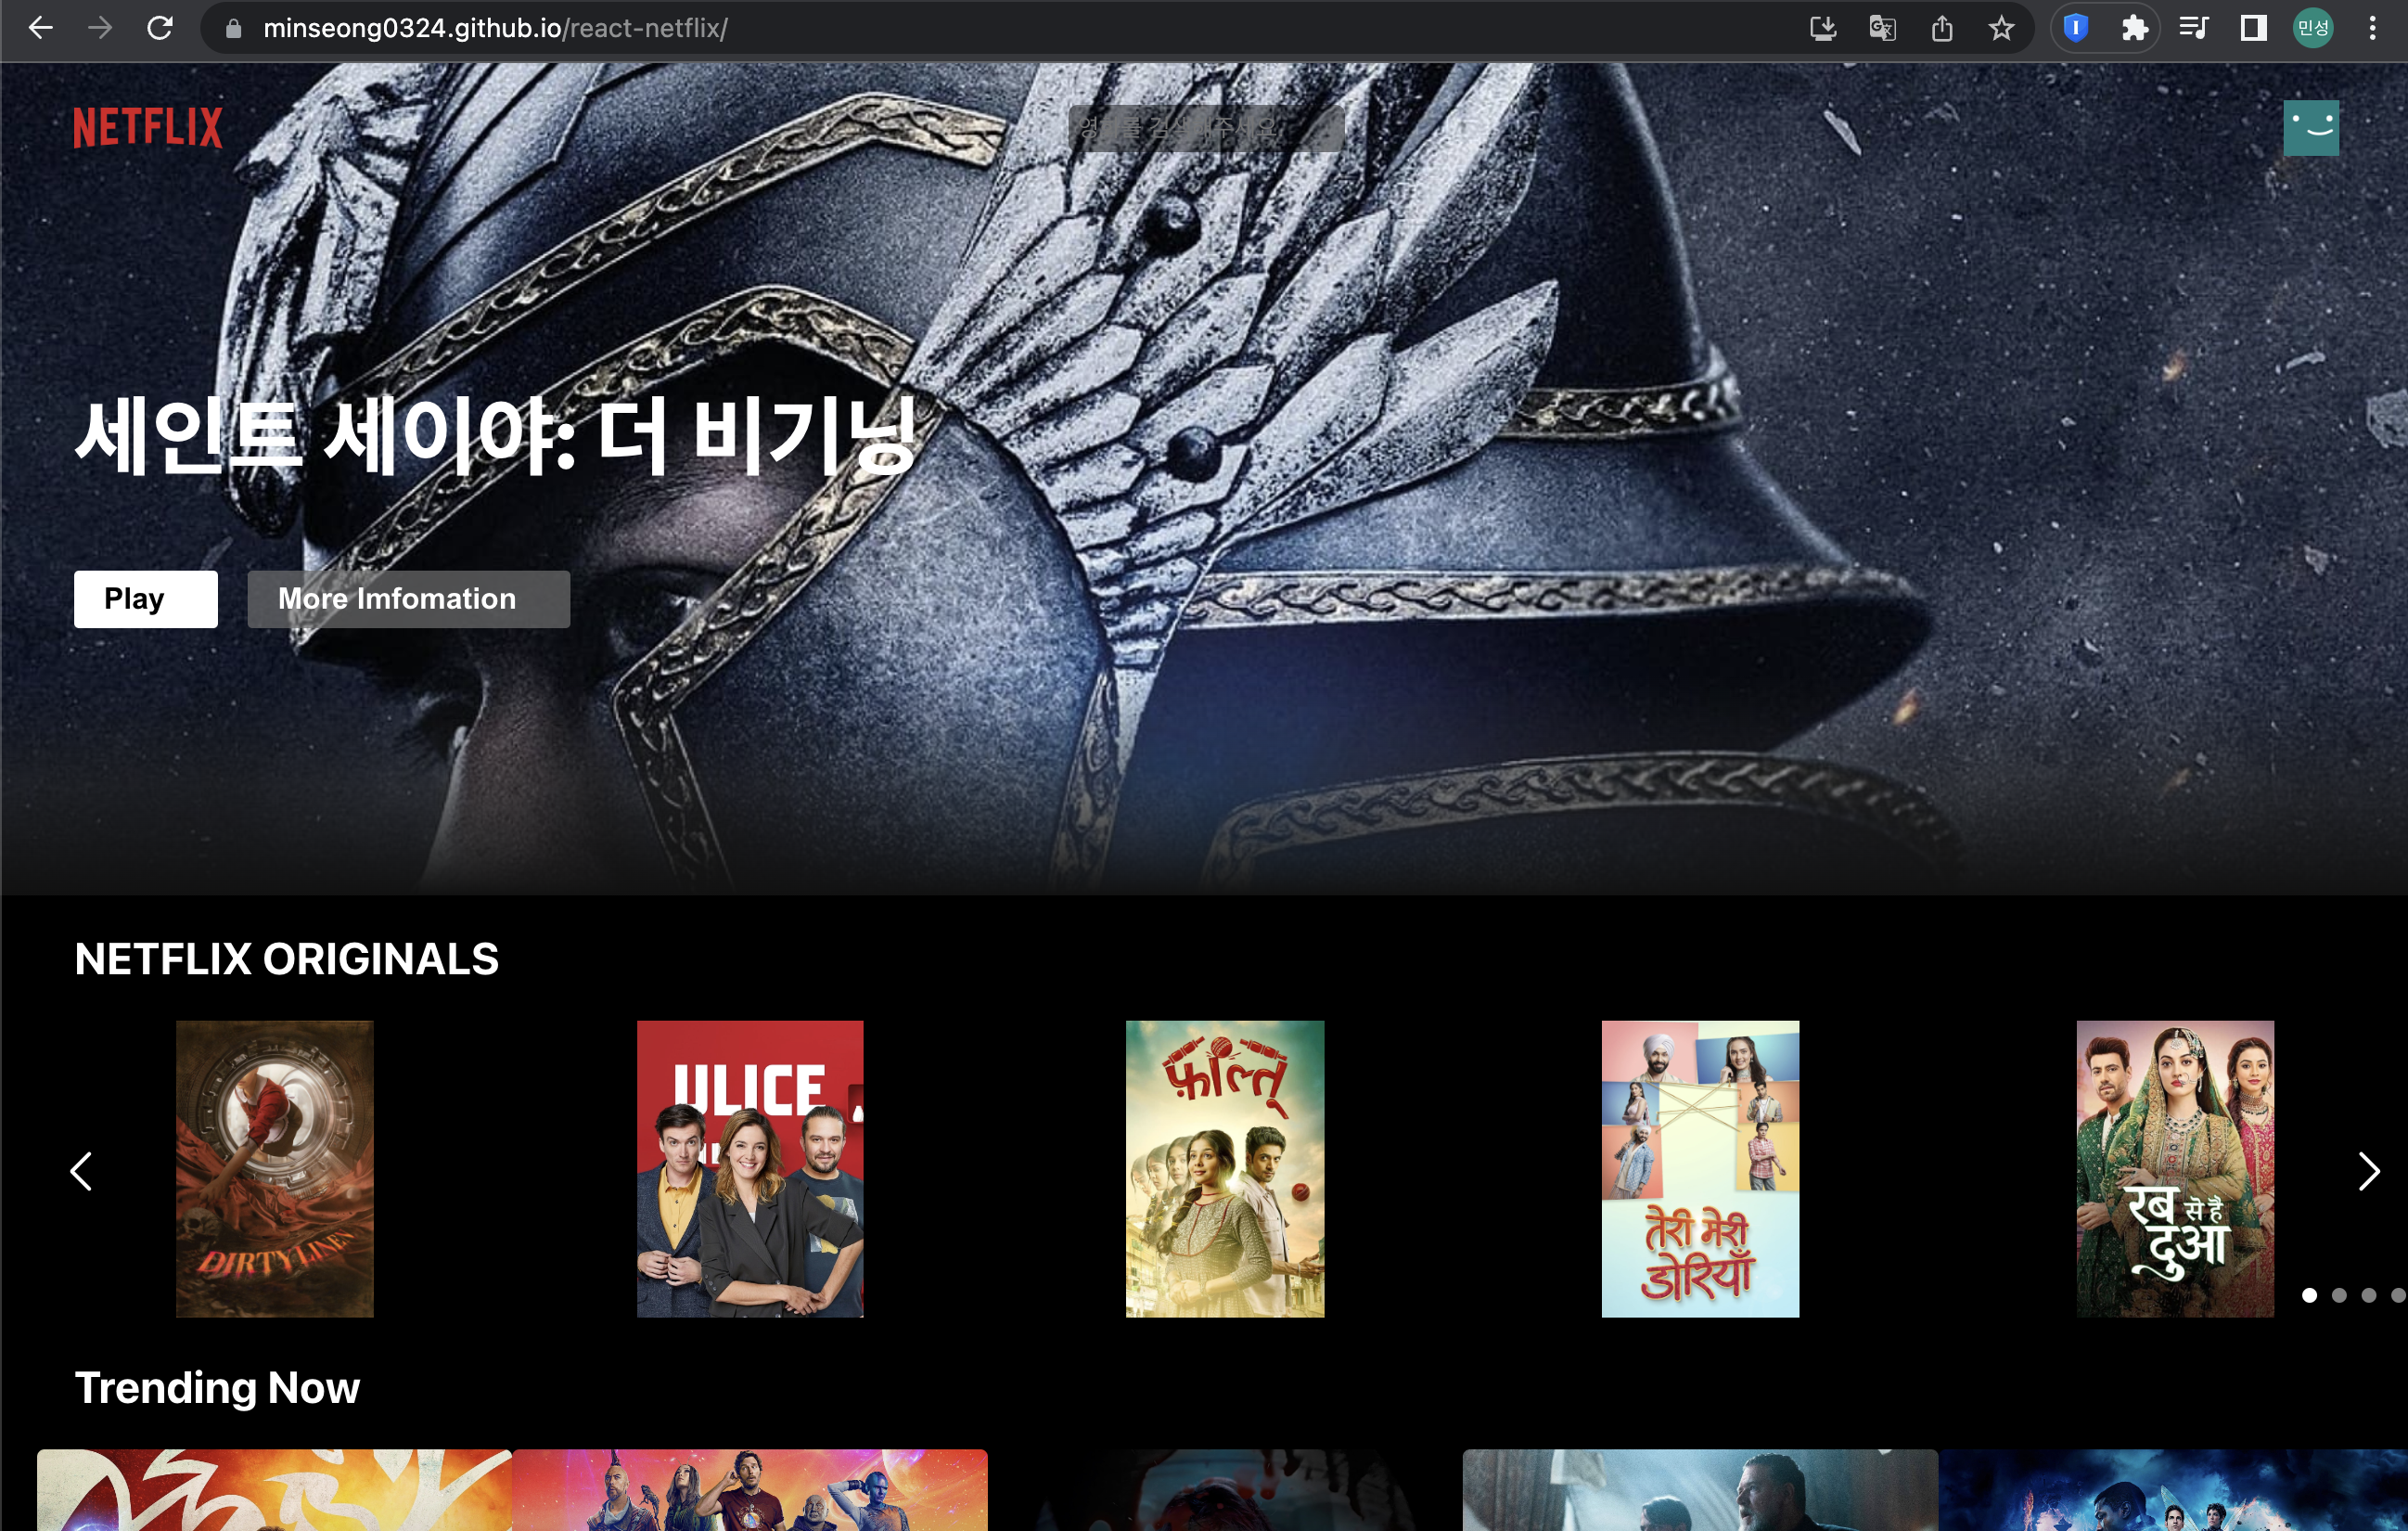
이로써 Netflix 클론 앱을 제작 완료했다! 이제 깃허브에 배포해보자!
github를 이용해서 배포하기
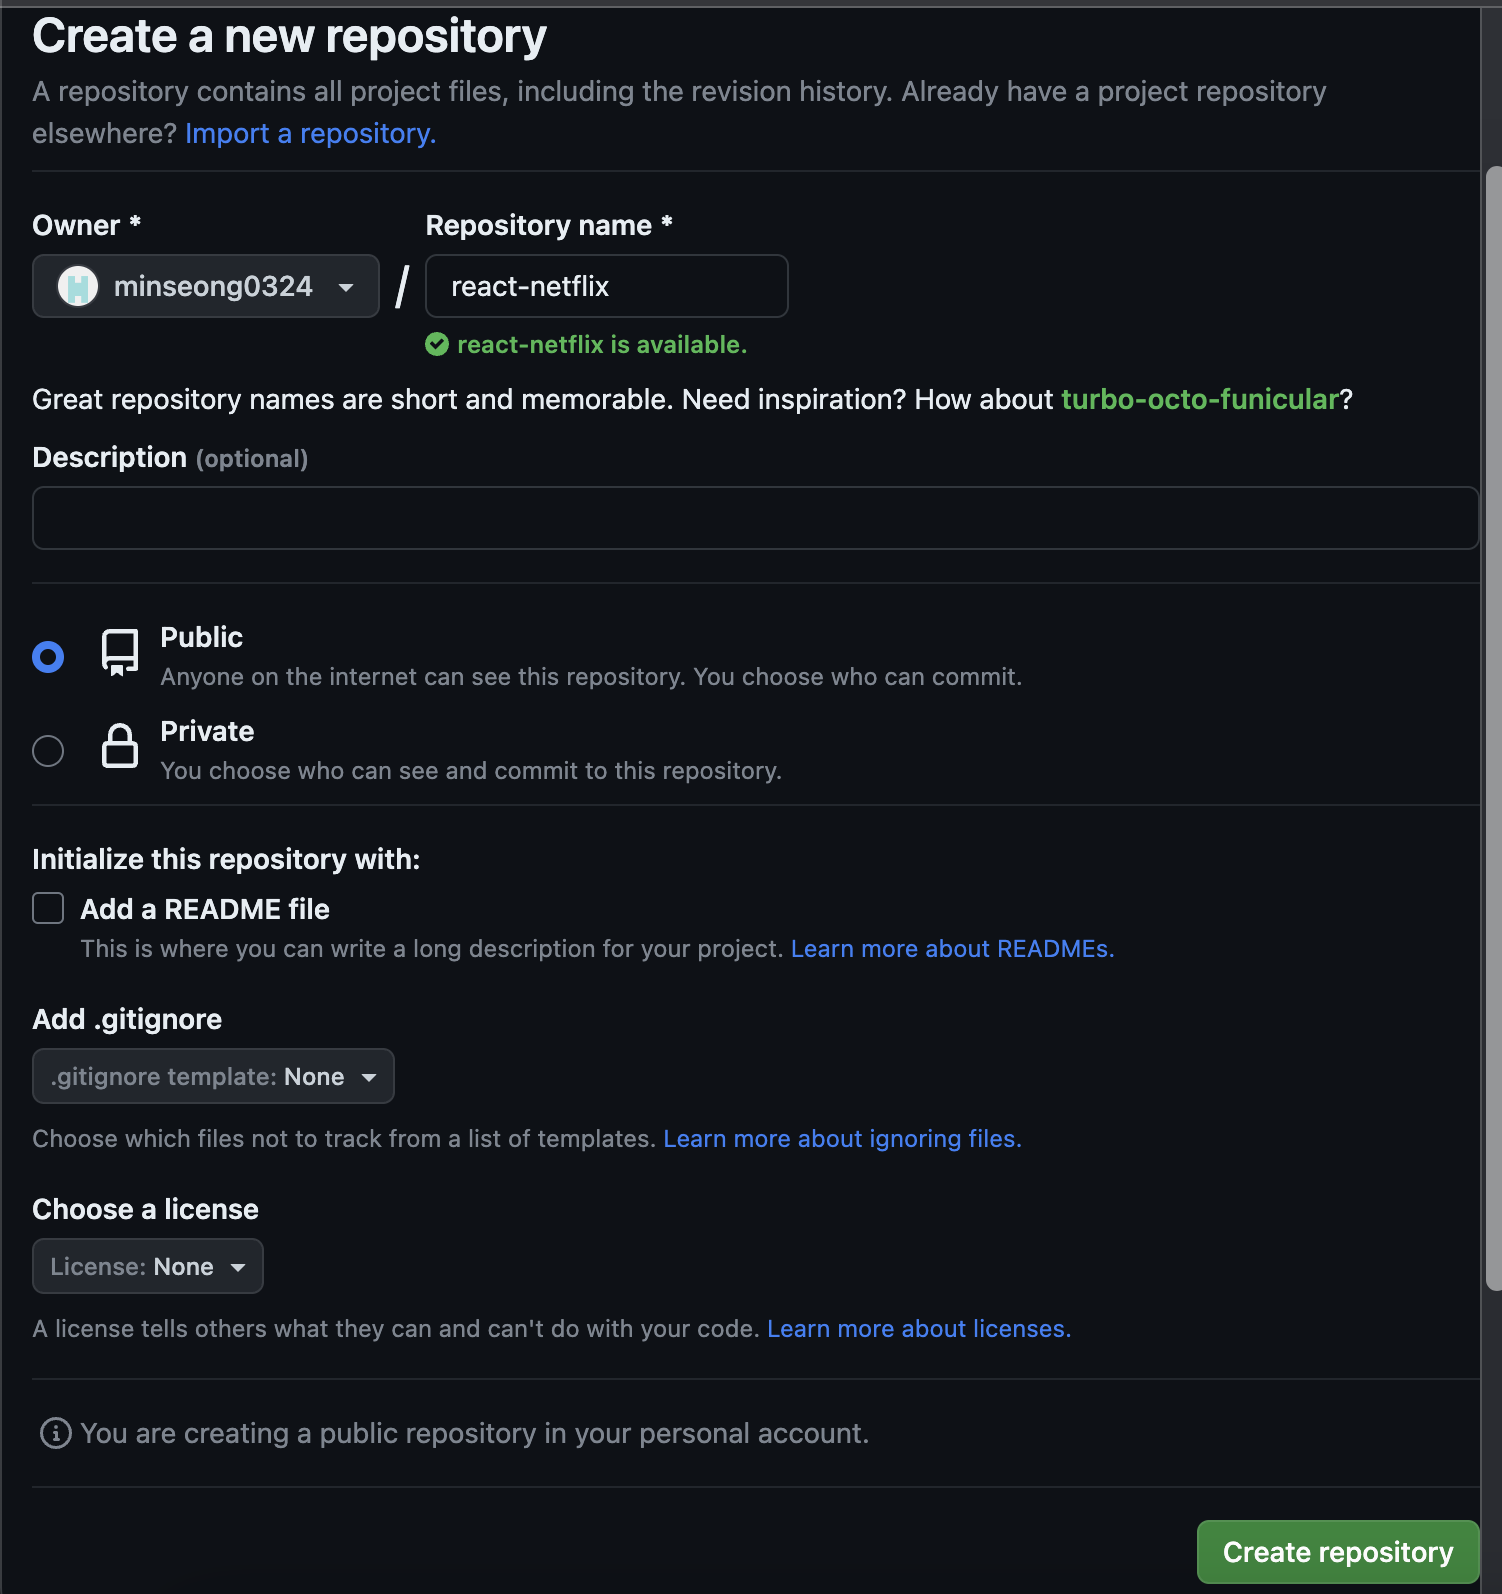
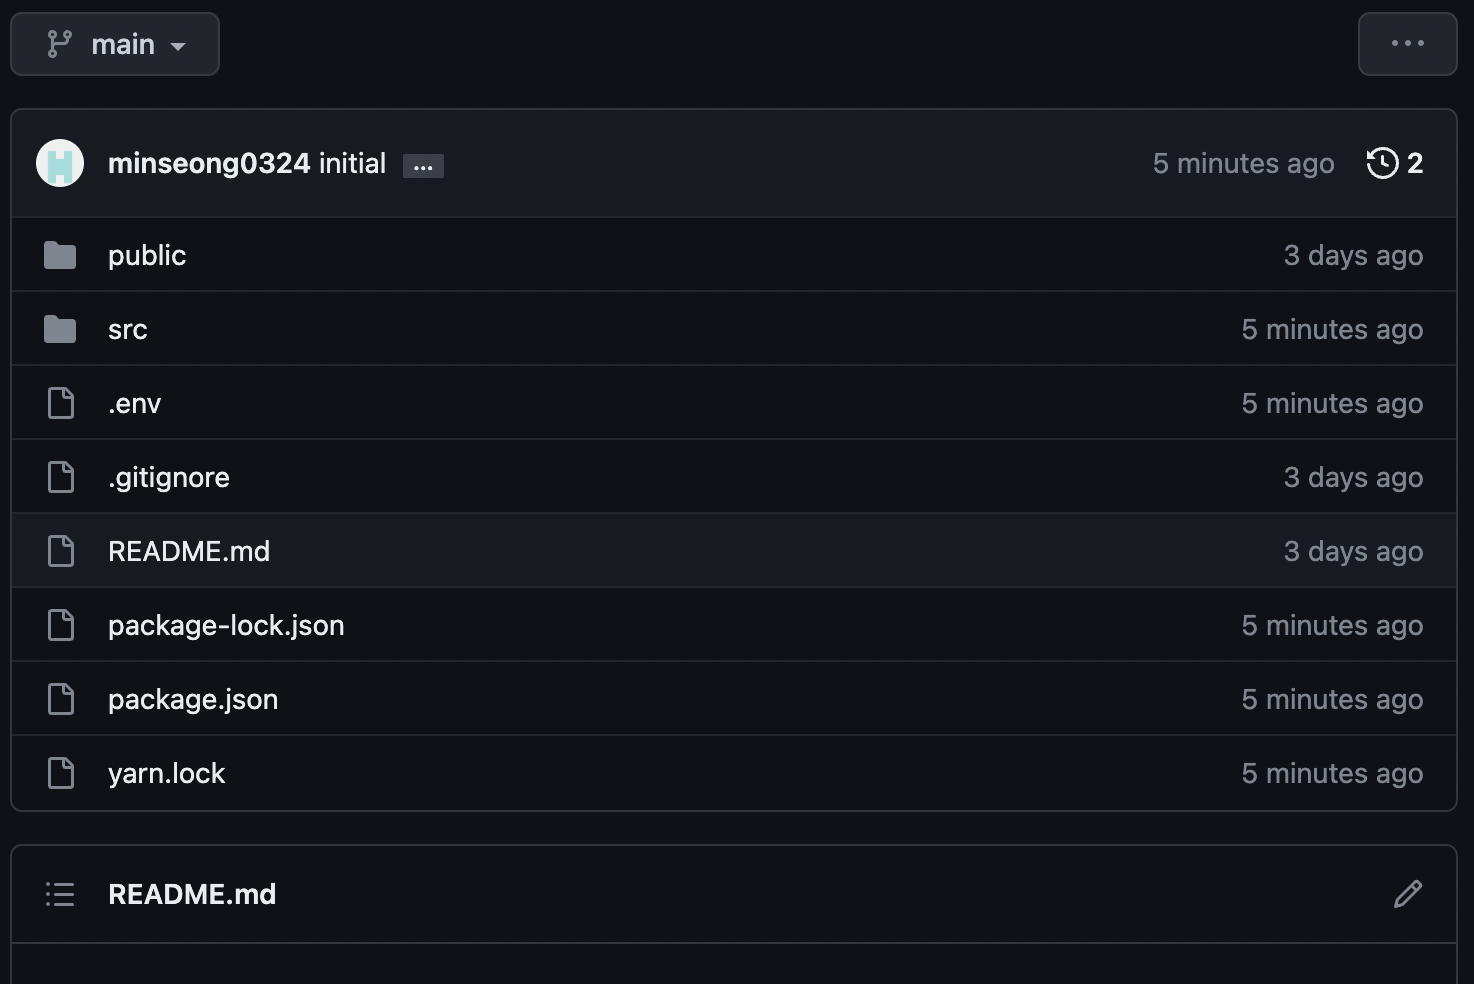
깃허브 저장소 생성
API_KEY 환경변수로 숨기기
APIKEY는 비밀로 해줘야 하는 부분이기에 환경변수로 숨기자.
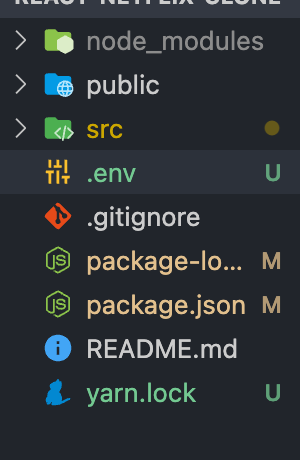
방법은, .env(이는 github에 올라가지 않는다.)라는 파일을 만들고, 안에서 환경변수를 만들건데, "REACT_APP"으로 시작하는 환경변수를 만들어주면 된다.
루트 부분에 .env 파일을 만들어준다.
그리고 axios.js에 있는 api_key를 .env로 옮겨준다. 그리고 이렇게 환경변수를 사용할 때에는 axios.js에서 api_key를 다음과 같이 작성해준다.
<axios.js>
import axios from "axios";

const instance = axios.create({
    baseURL: "https://api.themoviedb.org/3",
    params: {
        api_key : process.env.REACT_APP_MOVIE_DB_API_KEY,
        language: "ko-KR",
    },
});

export default instance;
로컬 앱과 저장소 연결
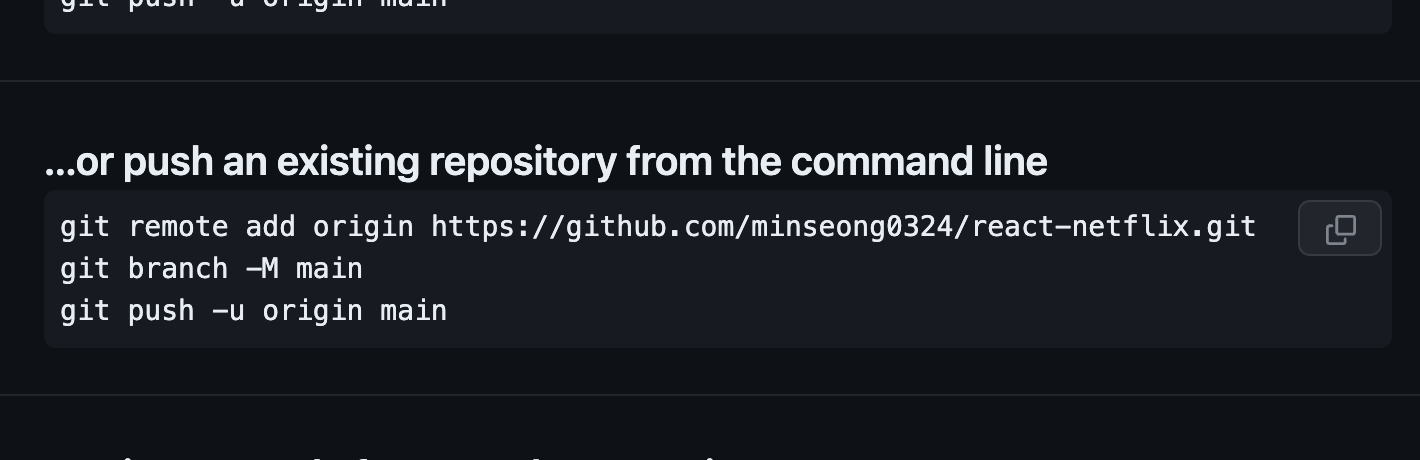
이 부분을 사용해주면 된다.
git remote add origin https://github.com/minseong0324/react-netflix.git
git branch -M main
git push -u origin main
저걸 하기 전에 앞서 이를 먼저 진행해주고 저걸 진행하자.

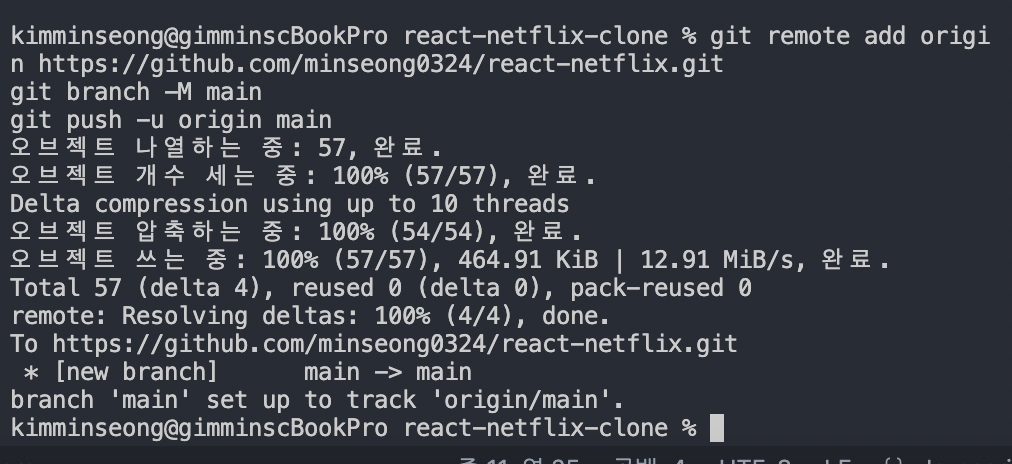
모두 진행하면 다음과 같은 결과가 나온다.
gh-pages 모듈 설치
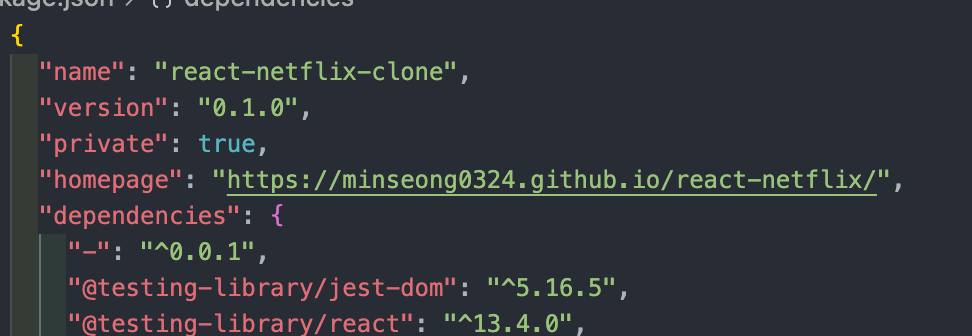
npm install gh-pages --save-dev홈페이지 url 작성
https://{깃허브 유저 이름}.github.io/{저장소 이름}/
https://minseong0324.github.io/react-netflix/
이를 package.json에 다음과 같이 추가해준다.
배포를 위한 script 추가
predeploy를 넣어주는 이유는, 우리가 빌드를 할 때 npm run build를 하는데, 그래서 넣어주는 것이다.
deploy를 넣어주는 이유는, gh-pages라는 모듈을 이용해서 build를 해주기 위해서 넣는 것이다.
이 두가지를 package.json의 scripts에 추가해주면 된다.
 "predeploy": "npm run build",
 "deploy": "gh-pages -d build",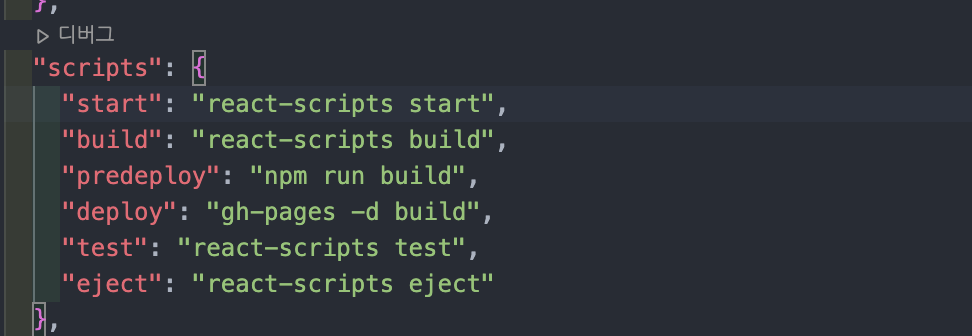
react router dom의 기본 경로 변경
페이지의 처음 시작점이 "localhost:3000/react-netfilx"이다. 이렇게 되면 앱이 이런식으로 나오게 된다.

그래서 페이지를 배포할 때 시작점을 "https://minseong0324.github.io/react-netflix/"로, 즉 기본경로로 만들어주어야 한다.
그럴려면 index.js의 react-router-dom 즉, BrowserRouter의 속성에 basename을 추가해서 저장소의 이름을 넣어주면 된다.
ReactDOM.render(
  <BrowserRouter basename='react-netflix'>
    <App />
  </BrowserRouter>,
  document.getElementById('root')
);
deploy 시작!
npm run deploy위의 명령을 통해 배포하면 된다.
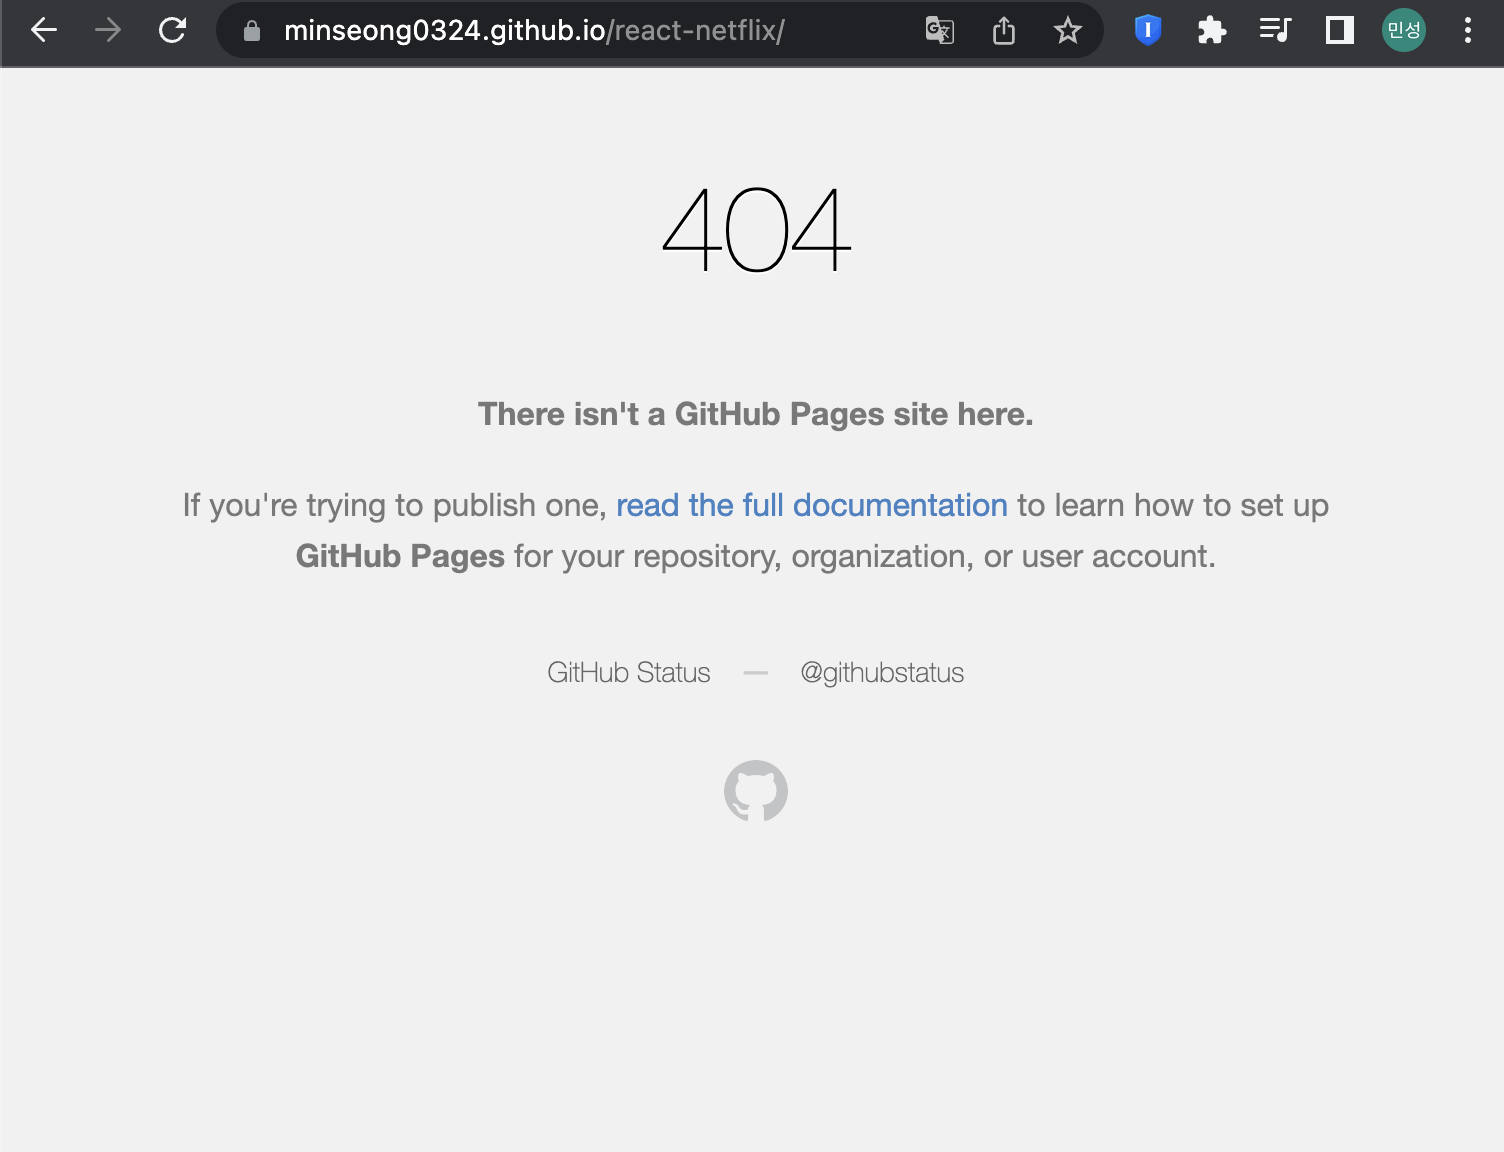
바로 사이트에 들어가려고 하면 위와 같은 404 화면을 마주할 수도 있다. 당황하지 말고 잠시 기다렸다가 refresh를 해주면,
배포가 된 것을 확인할 수 있다!
이로써 이번 NETFLIX clone app을 만들어 보았다. 뭔가 프론트 개발자가 되기 위한 힘찬 첫걸음이 되었던 것 같다!