[23강] 메인 콘텐츠 구현하기
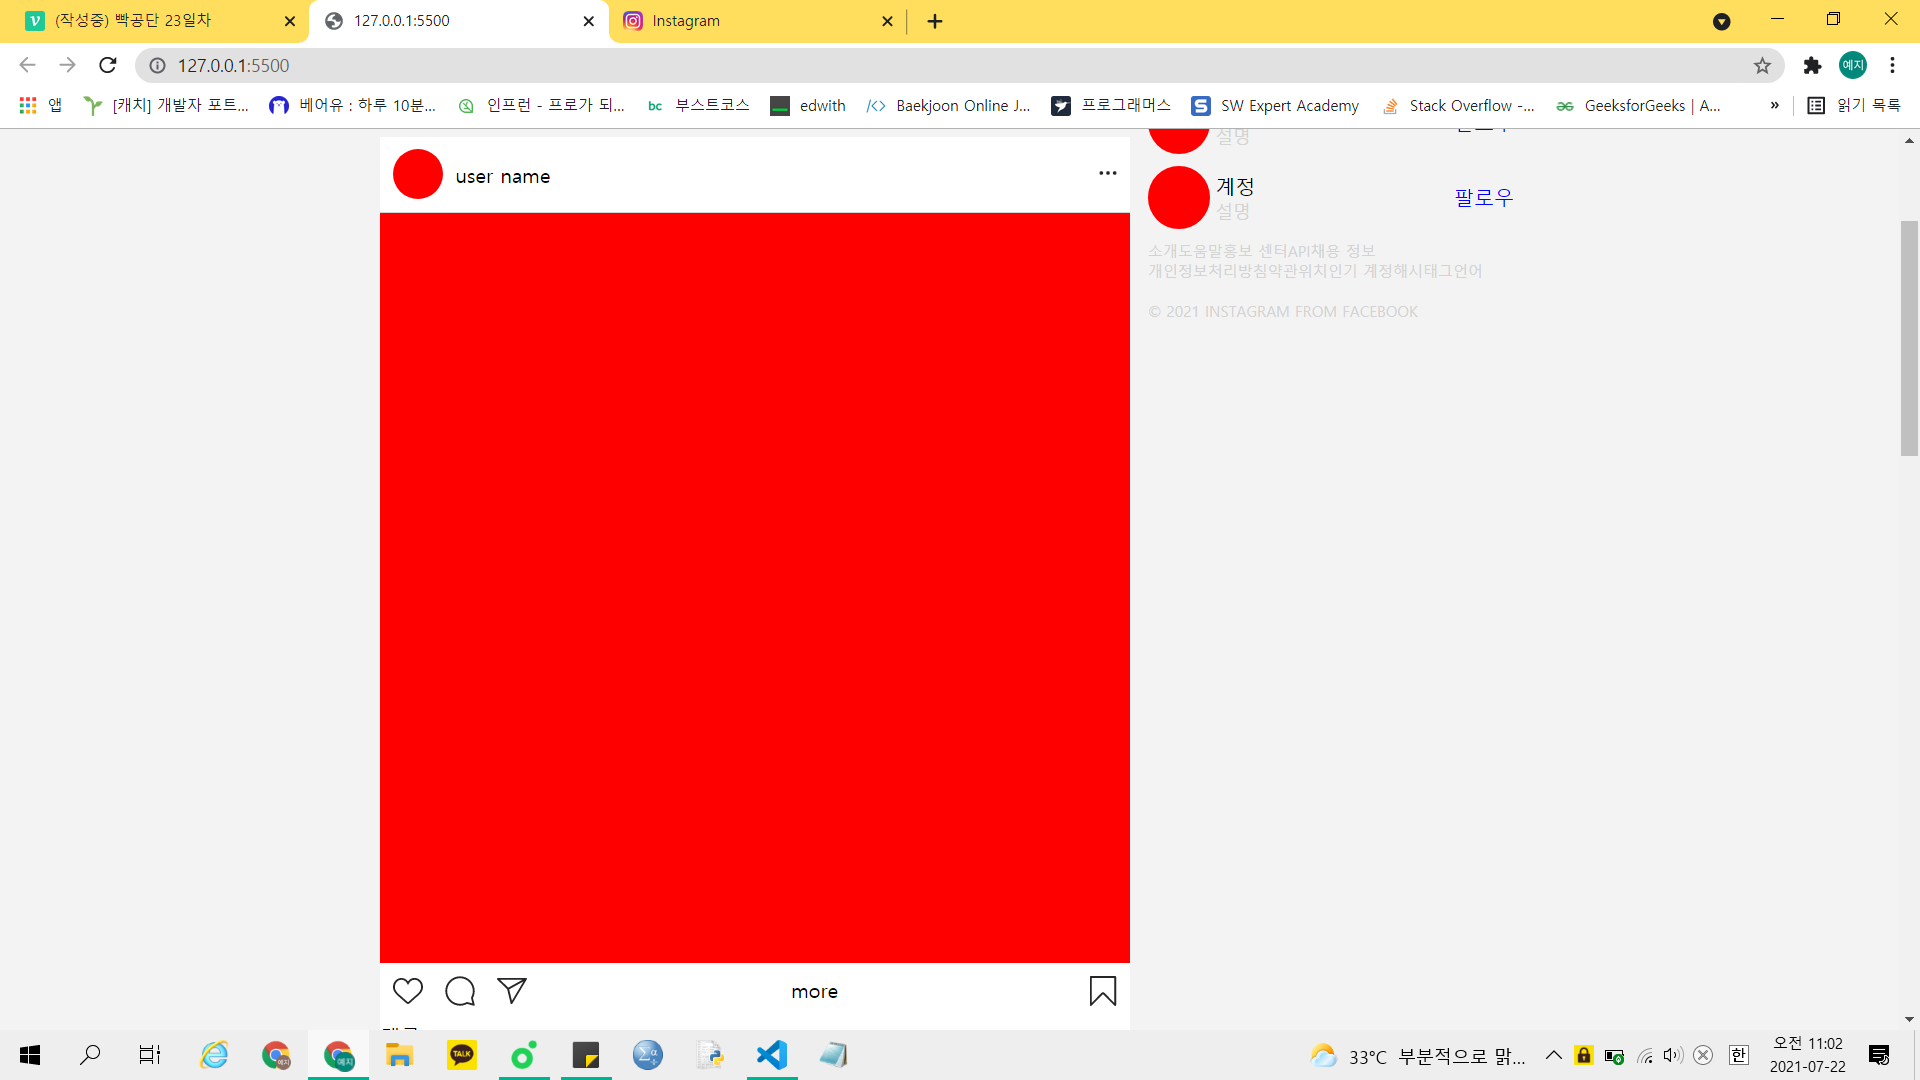
⭐ post-title
 ➰ post-title 부분 만들기!
[html]
<div class="post-title">
    <div>

    </div>
    <div>
        user name
    </div>
    <div>
        <svg aria-label="옵션 더 보기" class="_8-yf5 " fill="#262626" height="16" role="img" viewBox="0 0 48 48" width="16"><circle clip-rule="evenodd" cx="8" cy="24" fill-rule="evenodd" r="4.5"></circle><circle clip-rule="evenodd" cx="24" cy="24" fill-rule="evenodd" r="4.5"></circle><circle clip-rule="evenodd" cx="40" cy="24" fill-rule="evenodd" r="4.5"></circle></svg>
    </div>
</div>
➰ 첫 번째 div는 프로플 사진 부분.
➰ 두 번째 div는 사용자 이름 부분.
➰ 세 번재 div는 점점점 아이콘!
[css]
.post-title {
    display: flex;
    align-items: center;
    padding: 10px;
    border-bottom: solid lightgray 1px;
    background-color: white;
}

.post-title > :nth-child(1) { /* 프로필 사진 */
   background-color: red;
   height: 40px;
   width: 40px;
   border-radius: 100%;
}

.post-title > :nth-child(2){
    margin-left: 10px;
}

.post-title > :nth-child(3){
    margin-left: auto;
}
➰ display: flex로 가로로 정렬되게 바꿨다.
➰ 세로로 가운데에 정렬했다.
➰ padding을 10px을 줘 겉에 여백을 두었다.
➰ 아래에 테두리만 lightgray 색을 줬다.
➰ post-title의 첫 번째 자식인 프로필 사진 부분의 배경을 구분하기 위해 red로 줬고, 크기를 가로 세로 각각 40px씩 줬다. 테두리를 둥글게 하였다.
➰ post-title의 두 번째 자식인 user name의 왼쪽 margin을 10px을 줘 프로필 사진과의 간격을 두었다.
➰ post-title의 세 번째 자식인 점점점 아이콘을 margin-left: auto로 두어 왼쪽 끝에 붙게 했다.
⭐ post-main
 ➰ post-main 부분!
[html]
<div class="post-main">

</div>
➰ post-main 부분 div 하나로 만들기.
[css]
.post-main {
    height: 600px;
    background-color: red;
}
➰ post-main 부분의 높이를 인스타그램 페이지와 동일하게 600px을 주었고, 구분을 위해 배경을 red로 주었다.
⭐ post-bar
 ➰ post-bar 부분!
[html]
<div class="post-bar">
    <div>
        <svg aria-label="좋아요" class="_8-yf5 " fill="#262626" height="24" role="img" viewBox="0 0 48 48" width="24"><path d="M34.6 6.1c5.7 0 10.4 5.2 10.4 11.5 0 6.8-5.9 11-11.5 16S25 41.3 24 41.9c-1.1-.7-4.7-4-9.5-8.3-5.7-5-11.5-9.2-11.5-16C3 11.3 7.7 6.1 13.4 6.1c4.2 0 6.5 2 8.1 4.3 1.9 2.6 2.2 3.9 2.5 3.9.3 0 .6-1.3 2.5-3.9 1.6-2.3 3.9-4.3 8.1-4.3m0-3c-4.5 0-7.9 1.8-10.6 5.6-2.7-3.7-6.1-5.5-10.6-5.5C6 3.1 0 9.6 0 17.6c0 7.3 5.4 12 10.6 16.5.6.5 1.3 1.1 1.9 1.7l2.3 2c4.4 3.9 6.6 5.9 7.6 6.5.5.3 1.1.5 1.6.5.6 0 1.1-.2 1.6-.5 1-.6 2.8-2.2 7.8-6.8l2-1.8c.7-.6 1.3-1.2 2-1.7C42.7 29.6 48 25 48 17.6c0-8-6-14.5-13.4-14.5z"></path></svg>
        <svg aria-label="댓글 달기" class="_8-yf5 " fill="#262626" height="24" role="img" viewBox="0 0 48 48" width="24"><path clip-rule="evenodd" d="M47.5 46.1l-2.8-11c1.8-3.3 2.8-7.1 2.8-11.1C47.5 11 37 .5 24 .5S.5 11 .5 24 11 47.5 24 47.5c4 0 7.8-1 11.1-2.8l11 2.8c.8.2 1.6-.6 1.4-1.4zm-3-22.1c0 4-1 7-2.6 10-.2.4-.3.9-.2 1.4l2.1 8.4-8.3-2.1c-.5-.1-1-.1-1.4.2-1.8 1-5.2 2.6-10 2.6-11.4 0-20.6-9.2-20.6-20.5S12.7 3.5 24 3.5 44.5 12.7 44.5 24z" fill-rule="evenodd"></path></svg>
        <svg aria-label="게시물 공유" class="_8-yf5 " fill="#262626" height="24" role="img" viewBox="0 0 48 48" width="24"><path d="M47.8 3.8c-.3-.5-.8-.8-1.3-.8h-45C.9 3.1.3 3.5.1 4S0 5.2.4 5.7l15.9 15.6 5.5 22.6c.1.6.6 1 1.2 1.1h.2c.5 0 1-.3 1.3-.7l23.2-39c.4-.4.4-1 .1-1.5zM5.2 6.1h35.5L18 18.7 5.2 6.1zm18.7 33.6l-4.4-18.4L42.4 8.6 23.9 39.7z"></path></svg>
    </div>
    <div>more</div>
    <div><svg aria-label="저장" class="_8-yf5 " fill="#262626" height="24" role="img" viewBox="0 0 48 48" width="24"><path d="M43.5 48c-.4 0-.8-.2-1.1-.4L24 29 5.6 47.6c-.4.4-1.1.6-1.6.3-.6-.2-1-.8-1-1.4v-45C3 .7 3.7 0 4.5 0h39c.8 0 1.5.7 1.5 1.5v45c0 .6-.4 1.2-.9 1.4-.2.1-.4.1-.6.1zM24 26c.8 0 1.6.3 2.2.9l15.8 16V3H6v39.9l15.8-16c.6-.6 1.4-.9 2.2-.9z"></path></svg></div>
</div>
➰ 첫 번째 div는 제일 왼쪽의 아이콘 3개 붙어 있는 곳.
➰ 두 번째 div는 사진의 개수가 하나가 아니라는 것을 보여주는 부분. 편의상 more로 표현.
➰ 세 번째 div는 제일 오른쪽의 아이콘.
[css]
.post-bar {
    display: flex;
    justify-content: space-between;
    background-color: white;
    padding: 10px;
}

.post-bar > :nth-child(1) svg {
    margin-right: 12px;
}
➰ display: flex로 요소들이 옆으로 나란히 되게 했다.
➰ justify-content: space-between으로 요소들 사이의 간격이 동일하게 벌려놓았다.
➰ padding을 10px로 두어 위아래 양옆의 간격을 벌려놓았다.
➰ post-bar의 첫 번째 자식 중 svg에 margin-right를 12px씩 줘 아이콘끼리의 간격을 두었다.
⭐ post-coment, post-input
 ➰ post-coment는 댓글창, post-input은 댓글 입력창
[html]
<div class="post-coment">
    <div>
        댓글!
    </div>
    <div>
        댓글!
    </div>
</div>
<div class="post-input">
    <svg aria-label="이모티콘" class="_8-yf5 " fill="#262626" height="24" role="img" viewBox="0 0 48 48" width="24"><path d="M24 48C10.8 48 0 37.2 0 24S10.8 0 24 0s24 10.8 24 24-10.8 24-24 24zm0-45C12.4 3 3 12.4 3 24s9.4 21 21 21 21-9.4 21-21S35.6 3 24 3z"></path><path d="M34.9 24c0-1.4-1.1-2.5-2.5-2.5s-2.5 1.1-2.5 2.5 1.1 2.5 2.5 2.5 2.5-1.1 2.5-2.5zm-21.8 0c0-1.4 1.1-2.5 2.5-2.5s2.5 1.1 2.5 2.5-1.1 2.5-2.5 2.5-2.5-1.1-2.5-2.5zM24 37.3c-5.2 0-8-3.5-8.2-3.7-.5-.6-.4-1.6.2-2.1.6-.5 1.6-.4 2.1.2.1.1 2.1 2.5 5.8 2.5 3.7 0 5.8-2.5 5.8-2.5.5-.6 1.5-.7 2.1-.2.6.5.7 1.5.2 2.1 0 .2-2.8 3.7-8 3.7z"></path></svg>
    <input placeholder="댓글 달기">
    <div>
        게시
    </div>
</div>
➰ post-coment의 div 두 개는 댓글이 입력되어 있는 박스이다.
➰ post-input의 svg는 제일 왼쪽의 웃는 얼굴 아이콘이고, input은 댓글을 입력하는 창으로, placeholder="댓글 달기"를 썼다.
➰ post-input의 첫 번째 div는 게시하는 버튼이지만, 그냥 글로만 적었다.
[css]
.post-coment {
    background-color: white;
}

.post-input {
    display: flex;
    background-color: white;
    padding: 5px;
}

.post-input > :nth-child(1) {
    margin-right:  10px;
}

.post-input input {
    flex: 1;
    border: none;
    outline: none;
}
➰ post-coment의 배경을 흰색으로 바꿨다.
➰ post-input 부분을 display: flex로 바꿔 아이콘, input창, 게시 부분을 한 줄에 정렬되게 했다.
➰ 배경을 흰색으로 바꿨고, padding을 5px로 두어 위 아래 간격을 두었다.
➰ post-input의 첫 번째 자식인 svg 아이콘의 margin-right을 10px을 둬 input 창과의 거리를 두었다.
➰ post-input의 input창에 flex: 1을 둬 꽉 찰 만큼의 큰 크기를 주었고, border, outline 모두 없앴다.
⭐ 완성본
 ➰ 오늘 메인 콘텐츠 부분 완성본!
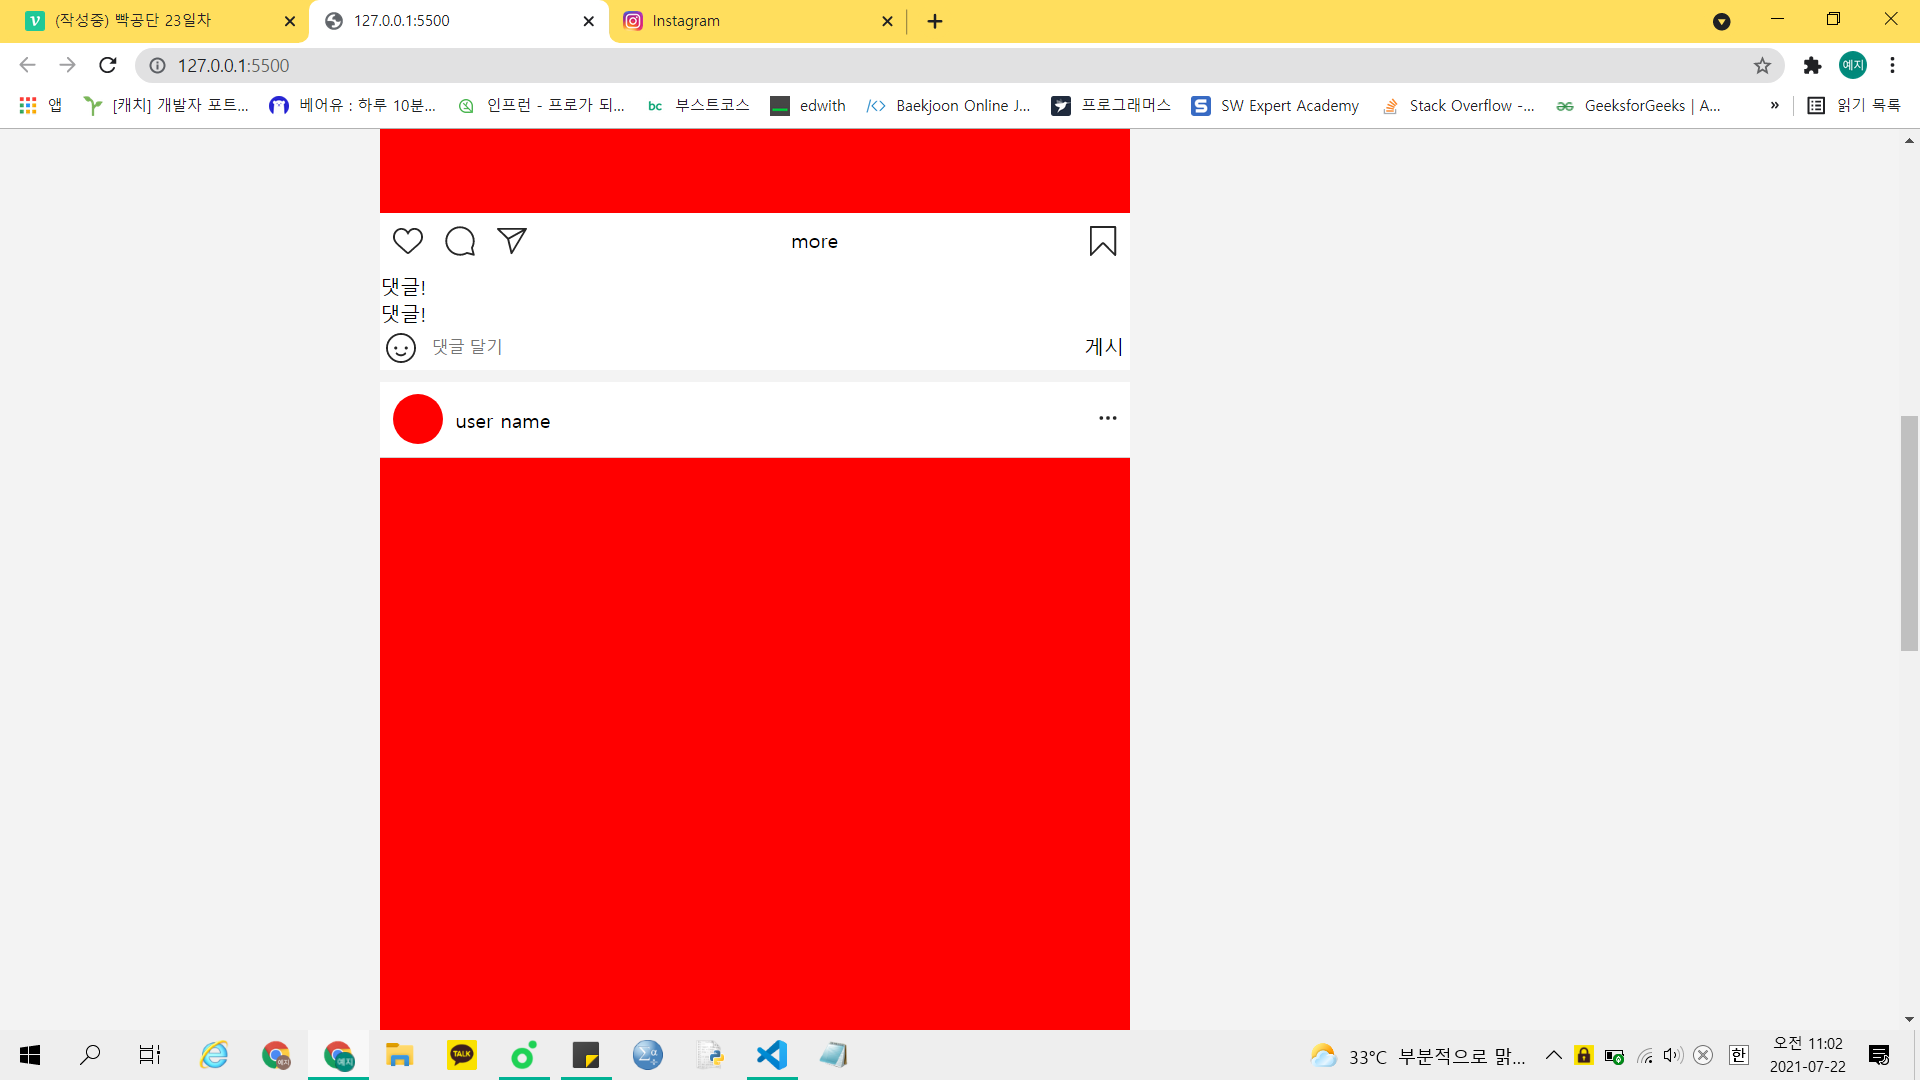 ➰ post 요소들을 여러 개 붙여 게시물을 여러 개 만들었다.
🍒 정리
드디어 인스타그램 페이지를 완성했다! 물론 거의 틀만 완성하긴 했지만, 이것만으로도 너무 신기하다. 여기서 내가 공부를 더 해서 효과도 넣고 자바스크립트도 쓰면서 더 꾸며나가야지. 이게 진짜 공부지!
이걸로 교육은 끝났다. 내일 강사님 말씀만 들으면 끝이난다. 벌써 23일이나 했다. 물론 중간에 동아리로 너무 바빠서 밀려서 한번에 듣긴 했지만, 벌써 끝난다는 게 좀 아쉽다. 익숙해지려 하니까 끝나버린다.ㅠㅠ
이것을 발판으로 여러 클론 코딩을 해보고 싶다. 많이 만들어 보고 싶고, 배우고 싶고, 진짜 할면 할 수록 재밌는 것 같다. 흥미가 있어서 정말 다행이다. 이걸 좀 더 일찍 들을 걸 하는 생각도 들지만, 지금이라도 들어서 정말 다행이다. 23일간 고생했고, 리뷰는 완전히 끝난 다음에!